Shortcuts in 3D Max Software
3D max software is used in different firms that are Animation, Video gaming, TV and Film studio firm for modeling. Shortcuts in 3D max give you quick and first working space in your project. Shortcuts are the quick way of activating any command by using some shortcut keys from keyboard buttons.
When you work on a very large and commercial project, you have to give your completed project on time with maximum accuracy. Knowing shortcuts becomes a plus point for you and helps you make your reputed position in your working area.
Viewports for Drawing in 3D Max
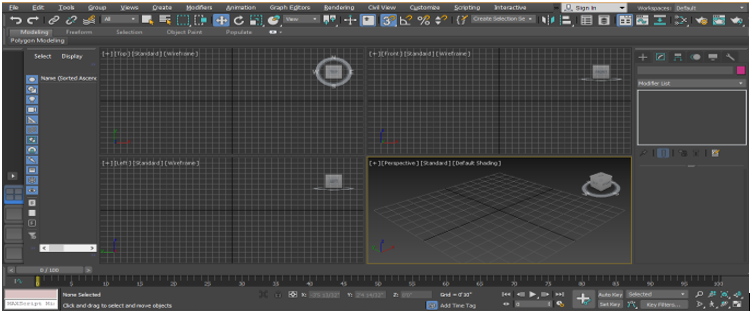
There are four viewports working areas in 3D max software that are Top viewport, Front viewport, Left viewport, and the last one is Perspective viewport. We can choose any one of them for drawing our model at any time.
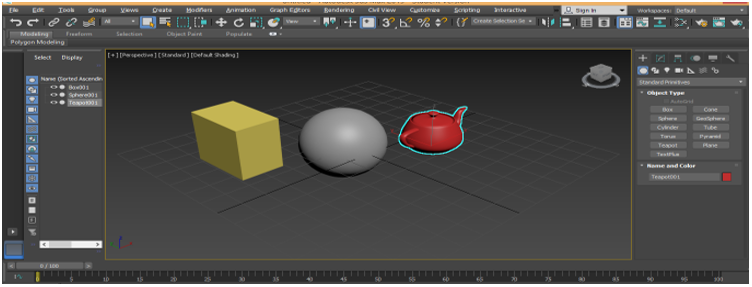
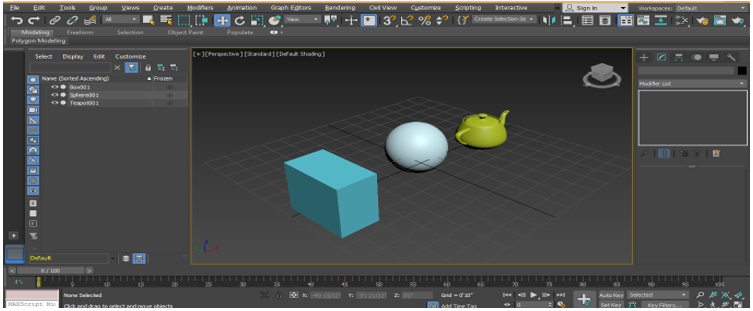
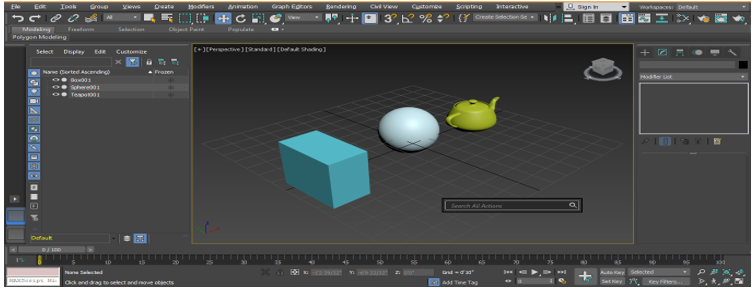
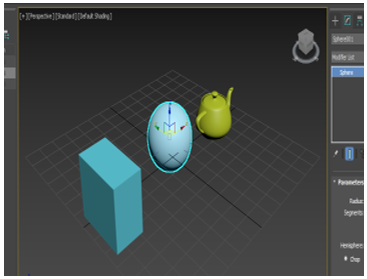
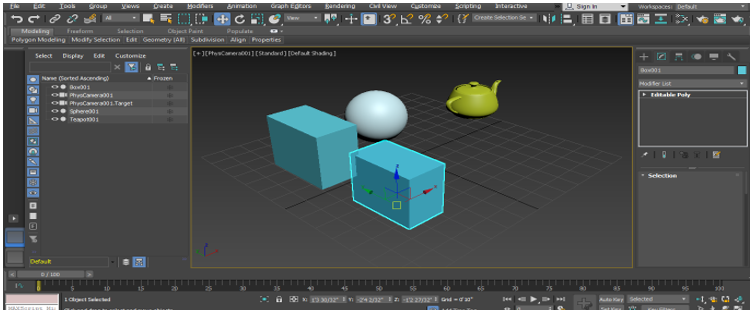
For using shortcuts here, first of all, we need to draw some objects in our viewport.
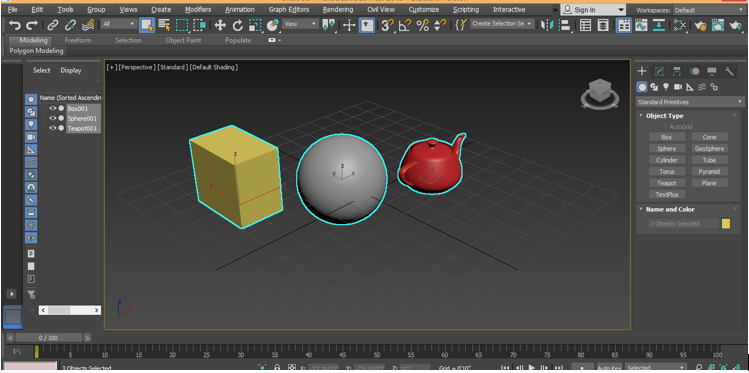
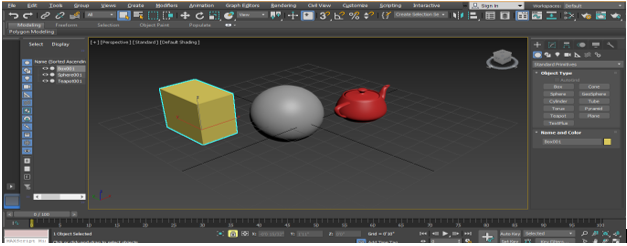
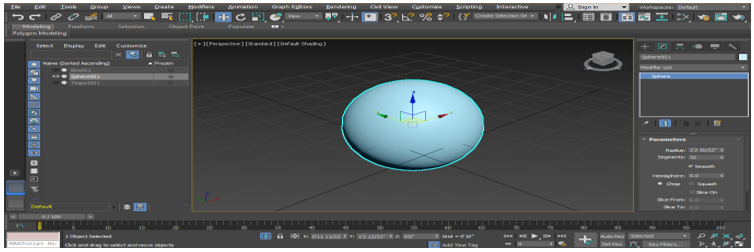
- Select All Shortcut: It is used to select all objects present in our model. To select all objects at the same time, press Ctrl + A on the keyboard; all selection can be seen in the form of a sky blue line around the selected object.
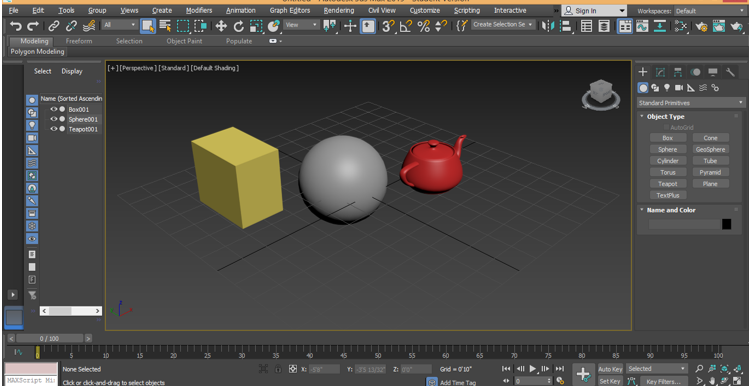
To deselect, press Ctrl + D on the keyboard.
- Toggle Lock Shortcut: It is used to select an individual object and lock our selection to this object. After activating this option, we will not be able to select any other object at the same time. Press the Spacebar key on the keyboard; click on the object you want to lock for activating this option.
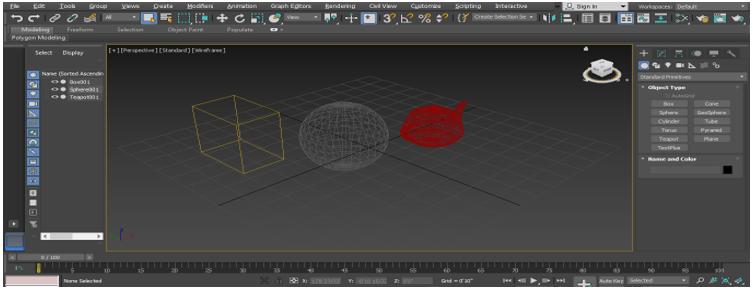
- WireFrame Mode Shortcut: Press F3 on the keyboard for the wireframe mode of the object.
Again press F3 on the keyboard for returning in the shaded mode of the object.
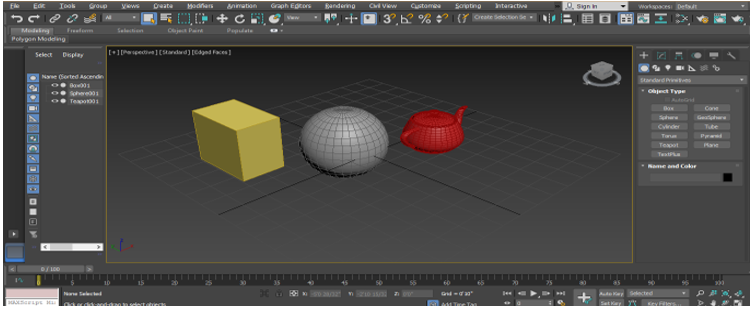
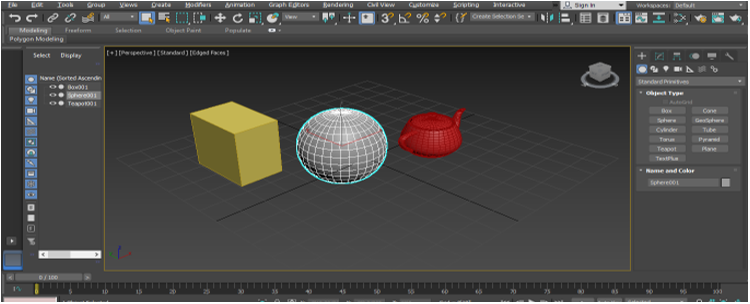
- Edge Faces Shortcut: Press F4 from the keyboard to view the edge face and shaded face of the object both at the same time.
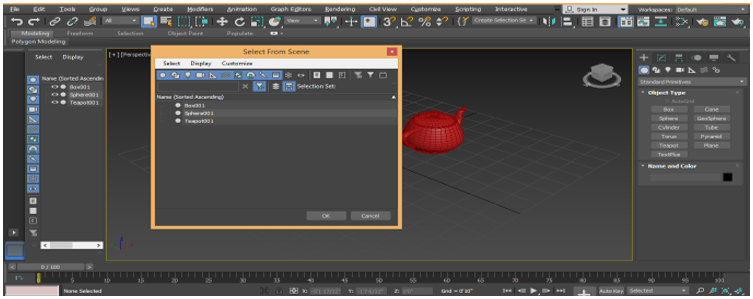
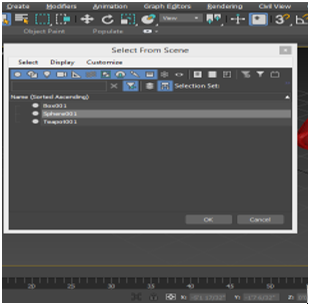
- Shortcut to Select any Object with the Name: We can select any object with a name also for selecting Press H on the keyboard. A dialog box will open with the name Select From Scene title.
Click on the object name to select it.
Press OK.
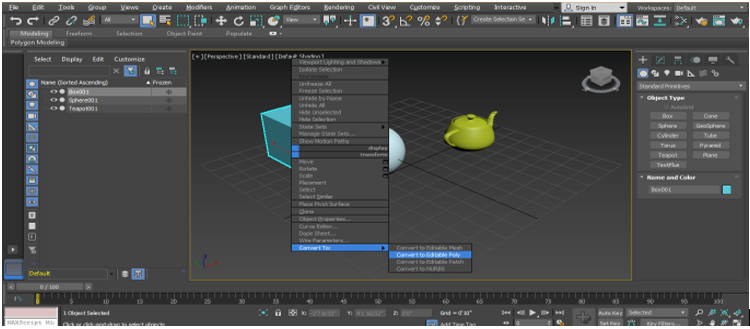
For the next shortcut, we will click on the box model to select and right-click on it; a drop-down dialog box will open, go on the Convert to option. Click on the Convert to Editable poly option.
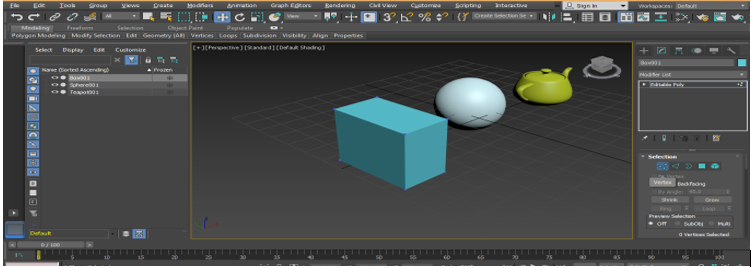
Now we will see some shortcuts here. Press 1 on the keyboard to see the vertex mode.
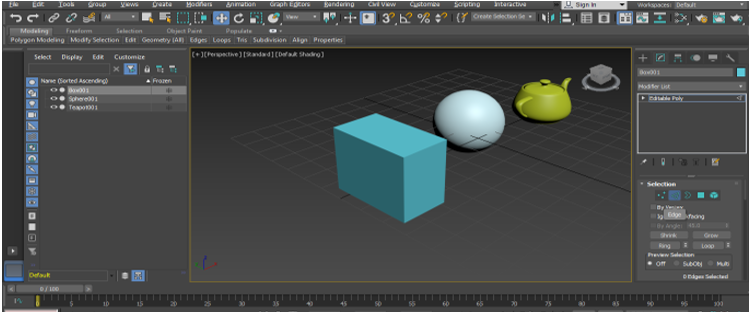
Press 2 on the keyboard for Edge mode.
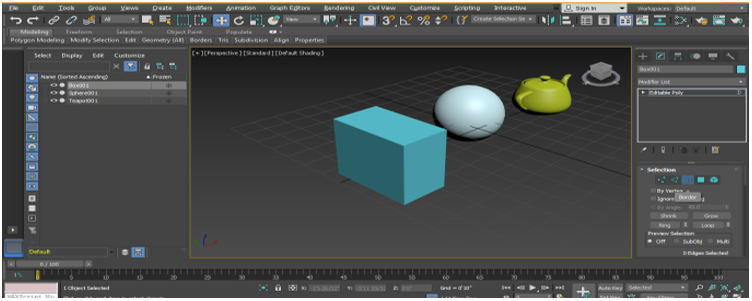
Press 3 on the keyboard for the border.
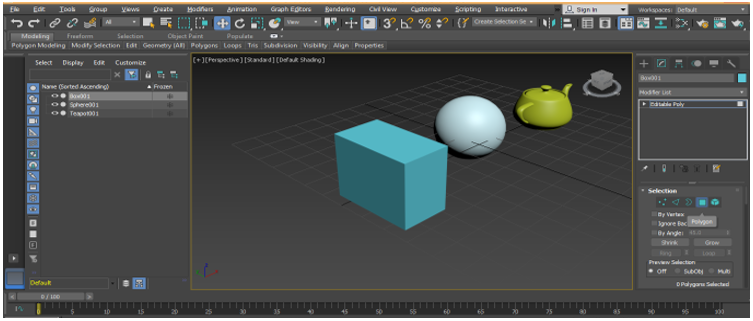
Press 4 on the keyboard for a polygon.
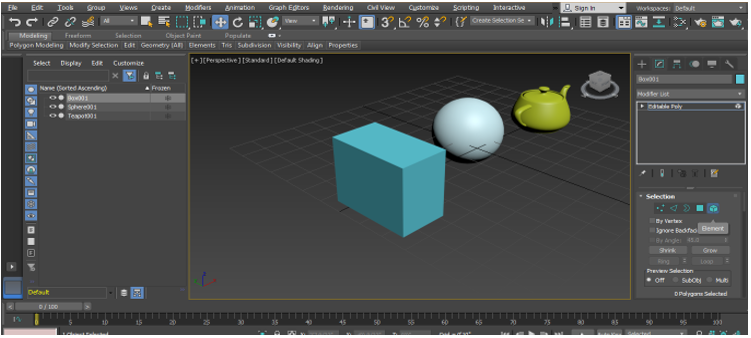
Press 5 on the keyboard for Element.
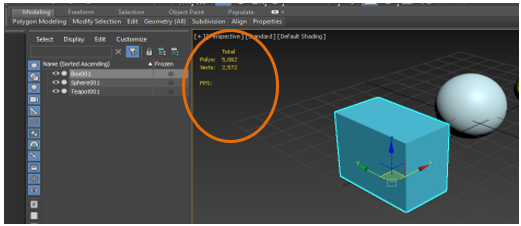
Press 7 on the keyboard to see the poly count in the scene of your poly modeling in 3D max.
All the above shortcuts of this point will help us in our work during poly modeling.
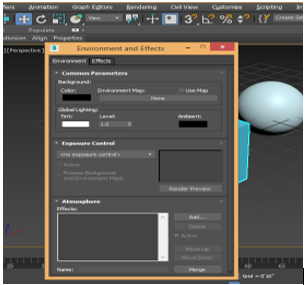
- Environment and Effect Shortcut: Press 8 on the keyboard for Environment and Effect; we can set the background of any bitmap from here and change the color and give some effect.
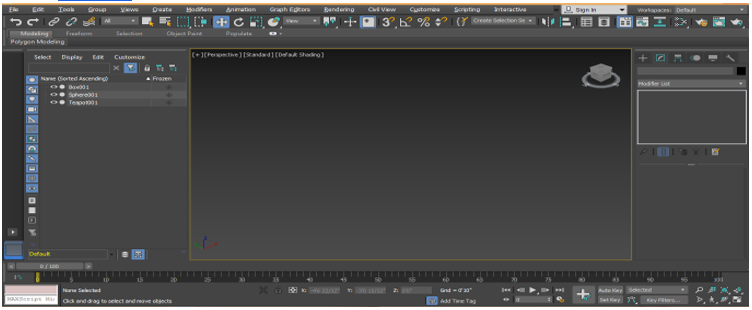
- Relocating our Hidden Object on the Work Area: This has become the major problem for us when our drawn object becomes invisible from our work area somehow.
For finding or relocating our object on our screen, simple press Z on the keyboard.
- Expert Mode Shortcut: Press X on the keyboard for expert mode; by this, you can search for any action done by you in your model.
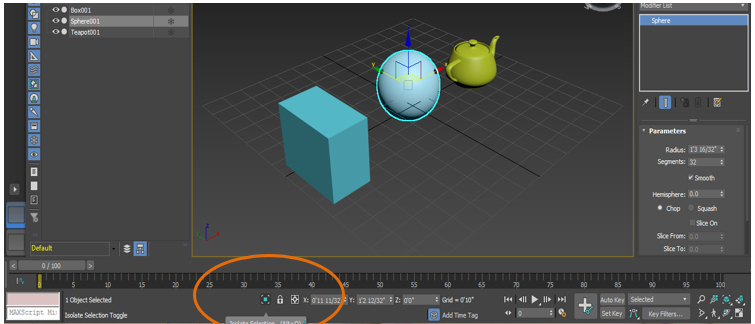
- Isolation Mode Shortcut: Press Alt + Q on the keyboard to activate isolation mode. Isolation mode gives us a deep view of any individual object.
Press the exit button to come out from the button available on the lower corner of the screen.
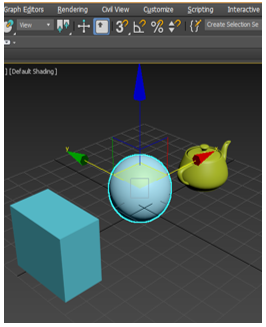
- Shortcut for Increasing and Decreasing Size of the Coordinate Symbol: Press + button on the keyboard to increase the size of the coordinate symbol.
And Press – button to decrease the size of the coordinate symbol.
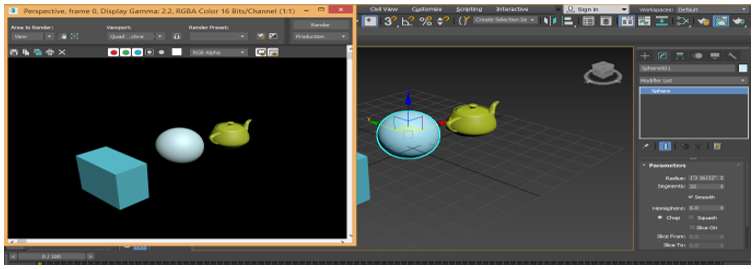
- Render Shortcut: Press Shift + Q on the keyboard to see the render effect.
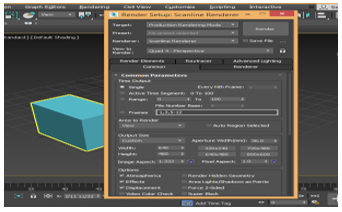
- Render Set Up Shortcut: Press F10 on the keyboard a dialog box of render setup will open up.
Here we can set some render settings according to our requirement.
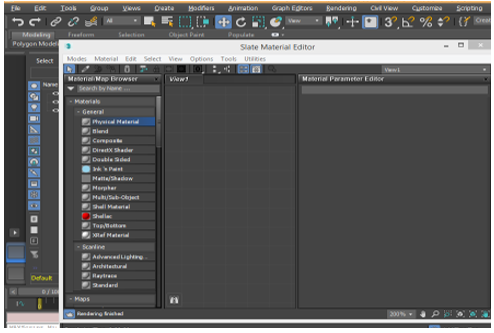
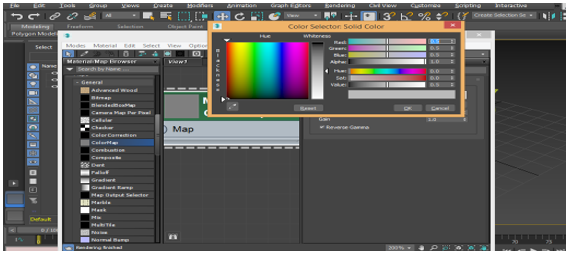
- Material Editor Shortcut: For material Editor Press M on the keyboard; a dialog box or the material editor will be open.
We can set material from here for our object, set colors of an object and many other settings for giving a realistic and effective view to our object.
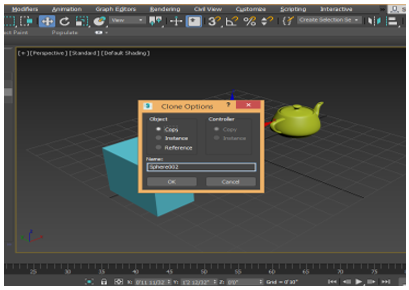
- Cone Shortcut: Cone means to make the same copy of the object with the same size and shape. Press Ctrl + V on the keyboard to cone the object after selecting the object.
Or you can simply click on the object and drag the mouse pointer by holding the shift button of the keyboard to cone that object.
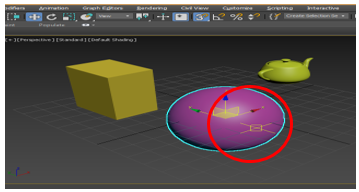
- X-ray Mode Shortcut: X-ray mode means that we can see through the object by activating this mode. See-through means we can see the second object, which is behind the first object. Press Alt + X on the keyboard in active x-ray mode.
- Cut Tool Shortcut: The next short is the poly edge mode which can be activated by pressing 2 buttons on the keyboard. Press Alt + C on the keyboard to activate the cut tool for making any cut in our object.
- Snap Tool Shortcut: Snapping makes modeling easy. For activating snapping for objects, Press S on the keyboard.
These are the same short cut frequently used in 3D max software
Conclusion
After taking a look at the shortcuts of the 3D max software, you will find great help in modeling your object during your project work. Shortcuts speed up your working manner and enhance your expertise on the 3D max software.
Recommended Articles
This is a guide to 3D Max Shortcuts. Here we discuss the 3D Max shortcuts, which become a plus point for you and helps you in making your reputed position in your working area. You may also look at the following article to learn more –
