Updated August 25, 2023
Introduction to 3D Text Effect in Photoshop
Adobe Systems develop Photoshop as a raster image editing software, and graphics editing professionals widely use it to get high-quality results in their project work. In this article, we will discuss the 3d Text Effect in Photoshop. In Photoshop, 3d Text Effect means an effect created by a graphics designer in any text to give a three-dimensional look to that text by using different types of tools, setting some parameters, applying some preset effects of Photoshop software, and also making that text compatible with real-world without disturbing its end-use purposes.
How to Create a 3D Text Effect in Photoshop?
Creating 3d Text effects in Photoshop software is not a very big task. You can easily create 3d text in this software; keep with this article from start to end. So let us excitingly start our learning:
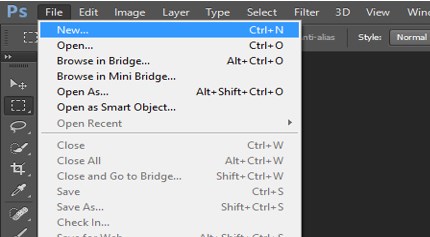
Step 1: First of all, take a new background layer. For the New background, the layer goes to Menu Bar, which is at the top of this software, and Click on File Menu. A drop-down list will be open. Choose the ‘New ‘option from this drop-down list.
Step 2: The ‘New Background’ layer dialog box will open. You can name it according to you. Make the setting of this layer according to your requirements. I will take white color as the background layer color from here. You can take black color as the background layer color.
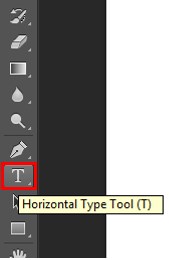
Step 3: Now, take the Text tool from the tool panel of this software at the lower end of the tool panel.
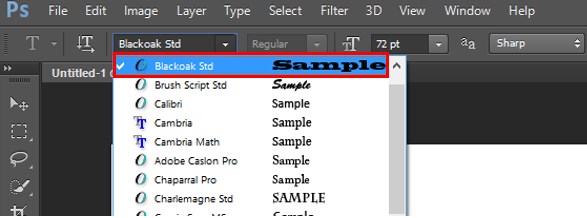
Step 4: Choose ‘Blackoak Std’ as the font style of this text from the property bar of the text tool, which is at the top of the working screen. You can choose any other font style which suits your text better.
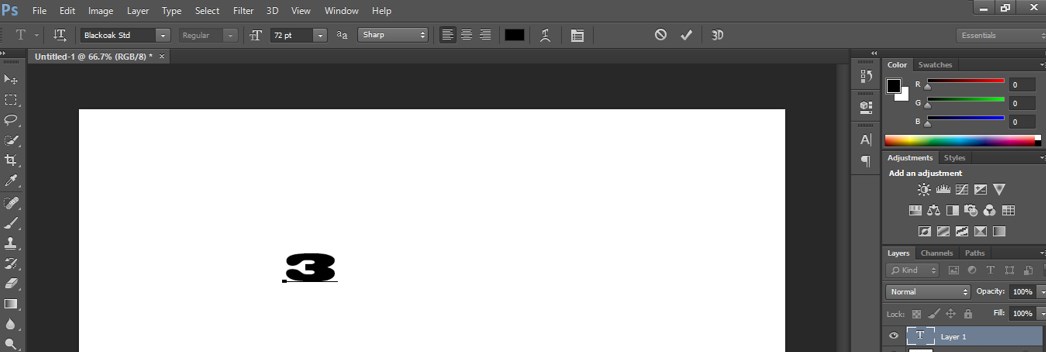
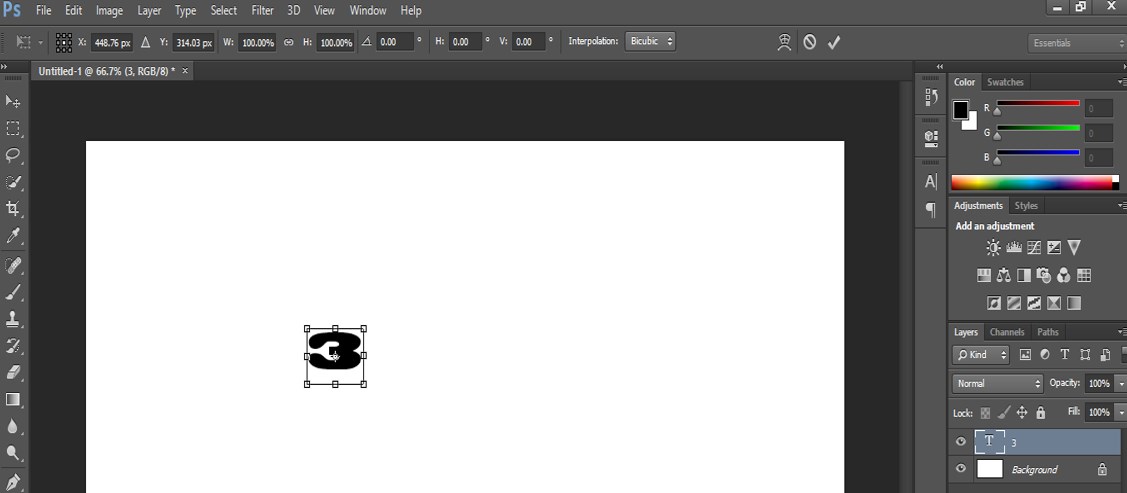
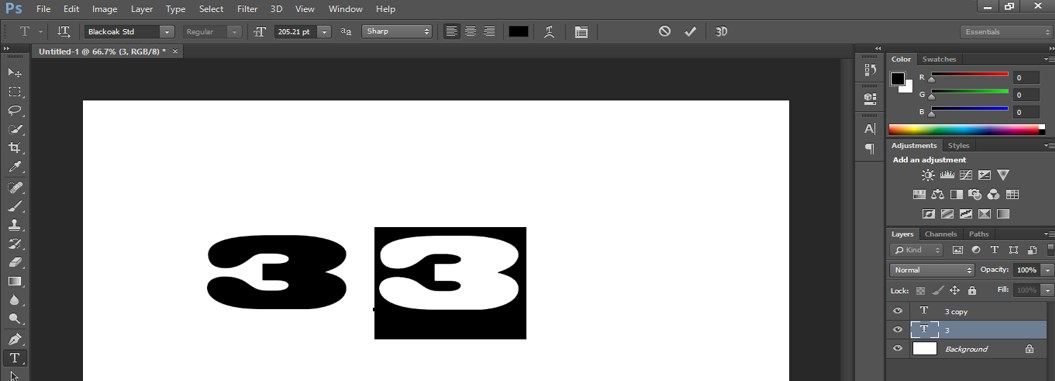
Step 5: Now, type a text according to you which you want to give a 3d text effect. I will type ‘3’ as my text.
Step 6: Press this tickmark to make this text a layer.
Step 7: Now press the keys Ctrl + T from the keyboard to select this text.
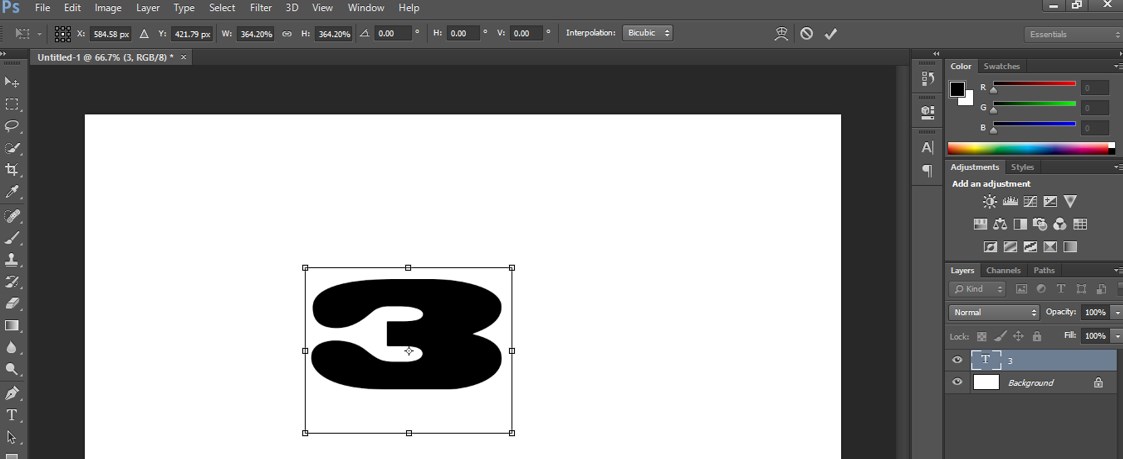
Step 8: And increase the text size according to you by holding the shift key.
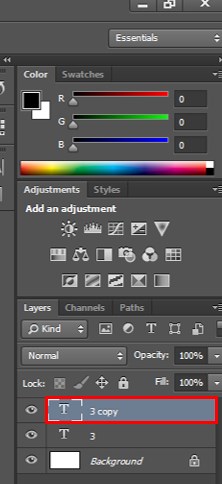
Step 9: Now go to the layer section of this software on the right side of the working area and select this text layer by clicking on it. Press the CTRL + J button from the keyboard to make a copy of this layer.
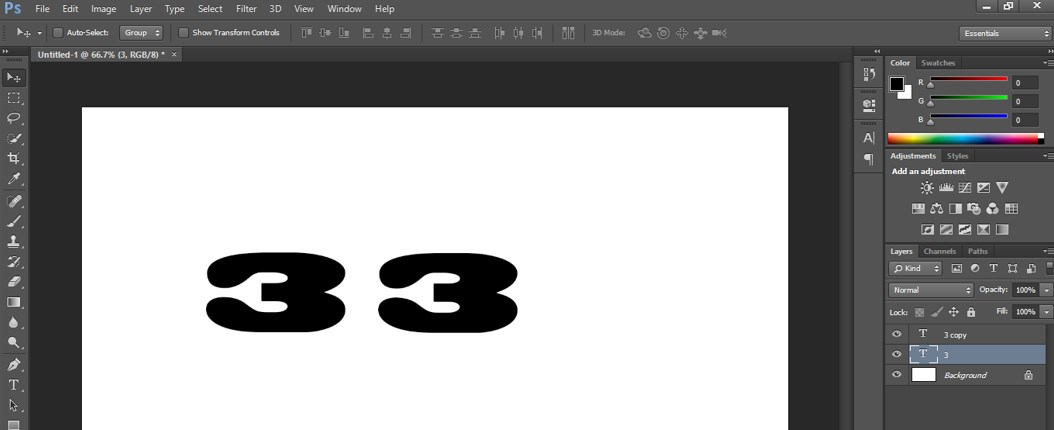
Step 10: Select this ‘copy layer by clicking on it and come to the working area and click on the text ‘3’; drag the text ‘3’ at other places by holding the shift button of the keyboard to make its copy.
Step 11: Double-click on Layer ‘3’ in the layer section to select it. Once you click on this layer, the selection will be activated on the working screen.
Step 12: Now type ‘D’ from the keyboard in place of text ‘3’.
Step 13: Now select both layers and align them at the center of the document area by using align command, which is at the top of the working screen that is the property bar.
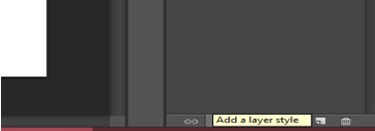
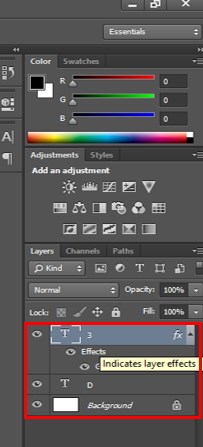
Step 14: Go to the layer section again and click on the ‘Add a layer style icon which is at the bottom of the layer section. We are using a Layer style to add effect to our text.
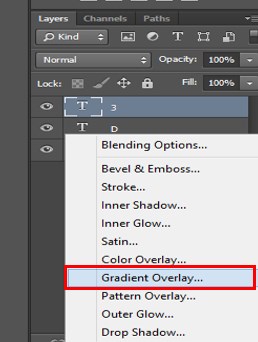
Step 15: A drop-down list will open. Choose the ‘Gradient Overlay’ effect option from this drop-down list.
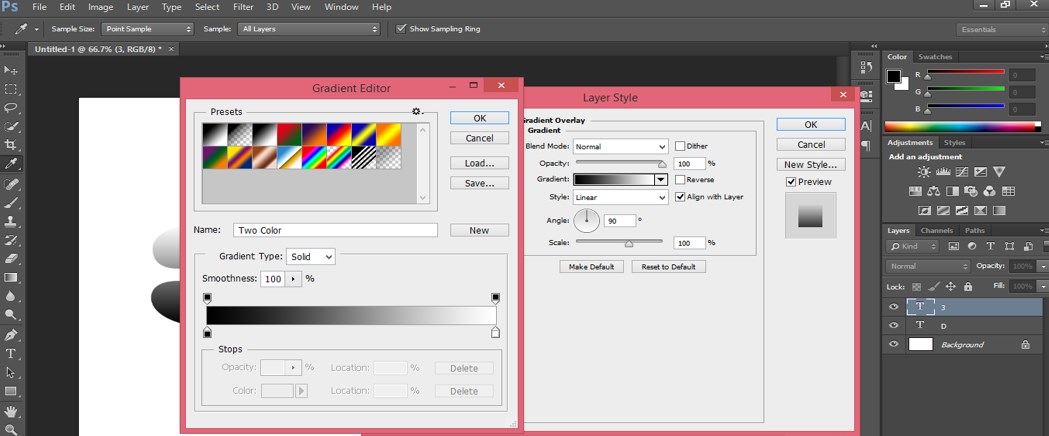
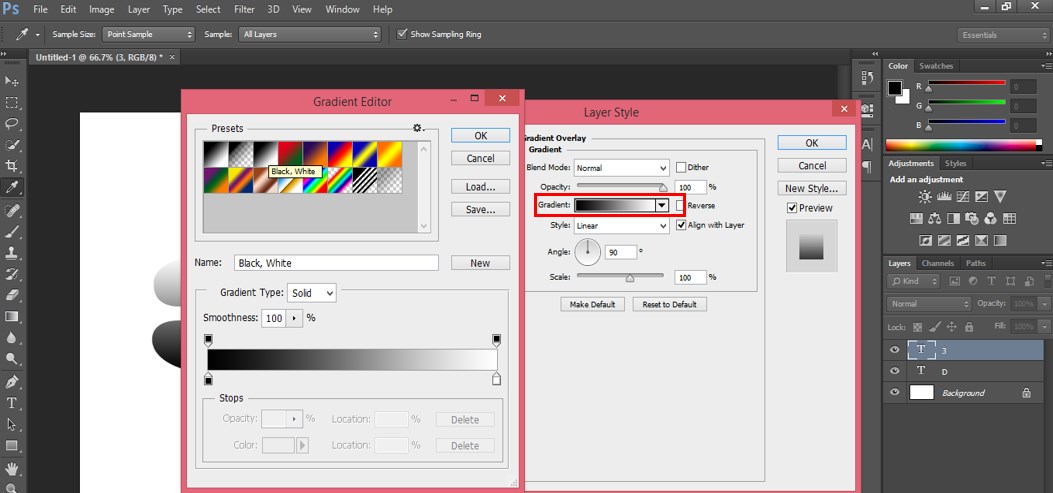
Step 16: The layer Style box will be open. Click on the scale of the gradient option of this box. A gradient color box will be open.
Step 17: Choose the black and white combination of gradient color from Presets of the gradient editor box and then click on the Ok button of this box.
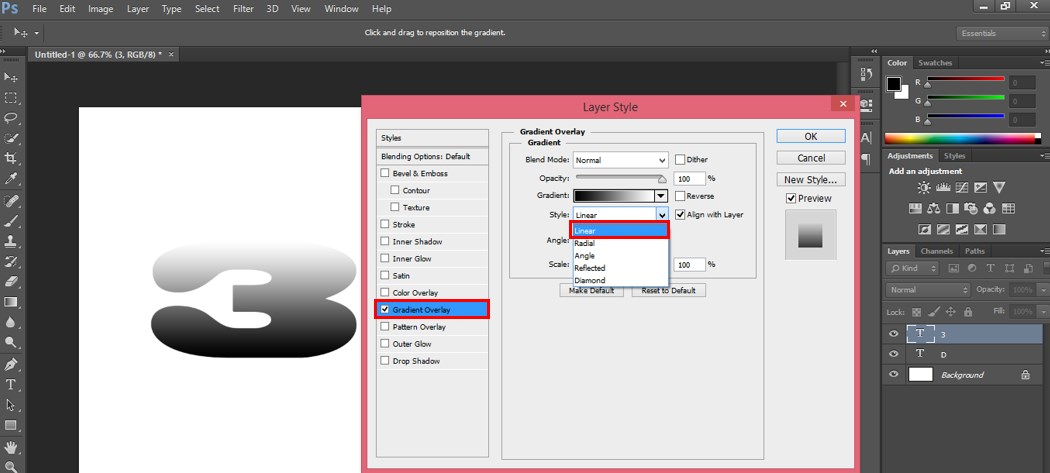
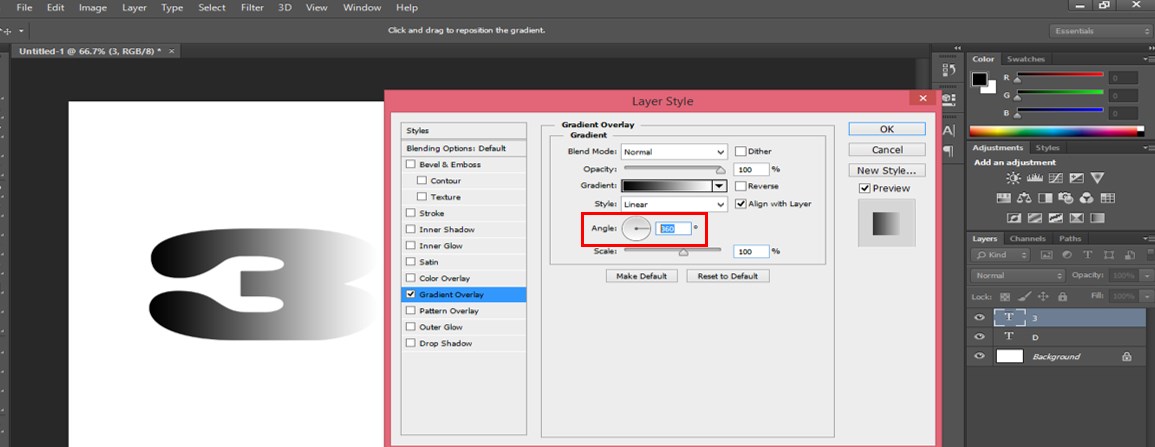
Step 18: Choose the Linear gradient option from the style of a gradient.
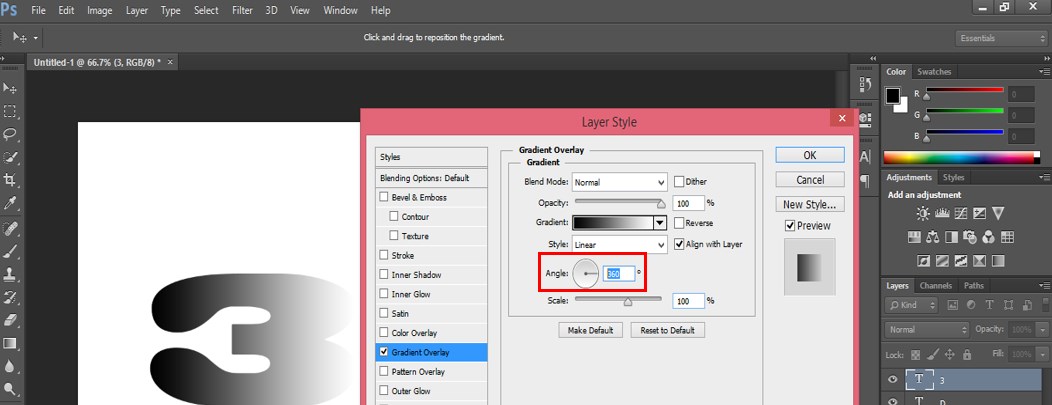
Step 19: Make the gradient angle 360 degrees.
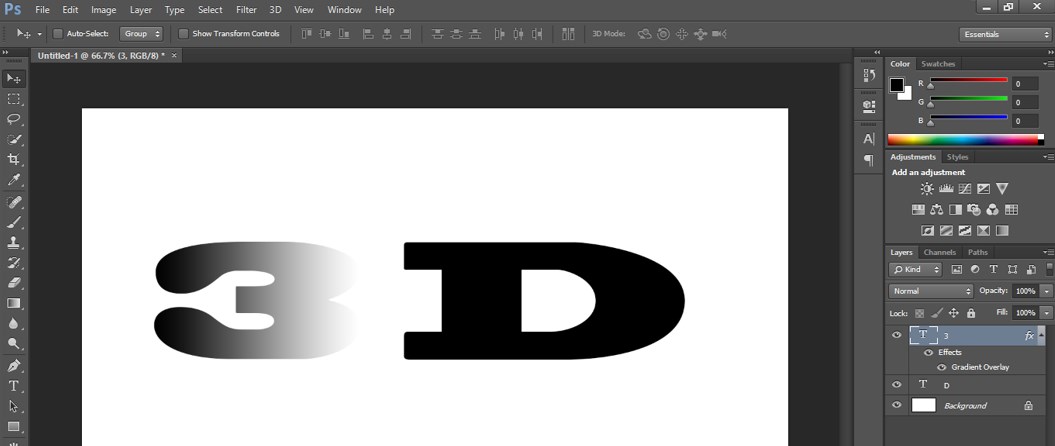
Step 20: And press the Ok button of this dialog box to apply the settings of the gradient overlay effect to our text.
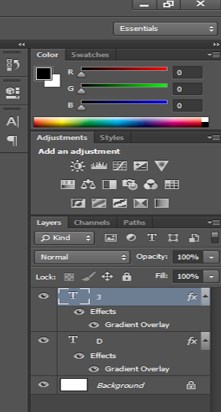
Step 21: I will copy this effect to layer ‘D.’
Step 22: To copy this effect, hold the Alt button of the keyboard and drag this effect by the mouse button to layer ‘D.’
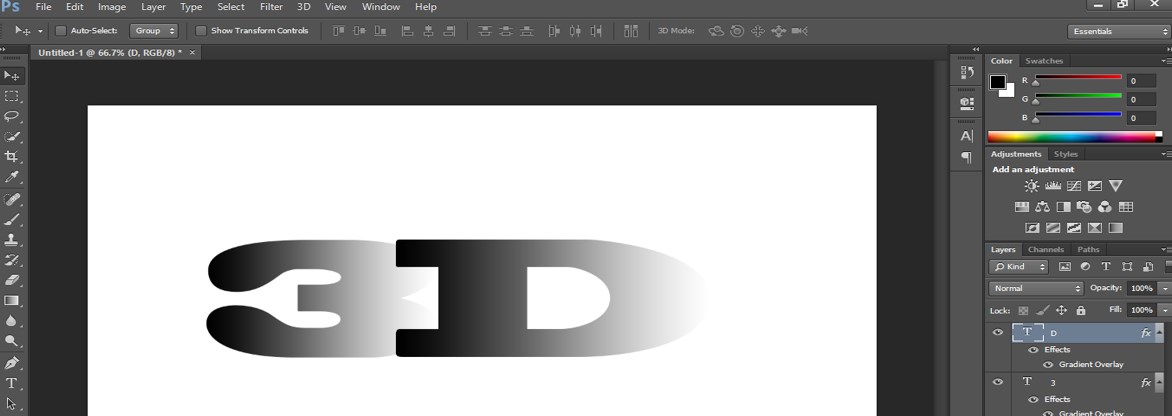
Step 23: Select layer ‘D’ in the layer section by clicking on it with the mouse button and drag the text ‘D’ near layer ‘3’ with the help of the mouse button.
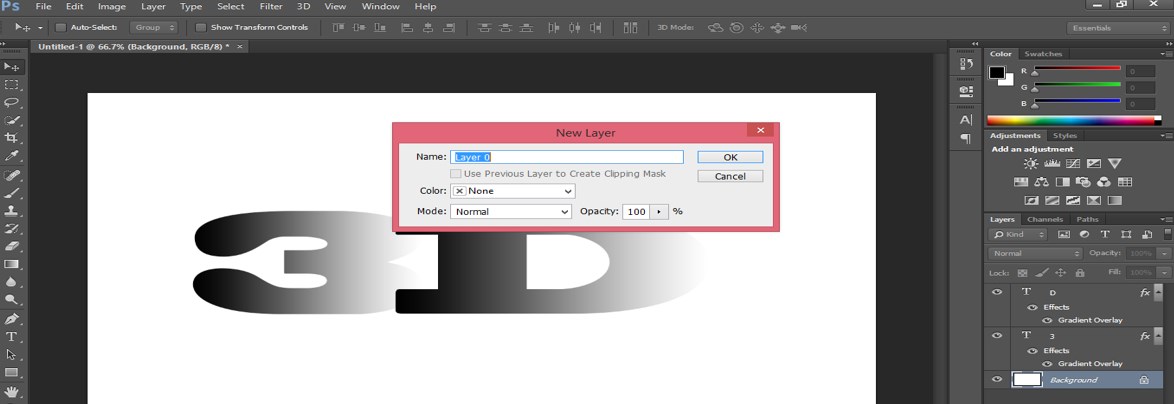
Step 24: Double-click on the ‘Background’ layer to make it a normal layer. A dialog box will open when you double-click on this background layer. Press the Ok button of this box to make the background layer a normal layer for applying styles and effects in this layer.
Step 25: Now select this layer and click on the Layer Style icon at the bottom of the layer section. A Layer Style dialog box will be open. Apply the ‘Gradient Overlay’ style in this layer from this box.
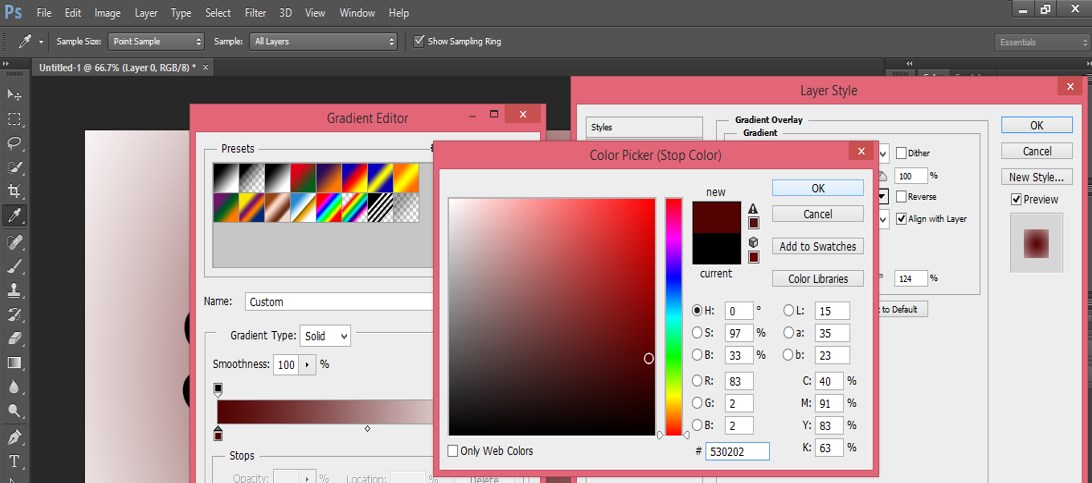
Step 26: Now click on the scale of gradient color. The gradient Editor Box will open when you click the gradient color scale. Choose the color of the first gradient head from here according to you. I will choose a dark combination of red colors.
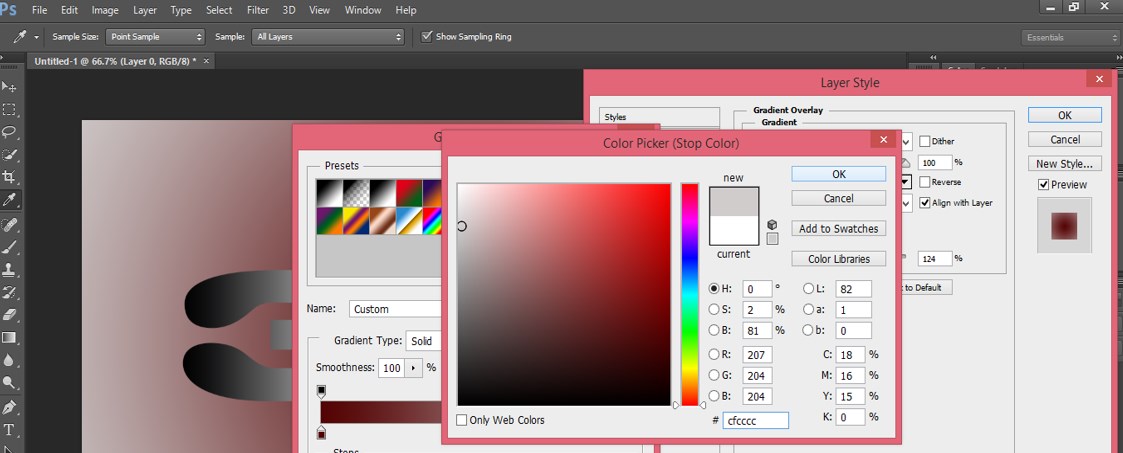
Step 27: Now, choose the color of the second gradient head. I will choose a light combination of red colors. Now press the Ok button of this dialog box to apply this setting.
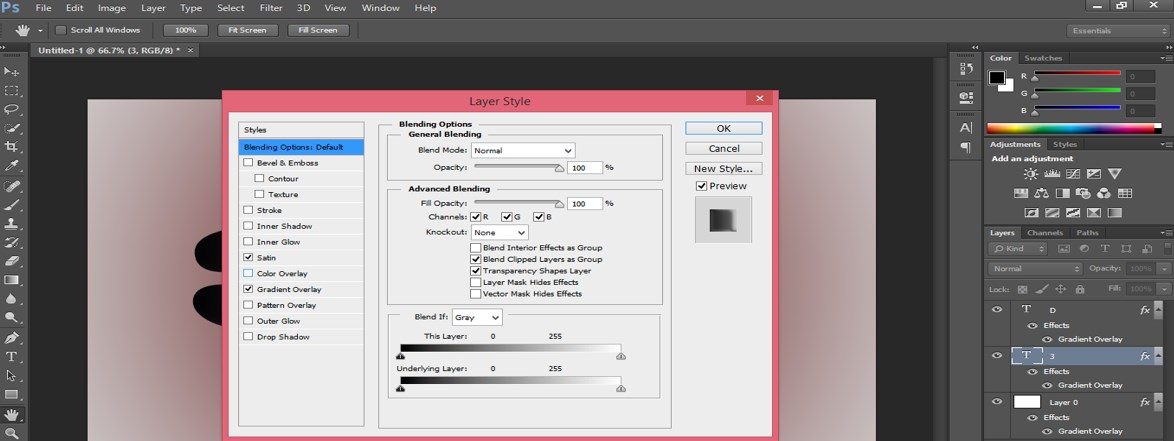
Step 28: Now again, select layer ‘3’ by clicking on it with the mouse button and double-click on the Effect option of this layer. A Layer style box will open.
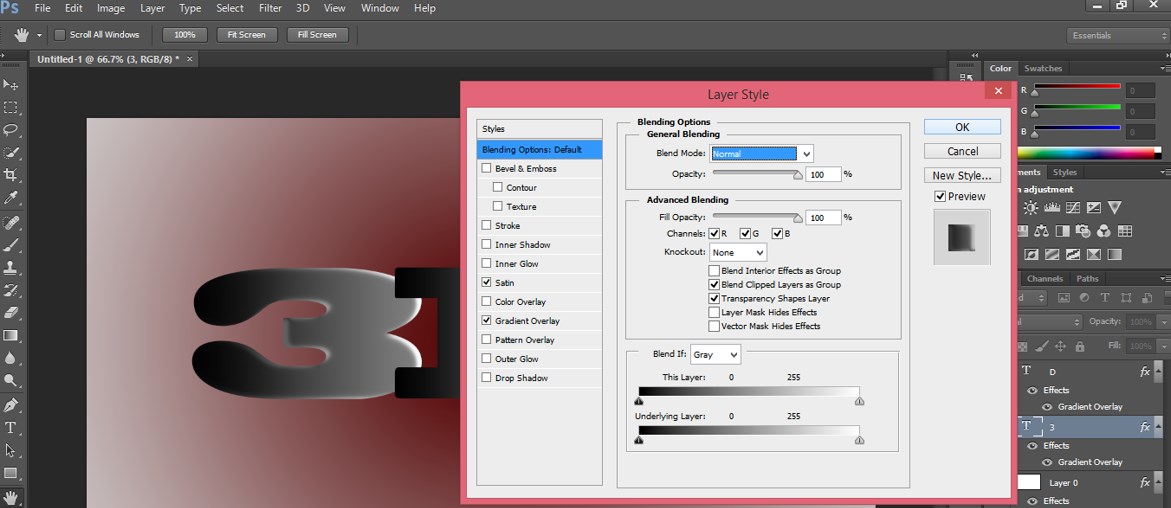
Step 29: Now, choose the ‘Satin’ effect option from this Layer Style dialog box and leave another setting as it is.
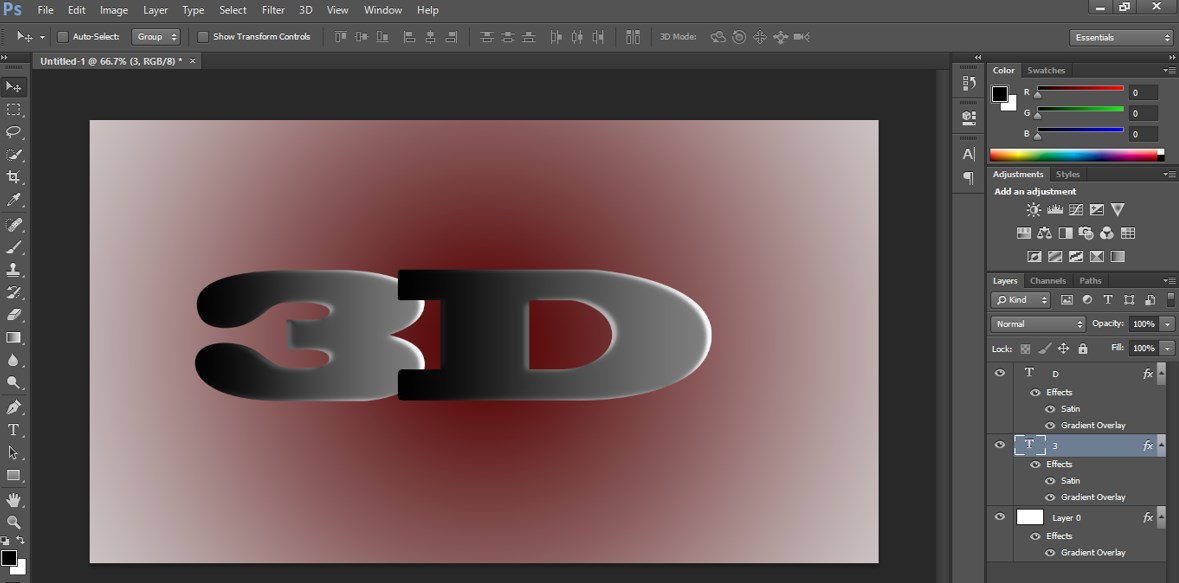
Step 30: Now copy this effect to layer ‘D’ also. The effect will look like this.
In this way, you can apply the 3d text effect in your text and can make your project eyes catching to your viewers. Once you have a good command of the valuable feature of this software, making highly professional projects will become easy for you.
Conclusion
After reading this article, you can understand ‘what is 3d text effect in Photoshop?’. You can apply this effect easily to make your text more realistic. You can also make a different type of variation in this text effect feature. You will know the variation of text effects by practicing this feature of Photoshop software.
Recommended Articles
This is a guide to 3D Text Effect in Photoshop. Here we discuss the basic concept of creating a 3D Text Effect in an easy step-by-step manner. You can also go through our other related articles to learn more –
