Introduction to 3ds Max Blocks
3ds Max is software that works on designing of 3d models and most popular among 3d modeling graphics professional. We can import different types of pre-design 3d models in this software for making our work easy. Blocks are that different type of 3d model which you can download from the internet and then import them into your project work of 3ds Max software for saving your time. Here in this article, we will see how to download blocks of 3d models from the internet and how to import them into 3ds max software with their entire asset. So let us understand Block in 3ds Max with an example and also analyze some parameters for properly importing that model.
How to Use Blocks in 3ds Max?
Using Blocks in 3ds Max software is not a very difficult task. We can understand it in a few simple steps without any problem. Let us first download a model from the internet, which we can call block.
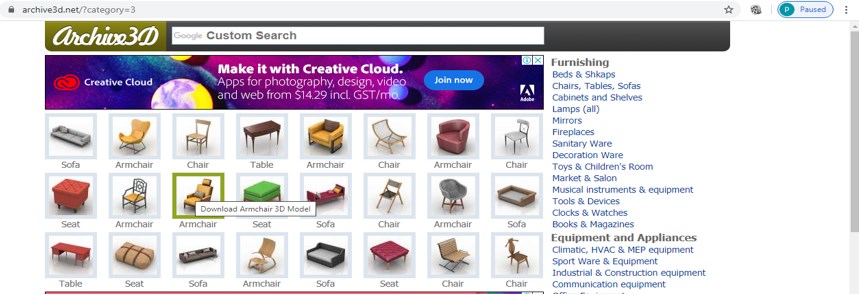
Step 1: I will search for ‘3ds Max Table file’ on the Goggle search box and go with this website to go with any other website to download this block. Here we have the number of Furnishing lists available you can choose any one of them. I will click on the ‘Chairs, Tables, Sofas’ option of the list. Choose any one of the models from the given models that you want to use in your project work.
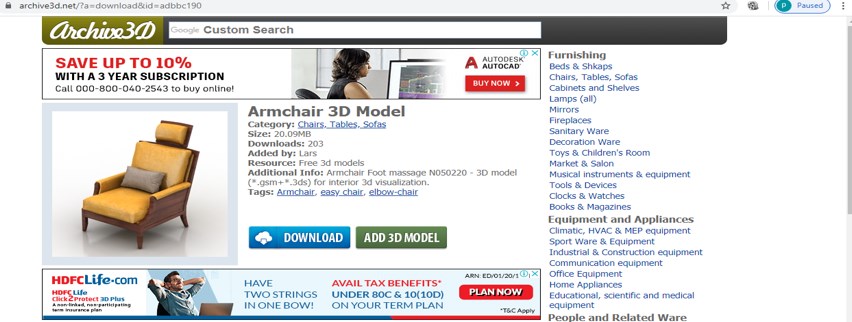
Step 2: Once you make click on any model, this type of page for downloading that model will be open. Click on the Download button, and your download will start in a few seconds.
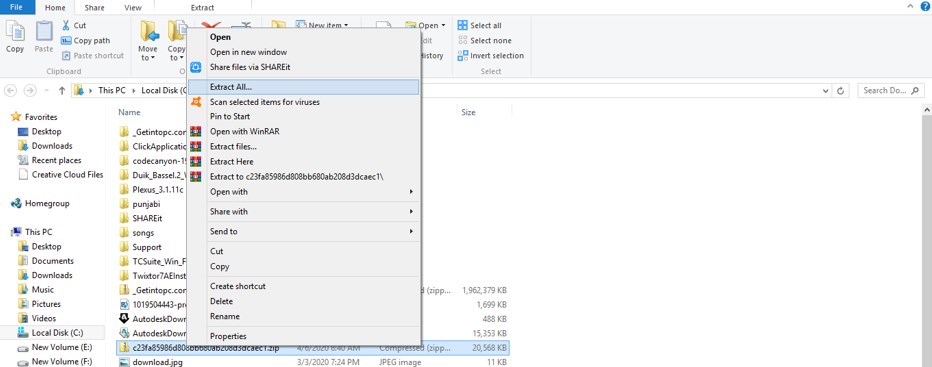
Step 3: Once you have done it, a zip file of your selected block will be downloaded. Extract this zip file for getting all the folder of this downloaded file of Armchair.
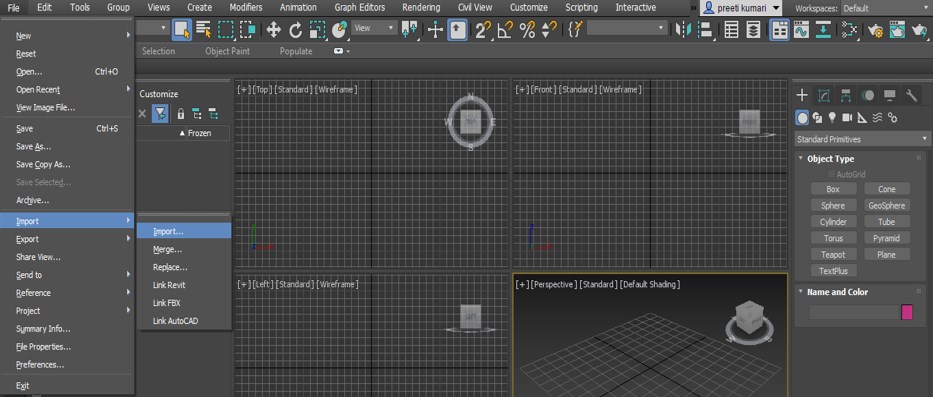
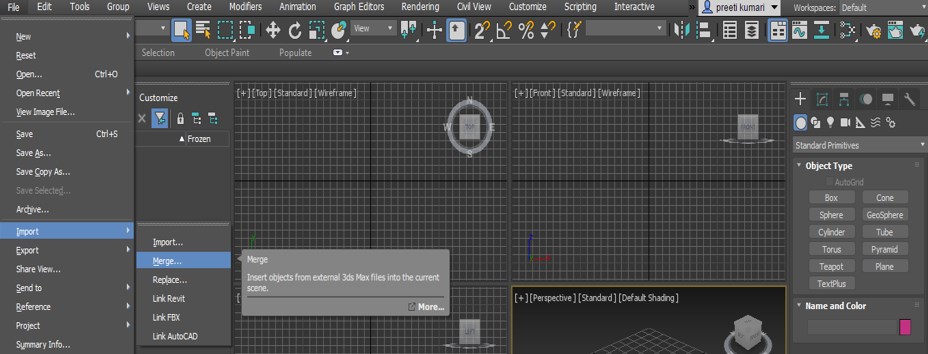
Step 4: Now open 3ds max software and go to the ‘File’ menu of the Menu bar, which is at the top of the working screen. A drop-down list will be open. Go to the Import option of this list. Here in the Import option, we have two methods for importing any file, the first is Import, and the second is Merge. If you choose the import option, then all the previous imported files in your project will be replaced with a new imported file, and if you choose the Merge option, then the new imported file will merge with the previous file without damaging them.
Step 5: So I will click on imported file for importing my block file here.
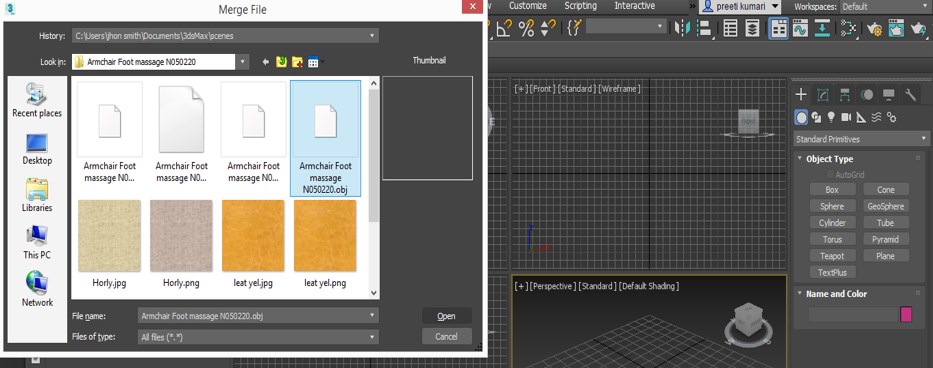
Step 6: A dialog box of the Merge file will be open. Now open that folder where you have saved your downloaded model file, choose the model file from that folder, and then click on the dialogue box’s Open button.
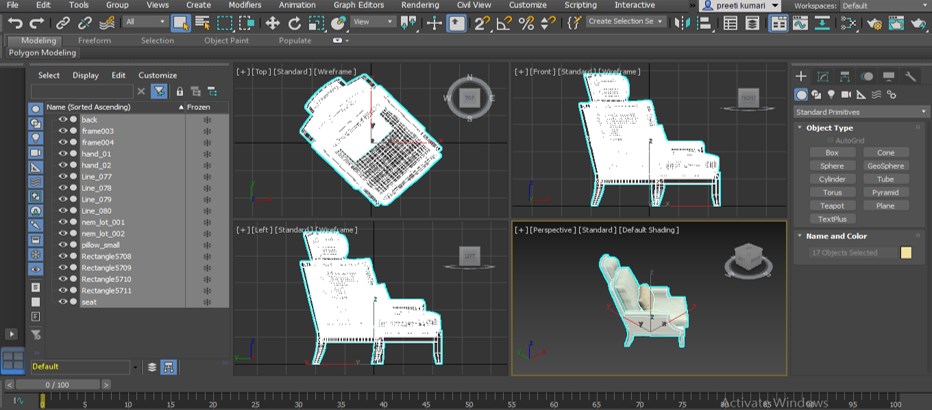
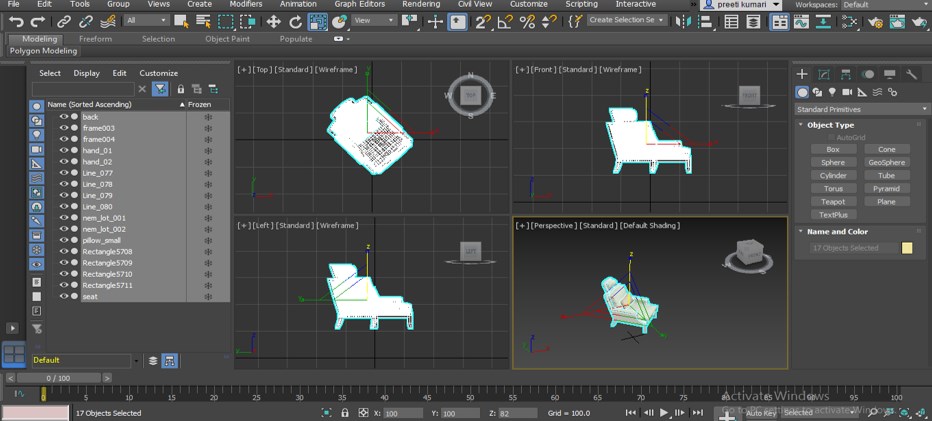
Step 7: Once you click on the open button, a message box for confirming that you want to merge this file will open. Click on the Yes button of that box, and your model will be imported into this software like this.
Step 8: If the imported model is very large in scale, then scale it according to which size you want for your project work. For scaling, it goes to the scale tool of the tool panel, which is at the top of the working screen of this software.
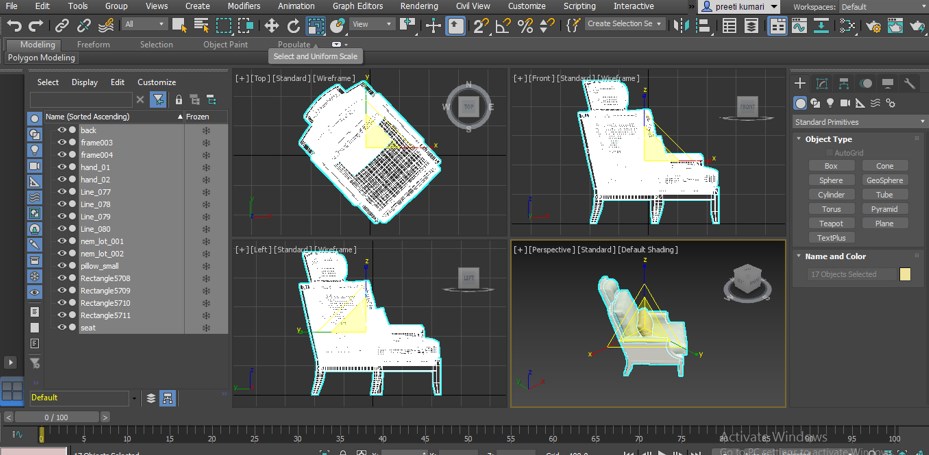
Step 9: Now click on the inner triangle of the scale handle of your model and reduce the size of the model according to you.
Step 10: Do not reduce the size from anyone’s direction arrow handles; otherwise, model size will reduce from only one direction. For example, if I click on the Z arrow handle and reduce the size from the Z arrow, then the model size will reduce from only the Z direction, which will deform the shape of our model.
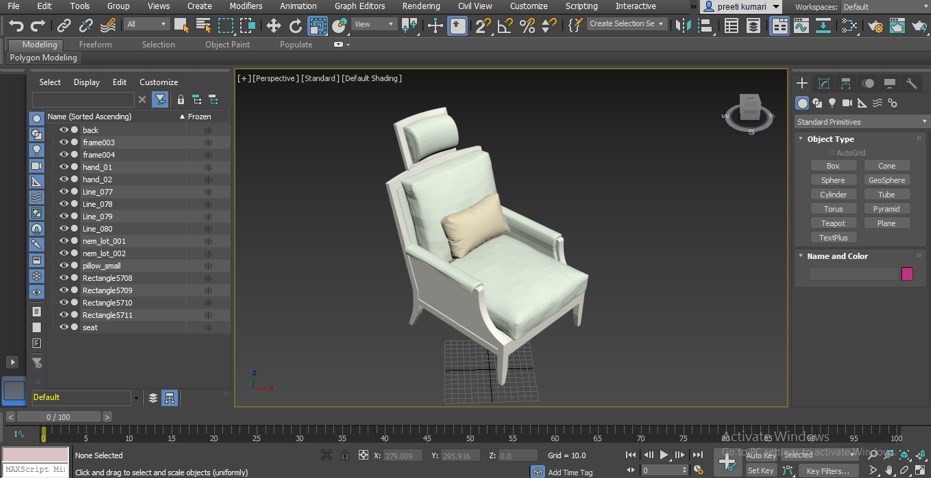
Step 11: Now, you can see that this model is not the same as which we downloaded from the internet because the texture of the armchair is missing. It is missing because the texture file was not imported properly during merging.
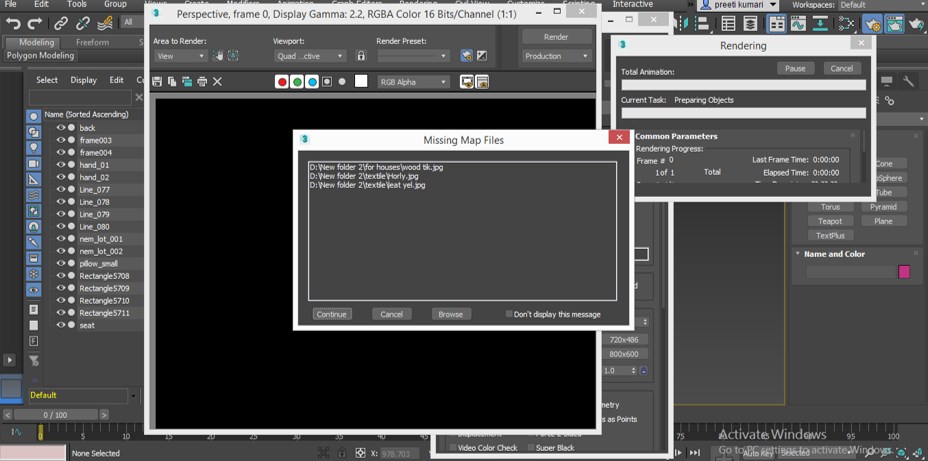
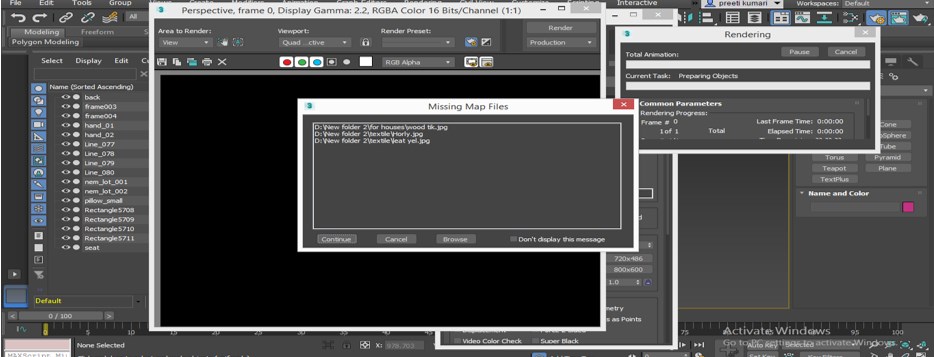
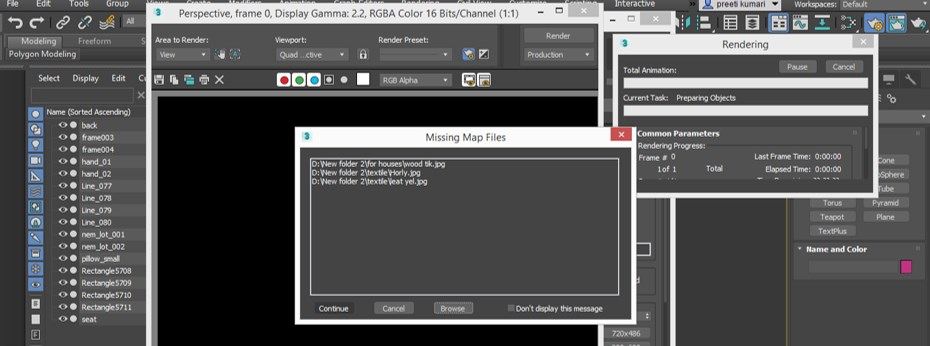
Step 12: To add those files, go to the Render set up button of this software above the common panel and at the top right end of this software. Once you click on this button, a Render setting box will be open. Click on the Render button of this box, and when you click on it, a Missing Map Files dialog box will be open for adding the missing files.
Step 13: Now click on this dialogue box’s Browse button for opening the Path file box.
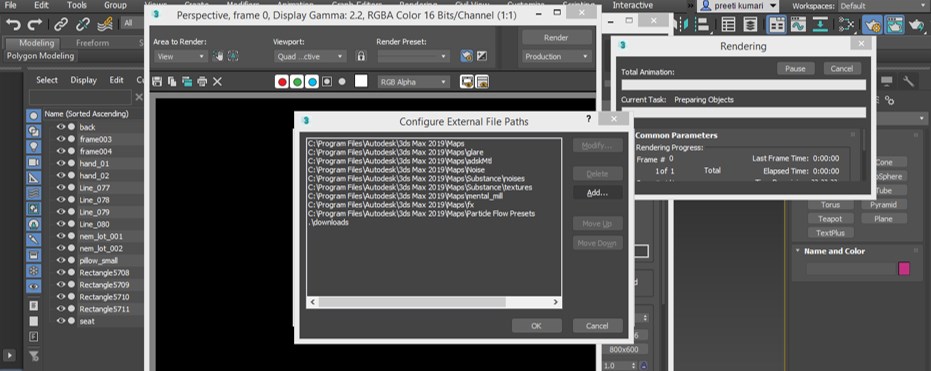
Step 14: Once you click on the Browse button of this dialog box. Adding the file path box will be open named ‘Configure External File Paths’. Click on the Add button of this dialog box.
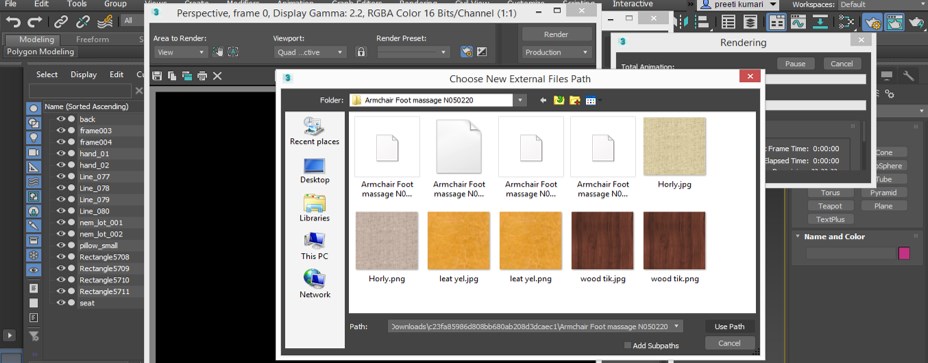
Step 15: Once you click on the Add button of this dialog box, a new dialog box will be open, which is named as ‘Choose New External Files Path’. Open that folder where you have saved the downloaded file of a model and choose texture file from there. Once you choose the texture file, click on the Use Path button of the new dialog box.
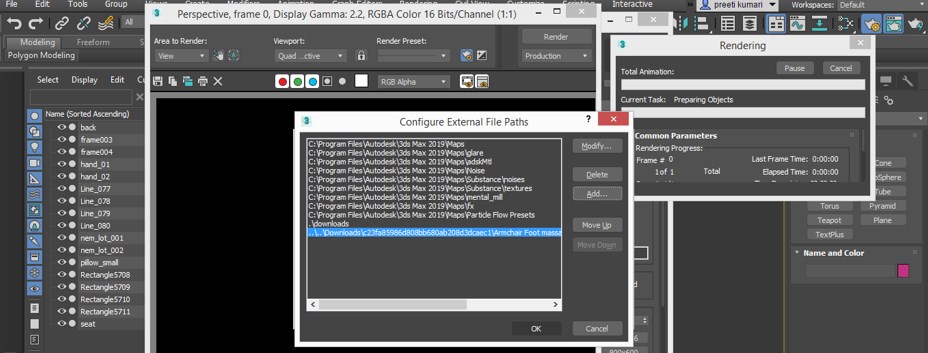
Step 16: The Path of the texture file will be added in the ‘Configure External File Paths’ box. Now click on the Ok button of this dialog box for assigning the block the path of the texture of that block or model.
Step 17: When you click the Ok button of that box, you will come back on the Missing Map Files dialog box screen. Now click on the Continue button of this Missing Map Files dialog box.
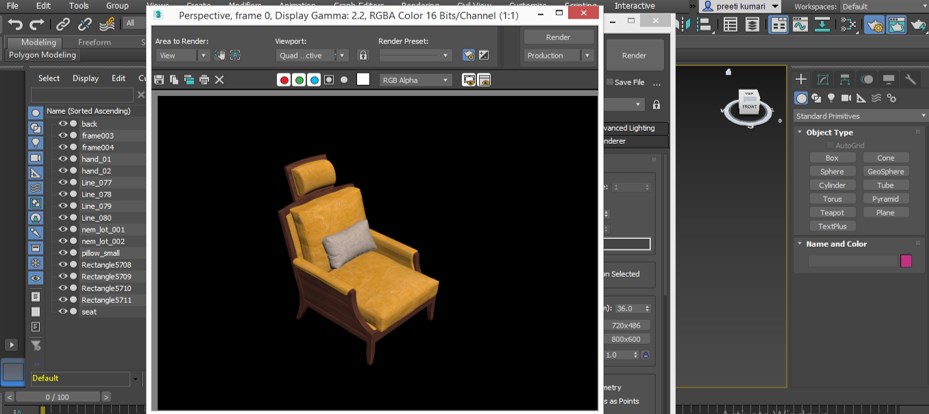
Step 18: Now, you can see your model’s texture and other assets in the render box, which is the same as our downloaded block.
In this way, you can use any type of Blocks such as furnishing models, tree models, automobiles models, and many other types of models in 3ds max software by following the same steps and utilize them for saving your time.
Conclusion
Now, after going through this article, you can understand ‘what is blocks in context with 3ds max software and ‘how you can use blocks in your project work of 3ds max for getting the best result in your work’. You can use more than one model in one project work and manage them according to your requirement.
Recommended Articles
This is a guide to 3ds Max Blocks. Here we discuss the Introduction, how to use blocks in 3ds max in a step by step manner. You can also go through our other related articles to learn more –
