Definition of 3Ds Max Extrude
3Ds Max is a professional 3D computer designing software, which is used for creating 3D animation, games, models, images, etc. and plays a major role in the work of Video Game developers, Film and TV Studios. Extrude is a very basic part of 3D shapes modeling in 3ds max software. It is a part of the modifier command of 3Ds max software and used after drawing any 2D shape to make modifications. Extrude modifier is mainly used for creating 3D shapes to the object from 2D shapes.
Steps for Learning Extrude Modifier in 3Ds Max
Extrude modifier gives a realistic view of our model. Here you will learn how to use the Extrude modifier in your project in step by step manner. Let’s start our tutorial in a very interesting way.
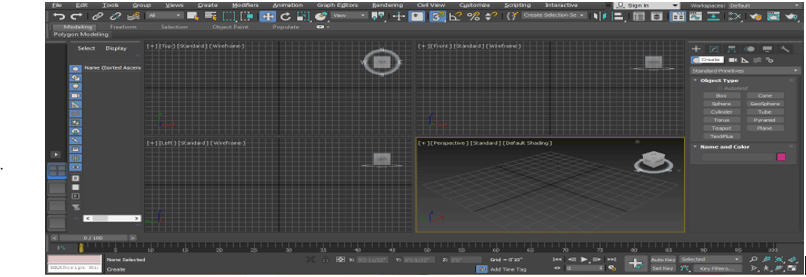
- There are four viewports working area in 3Ds max software that are Top viewport, Front viewport, Left viewport, and the last one is Perspective viewport. We can choose any one of them for drawing our model at any time.
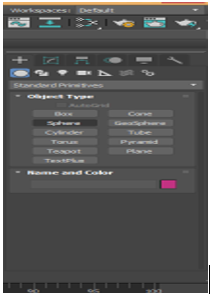
- We will draw some 2d shape here; for drawing 2d shape, I will go to the common panel.
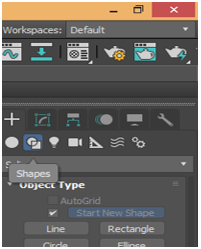
- Click on the Shapes tab in the common panel.
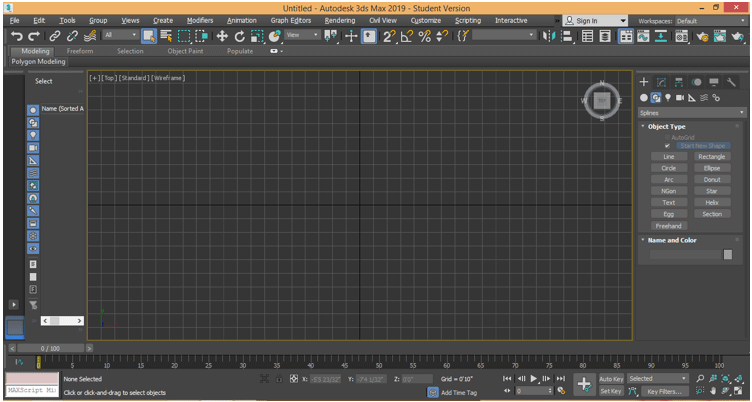
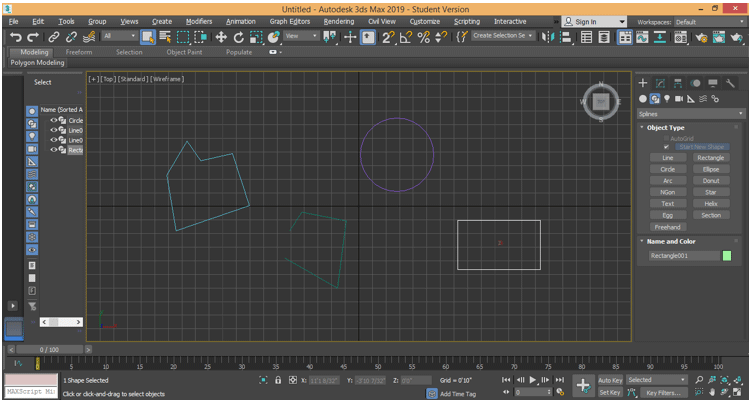
- We will draw some basic 2d shapes here by taking some 2d shape command from the common panel. You can draw any shape for your learning. We will go fullscreen mode of this viewport for a better view on fullscreen press Alt+W on the keyboard.
- Now I will click anywhere on the grid of the top viewport; you can click on the gird or out of the gird to draw your 2d shape and drag the mouse pointer to give length and width to the shape according to its parameter left-click to leave and right-click to exit from the command.
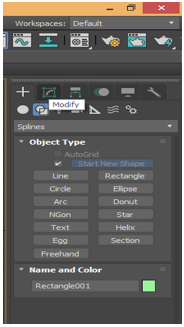
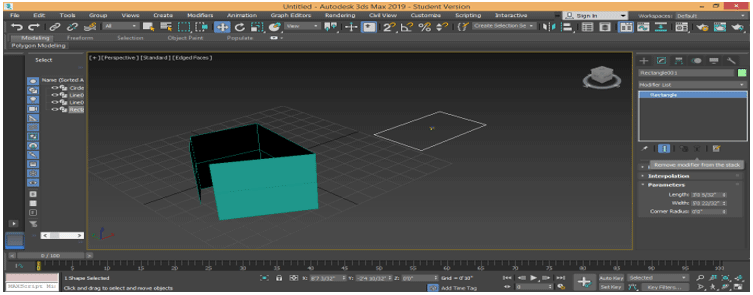
- We will see two different types of extruding here, the first which are in closed 2d shape and the second is in open 2d shape as I draw in the above screenshot. To extrude, select that object which you want to extrude. I will show you in all object one by one. Click on modify tab button of the common panel.
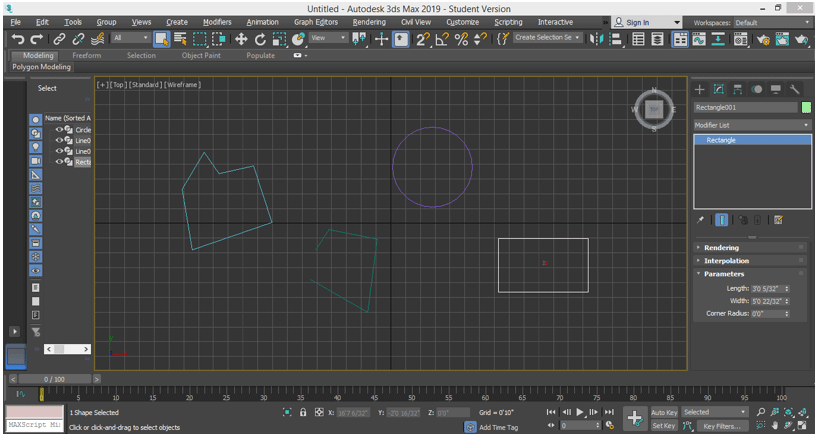
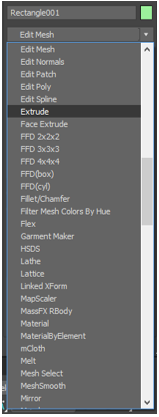
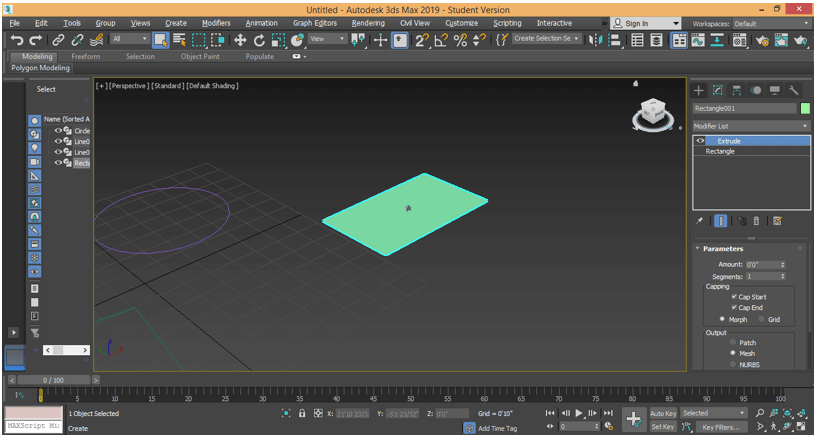
- I will select the rectangle and then click on modify tab button of the common panel. Click on modify list option a drop-down tab will open.
- In this tab, we have different types of modifying commands; for extruding command, press the E button on the keyboard, or you can scroll down with the mouse pointer for extruding. Click on Extrude.
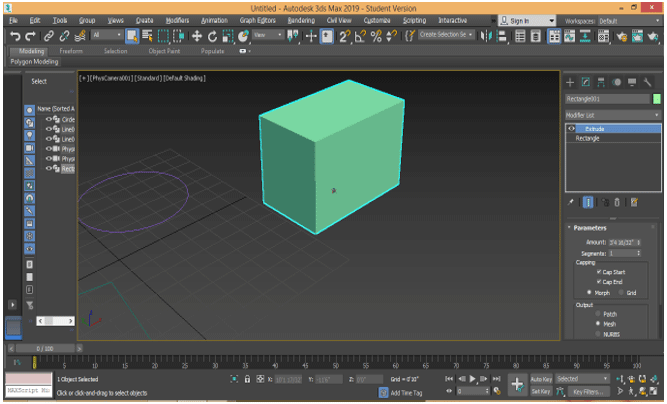
- You can see the extrude effect in the perspective viewport. Go to perspective viewport by pressing Alt +W on the keyboard and again Alt + W for fullscreen.
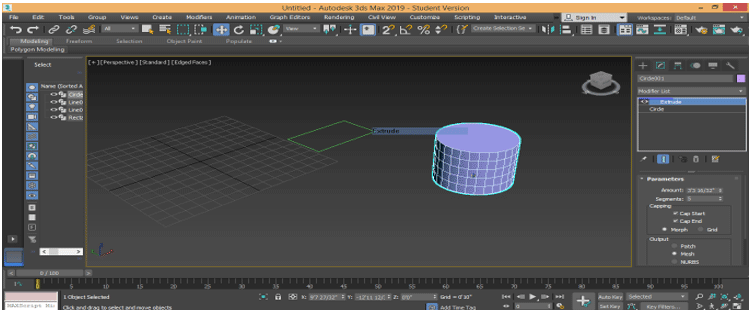
- Here in the parameters section, we can give height in plus data and minus data to this rectangle for giving it 3d shape. For changing data, you can manually enter any data or just go to that data which you want to change and click on the small arrow button of that data and drag the mouse pointer by holding the click in and drag in the upward direction for increasing the amount, and downward direction for negative/decreased data.
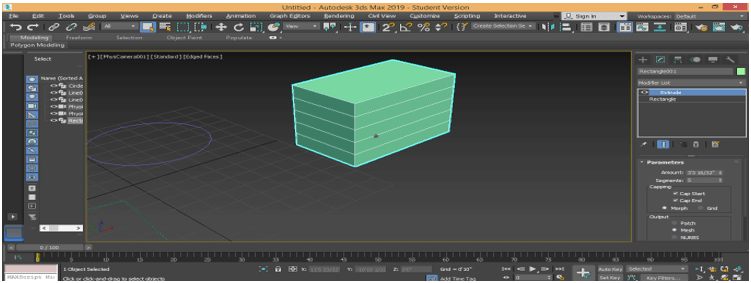
- We have a Segment parameter in the parameter section. We can give many segments in our 3d shape. Segments help in the modeling of 3d shapes. For applying a segment, change the data of the segment box; if I give 5 to data, then there will be 5 segments in our object, and to view the segment in the object, press F4 on the keyboard.
- Or click on the default shading option at the top left corner of the work shape. A drop-down box will open. Choose Edges Faces option form here to see the segment in that object.
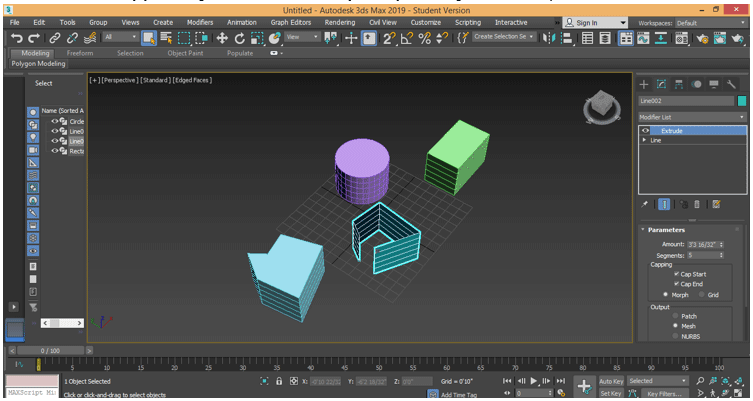
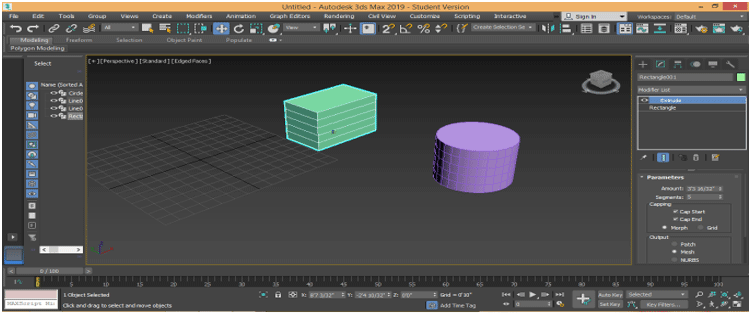
- In the same way, you can give extrusion to other objects by following the same steps.
- Here you can see all closed objects have the same type of extruding, but we have extruded only on the wall of that shape in an open shape. That is the main difference during the use of extruding in 2d closed and open shapes. We can remove the extrude modifier from any object. For removing extrude from that object. Select the object. Go to the move modifier from the stack’ option and click on it to remove.
- Here we can copy extrude of any 3d object for other 2d shapes with the same parameters. Go to the parameter section and click on the extruded object for copying extrusion; click on extrude as shown in the below image.
- Now drag the extrude option by holding it with the left click of the mouse and leave it at that 2d shape in which you want to apply the same extrude.
- Now that 2d shape also has the same type of extruding with the same parameters.
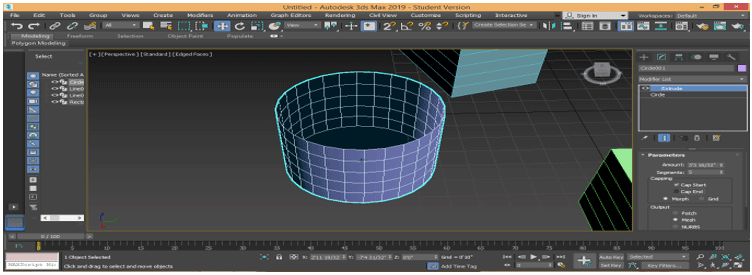
- We have a Capping option here in the parameter section. We have two types of parameters here Cap Start and Cap End. With the Cap Start option, we can turn off the top/start face of any 3d shape. Uncheck the cap start box for off the top face and make a check on for On the top face.
- By the Cap End option, we can turn off the bottom/end face of any 3d shape. Uncheck the cap end box for off the bottom face and make a check on for On the bottom face.
These are the basics of extrude modifier in 3ds max modeling of 3d shape. You can use this extrude modifier in making different types of modeling, such as creating the model of rooms, fall ceilings, etc. You can easily understand that extrusion is the basic command for creating any 3d shape in your model.
Conclusion
After taking a look at the Extrude modifier of the 3Ds max software with me, you will find great help in modeling your object during your project work. Extrude gives a three-dimensional look to your 2d shape, and when you give extrude to your 2d shape, it becomes more and more effective. You will proceed in the next step of the modeling area in 3ds max after knowing about the extruder modifier.
Recommended Articles
This is a guide to 3Ds Max Extrude. Here we discuss how the Extrude modifier is mainly used for creating 3D shapes to the object from 2D shapes. You can also look at our other related articles to learn more –
