Updated May 15, 2023

How to Install Maven?
The following article provides an outline for How to Install Maven? A maven is a tool used to build and manage any Java-based project. It makes it easier to maintain the project, publish information, and share JARs across several projects. In addition to all this, Maven is an open-source tool.
Following are a few key features of Maven:
- Simple project setup.
- A large and growing repository of libraries and metadata.
- Ability to easily work on multiple projects at the same time.
- Ability to easily write plugins in Java or scripting languages.
- Instant access to new features with little or no extra configuration.
- Easy integration with the source control system.
- Central repositories for JARs and other dependencies.
Downloading Apache Maven
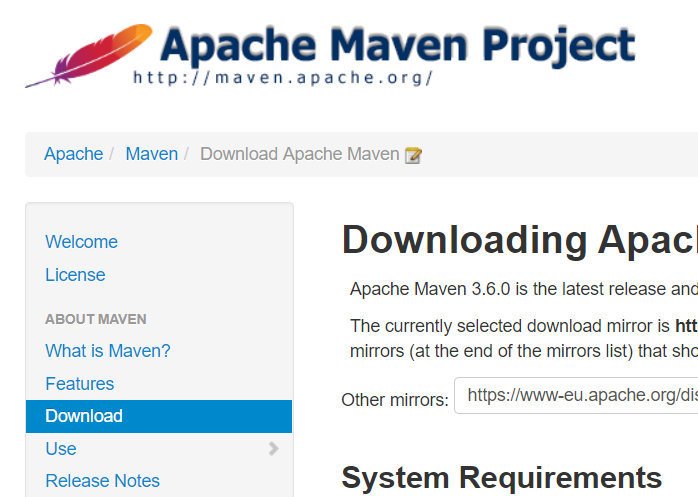
Apache Maven 3.6.0 is the latest release and recommended version for all users from here: https://maven.apache.org/downloadable.
The following are the system requirements for the download:
| JDK Version | For Maven 3.3.0 and higher versions, JDK 1.7 and above version required. One can use the Toolchains to build against the JDK version of 1.3 and others. |
| Memory | No particular requirement as such. |
| OS | No minimum requirement. |
| Disk | 10 MB for Maven Install while additional space for the local repository. Approx. size of 500 MB additional space for the local repository. |
Installing Maven on Windows
Given below shows installing Maven on Windows:
1. Ensure the required JDK version is installed on your device before installing Maven.
2. Download Maven from https://maven.apache.org/download.cgi
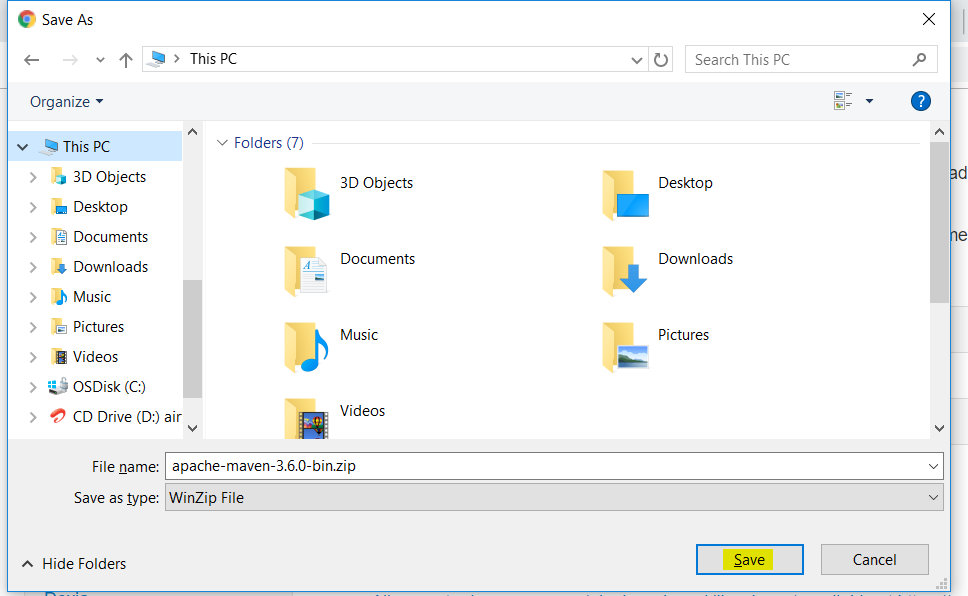
Select the Link option apache apache-maven-3.6.0-bin.zip to download the zip file.
3. Save the file on your local server.
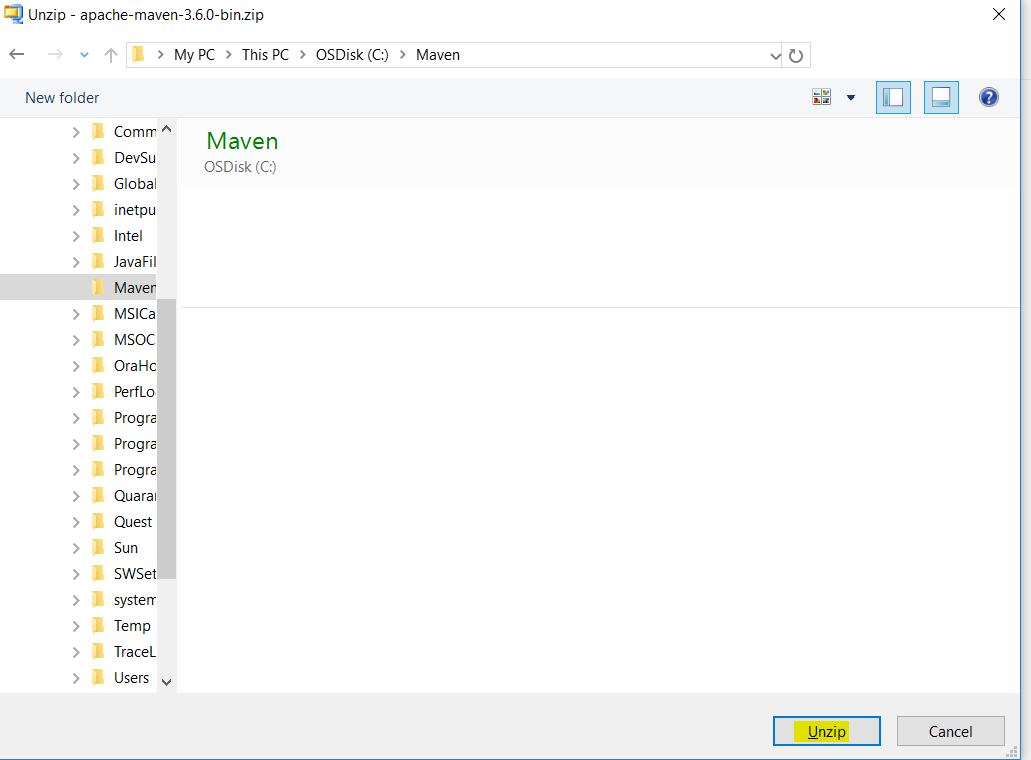
4.1 Unzip the file to a New user-defined folder in C: (here C:/Maven.
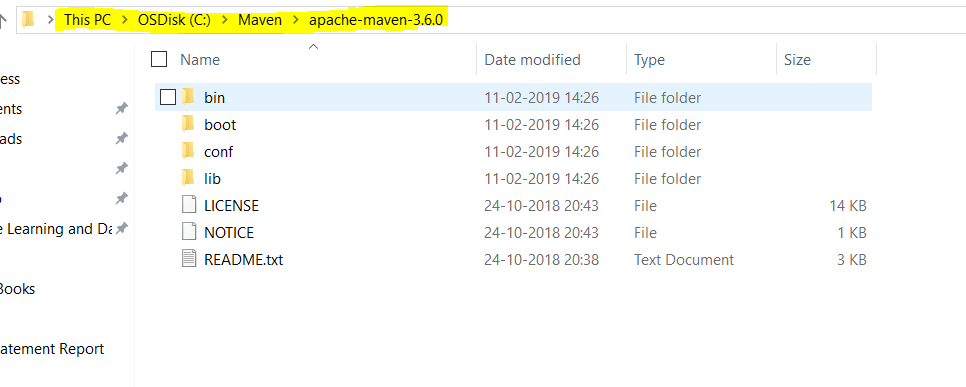
4.2 After unzipping, it appears like this:
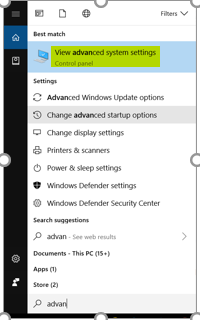
5. 1 Go to-> View advanced system settings->Advanced->Environment Variables …->New.
Give the Variable name and Variable value as follows:
5.2 Variable Name: MAVEN_HOME
Variable Value: C:\Maven\apache-maven-3.6.0
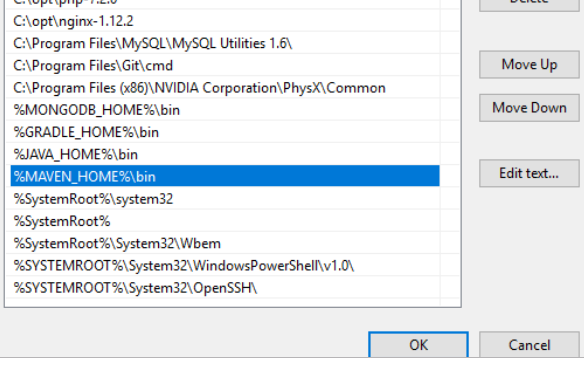
6. Add ‘%MAVEN_HOME%\bin’ to PATH
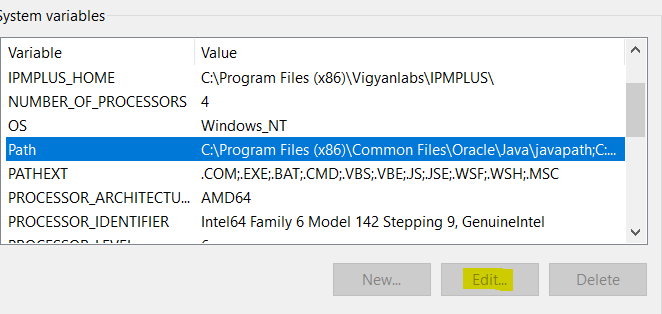
System Variables->path->Edit->New.
Add the ‘%MAVEN_HOME%\bin to the path.
You have successfully installed a Maven application.
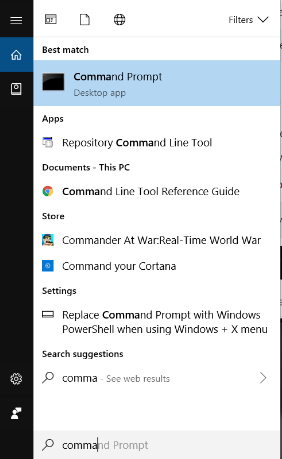
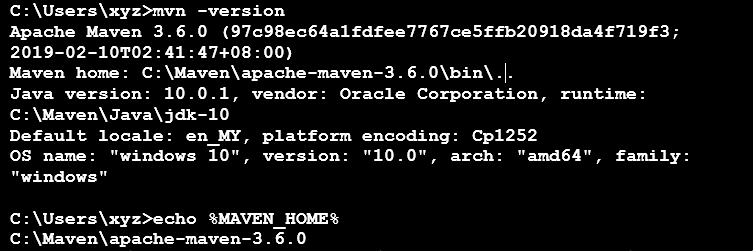
7. To Verify, open the command prompt.
Now, type the command ‘mvn –version’ and click on enter.
All the information with respect to the current version of the tool and MAVEN_HOME location will be displayed on your screen.
Congratulations!! Maven Installation is successful! You can now use your Maven repository for your work.
Errors we Can get when Maven is Installing
If you get any errors, as follows:
1. Possible Error 1
‘mvn’ is not recognized as an internal or external command, operable program, or batch file.
Solution:
Check if your %MAVEN_HOME%\bin is correctly added to the mentioned ‘path’ system variable. If not, add it and again run the command and check.
2. Possible Error 2
The JAVA_HOME environment variable is not defined correctly.
This environment variable is needed to run this program.
NB: JAVA_HOME should point to a JDK, not a JRE.
Solution:
As mentioned initially, kindly make sure about the JDK file and version you have on your system or have installed for the same. Please refer to the requirements table for more details about the version required for Apache Maven installation. Check if the JAVA_HOME system variable is properly configured if the problem persists. If not, configure it and repeat the installation process.
Recommended Articles
This has been a guide to How to Install Maven? Here we have discussed the basic concepts and different steps to install Maven respectively. You may also look at the following articles to learn more –
