Updated March 28, 2023
Introduction to Install Samba
Before we get into the installation steps, let’s have a little introduction about Samba and what all it offers us when we opt to work with Linux or Unix systems primarily.
1. Samba is open-source software, provides a windows interoperability suite of programs for Linux and Unix.
2. Samba provides secure and stable, fast file and print services for the clients using SMB and CIFS protocols, like all versions of DOS, Windows, Linux, and others.
3. Samba provides flexibility to network administrators to set up, configure and choose systems and equipment.
4. Samba consists of two main programs, i.e. smbd and nmbd. They are supposed to implement four CIFS services –
- File and print services
- Authentication and Authorization
- Name resolution
- Service announcement(browsing)
5. Smbd also handles share mode and user mode authentication and authorization to protect shared files and print services by requiring passwords.
6. Nmbd handles the name resolution and browsing parts of the four mentioned above, and this is done with the help of NetBIOS
7. Samba provides the following utilities –
- Smbclient– Used from Unix system to connect to remote SMB share, file transfer, etc
- Nmblookup – Used to find NetBIOS names on network, look their IP addresses.
- Swat– Stands for Samba Web Administration Tool, used to configure samba remotely via a web browser.
8. Samba 3.0 is being used these days.
Steps for Installation
Before installation following pre-requisites are there –
- Ubuntu LTS
- LAN for file sharing a purpose.
There are three popular methods of binary package distribution-
Step 1: Binary tarballs (Generic Tarballs Primarily)
- Installing a Tarball
Samba’s source code is distributed tarball form, The tools used to extract data from a binary tarball are the same as those used to handle a tarball that contains source code: tar and a compression program such as gzipor bzip2
Use the following command to unpack tarball from the root directory.
tar -xvzf /path/to/samba-version.tar.gz
Note that while installing samba the first time, tarball won’t create an issue.
- Installing a FreeBSD Package
FreeBSD ships with packages stored as tarballs. To install one of these packages directly, including the Samba package, use the pkg_add or sys install utility.
pkg_add samba-version.tbz
If no errors pop-up, that means samba has been installed properly.
Step 2: RPMs
- Installing an RPM
Binary RPMs are basically compressed cpio archives with some extra bits added. These extra features help the OS keep a database of installed packages and files similar to the one FreeBSD maintains with the help of its package tools.
The command used for samba install via RPM is as follows –
rpm -Uvh samba-version-minor version.arch.rpm
Step 3: Debian Packages
Debian GNU/Linux and its derivatives include package management tools that are equivalent to the RPM tools. The core tool for package installation under Debian is dpkg.
We can install samba via dkpg using the following command:
dpkg -i samba_version-minorversion.deb
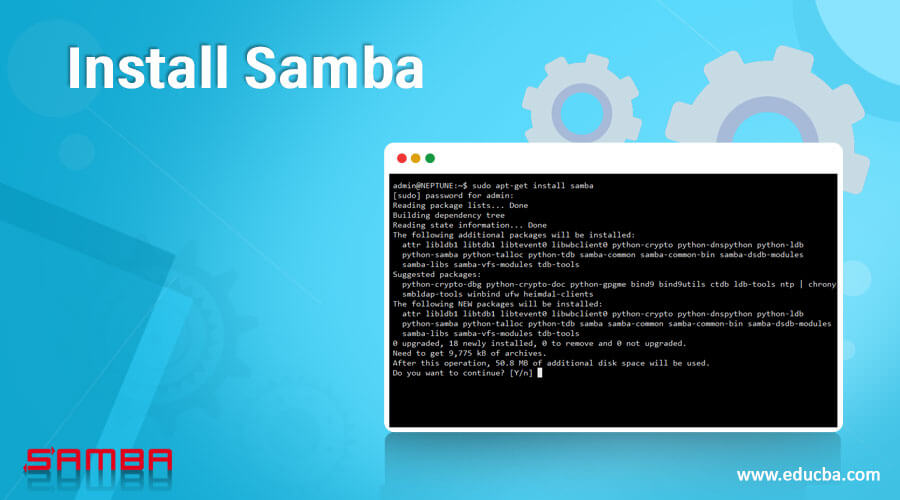
Samba installation using the apt-get package manager can be done using the following steps:
This command should locate and install the samba package and any packages upon which it depends, such as samba-common.
apt-get install samba
This command will only work if the Advanced Package Tools (APT) utilities are properly configured, though. A basic configuration involves editing the /etc/apt/sources. List file to refer to the installation CD-ROMs or some appropriate FTP sites.
Hence the above-mentioned steps can be used to install samba.
Now let’s see the next step.
Configure and running Samba
1. The configuration file for samba is /etc/samba/smb.conf. Make sure to keep this file updated as per the samba release installed into your system.
2. It also advised to take back-up of this file, and the command one can refer to for this is –
cp -pf /etc/samba/smb.conf /etc/samba/smb.conf.bak
3. When you first install samba, do write the following commands –
- nmbd -D
- smbd -D
-D refers to the demon mode of running.
4. To verify that servers are running, execute the following commands –
ps ax | grep mbd
5. If you see no output or only the grep command itself, chances are Samba can’t find its configuration file, smb.conf. One can use the find command for this, which is as follows-
find / -name "smb.conf"
Let’s now see a little on the samba master browser:
- Assigning the Master Browser: One computer per network segment (specifically an IP subnet) functions as a master browser.
- Locating the Master Browser: Clients must be able to locate the master browser computer.
- Spanning Subnets: Some of the mechanisms that SMB/CIFS uses to implement browsing don’t work well across subnets.
- Integrating Client, Network, and Server Resources: Some clients, including Microsoft Windows, try to present local, whole-network, and server resources in a single list, which blurs the lines between these types of resources in users’ eyes. The clients perform this integration, but the protocols involved must provide enough coverage to not leave any gaps.
- Addressing User-Interface Issues: Clients that use network browsing must have some way to present this information to users. This isn’t a protocol issue, but protocol design decisions do influence the client’s user interface.
Recommended Articles
This has been a guide to Install Samba. Here we discussed the basic concept, pre-requisites, configuration, and steps to Install Samba class=”word”.You can also go through our other Suggested Articles to learn more –


