Introduction to Adobe Photoshop Tools
Photoshop is one of the best raster graphics editors, the application developed and published by Adobe Inc. for Windows and Mac OS operating system users. The initial digital tool to make images, gifs, .pdf files, and many more. We can work on Image edits for making image property changes, such as creating different layers, Masks, alpha compositing, color models, RGB values edits, Spot color, clip arts, gifs, 3D graphics, videos, and more.
Its various updated versions improved its performance by solving many changes the user faced and kept updating the new techniques in the real-time usage of the software. Photographers and Videographers, Magazine makers, newspaper editors, and many other professionals use Photoshop as their primary software in their project pipeline as per clients’ requirements and attributions in animation and gaming studies.
Many professionals buy Photoshop and use it. With sufficient practice and skill, they can get started in Photoshop, become experts, and secure jobs in suitable roles, achieving the best visual results by leveraging their knowledge and sources. We will explore handling RGB image combinations and adjusting image attributes using Photoshop to enhance the user’s visual experience. There are multiple versions to try; the student and professional versions and similar packages are officially on the Adobe Photoshop website.
Different Types of Adobe Photoshop Tools
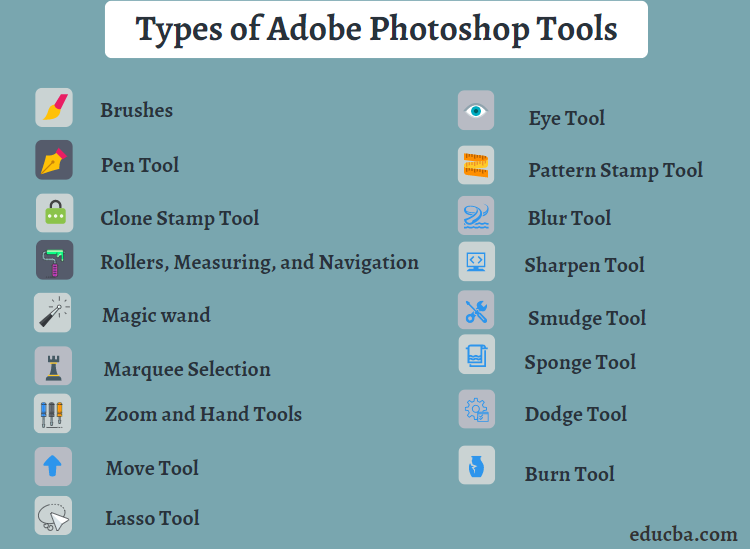
There are many tools in Adobe Photoshop to improve the visual look and feel of the image. We will discourse commonly used tools for users and daily requirements; a few more project-based tools are specific to projects. We shall know about each tool one of the other as listed below.
1. Brushes: Multiple types with different adjustable thicknesses can be used as required. To improve your editing, you can create your own brushes or check out creative libraries like Envato Elements.
2. Pen Tool: The pen tools are much more flexible to draw hand-free drawings, magnetic pen, and form pen as per image and its curves and shapes.
3. Clone Stamp Tool: Clone the same colors and patterns to other places of the same image.
4. Rollers, Measuring, and Navigation: It helps maintain the size occupancy of shape in a banner, Pampa late, paper article designing, and many more.
5. Magic wand: To select the same colored portion or a portion of an individual layer for differencing from the image.
6. Marquee Selection: The tool has a crop, slicing, moving, etc., to adjust the image and individual layers per the required area and shape.
7. Zoom and Hand Tools: Both help work on different pixel levels of the image and move from one area to another on the working image.
8. Move Tool: Move Tools is used for moving images, and layers, handling folders, and getting information.
9. Lasso Tool: We can select an area in our image and work accordingly in free space. The Lasso tool has two more options, like Magnetic Lasso and Polygonal Lasso tools, which help cut the image portions precisely as per requirements with high contract edges and selected boundaries.
10. Eye Tool: This adobe photoshop tool is used to Remove the unwanted red-eye effect, closed eyes, and pet eye effect in our photo. To get a realistic visual feel of the eyes of the people in the pictures.
11. Pattern Stamp Tool: It is used for Dumps or paints the same portion of the area, which is taken as a reference to match patterns on images as required.
12. Blur Tool: This helps manage the image’s soft and hard edges by adding a smooth and portrait feel to the images.
13. Sharpen Tool: Sharpen Tool increases the saturation, color combinations, and visual focus vies to the image by focusing on the soft edges of the image.
14. Smudge Tool: Using the Smudge tool, we can stimulate the image components that can be dragged and pushed to set them at the right place on the image. You can move fingers, sticks, etc., like wet paint, by dragging them in different directions.
15. Sponge Tool: It helps change an area’s color and saturation.
16. Dodge Tool: It lightens the portion selected in the image and brightens the portion with shadows.
17. Burn Tool: It darkens the area selected on the image, which helps add detailing and highlights to the image.
A few more tools can be configured based on the project’s demand: the recomposing tool, the Perspective Crop tool, the Cookie cutter tool, the Pencil tool Content-Aware Move tool, Straighten tool, etc. We can switch between tools using keyboard shortcuts to save time and increase efficiency. Every individual interested in learning Photoshop requires good hands-on practice.
Conclusion
Suppose you have an interest in graphic design, image editing, creating newspaper articles, designing magazines, enhancing photos from various events, or modifying other image-related attributes. In that case, Adobe Photoshop Tools provides one of the best options. You can customize its wide range of features to suit your needs. Its user interface is the best and easy to understand and deals withal the aspects required. The application offers ample tools and techniques to learn and enhance visual images, ensuring an optimal user experience.
After mastering Photoshop, we can apply for relevant jobs, demonstrating our technical and theoretical knowledge to secure employment. An application like Photoshop demonstrates various projects with unique designations in the creative field, requiring out-of-the-box concepts and application experience.
Recommended Articles
This has been a guide to Adobe Photoshop Tools. Here we discuss the Concept, Different Tools in Adobe Photoshop. You can also go through our other Suggested Articles to learn more –


