Updated July 7, 2023
Introduction to Text in After Effects
In this article, we will discuss an outline of Text in After Effects. Text is a very important option in every application; without text, no application is designed; in every graphic software, there is an option for text which is mostly used for titles. In after effects text is very important because most of the people preferred after-effects for title animations and n after-effects we have a lot of animation presets and effects, in after effects, text animation is very easy and comfortable to create, but before creating animations, we need to learn the basic things of text like what is text, what all the options of text and how it works? Let’s see the basic options of text in after effects.
Steps to Create Text in After Effects
Below are the steps to create text in after effects explained in detail.
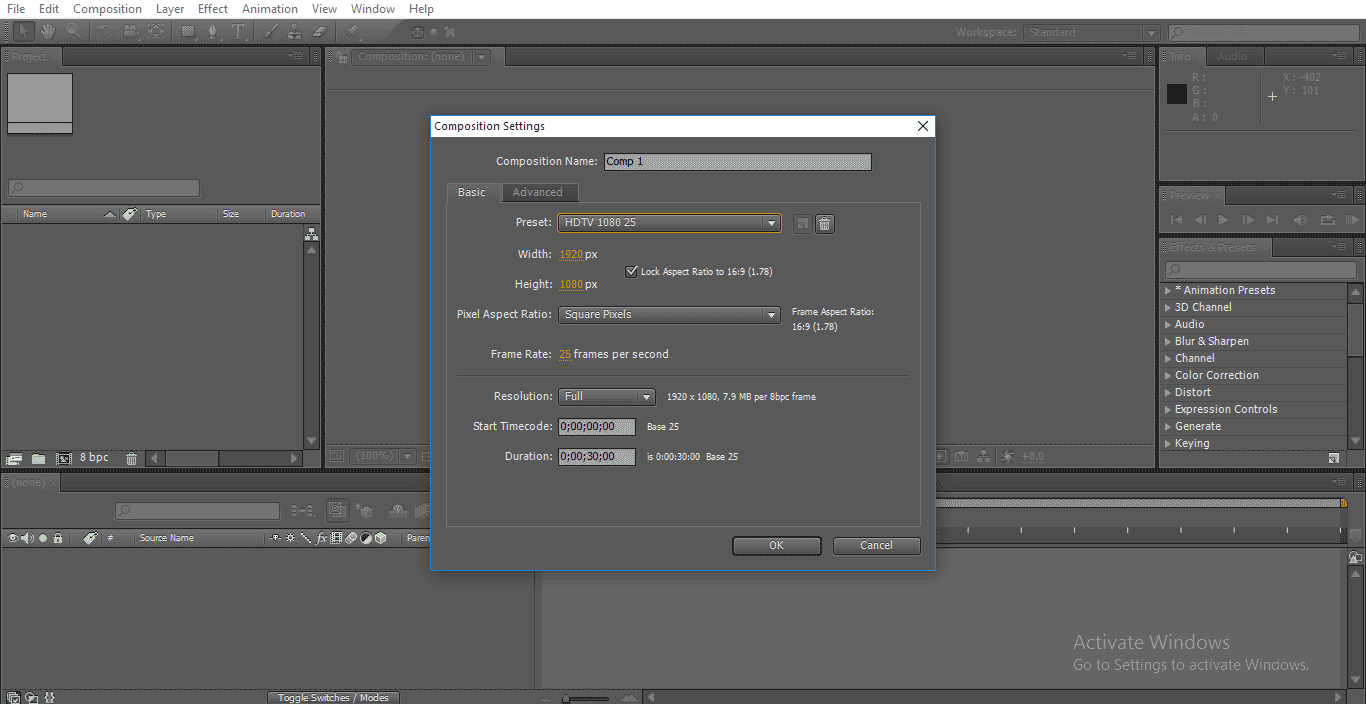
Step 1: Open a new composition.
I always suggest you work on HD, which has good clarity; here, I select HD 1080 preset.
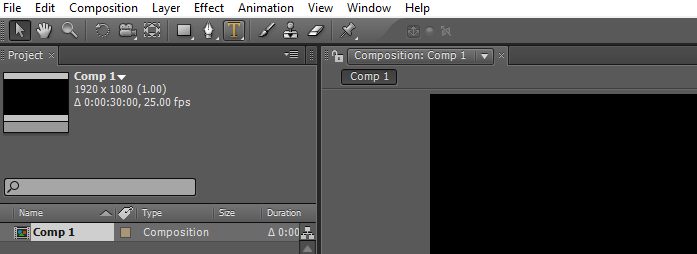
Step 2: Go to the toolbar and select the text tool; the shortcut is Ctrl+T.
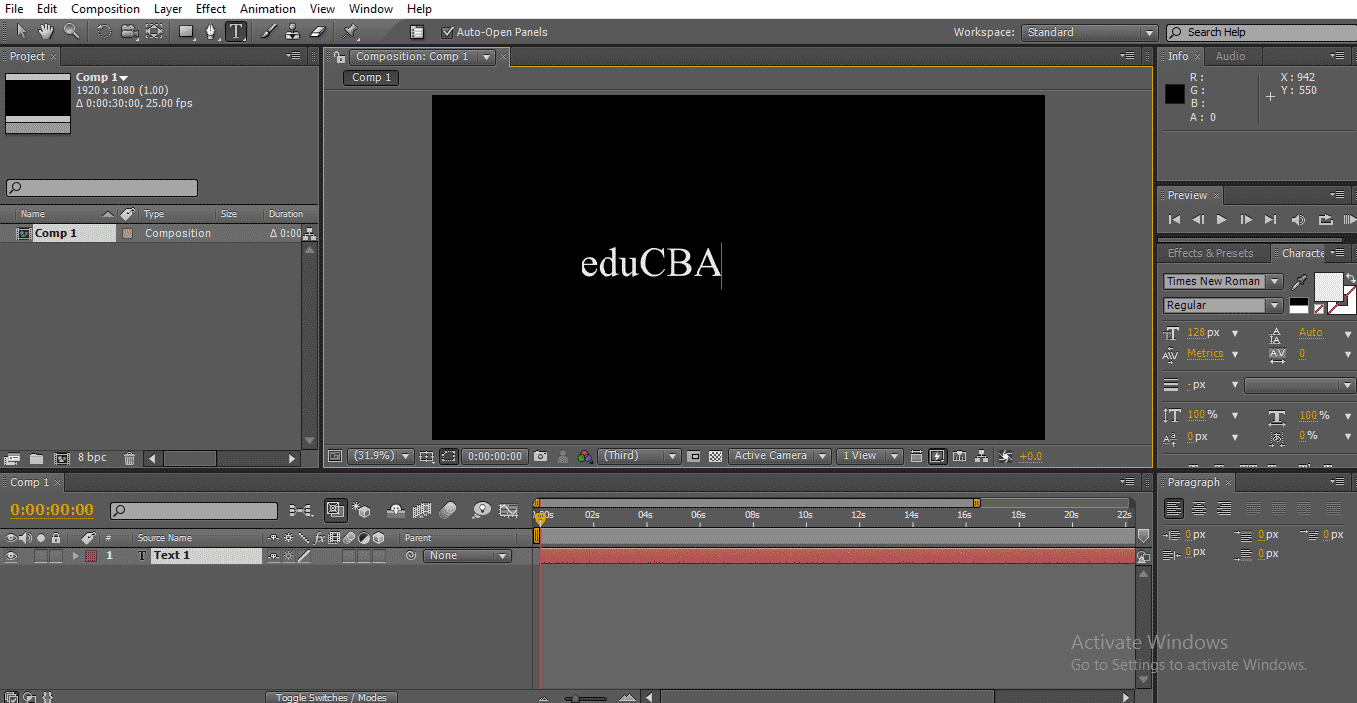
Step 3: Type your text.
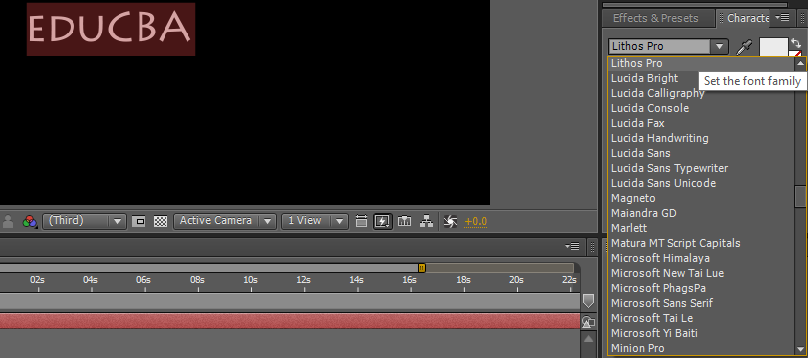
Step 4: We have different types of fonts in after effects; we change the text according to our requirement, we have a character panel here in that panel we have options for text. Select the text and change the fonts.
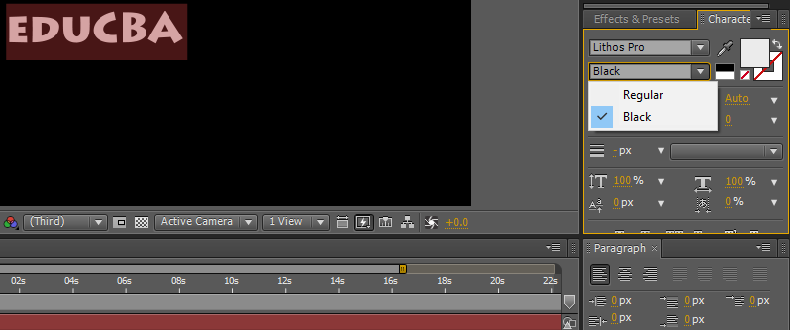
Step 5: We have another option of regular and black here; regular means normal, and black means text becomes bold.
Step 6: We can change the size of the text here; by holding the right and left click, we can control the size of the text, or we have a drop-down option size menu by that we can select the size.
Step 7: We can give space between the fonts; for that, we have an option called tracking; in some cases, we need some space between the characters there we can use this option.
Using this option is the same as increasing fonts, hold click and drag or drop-down menu.
Step 8: We can align the text from the paragraph option; we can set the text from right, left or center.
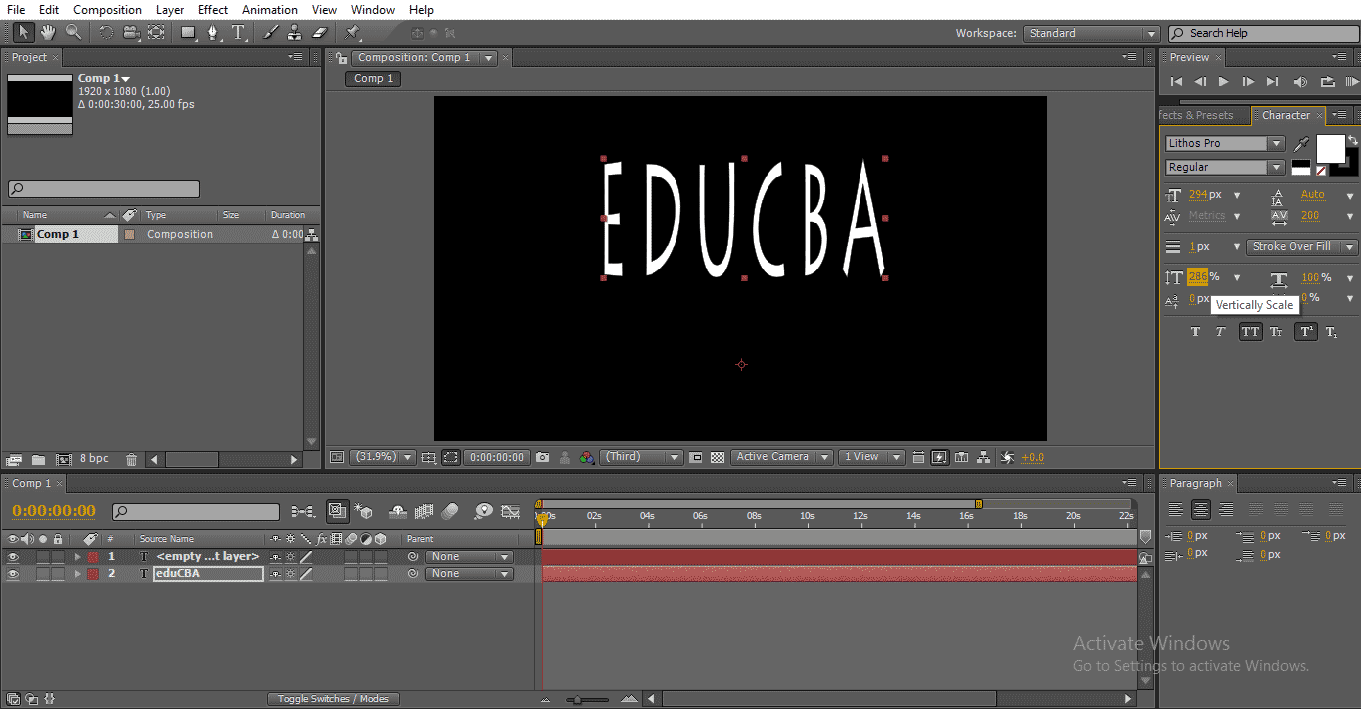
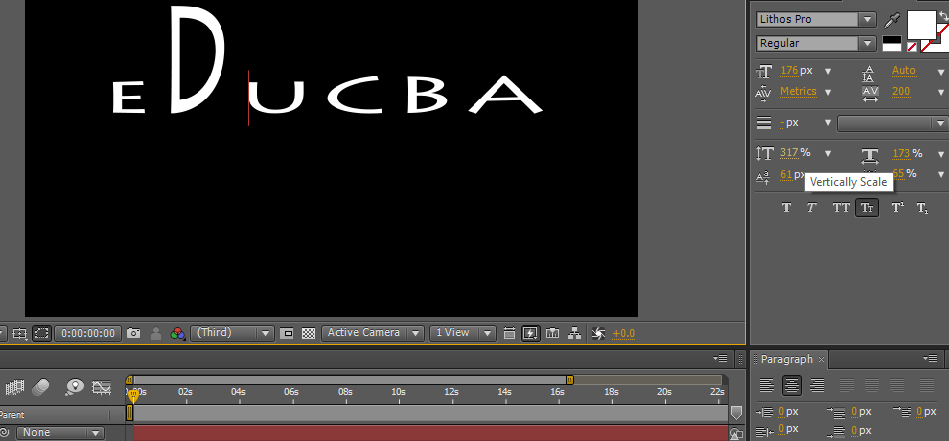
Step 9: In some cases, it’s not needed to increase the text uniformly; we may need to increase height or width for that we have an option of vertical scale; in this option, we can scale the text vertically only.
If we need to increase a particular character vertically, select the character and increase the vertical scale option by that only the selected character will enlarge.
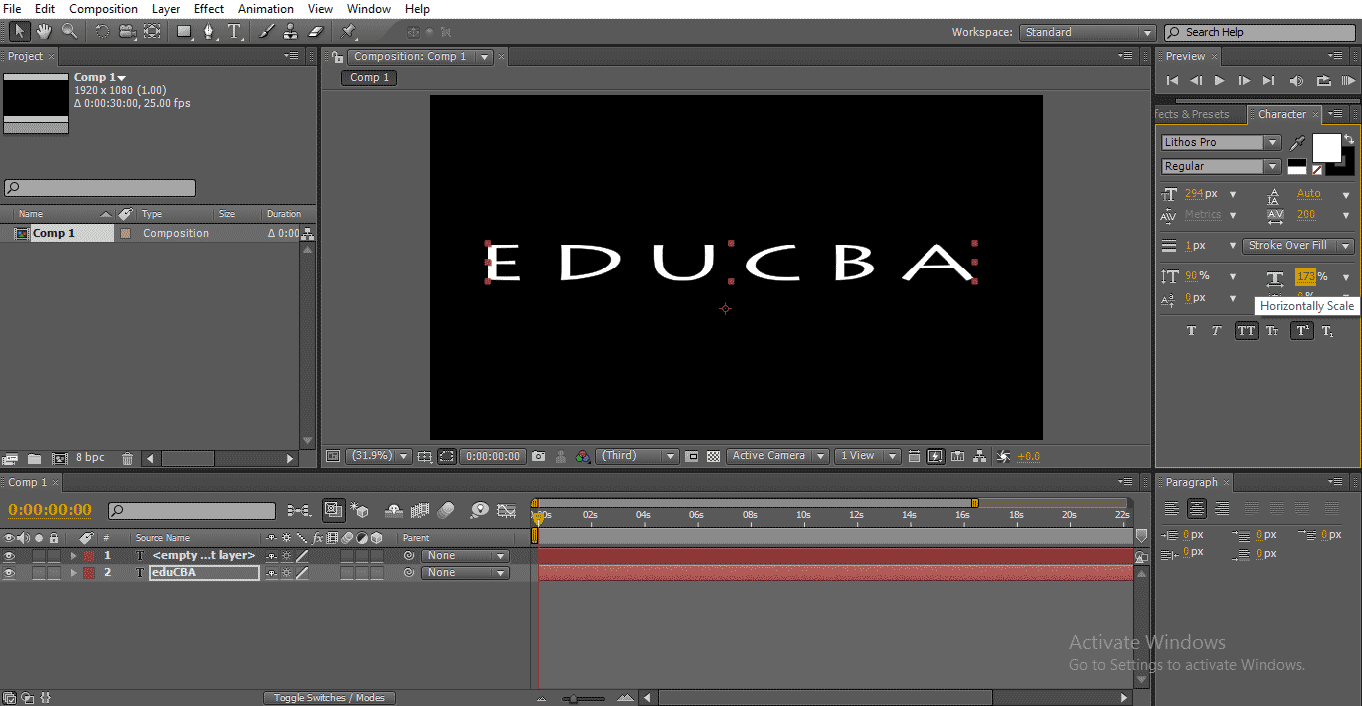
Step 10: We have another option called horizontal scale; in this option, we can scale the text horizontally only.
We can increase the particular character size by selecting that character and increasing the size.
Step 11: We have some text options here; it’s very useful to make text beautiful.
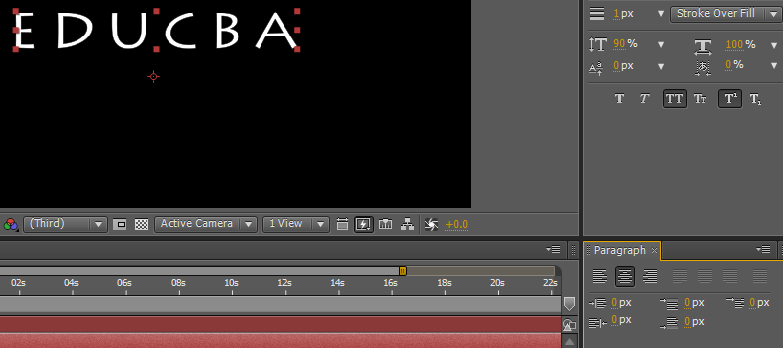
Step 12: The first option is bold; e can make our text bold and clear with this option with this option.
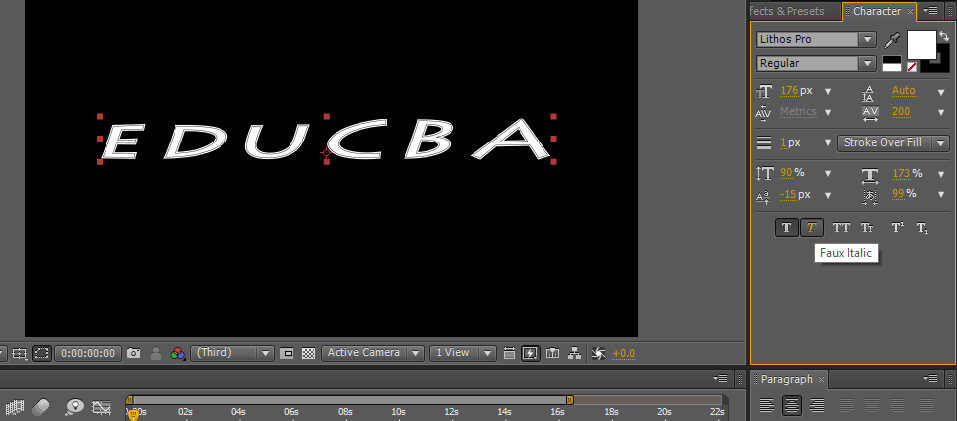
Step 13: The next option is italic. As we know, italic means the text is slightly bent; it’s mostly used text effect.
If we like to give italic to starting character, only select the particular character and apply italic.
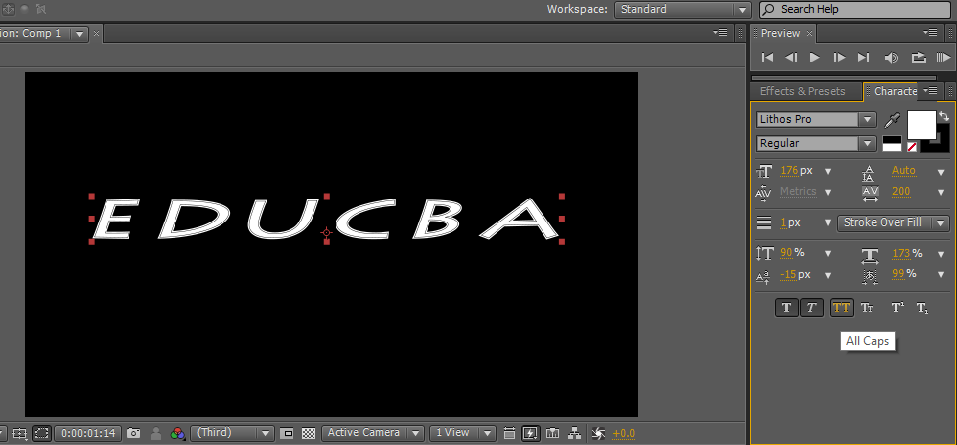
Step 14: The next option is all caps that can change the entire text into caps. These are three important text effects we use frequently.
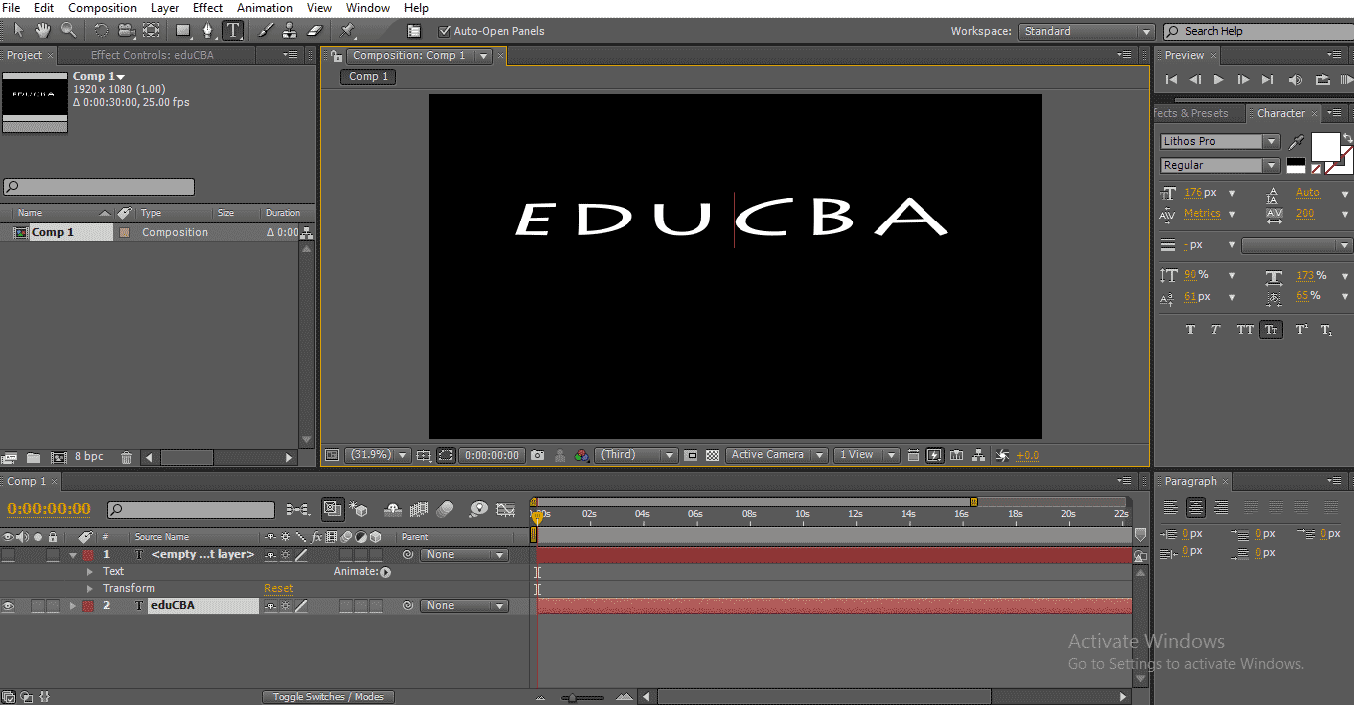
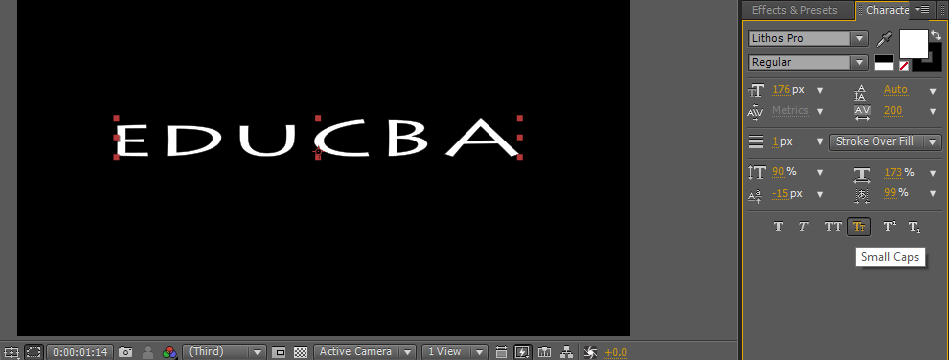
Step 15: The next option is small caps, small caps means the first letter will be a little bigger than the rest of the fonts, but all the fonts are in upper case only; this type of text is mostly used in the tag line for the main titles.
The remaining two effects are not that much used in the after-effects that two options are used in subtitles and tag lines.
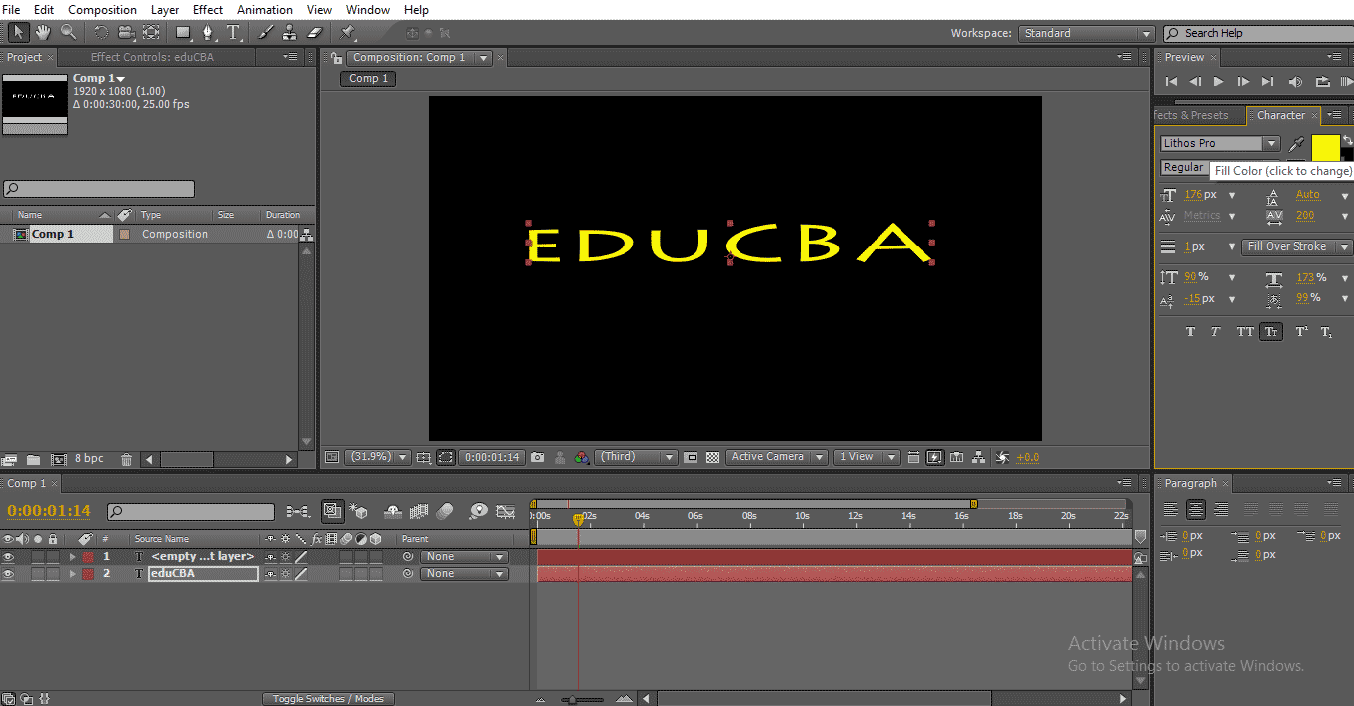
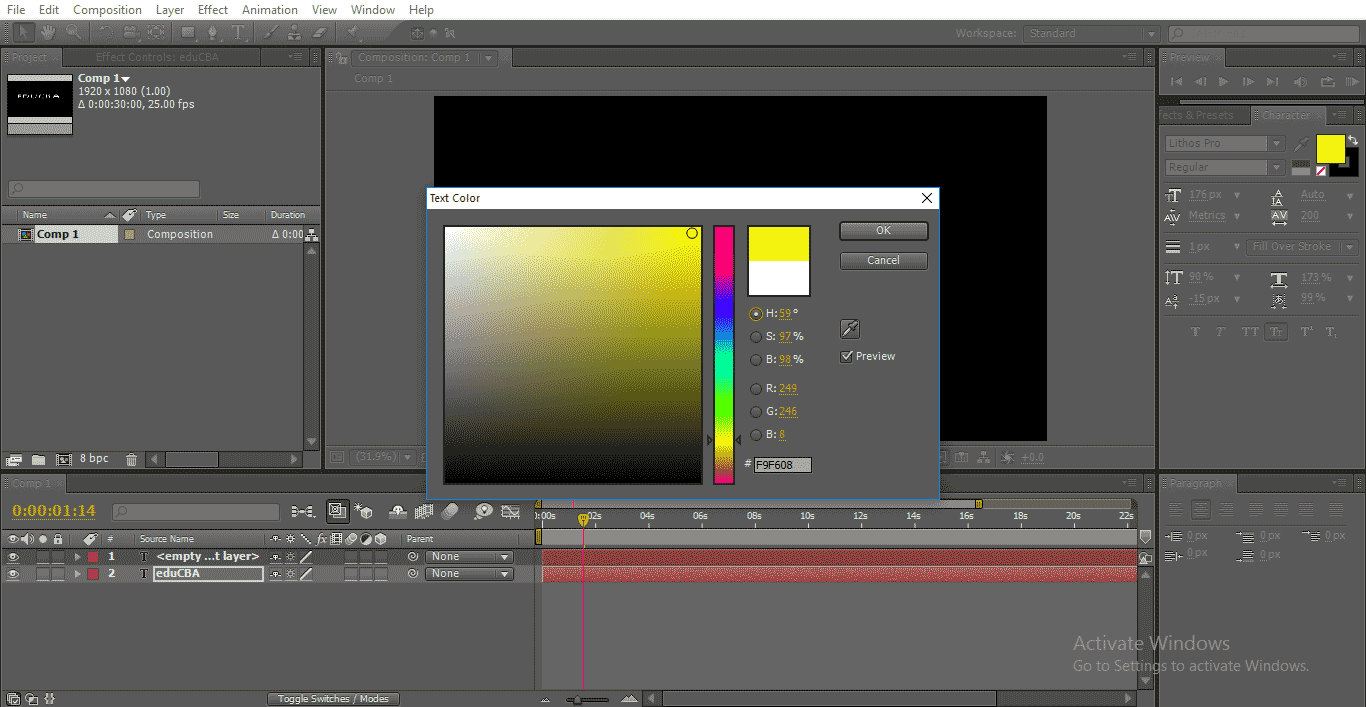
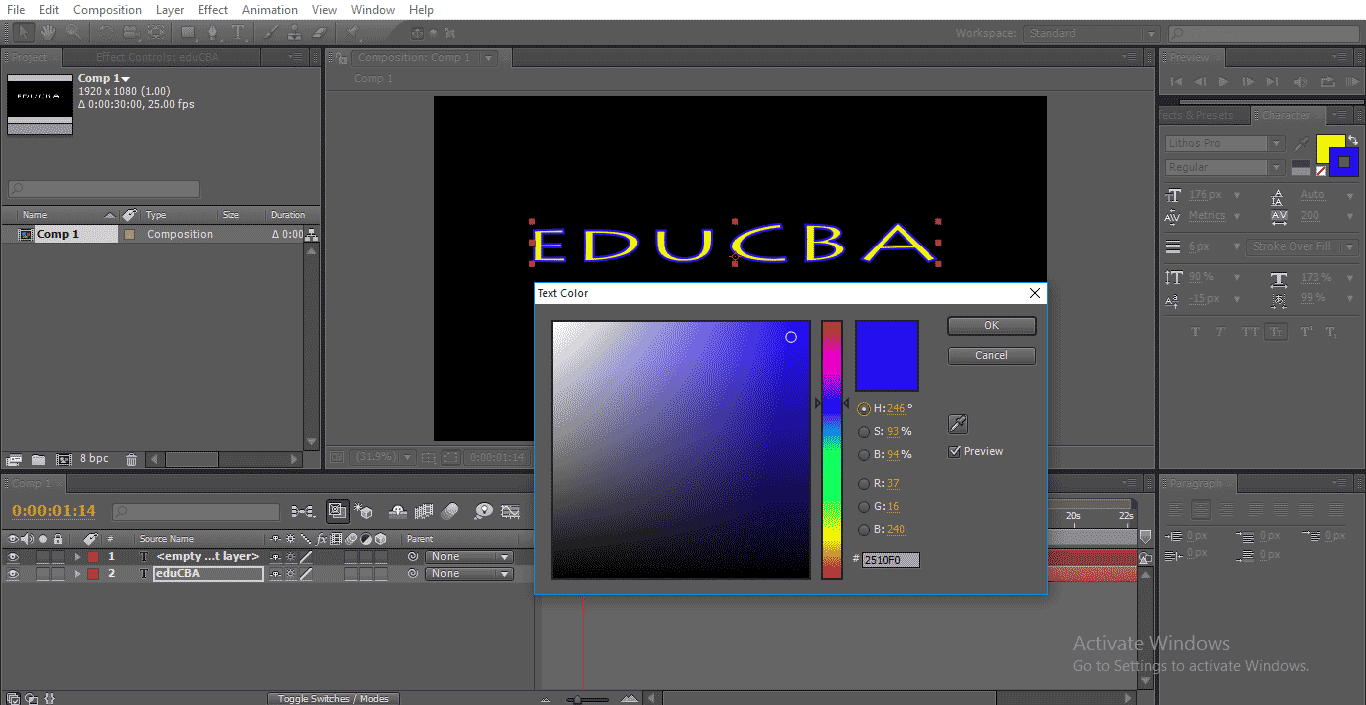
Step 16: We can change the color of the text with the help of a fill color option.
By clicking on fill, we will get the color menu from that we can pick the color and click ok.
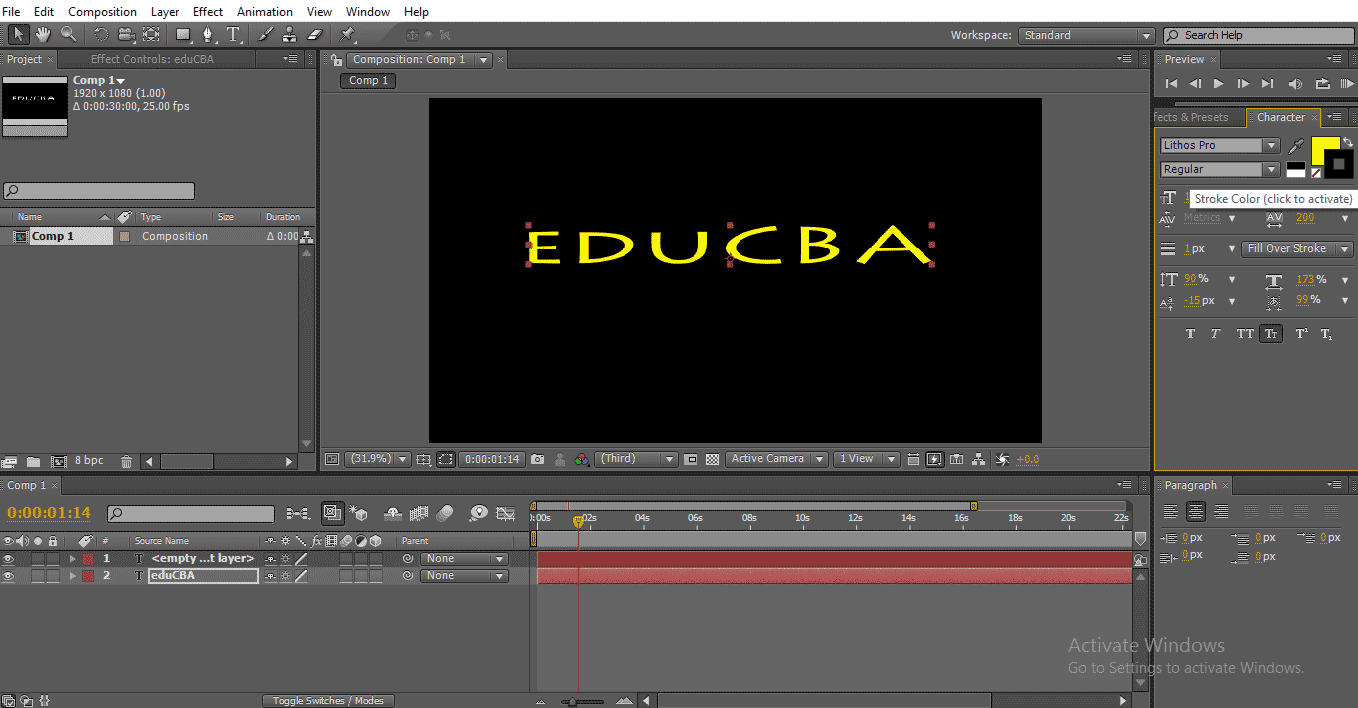
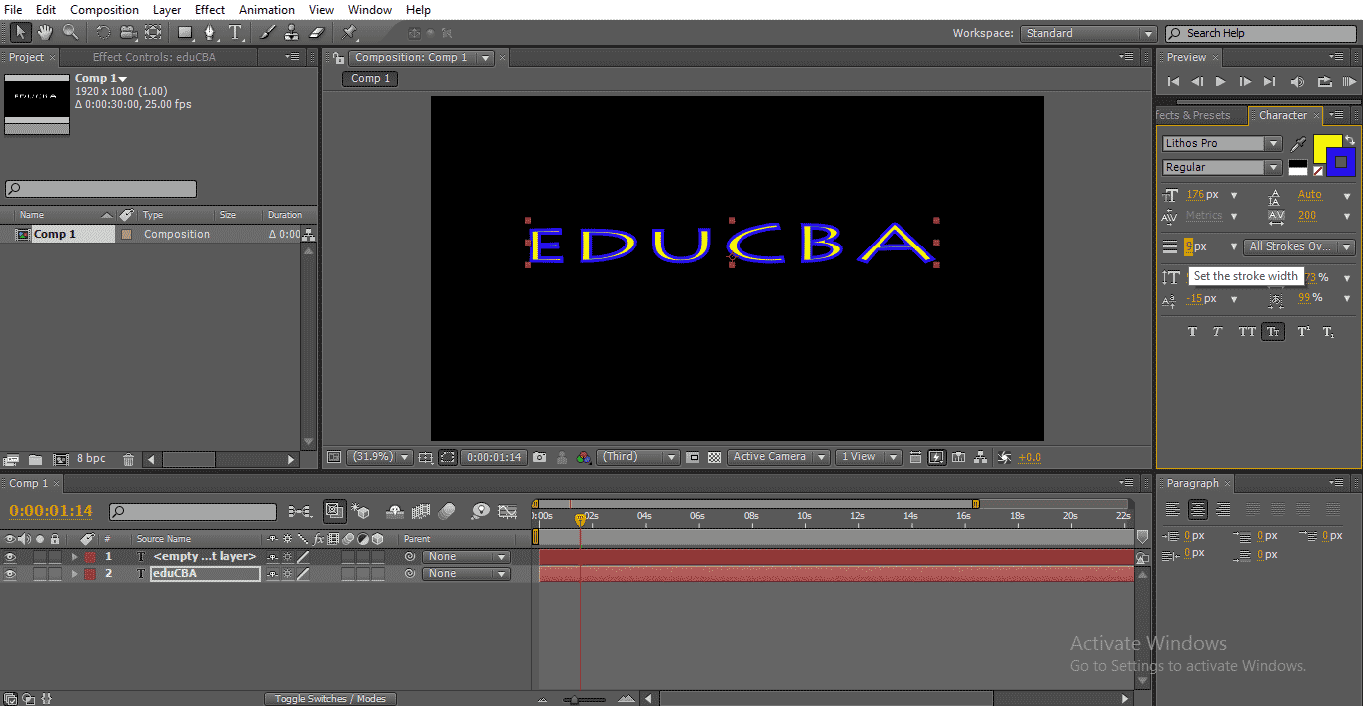
Step 17: Behind the fill color option, we have a stroke option; we can give borders to text with this option.
Click on the stroke option then we can get a color menu from that choose a color for borders.
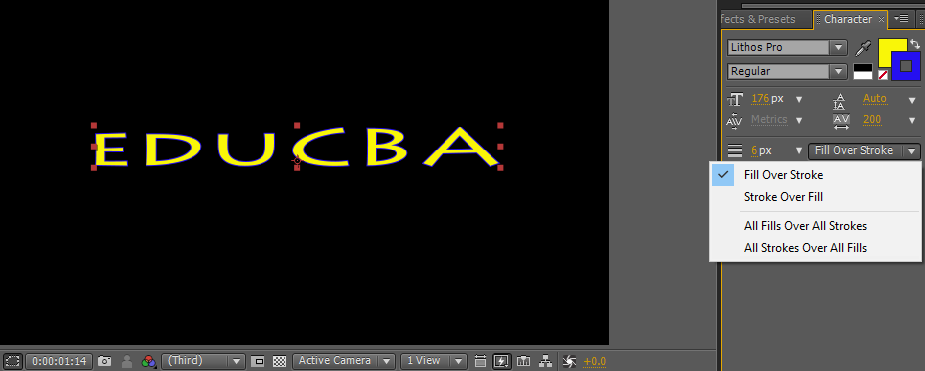
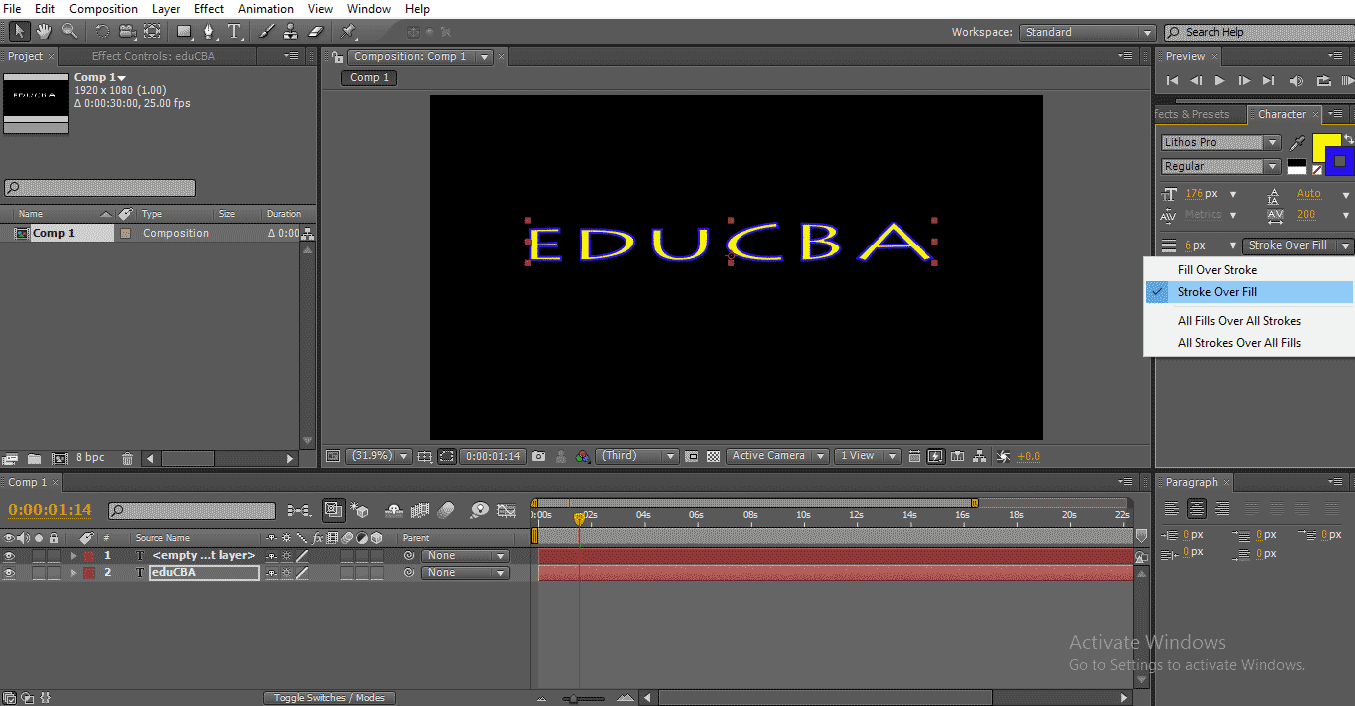
We have some stroke options here, how many stroke points to apply and what types of stroke.
If we select the stock overfill option, the stroke overlaps the fill color.
Step 18: We can increase the stroke width here; by clicking on stroke width and drag, we can control the width of the stroke.
Select the particular font and change the values stroke width values, then a particular character stroke will be changed.
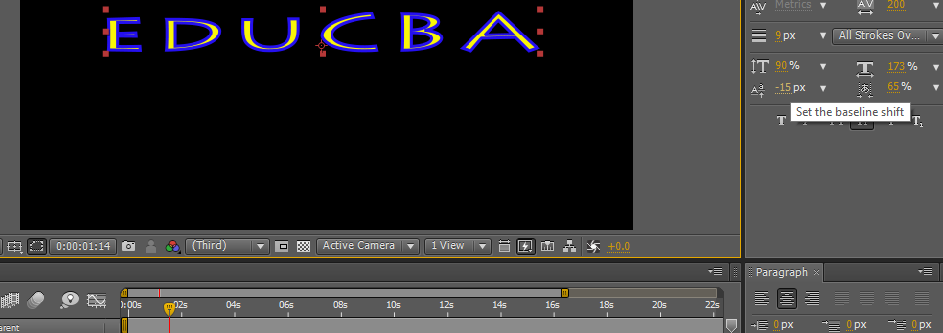
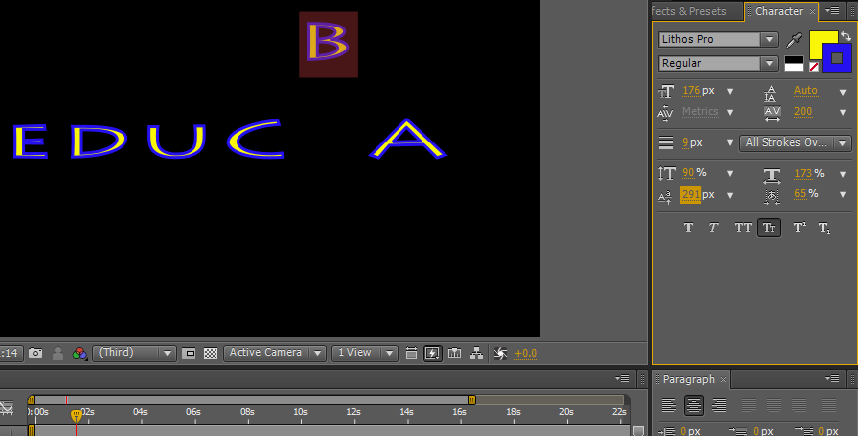
Step 19: Now, let’s see the baseline shift option; we can move the text up and down with this option with this option.
Select the particular font and change the value; then, only the selected character can fly.
With the help of these options, we can do some text animations using keyframes, but if we search for some default animations available in the presets.
Step 20: Now, let’s see what all the text animation options in the after-effects are and how it works,
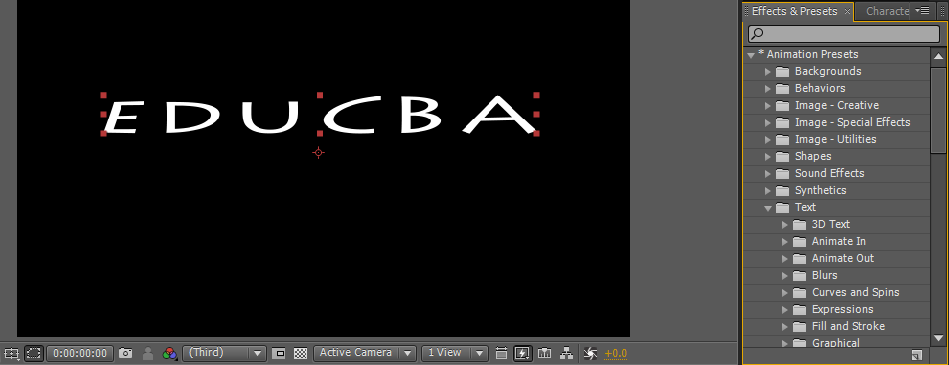
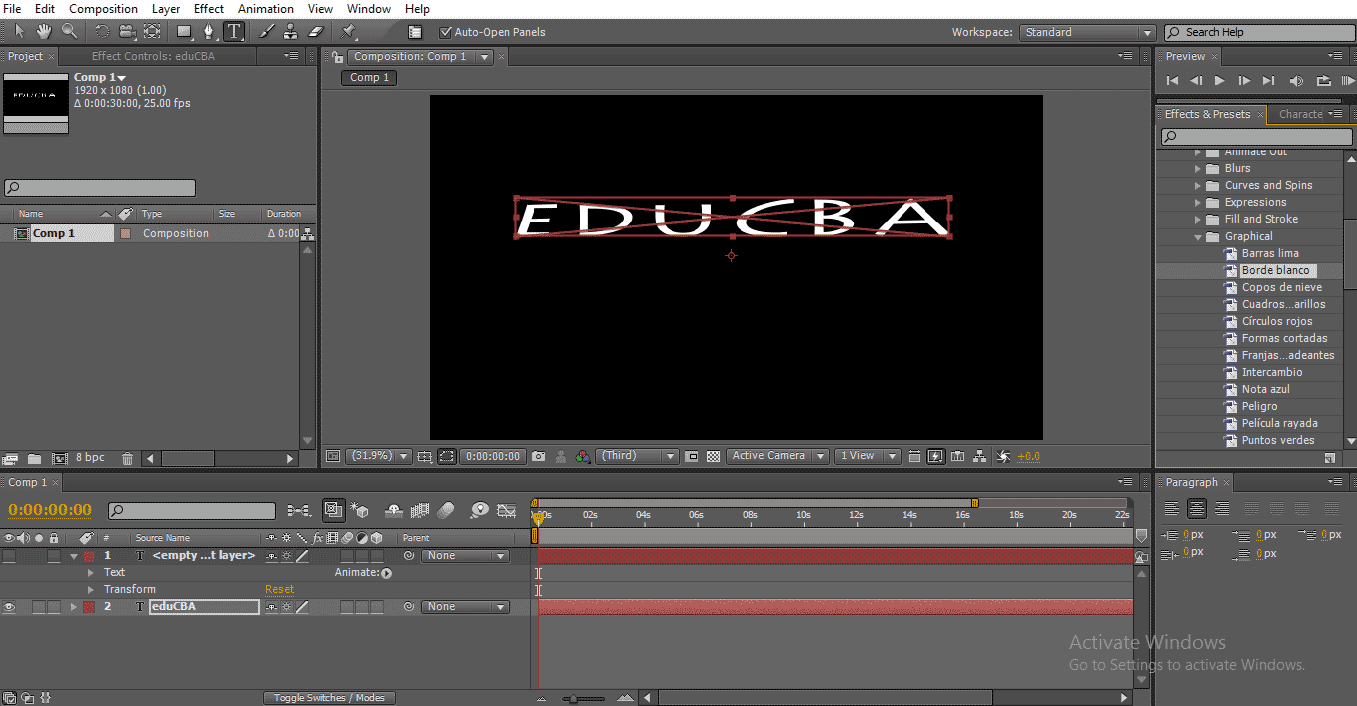
Usually, we need to animate the text using keyframes built; we have some text animations presets in after effects. Go to effects and presets, then select animations and click on the text; then, we found a bunch of text animation presets, just apply to the text and see the animation.
There is a lot of text presets folders; each folder has a bunch of presets if required; we can also download the new presets from online websites; each folder has different styles of animations based on our requirement we can select the options.
Step 21: Just go to preset and drag the effect to the text; it applies automatically.
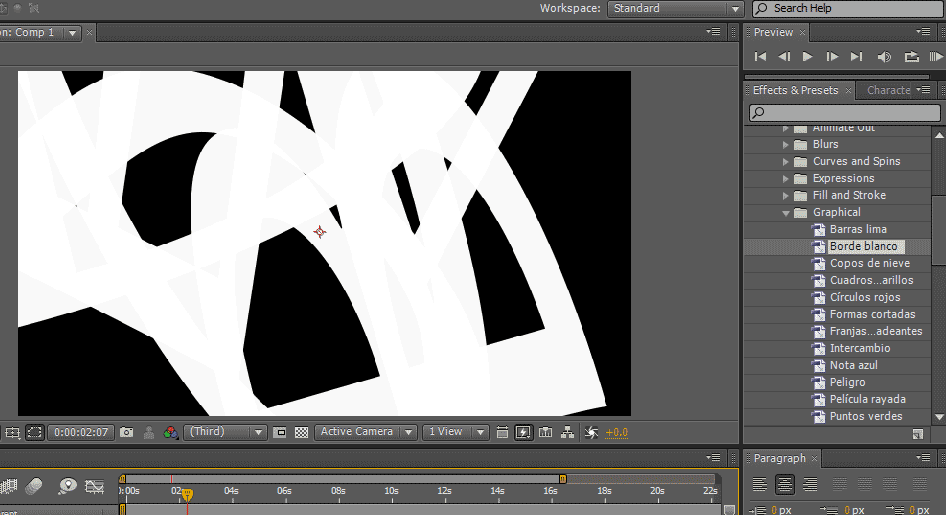
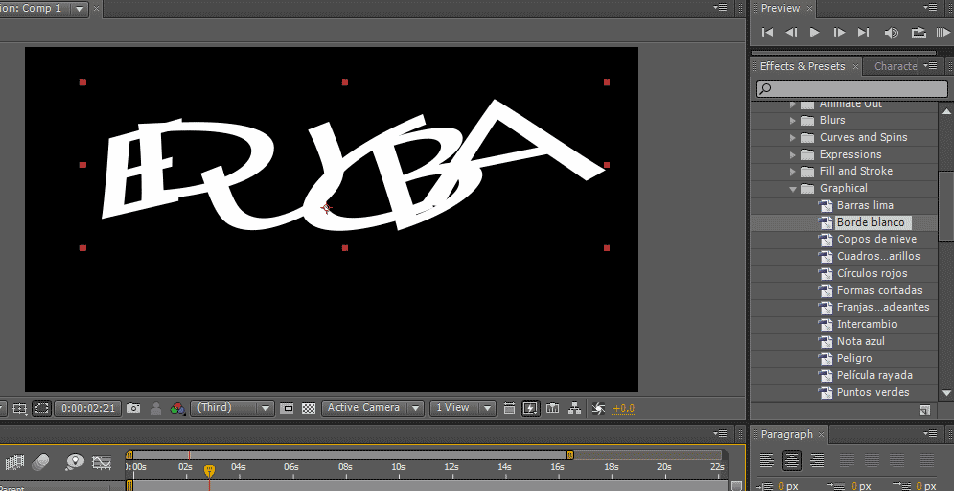
This is how animation works on a text.
Working of animation on a text.
Preview of animating a text.
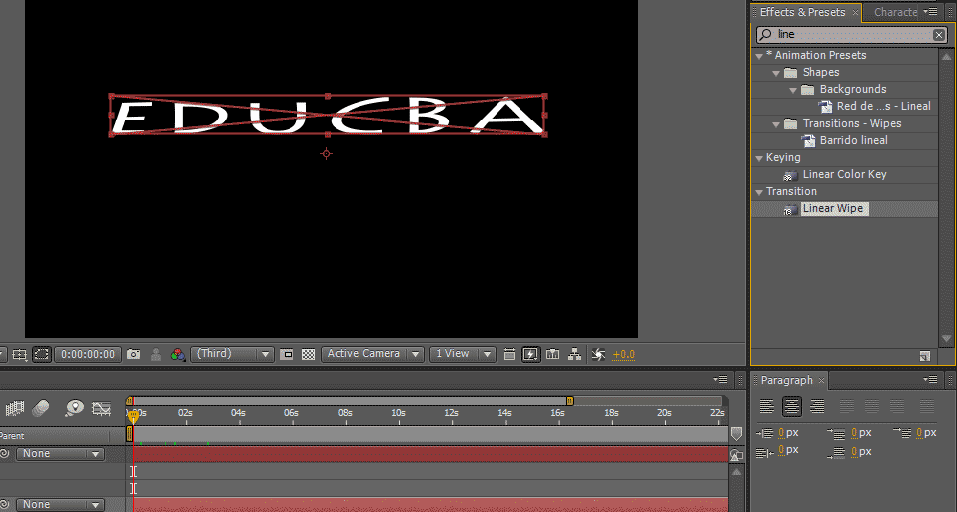
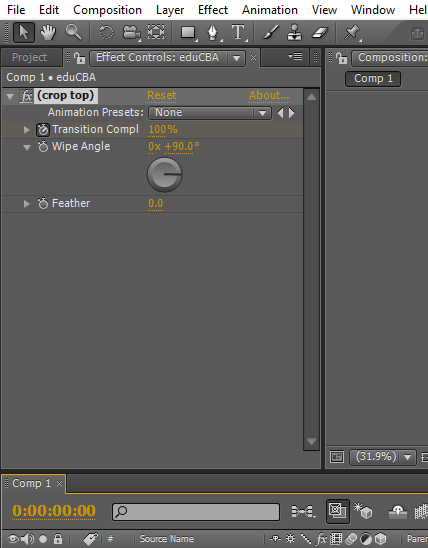
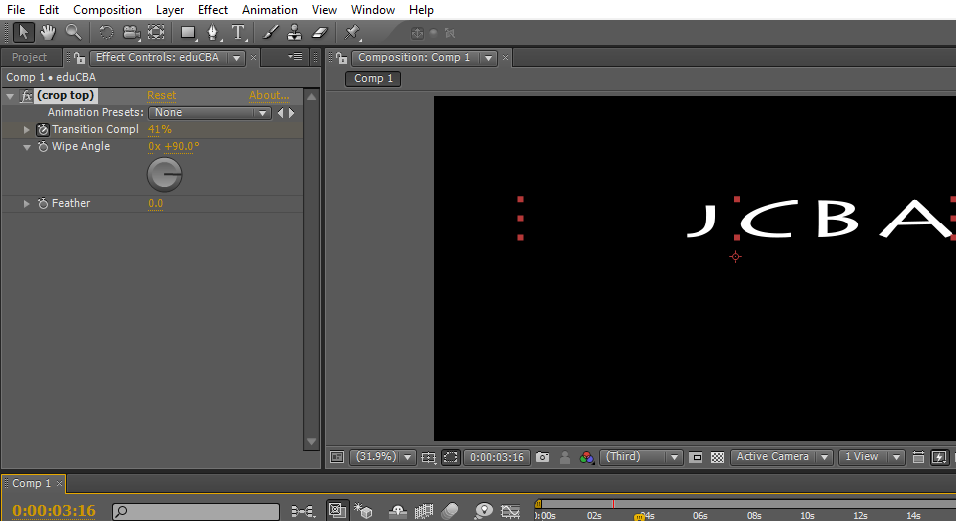
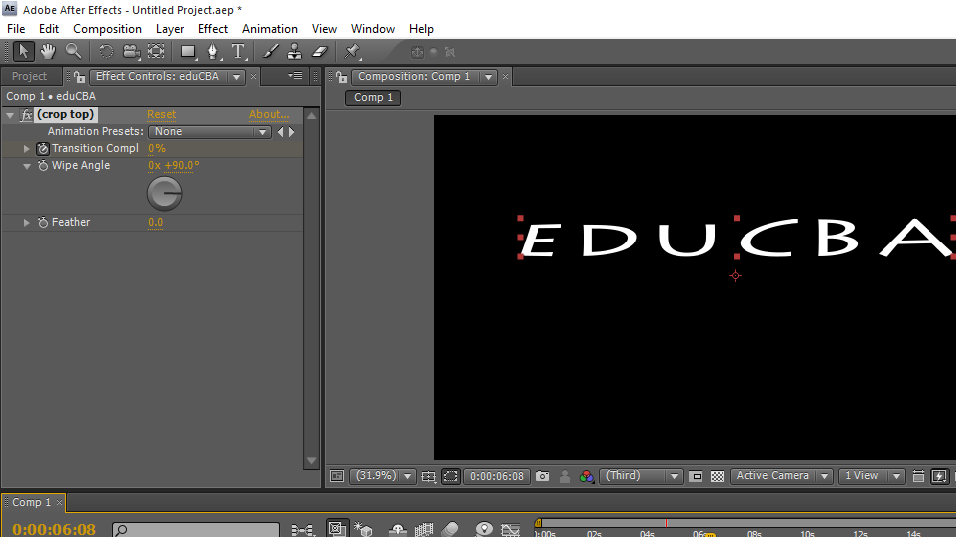
Step 22: This is a preset animation, and we have some manual animation options like liner wipe and fade etc.; in these options, we need to apply the effect and need to control the animation with keyframes. Go to effect and presets select liner wipe.
Step 23: We have liner wipe options here; we can set the angel and transaction start and end. Set start keyframe 100 and end frame 0.
In this process, we saw the text option in after effects and how to use text effects and options.
Conclusion
What do we learn? Text tool in after effects and shortcut on how to create the text, size and color option text effects and presets. Types of animations, how it works, and how to apply keyframe animation for text animation. Hope we have discussed an interesting topic
Recommended Articles
This is a guide to Text in After Effects. Here we discuss the Introduction and steps to create text in after effects along with its examples. You may also look at the following articles to learn more –
- Top 15 VFX Softwares Used in Industries
- Steps to Use Rectangle Tool in Photoshop
- Adding Drop Shadow to our Object in After Effects
- Difference between Mask and Track Matte
- Top VFX Companies and Features
- Guide to Rain in After Effects
- How to Work Composition in After Effects?
- Complete Guide to After Effects Transitions

