Updated August 25, 2023
Introduction to Delete Background in Photoshop
Adobe Photoshop is a raster graphics editing computer software developed by Adobe Inc. and is compatible with Windows operating system and macOS. It was initially developed by Thomas and John Knoll in 1988 and later taken over by the Adobe system. Deleting background in adobe Photoshop is an interesting task. You can delete the background from any image in Photoshop for different purposes. This is not a big issue that ‘How to delete background in Photoshop?’ you just have to follow some simple steps with patience.
How to Delete Background in Photoshop?
Here we will see ‘How to Delete background in Photoshop?’ in this article, we will go in a step-by-step manner.
Step 1: First of all, we will download an image from the internet for our learning, or you can take any one of your own images to remove the background in Photoshop.
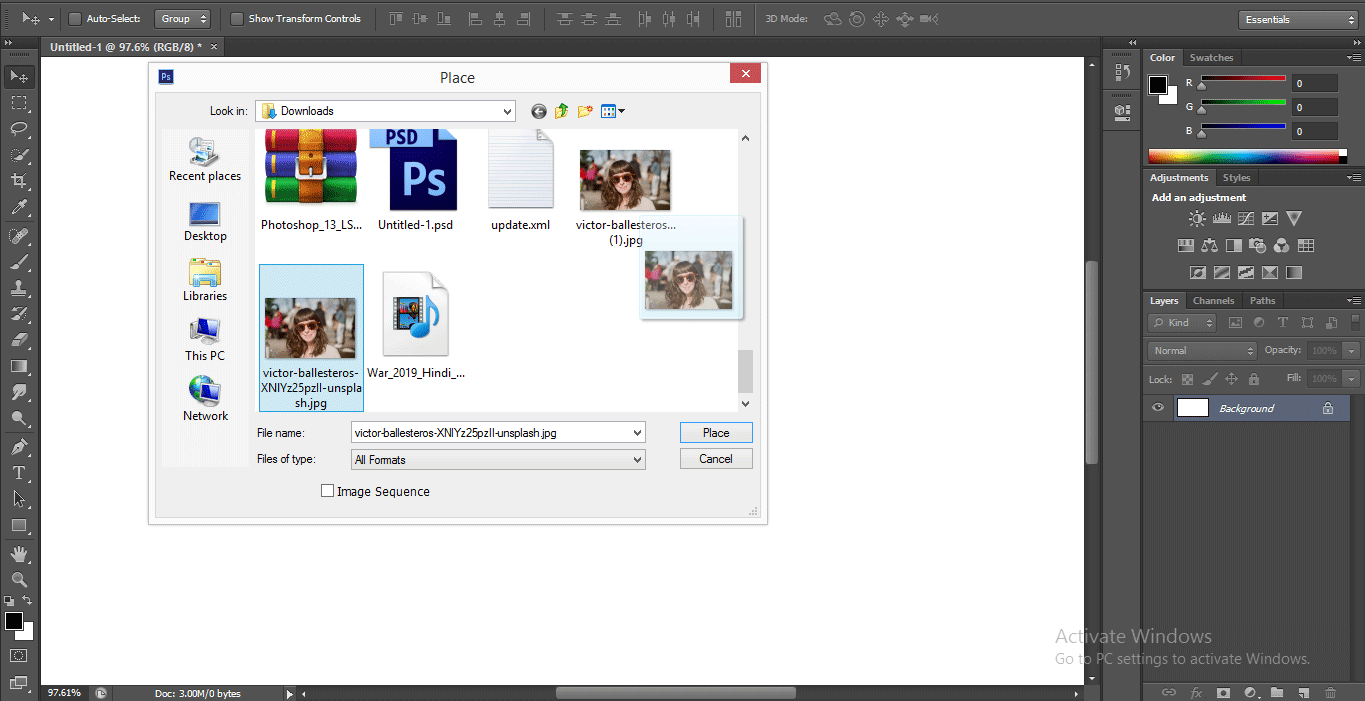
Step 2: Now, take this image in Photoshop software; for taking this image in Photoshop, you can directly drag that image from its folder with a mouse and drop it in Photoshop for placing it in Photoshop.
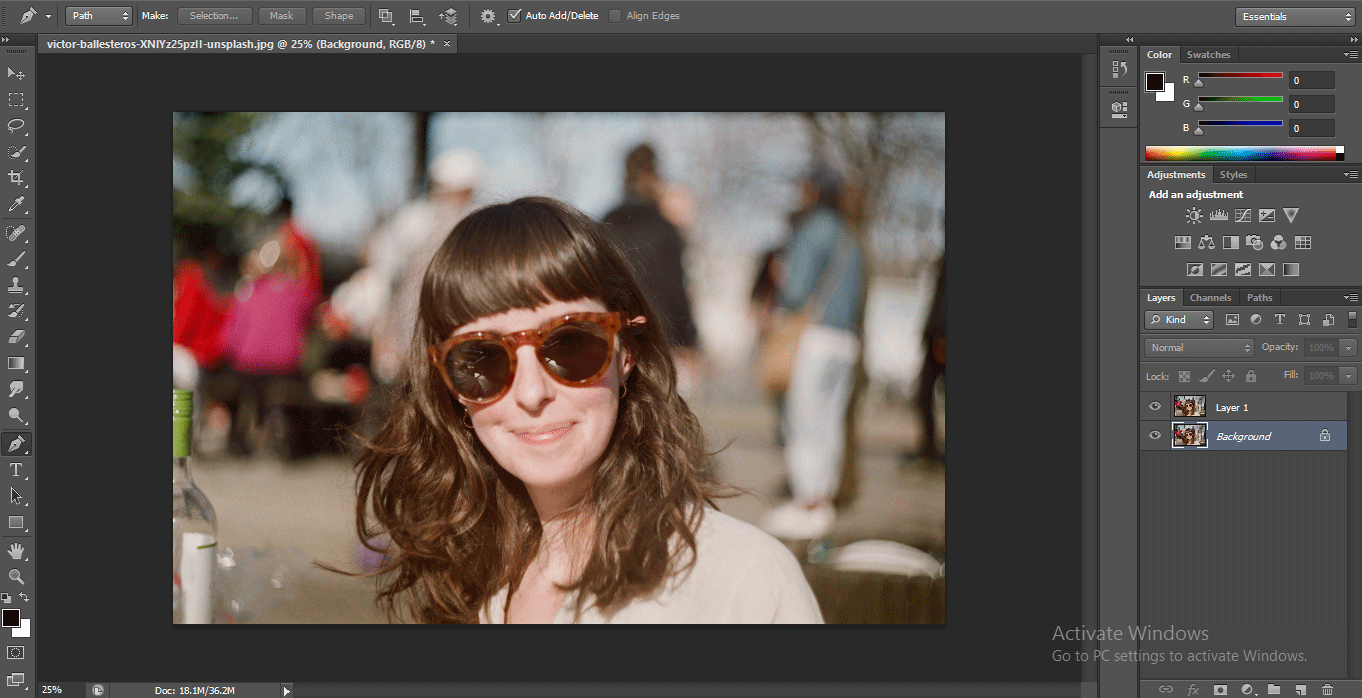
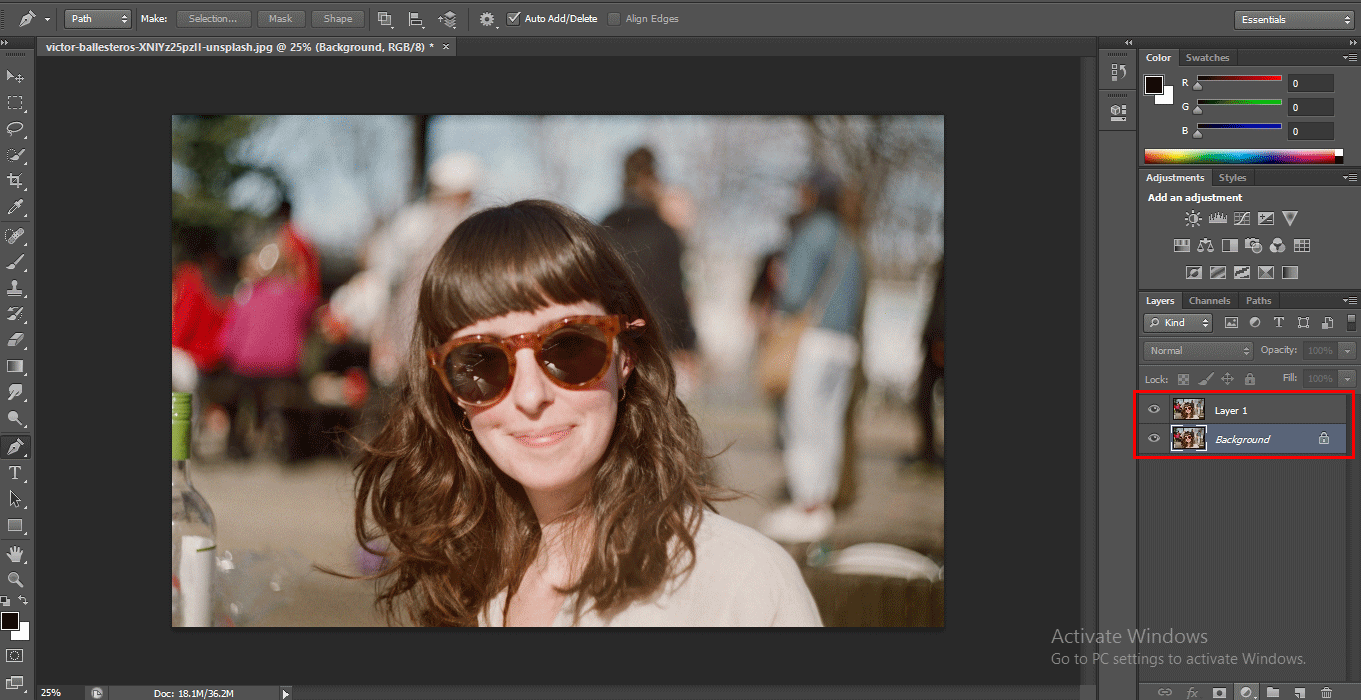
Step 3: Now go to the layer section at the right side of the working area of Photoshop, click on the Background layer of this image, and press Ctrl+J on the keyboard for making a duplicate of this layer that is Layer 1.
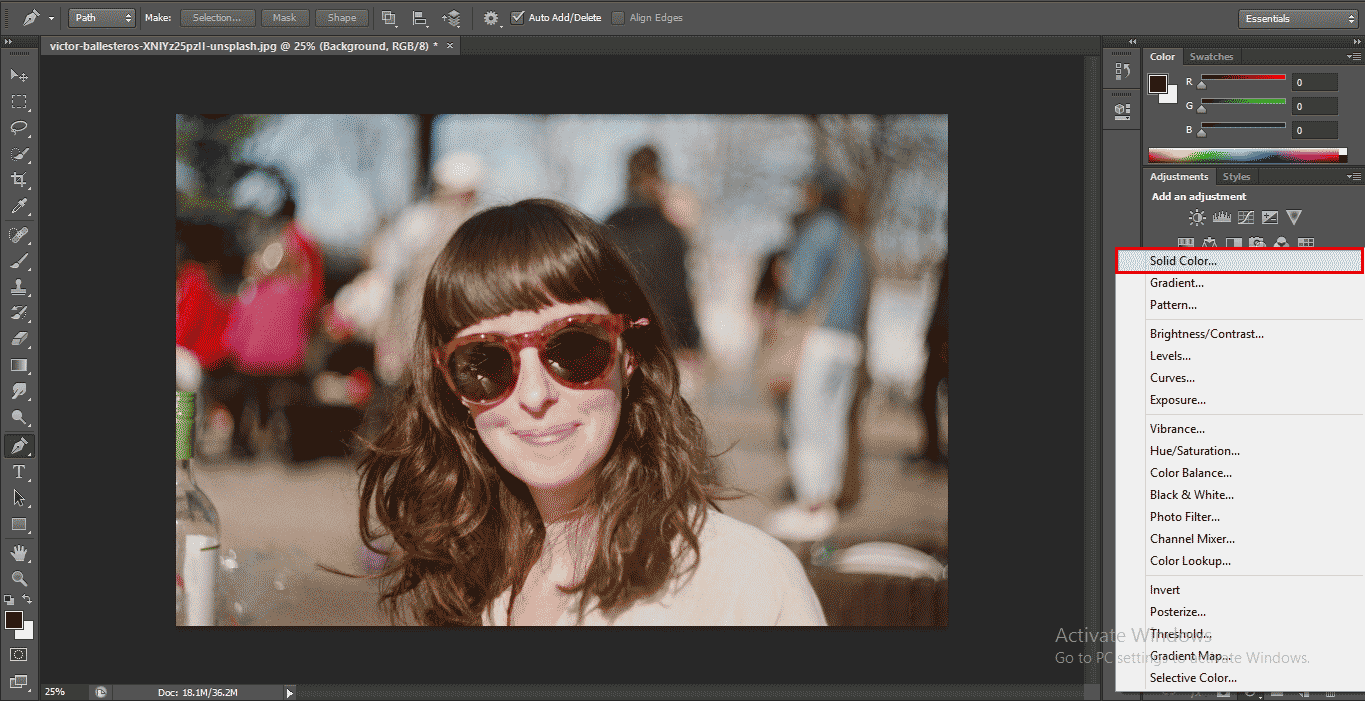
Step 4: Now click on the Background layer and go to the bottom of the layer section and click on the circled icon to fill a solid color in this layer.
- A drop-down list will be open; click on the Solid color option.
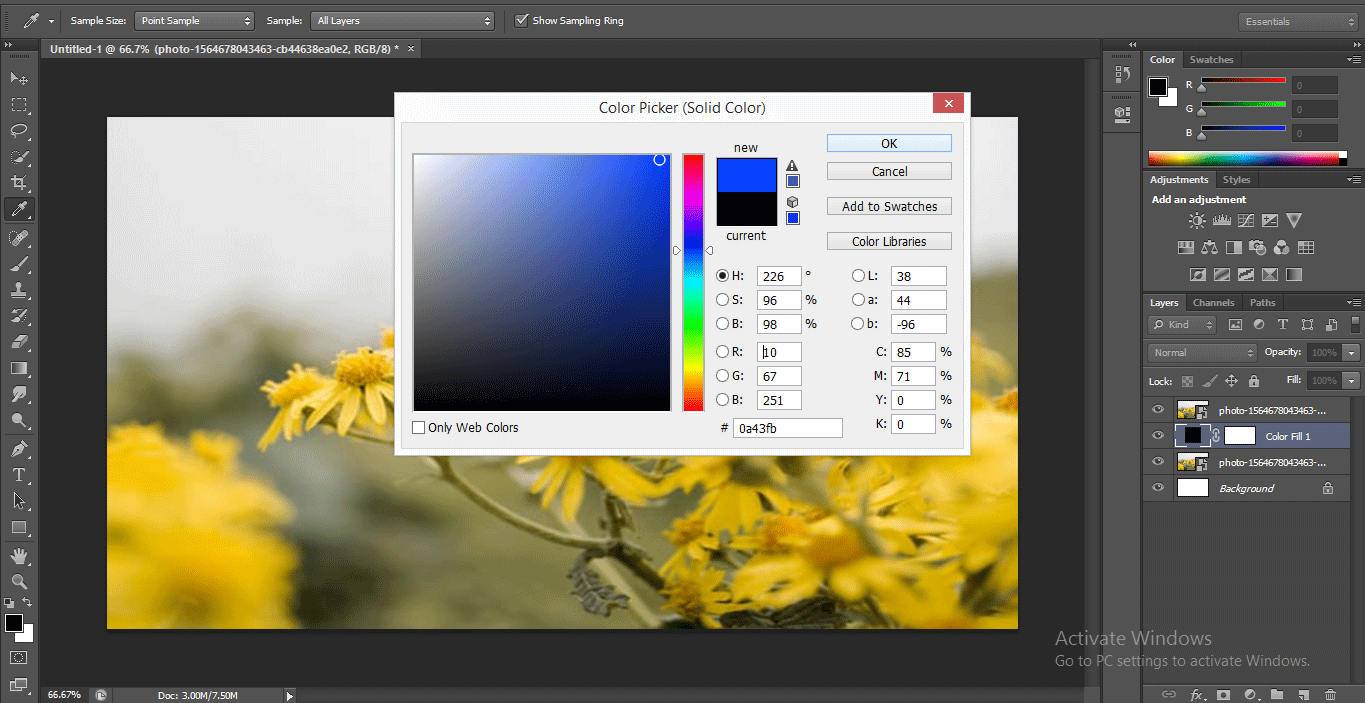
- The color pallet will be open to choosing any color from here, which you want a solid color of this layer. However, I will choose a blue color because it is the best-suited color for background removal, and you can easily see the fine hairlines in blue color.
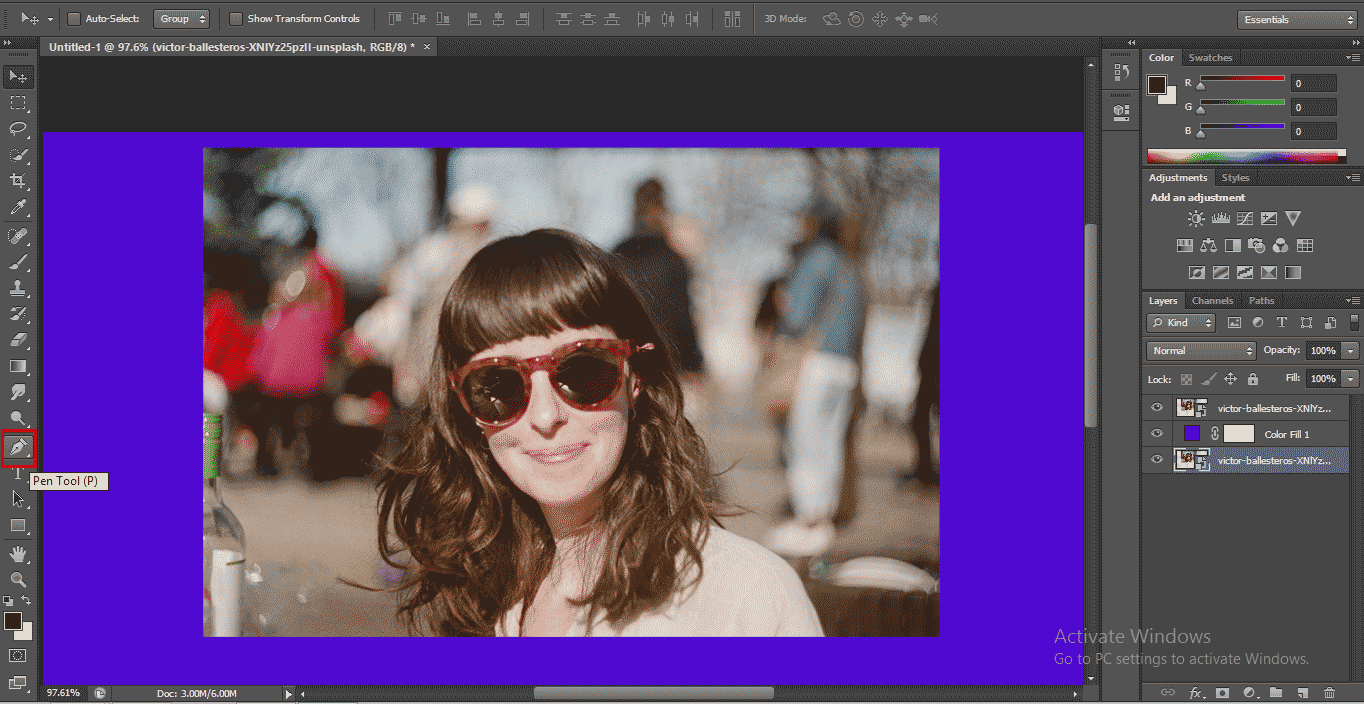
Step 5: Now, take the Pen tool from the Tool panel at the left corner of the Photoshop software’s working area.
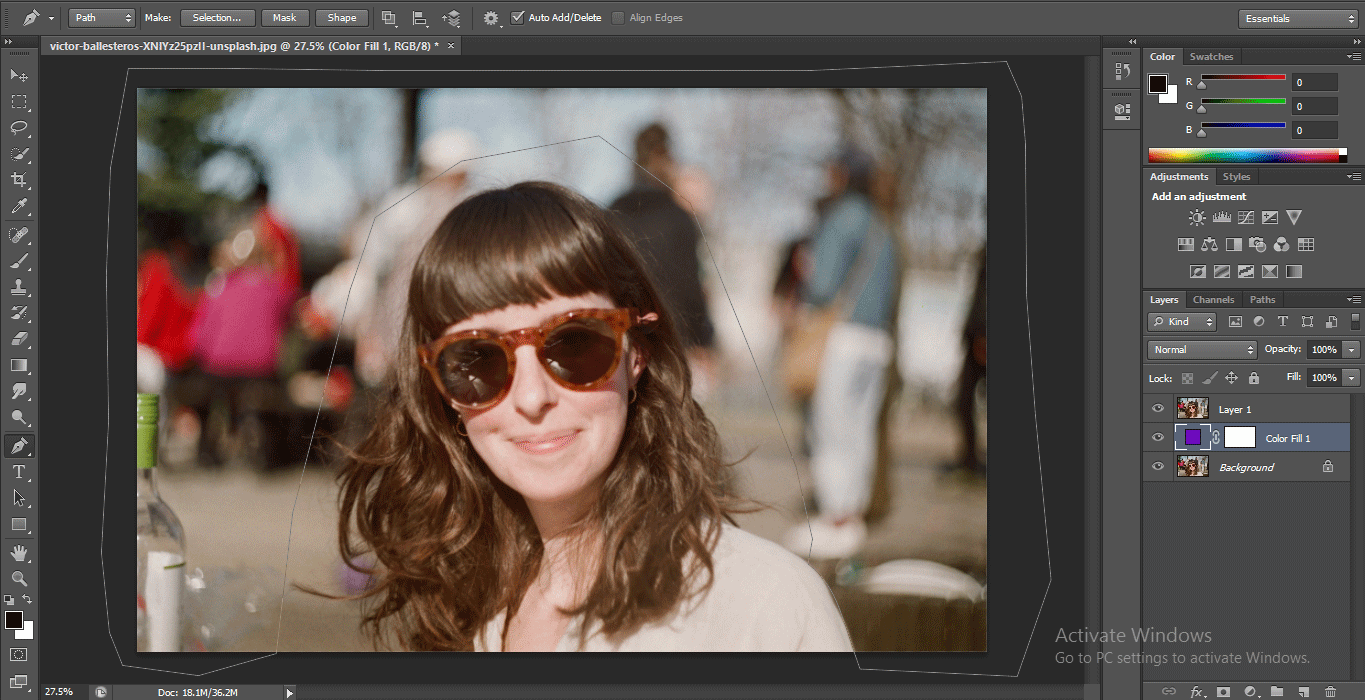
- Zoom the image for better selection with the pen tool and start selecting the image with a pen tool for Zoom In or Zoom Out press Alt+Scroll of the mouse’s scroll wheel in the upward and downward direction.
Step 6: Once you complete the whole selection of your image with the Pen tool, close the path of the selection of the Pen tool.
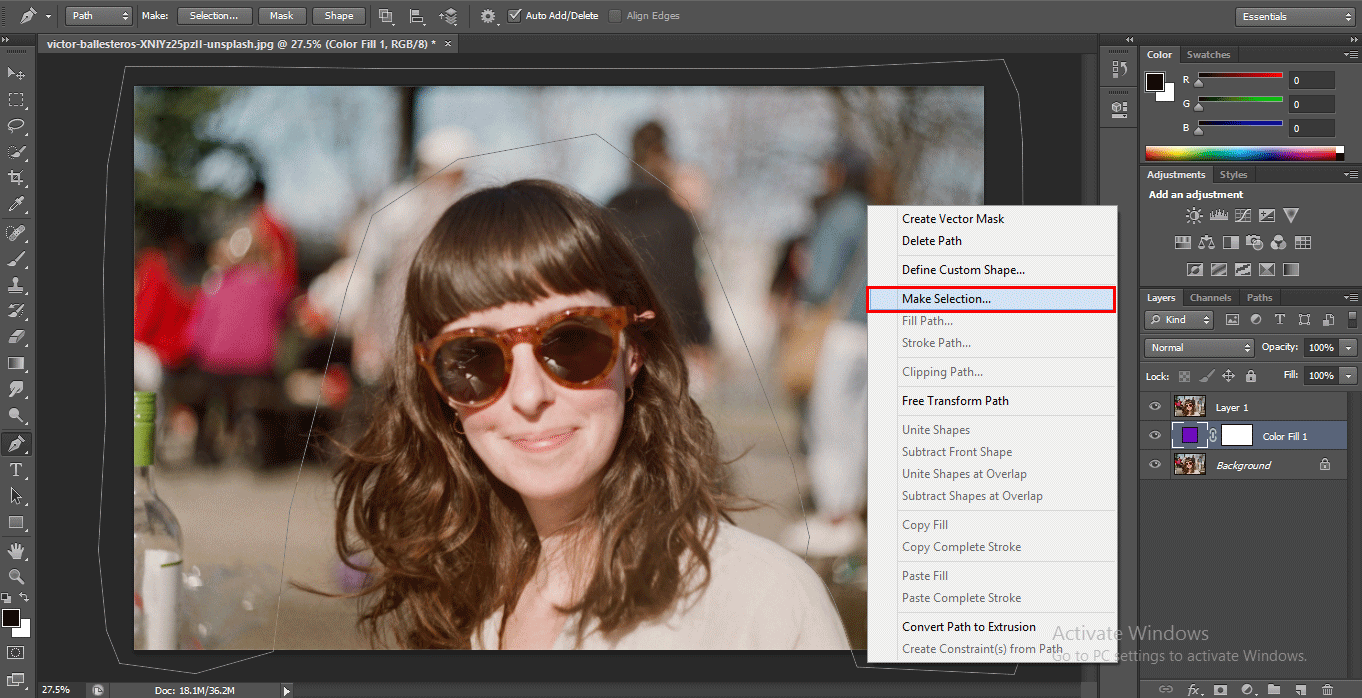
- Right-click with the mouse button anywhere in the image a drop-down list will open. Click on the Make selection option in this list.
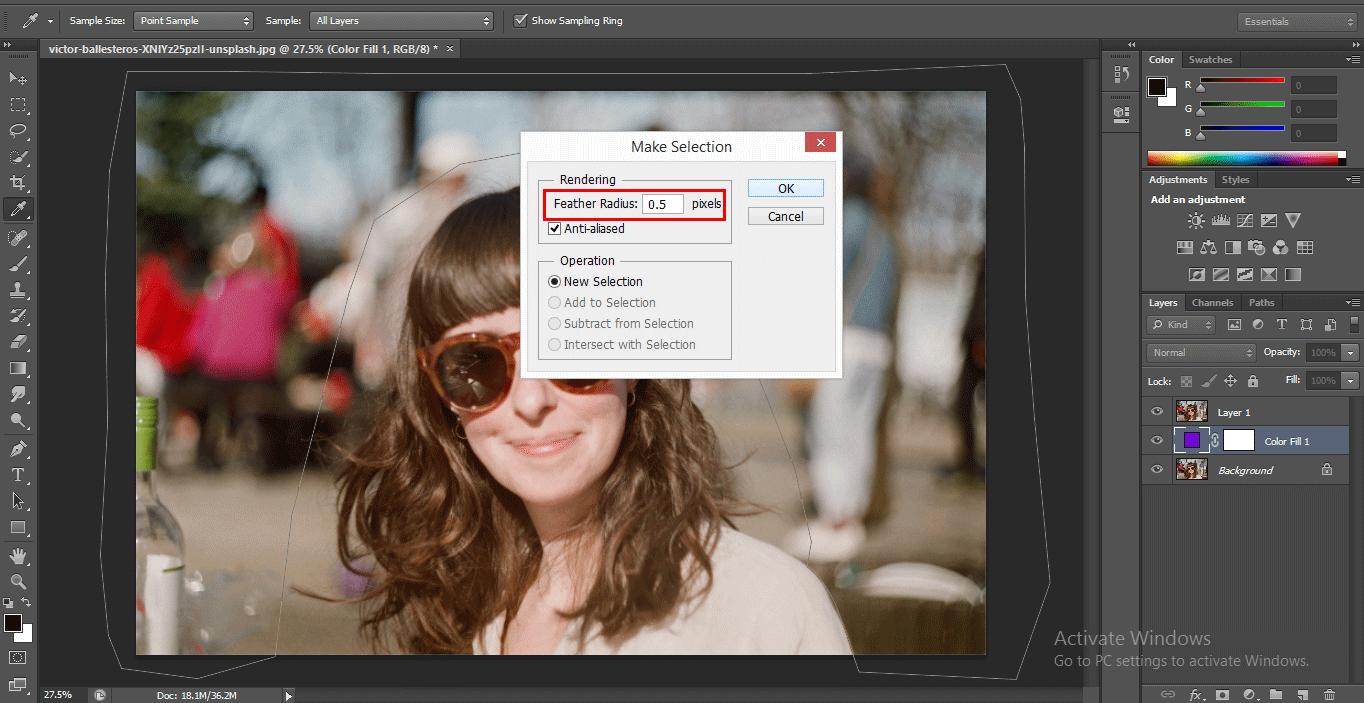
- A dialog box will be open to Make Selection. Set Feather Radius 0.5 for smooth selection, and press the OK button of this dialog box to make a selection.
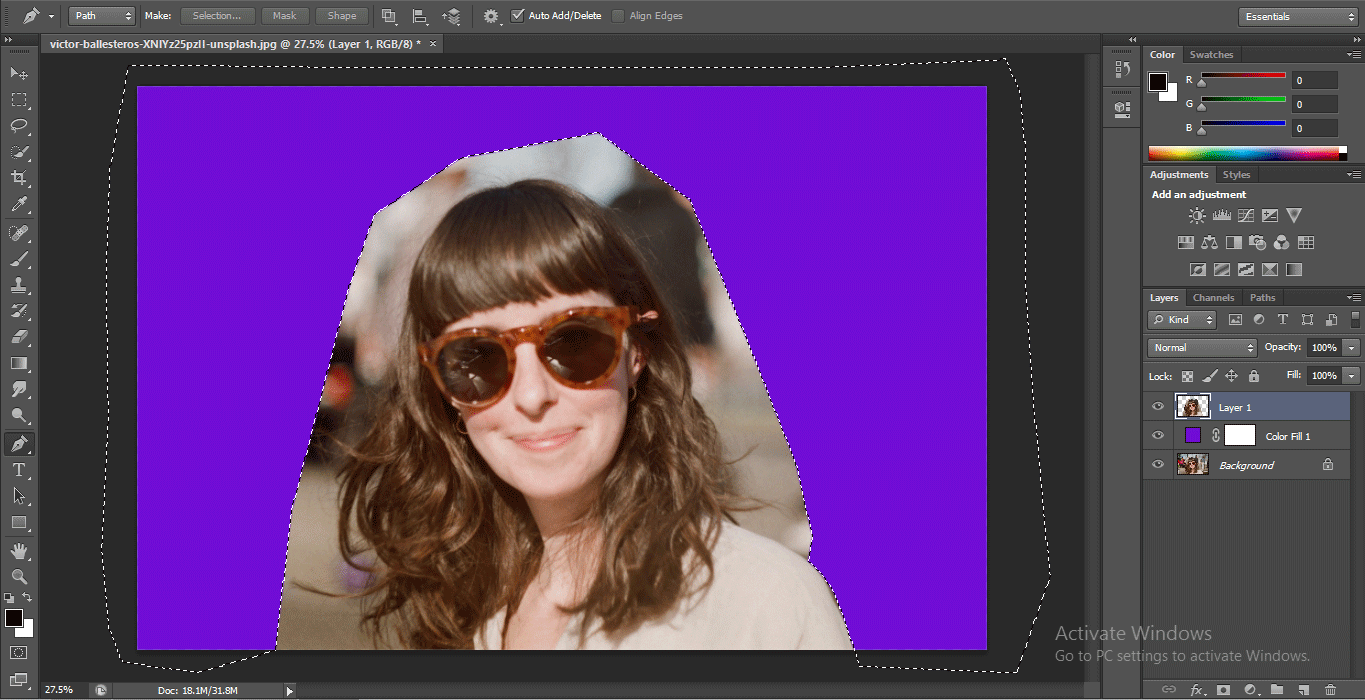
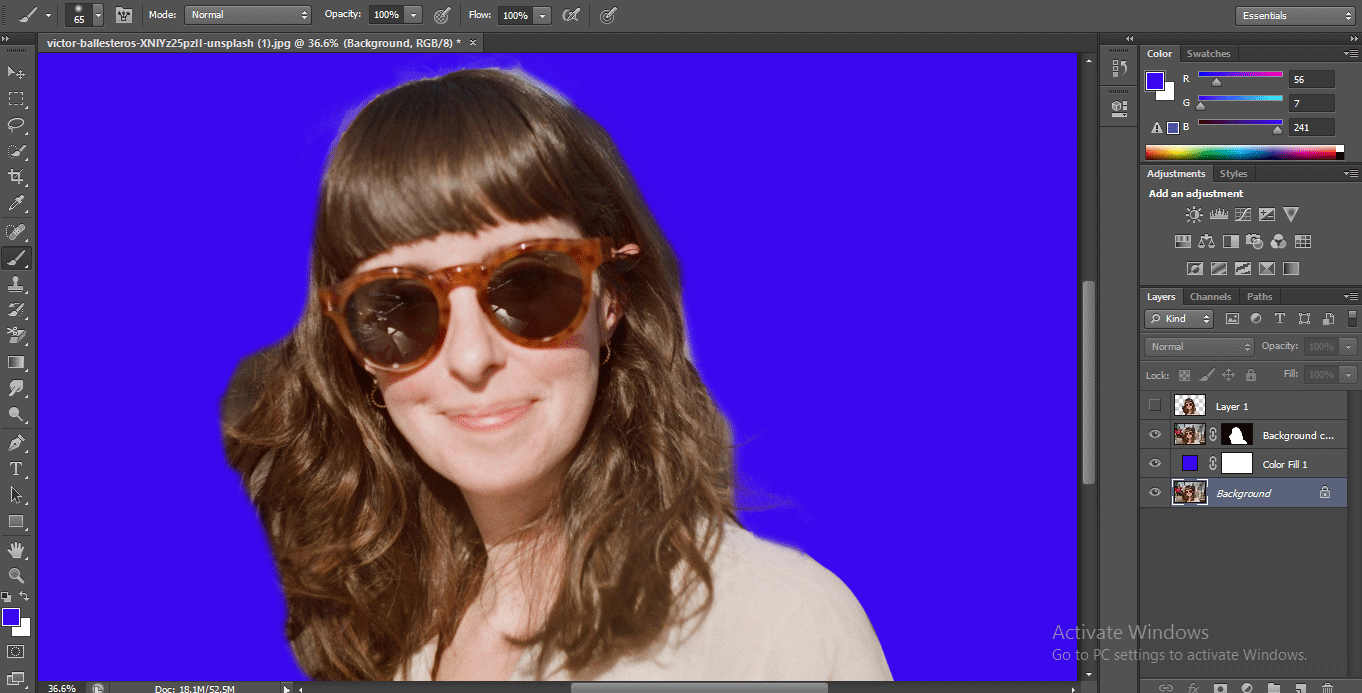
Step 7: Now click on Layer 1 and press the Delete button on the keyboard to delete the selected background area. The blue color will be shown in the background.
Step 8: Now, if your image has a small area with a background, you can leave that area at the time of selection with the Pen tool and follow the same steps as previously.
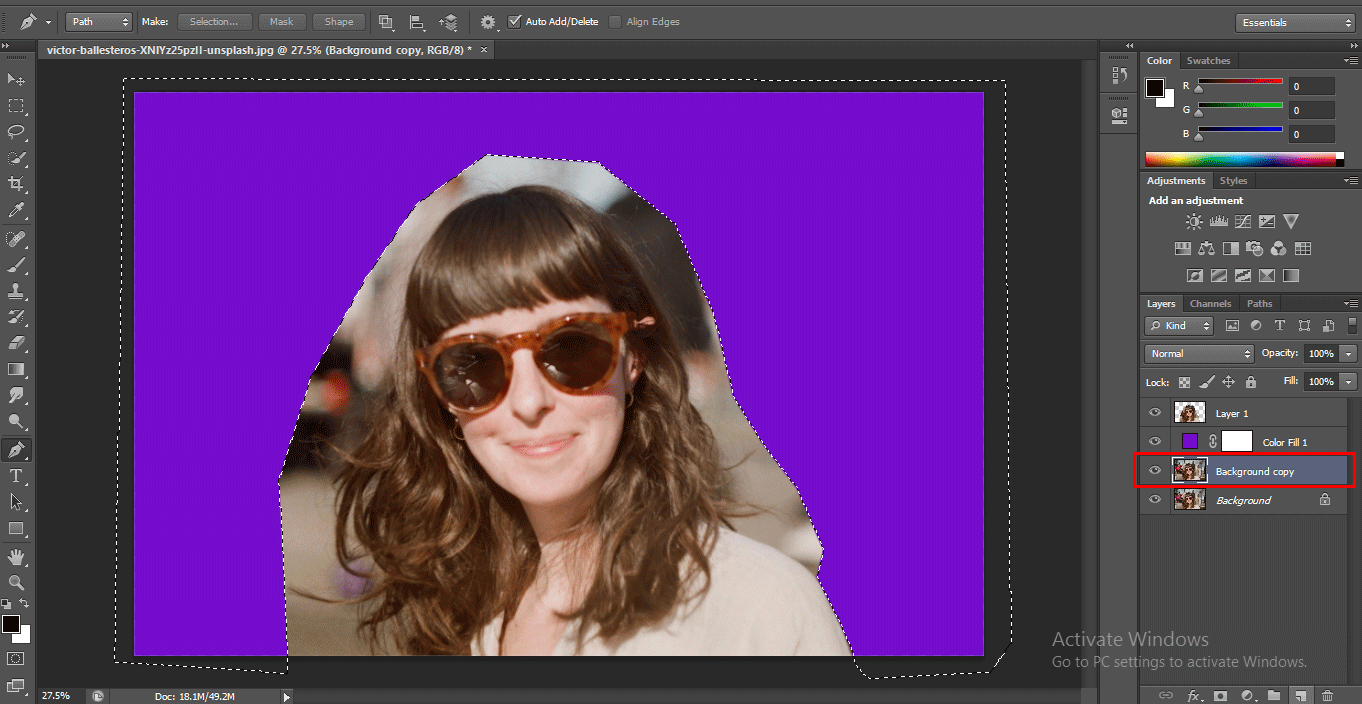
Step 9: Now, take the copy of the original layer; for making a copy of this image, click on the background layer and drag it to the create new layer option at the bottom of the layer section.
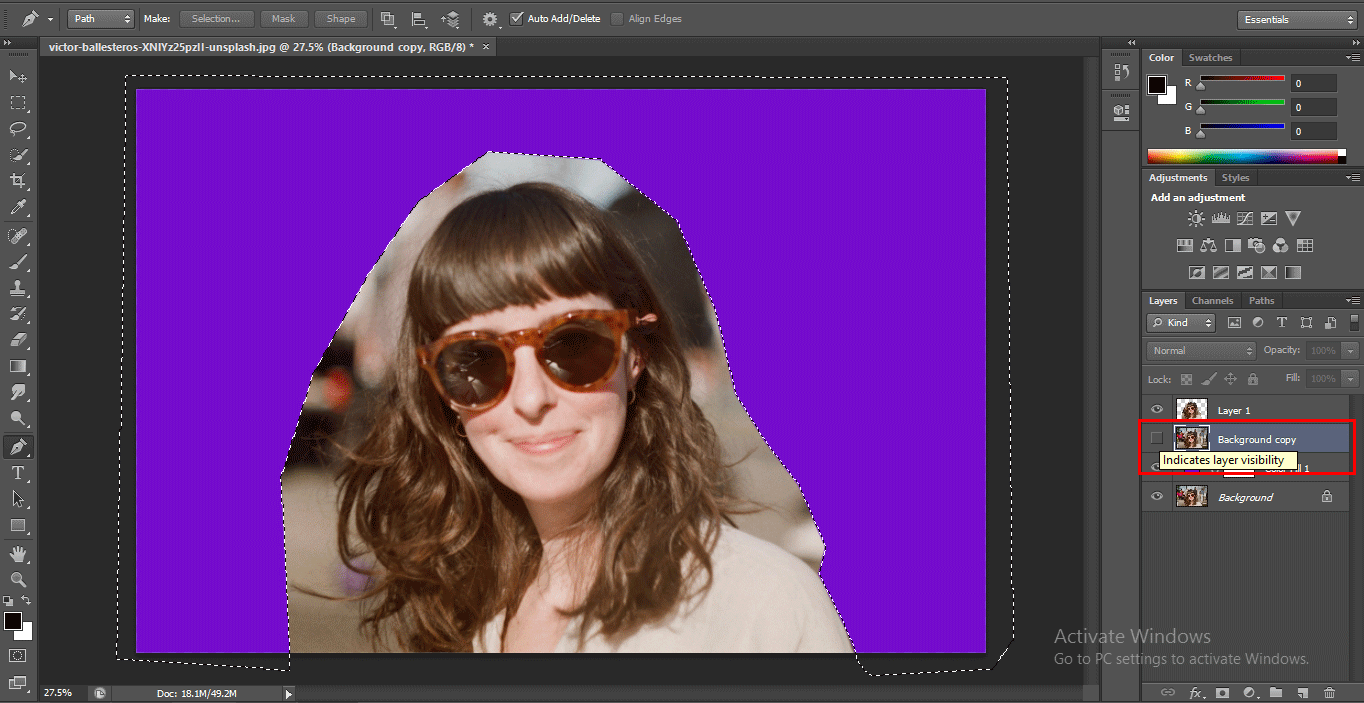
- And move background copy below layer 1 and hide this background copy layer by clicking on this layer’s eye icon.
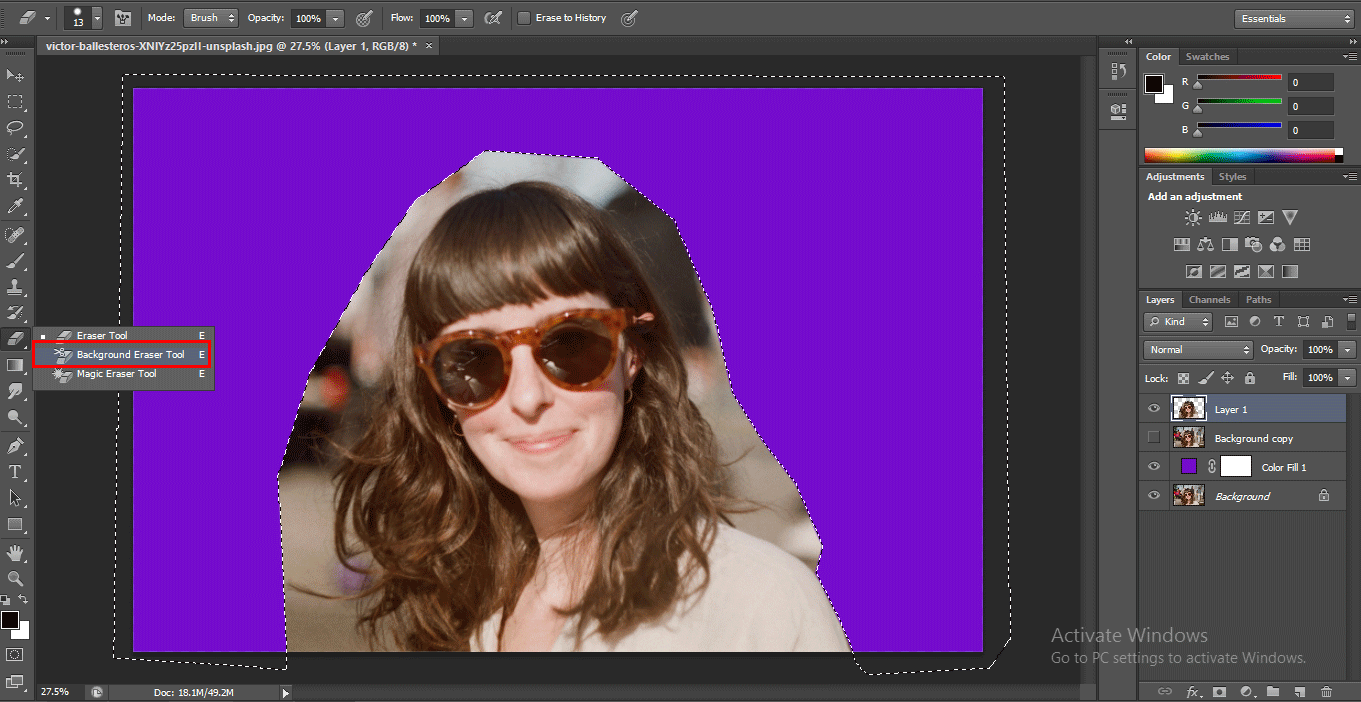
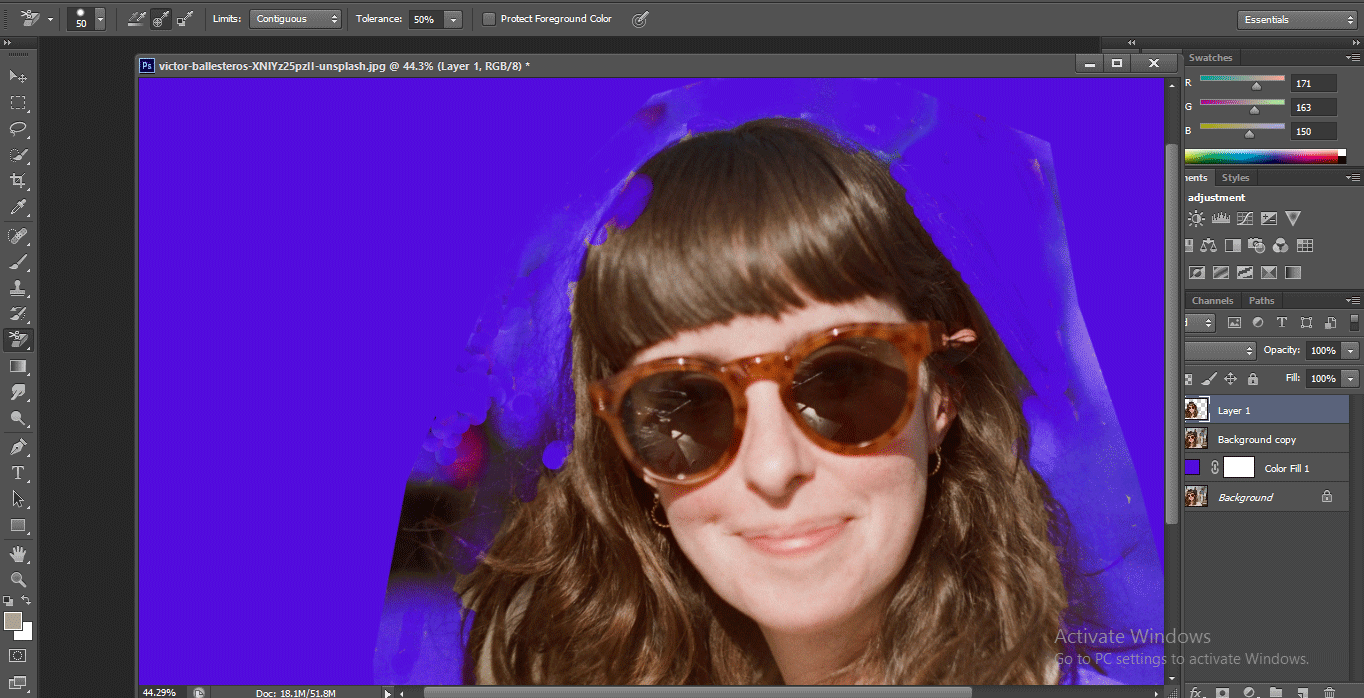
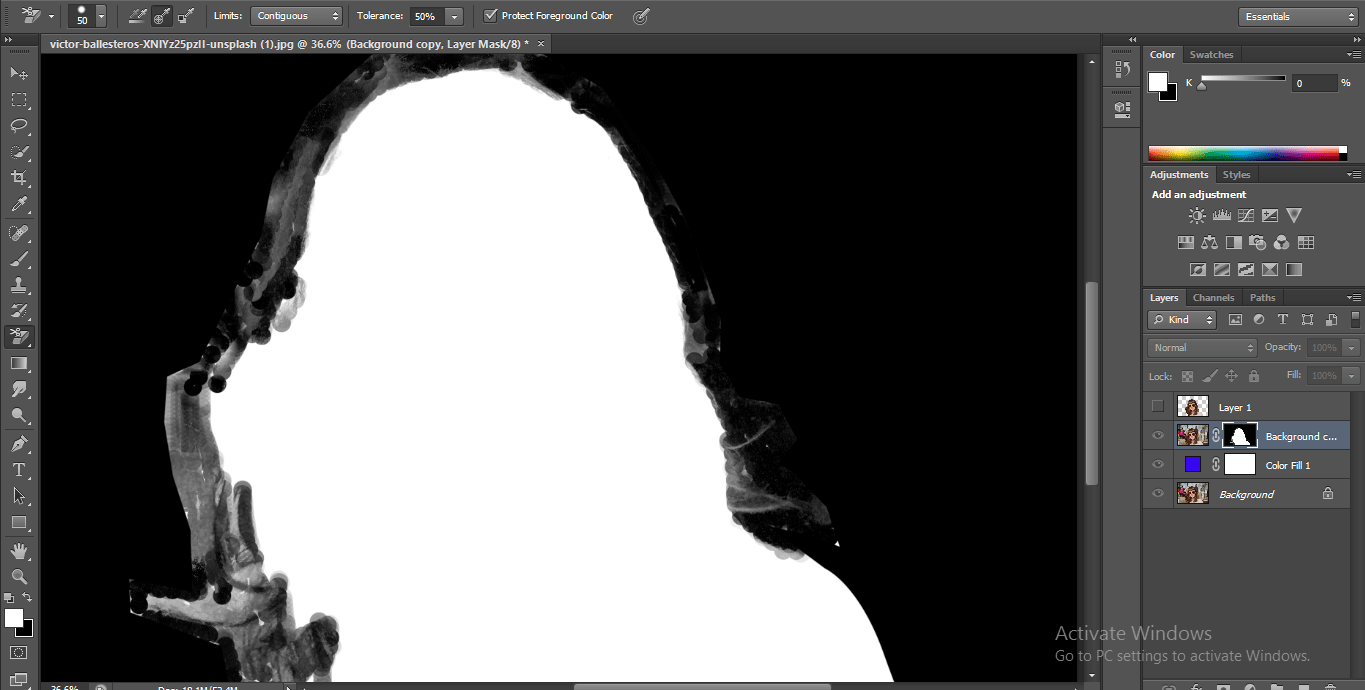
- Now click on layer 1. Take the Background Eraser tool from the tool panel.
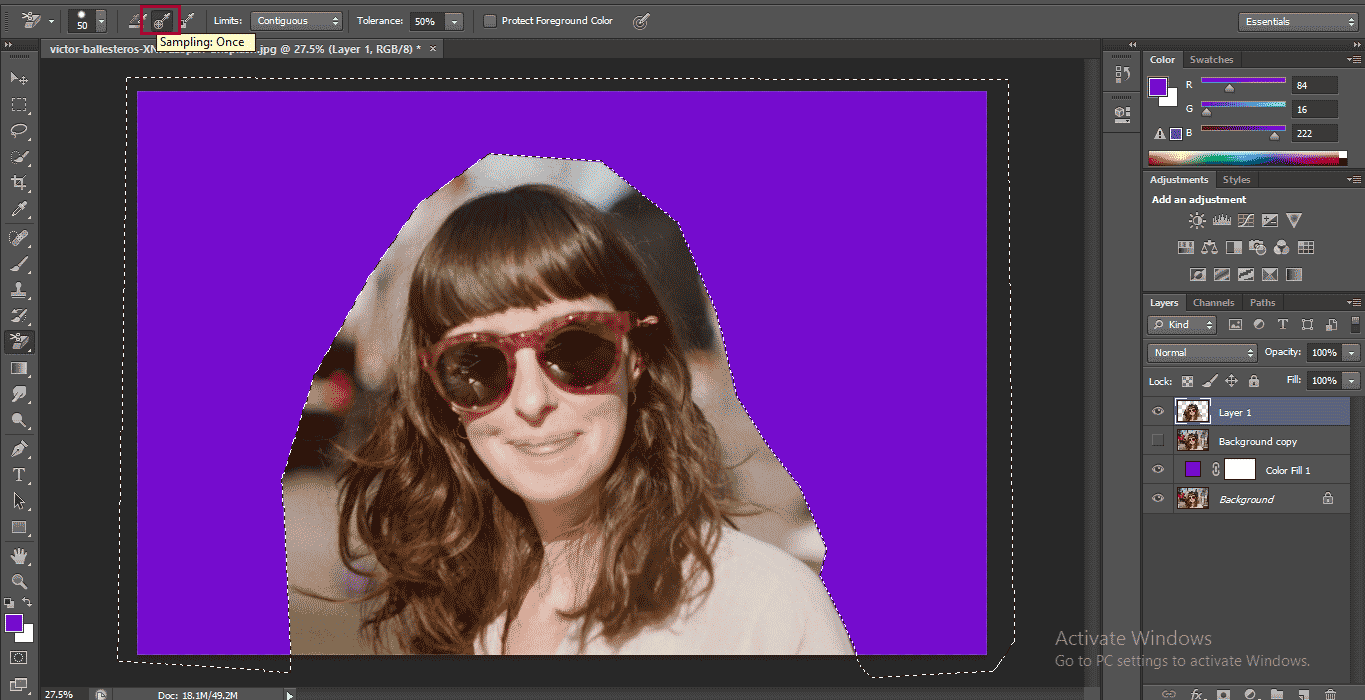
- Go to the top of the Photoshop software’s working area and select the ‘Sampling: Once’ option of the Background Eraser tool from its property.
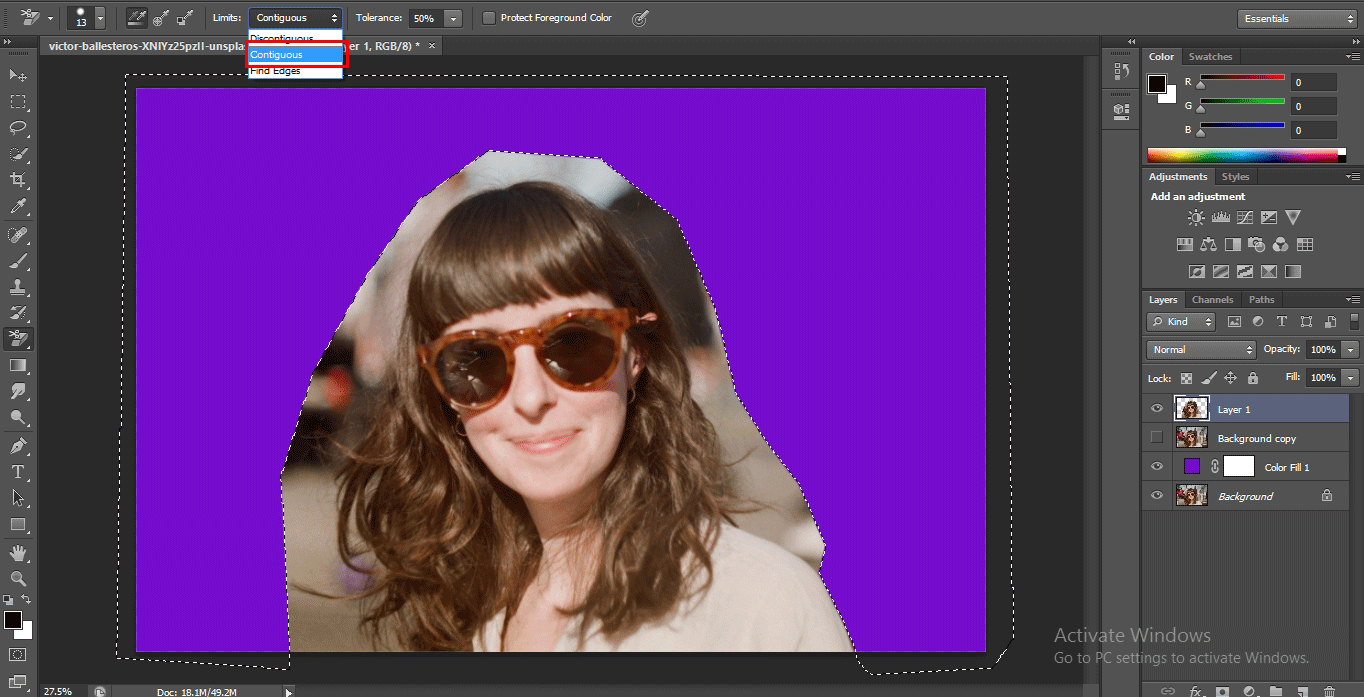
- Now select the Contiguous option in the Limits option of the Background Eraser tool.
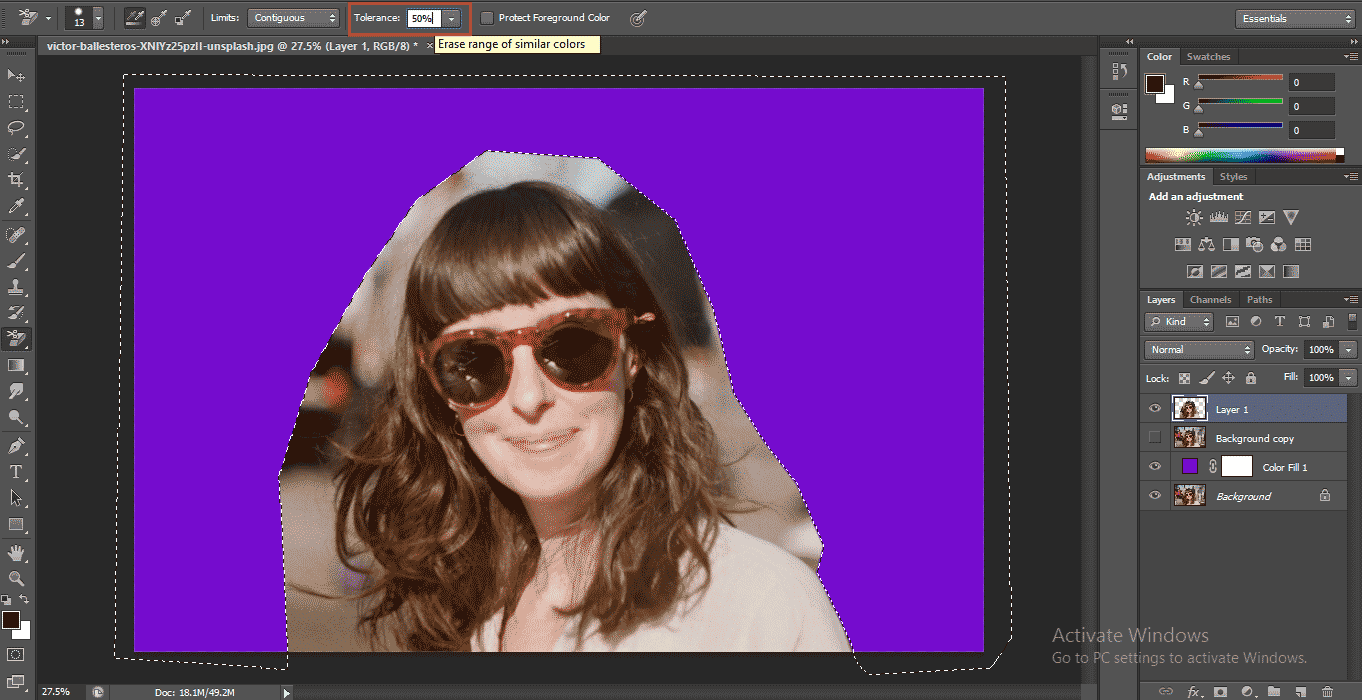
- Set the tolerance to 50%.
Step 10: Now, after doing these settings, click on the area you want to remove and drag the mouse pointer from where you want to remove the background.
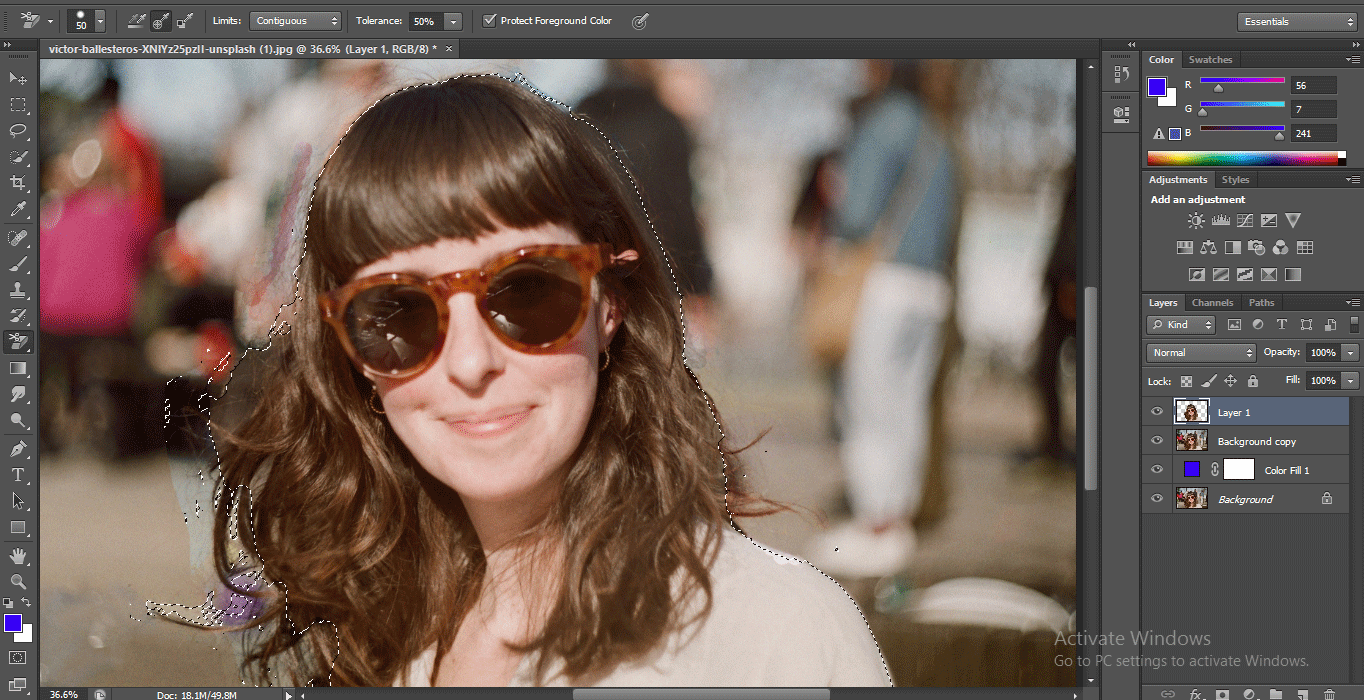
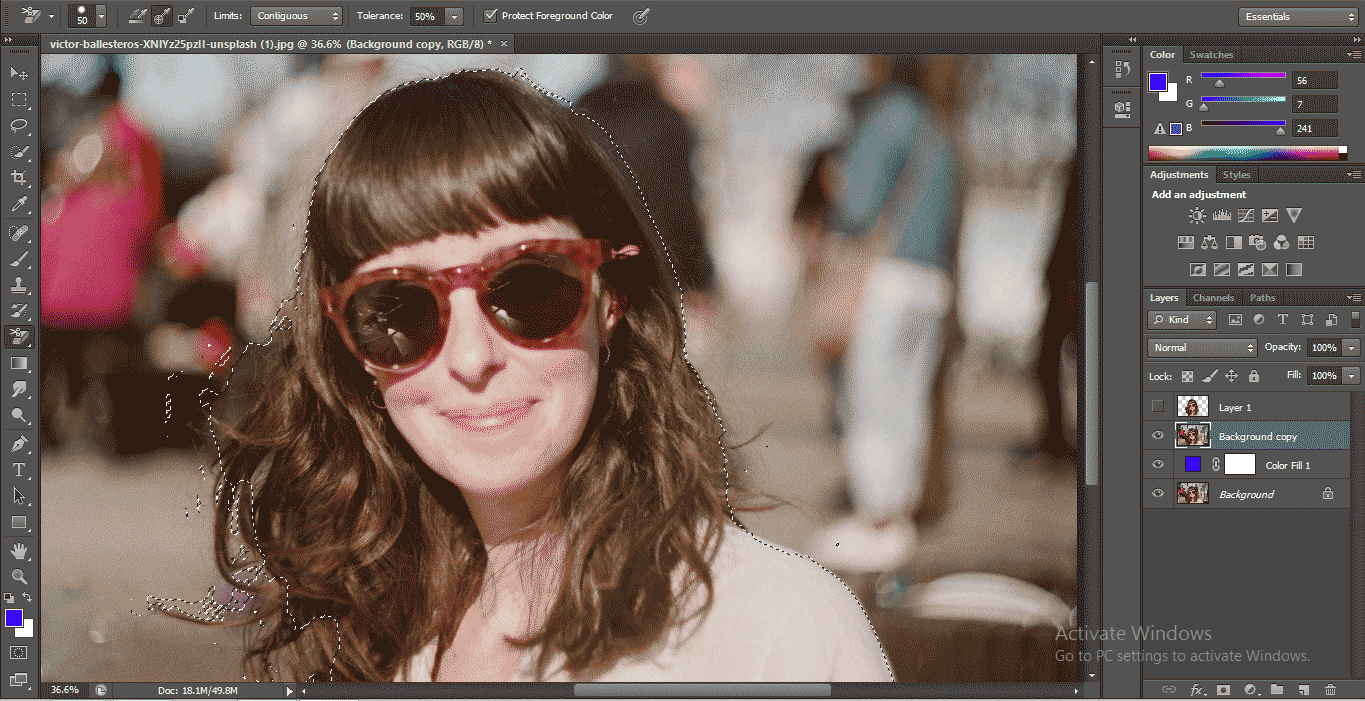
Step 11: Once you have done the removal with a background Eraser tool. Go to the layer section and unhide the background copy layer; now again, click on the thumbnail of layer 1 and hold the click and press the Ctrl button on the keyboard. Your perfect selection will be active now.
- Hide layer 1 and click on the background copy layer.
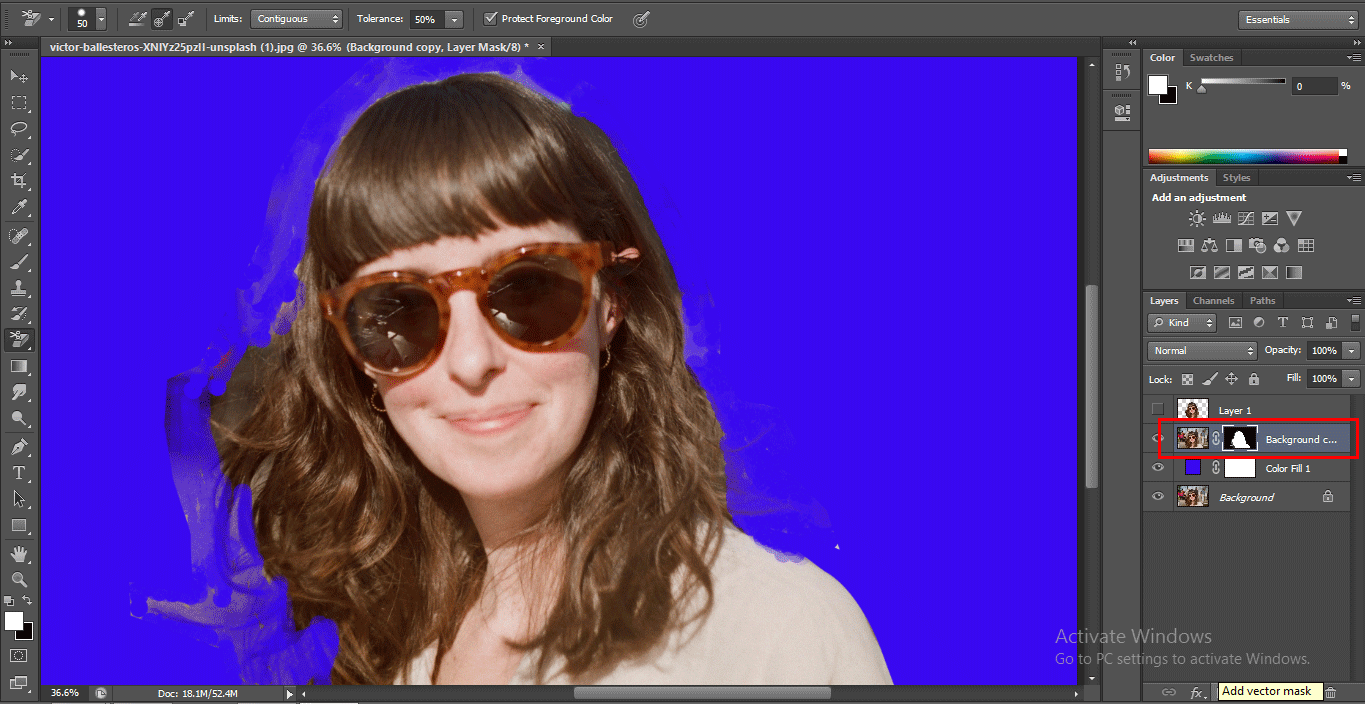
- Click on the Layer Mask option at the bottom of the layer section.
- Now press the Alt key on the keyboard and click on the generated mask by holding the keyboard’s Alt button.
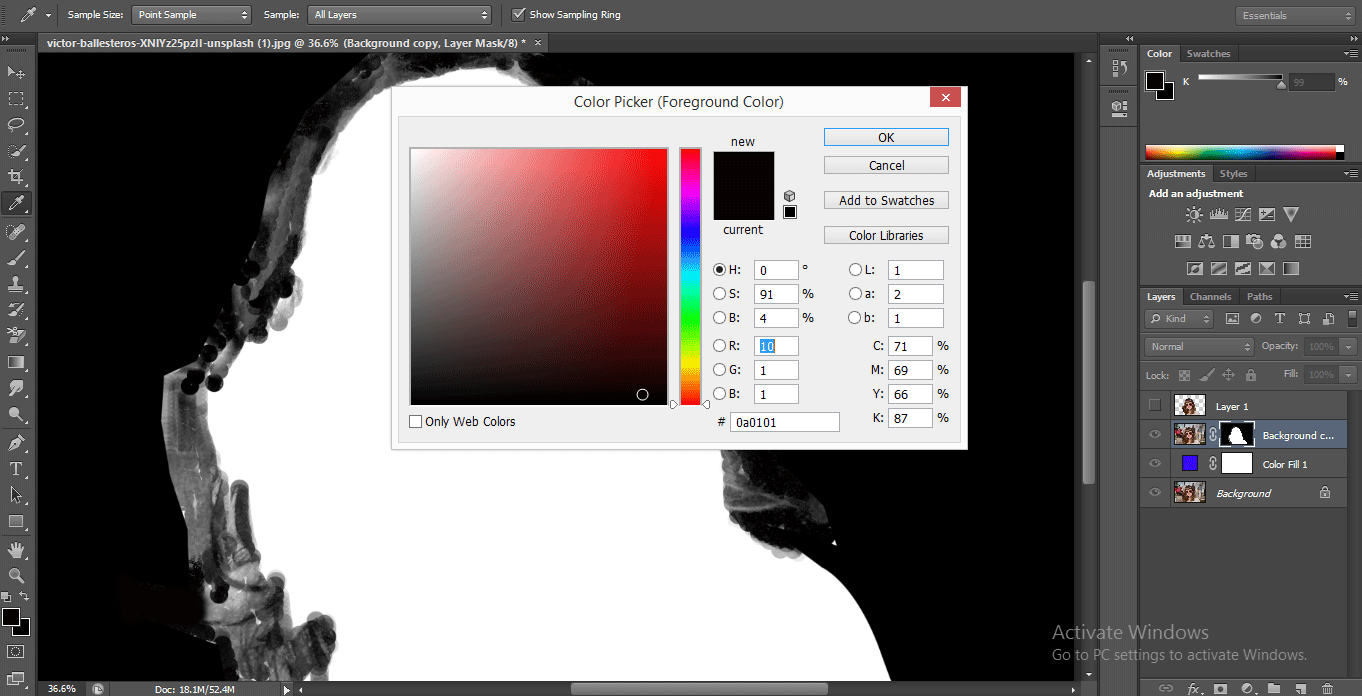
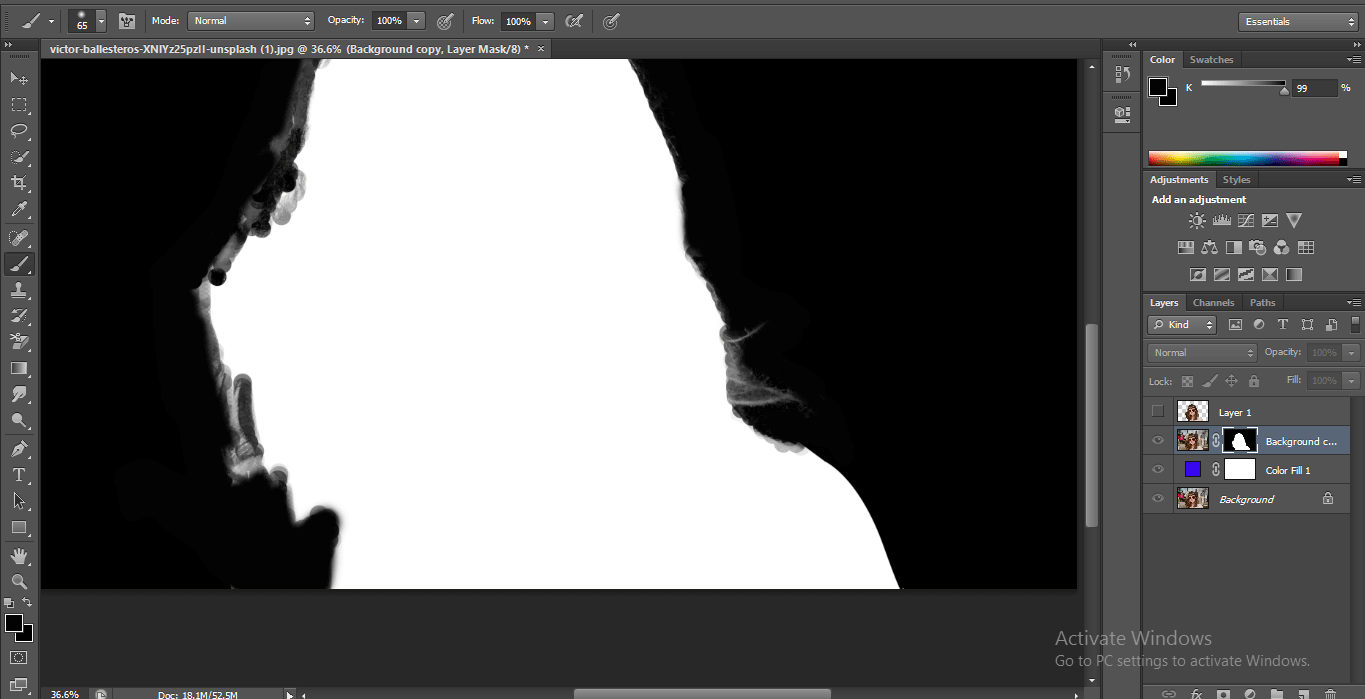
Step 12: Now, you can see the black and white image with the masking area. Take a brush tool from the tool panel.
- And double click on the color icon of the brush, which is at the bottom end of the tool panel. The color panel will be open, choose a black color from here and press the OK button of this dialog box to active black color in the brush.
- And erase the whitish area from the background, which was not perfectly removed in previous work.
- And again, take the white color in the brush and fill it in the masking area if the black color is mixing with it.
Step 13: Once you have done the removal of the background of the image, click on your original image. Now you will find the background of the image is totally replaced with a blue color background.
- This is the simplest and easy way of deleting a background in Photoshop software with maximum accuracy.
Conclusion – How to Delete Background in Photoshop?
Here in this article, we have seen in almost all aspects of the removal of background in Photoshop, and now you can easily work with this technique for your project use. Once you have a good command of this technique, the removal of background becomes an easy task for you with more and more perfection in your work.
Recommended Articles
This is a guide to How to Delete Background in Photoshop? Here we discuss the steps for deleting the background in photoshop in a simple manner. You can also go through our other related articles to learn more –

