Updated September 13, 2023
Introduction to 3ds Max Interior Design
3ds Max is a 3d modeling software that 3d modeling graphics professionals widely use. It was developed by Autodesk Inc. in 1996. We use this software for different types of works, such as in interior designing, used by video game developers for character modeling and game designing, used by the architectures for architectural work and for other digital media works. Here in this article, we will discuss ‘What is interior designing?’ and ‘How can we create an interior design in 3ds max software?’ in a very interesting manner.
Interior designing is an idea for decorating any architectural area or incorporating something in that area. Here we will understand interior design by example and learn the basics of interior design to better understand this.
How to Create an Interior Design?
We will learn this through some simple steps in a very easy way of learning. So let us start:
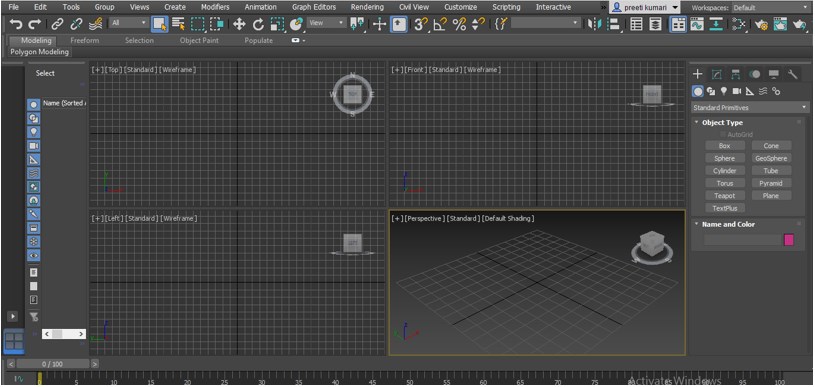
Step 1: This is the user interface of 3ds max software. Its user interface area has four viewports: Top viewport, Front viewport, Left viewport, and Perspective viewport. This viewport helps you in locating your 3d object from different angles.
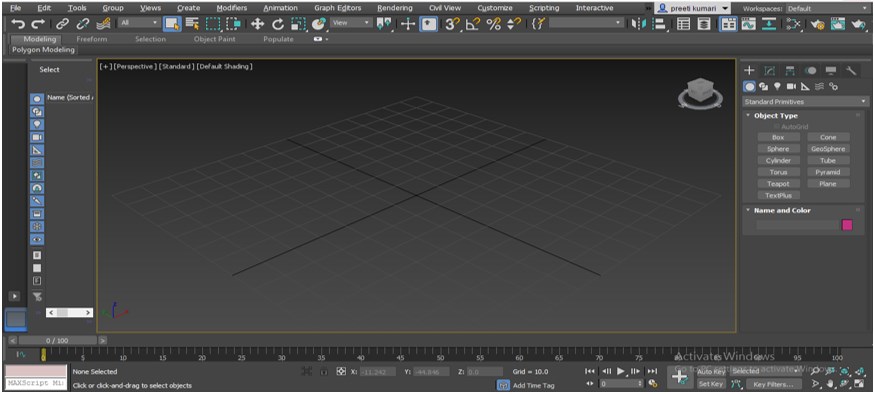
Step 2: You can make the full screen of any viewport by pressing Alt + w button from the keyboard and again press Alt + W to come back on a normal screen.
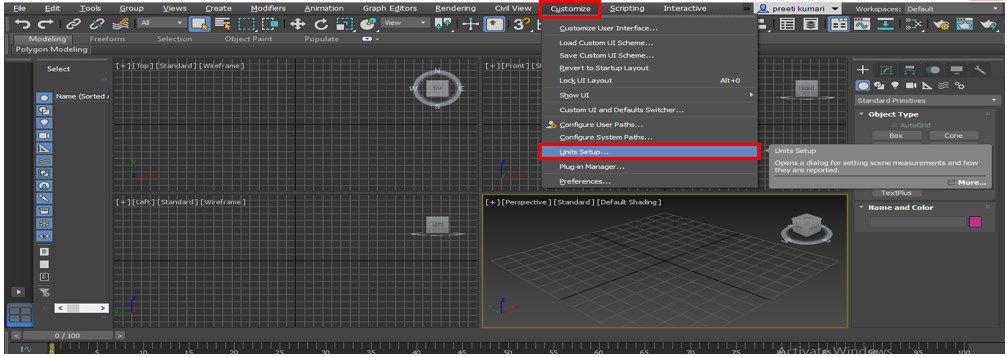
Step 3: Before starting any modeling in this software, we should set units. For unit set up, go to the ‘Customize’ option of the Menu bar, which is at the top of the working area and click on the Units Setup option of the drop-down list.
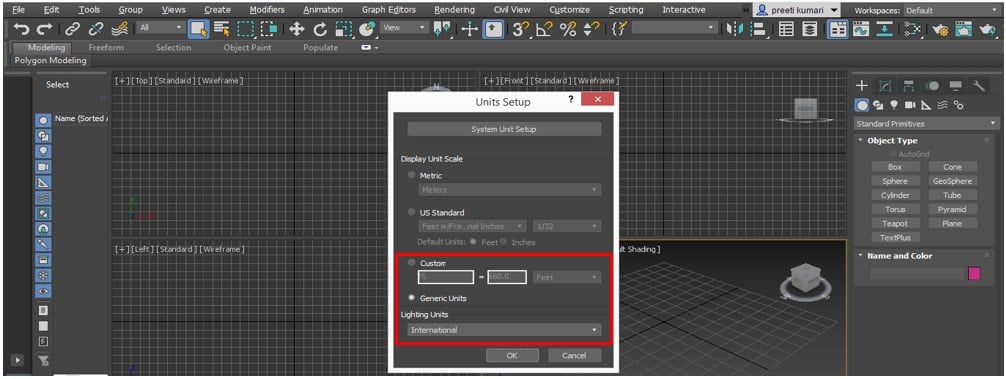
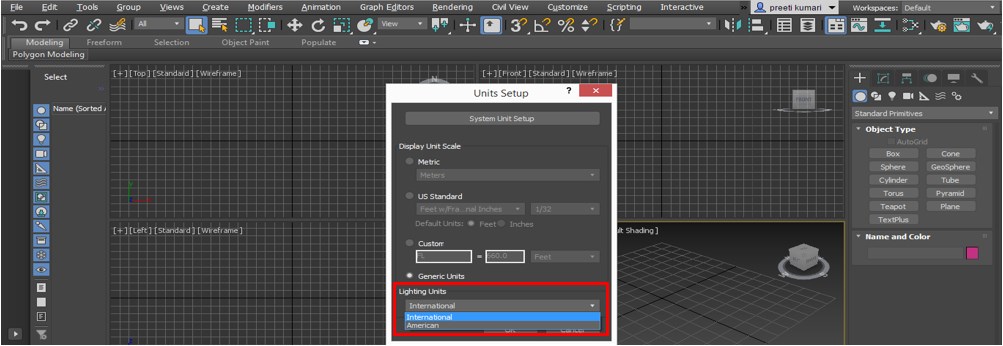
Step 4: Unit Set up box will be open. Here in-unit set up the box; we have different types of unit parameters such as Metric, US Standard, Custom and Generic Units.
Step 5: We will click on the Generic unit and choose the International option in it. We are choosing this option so that when we import any layout plan from other software into this software, then there will be no effect on the unit of that layout plan. Now click the Ok button of this unit setup dialog box to apply the settings:
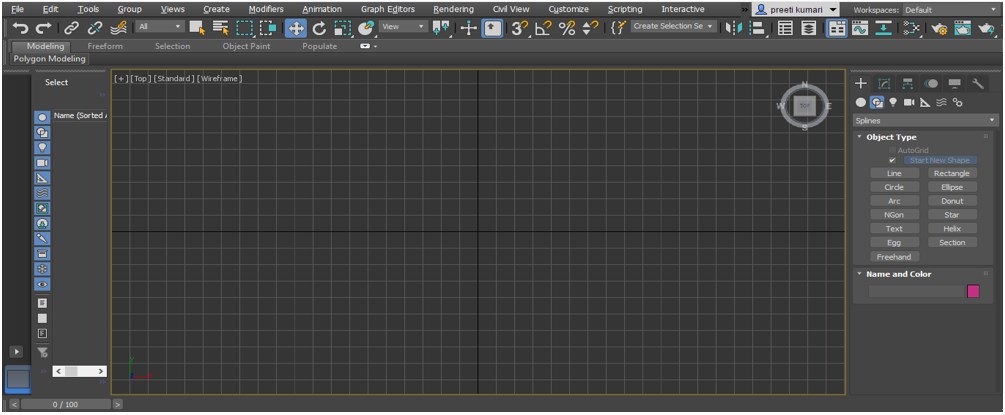
Step 6: Let us make room for our interior designing learning. For making a layout of the room, I will take a line command from the control panel of this software. You can import a pre-designed layout of the room from Auto Cad software.
Step 7: Now click on Top viewport and press the Alt + W button for a full screen of this viewport:
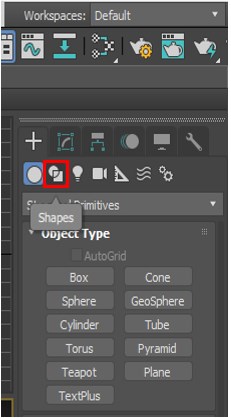
- For line command, go to the control panel. Click on the Shape Option.
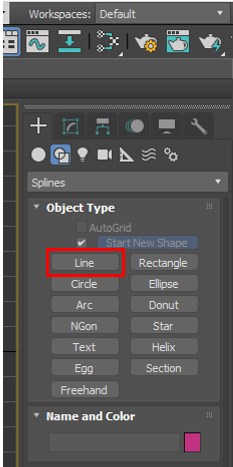
- Choose Line command from here.
Step 8: I will make a 2d snap ‘On’ for better alignment, which is at the top of the working area of this software.
Step 9: Now, make the layout of the walls of the room like this. When you close the line shape, it will ask whether you want to close the shape or not by showing a dialog box like this. Then click on the Yes tab of this box:
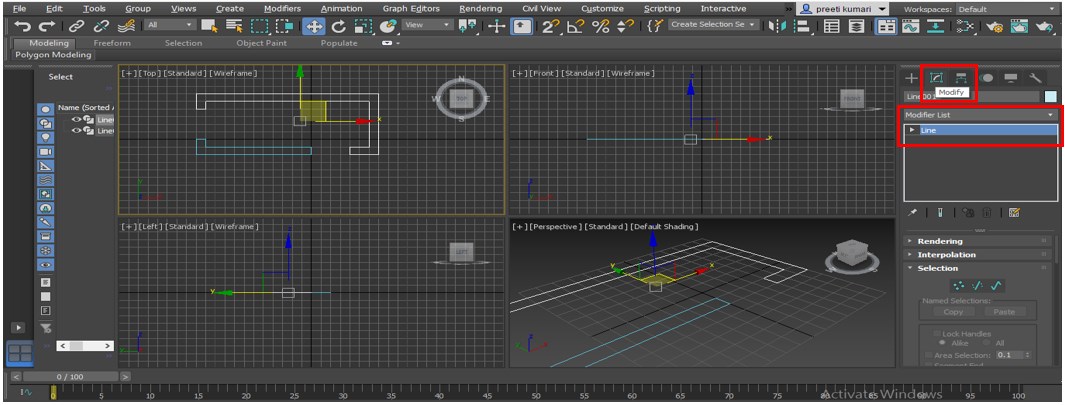
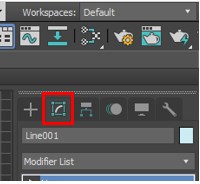
Step 10: Now select the wall layout, go to the control panel again, and click on the modify option.
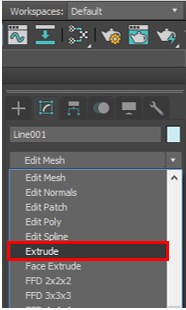
- Now click on the down arrow key of the modify List option.
- And Search for the Extrude option.
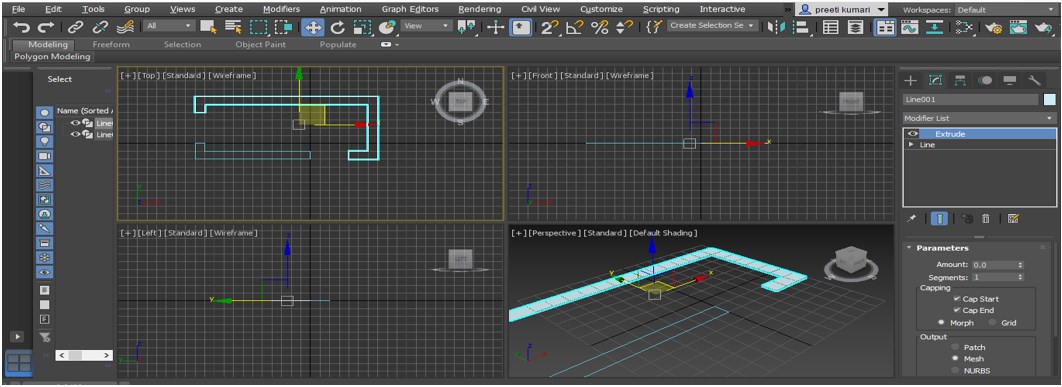
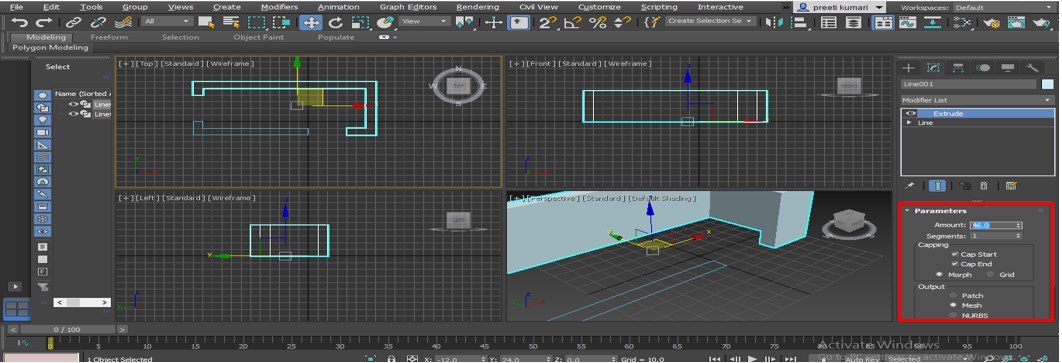
Step 11: Once you click on the ‘Extrude’ button, height will be added to the layout of the wall area.
Step 12: Now, give the height of the wall according to you in the parameter section. You can give the value of height manually if you are making a professional project.
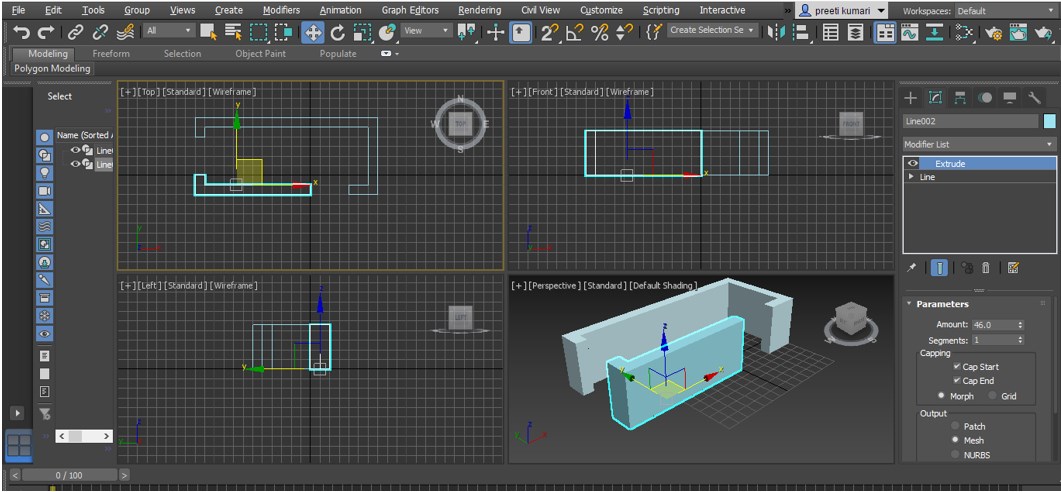
Step 13: Now, select another area of the wall and add height in this section as we did in the previous step.
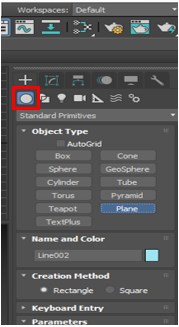
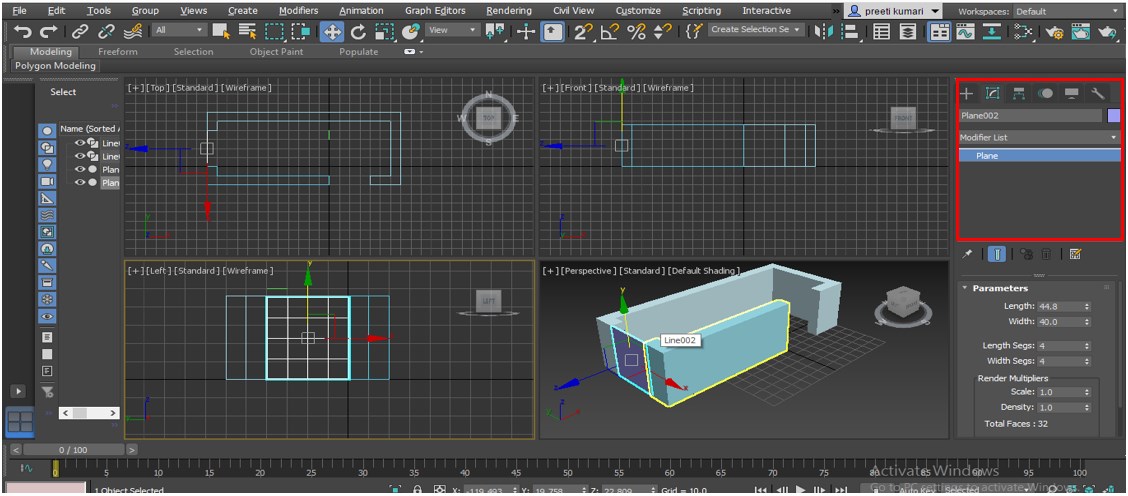
Step 14: I will make a window in this room; I will use a simple plane for making a window. For the plane, go to the control panel of this software and click on the Geometry option of this panel.
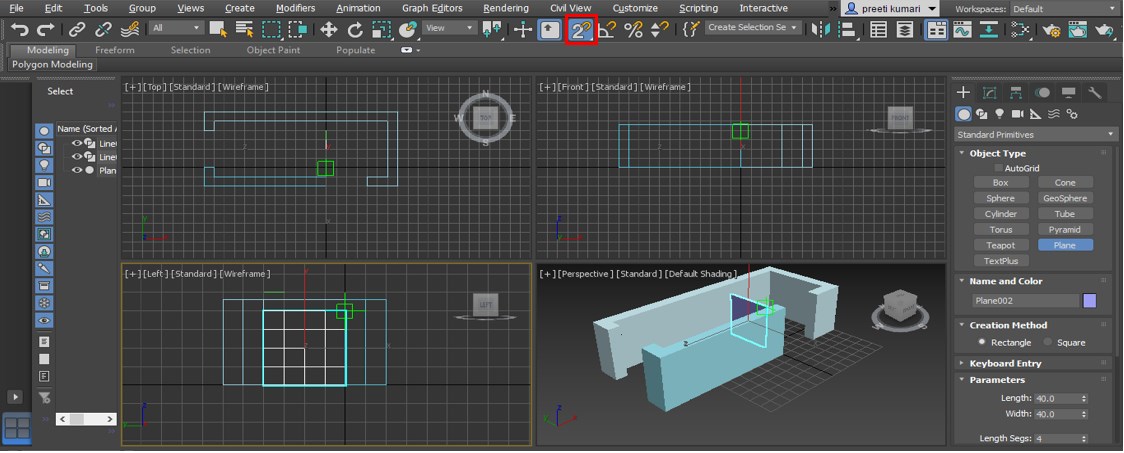
Step 15: Make 2d snap On and draw a plane from the Left viewport.
Step 16: Now adjust the plane at its position by managing it from different viewports.
- You can add glass, doors and other highlights in the window section of this room at any point in your work.
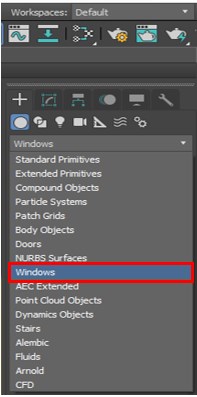
- You can also use the pre-designed window and door from the ‘Standard Primitives’ option. Click on the down arrow key of this option and choose the ‘Windows’ option from here:
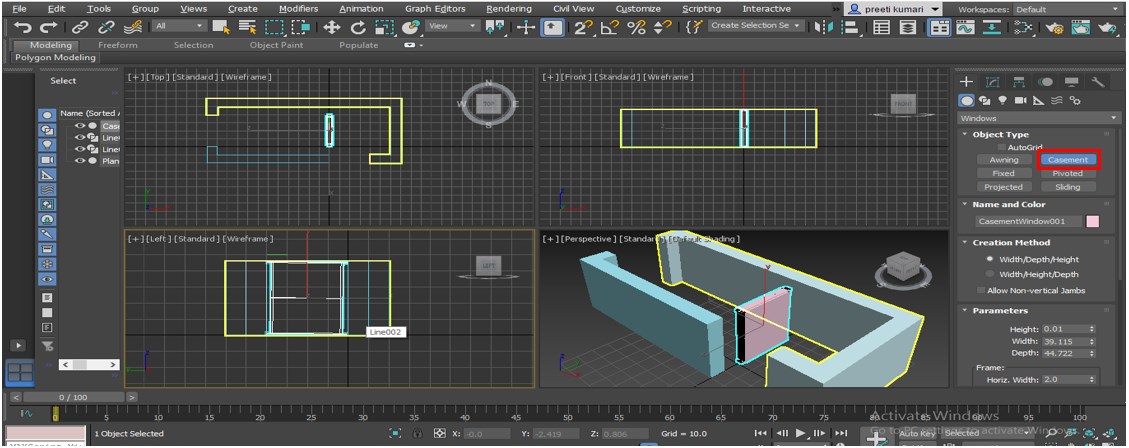
Step 17: Choose the type of window from the object type section and draw it at the window area:
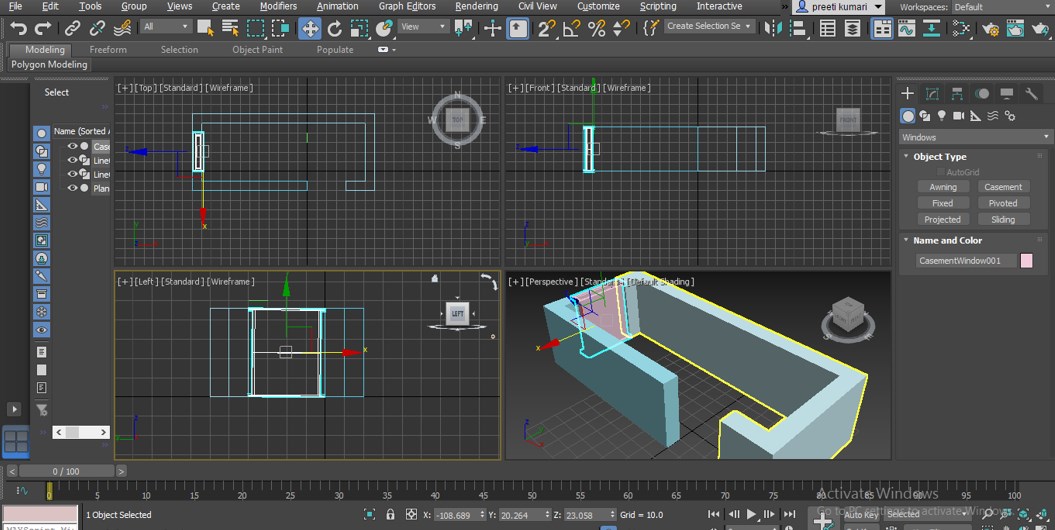
Step 18: And adjust it at its option if it is not on that option.
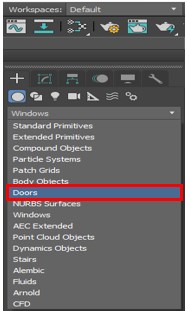
Step 19: Now, we will add the door to this room. Again, for the pre-designed door, click on the Geometry option and click on the down arrow key of the Standard Primitive option. Now choose the door option from here.
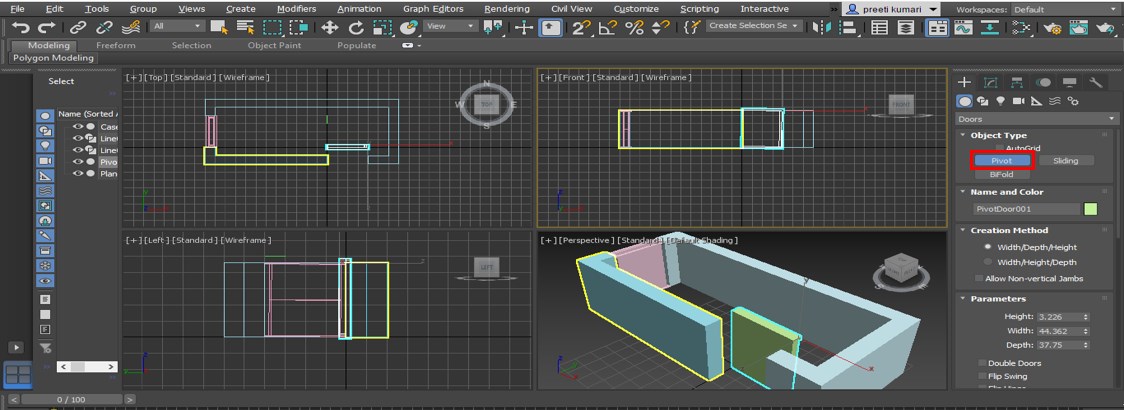
Step 20: Choose the type of door from the object type section of the door and draw the door by giving the height and width of that door:
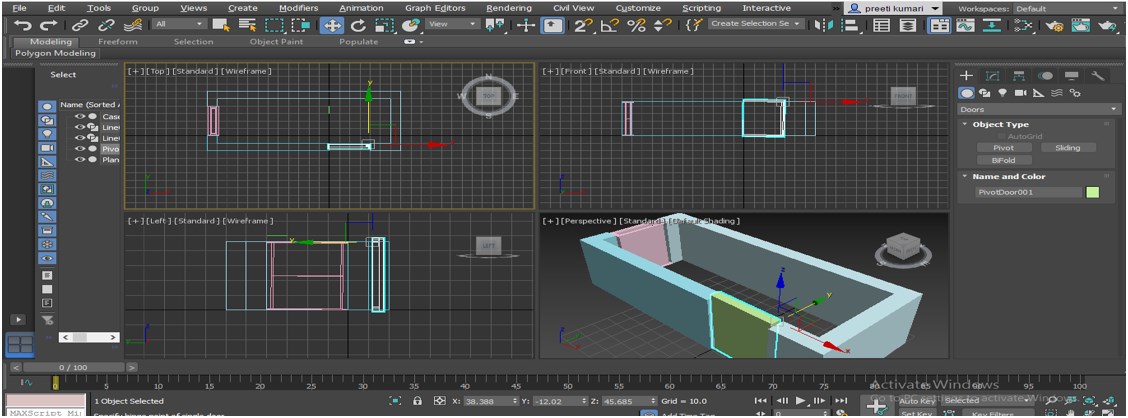
Step 21: Now click on the Move tool and adjust the door at its option by managing it from the different viewport.
Step 22: You can make different types of things for placing them in the room, such as racks, televisions set up, tables, chairs, and other decorating things. You will get familiar with these things after practicing on this software.
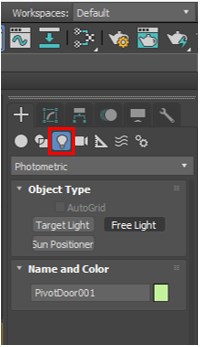
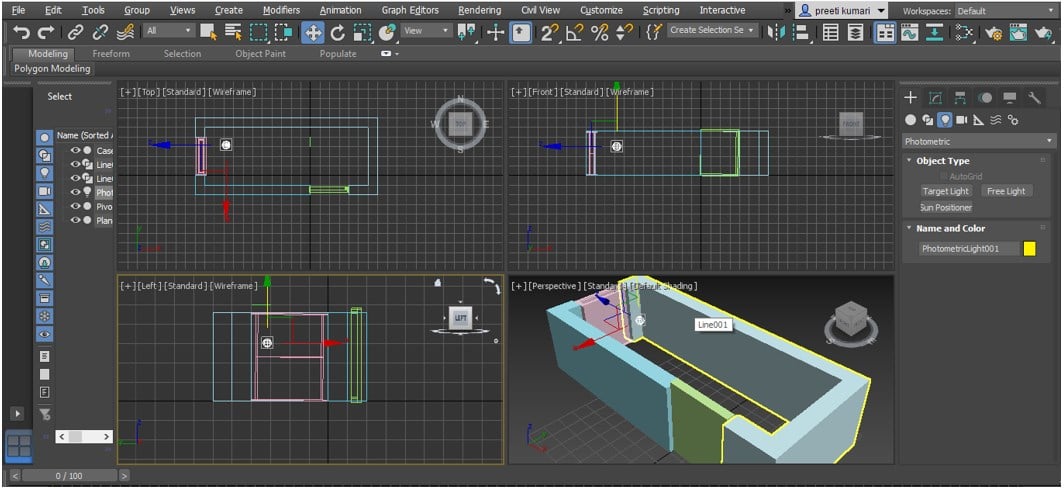
Step 23: You can also add light to the room. For adding light, click on the light icon in the control panel and choose the type of light which you want to use in your room.
- Place the light at your desired place.
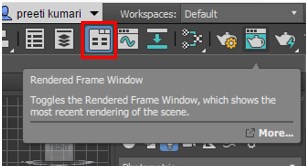
- Now click on the Rendered Frame Window option to see the effect of light in the room.
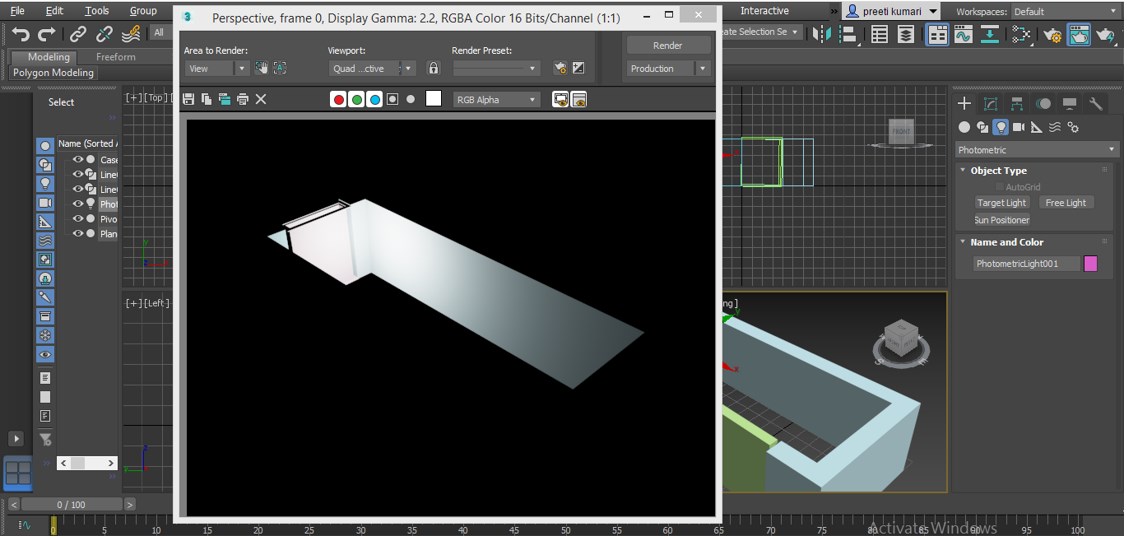
- Click on the render button of the opened window, and you can see the effect of light in your room.
This is the basics of Interior design. By using this idea, you can make a very professional interior design of any layout.
Conclusion
After this article, you can easily understand ‘What is interior designing?’ and ‘How you can create an interior designing in 3ds max software’? You can enhance your interior designing skills by practicing on it, and once you have command of it, you can easily make a highly professional interior designing.
Recommended Articles
This is a guide to 3ds Max Interior Design. Here we discuss how to create and enhance an interior designing in 3ds max software in a step by step manner. You can also go through our other related articles to learn more –

