Updated May 29, 2023
Excel Form Controls (Table of Contents)
Introduction to Form Controls in Excel
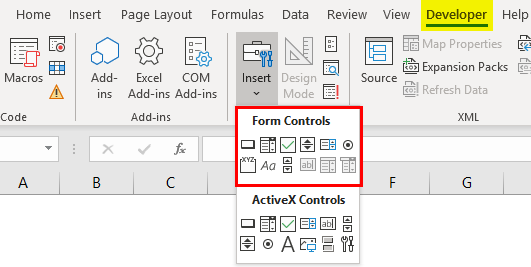
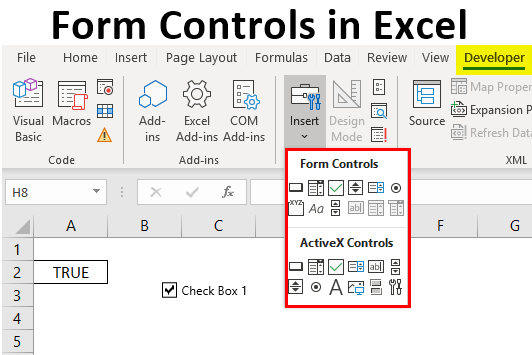
Form Controls objects create buttons, boxes, list bars, and scrolls. Form controls can be accessed from the Developer menu tab with two types of sections in it. The first is Form Controls, and the other is ActiveX Controls. Here we will only be seeing Form Controls in detail. Form Controls has Buttons, Combo boxes, CheckBox, Spin buttons, List boxes, Option Boxes, Group Boxes, Scroll bars, Text fields, Combo List-Edit, and Combo Drop Down-Edit, respectively. Below we have the screenshot.
How to Use Form Control in Excel?
Use Form Control and Go to the Developer menu tab (If activated from the File menu option). We can find Form Control under the Control section, as shown in the screenshot below.
Form Controls in Excel allow us to create different types of controls by just selecting and dragging them anywhere in the worksheet. The work doesn’t end here; we will need to connect the inserted Form Controls with the data, where we would get some values output by scrolling and checking the boxes.
Example #1
In this example, we will see all the objects in Form Control one by one. For this, you just simply need to select the Form Control boxes from the menu option and drag and draw to get the button shape object.
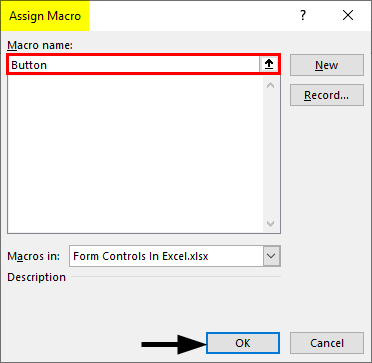
1. Buttons – Once we select and draw this button, we will immediately get a dialog box of Assign Macro. Now there, edit and give a name to Macro Name. Here we have kept it as Button.
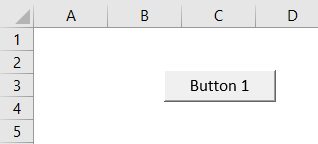
We will then get a button in the area where it is drawn.
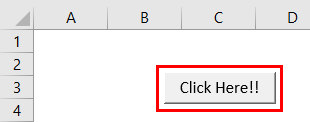
We can edit the button’s name as well, just by putting the cursor on it.
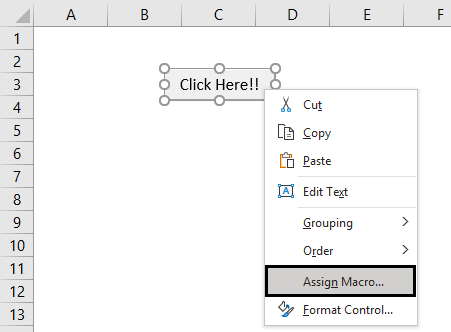
To assign a macro to this button, right-click and select Assign Macro.
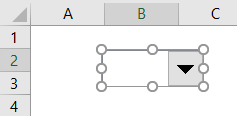
2. Combo box – To use Combo Box, select the option and draw anywhere on the sheet.
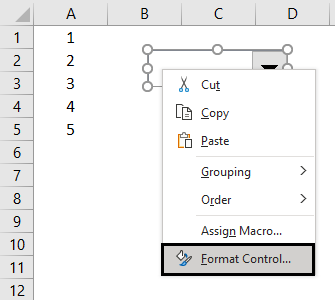
To assign value to the Combo Box drop-down, click right on it and select Format Control.
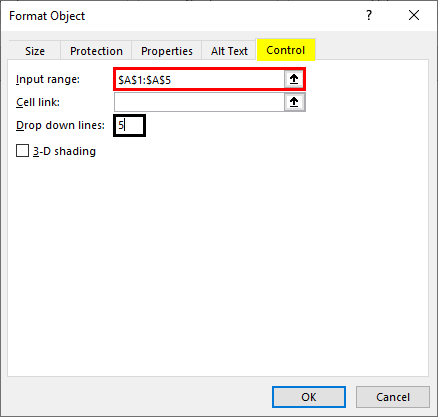
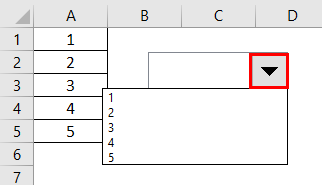
Select the range of input cells. Here it is from A1:A5 with drop down lines as 5.
Once done, click on the drop-down arrow, and we will be able to see all the selected values. And we can select any value as well.
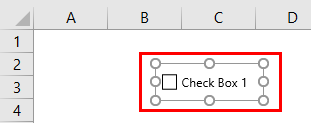
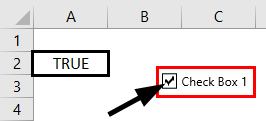
3. CheckBox – This is used when we just need to mark an option for status. Please select this option from Form Control and draw it.
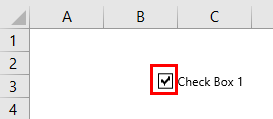
We will see a Tick inside the box just by a single click on it.
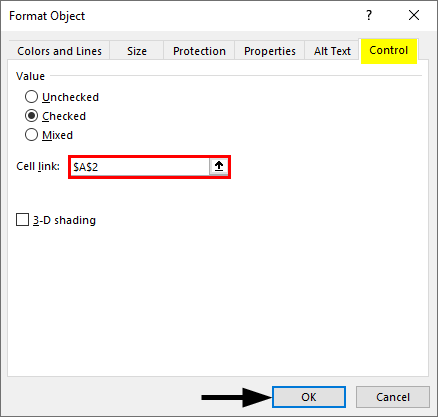
Right-click on the box and select Format Controls. Select the type and cell link as shown below.
When we check the CheckBox with a tick mark, we get TRUE at the selected cell. And FALSE when unchecked.
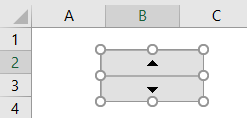
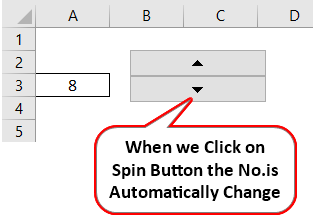
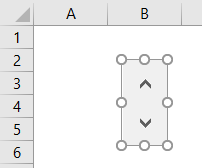
4. Spin Button – As the name says, we can spin around the selected values by this. Select and draw this on the worksheet.
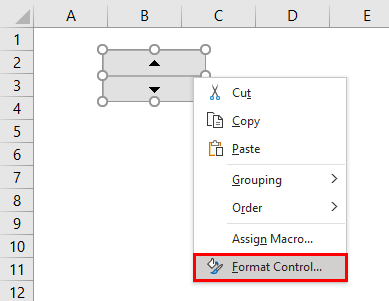
Right-click and select Format Control.
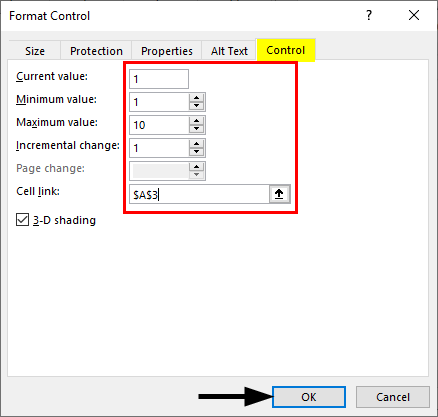
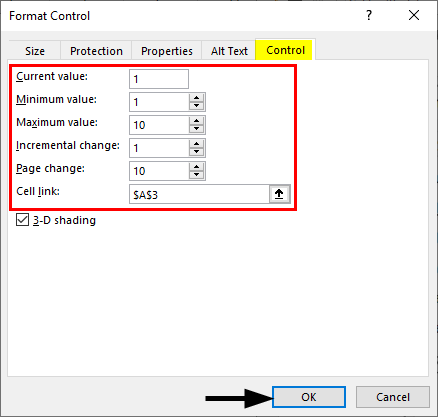
Now under the Control tab, give the limit as per requirement and select the cell link.
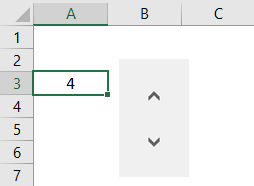
We can then click on the Up and Down arrow to navigate the values from 1 to 12.
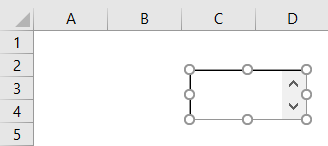
5. List Box – A list Box can contain any range of list values. Select the option and draw anywhere on the sheet.
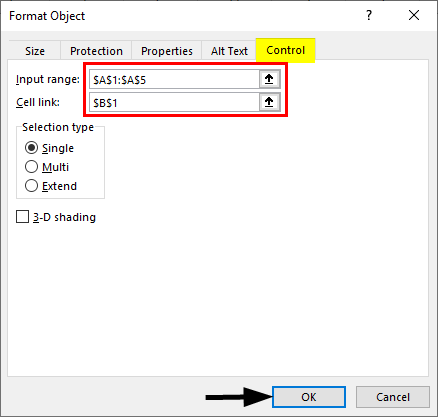
Right-click on any List menu and select Format Control. Then in the window of Format Control, select the Input range and Cell link. Here we have selected the range input range of numbers 1 to 5.
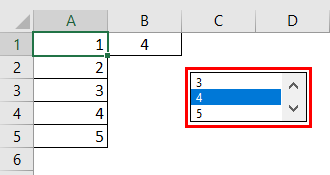
In the List box, we will see all the numbers from the input range. We can navigate up and down and select and number. And the number will be seen in Cell Link B1.
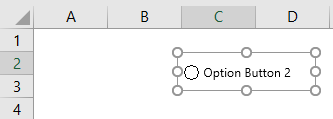
6. Option Button – This is used when we need to select one option among others. Select and draw this anywhere in the worksheet.
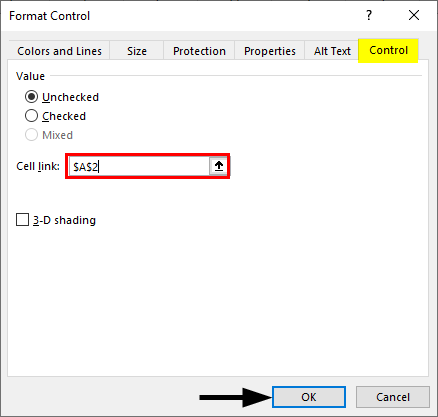
Right-click on this and select Format Object. Now in the window below, select the Cell Link. We have selected cell A2.
If we select this option box, reference cell A2 will be seen with a value of 1. And unchecking it will show 0.
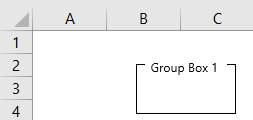
7. Group Box – This is used for multi controls. This only allows us to group other controls under it. Select and draw in a worksheet.
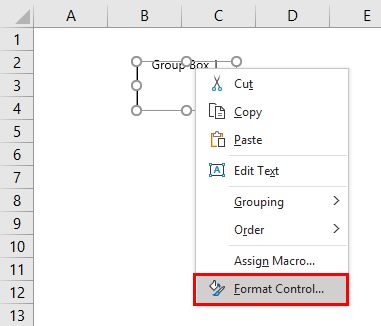
Right-click on it and select Format Control, as shown below.
To group different controls here, we first need to have a customized Radio control.
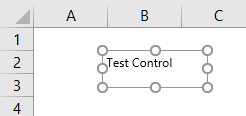
8. Label – The label works just as a simple sticker. Its main purpose is to show the value or text entered, as shown below.
9. Scroll Bar – With this, we can navigate the window up and down as we did in the List button. This is what it looks like below.
Right-click and select Format Object. From there, select the minimum and maximum value and cell link.
By clicking the up and down arrow, we will see the change in cell A3, our cell link.
The rest of the Controls are not activated. All those left controls are customized.
Pros of Form Controls
- All the mentioned controls are easy to implement. And we all have seen some of them in our work.
- The format Control option is the same for most of the control. So it becomes easy to select the range and cell link.
Things to Remember
- Only use the ActiveX option for macros in the second part of the Insert menu.
- Use the Form Controls for both manual data and macros.
- Text Field, Combo List-Edit, and Combo Drop Down-Edit are customized form controls.
- You can also use Form Controls with charts.
Recommended Articles
This is a guide to Form Controls in Excel. Here we discuss how to use Form Controls in Excel, practical examples, and a downloadable Excel template. You can also go through our other suggested articles –
