Updated July 6, 2023
Introduction to Spring Boot Annotations
Spring boot is an open-source framework used to create production-grade and stand-alone applications. Spring boot provides many annotations that help configure many things for our application. Annotations are something that gives us metadata about the program. In addition, annotations are generally providing additional information. So spring boot made configuration easy for us by providing annotations.
Different Annotations of Spring Boot
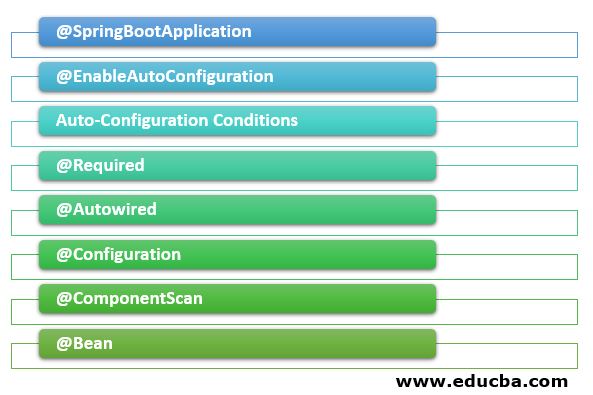
Spring boot provides so many different annotations, which are as follows:
1. @SpringBootApplication
This application is the combination of so many different annotations, which include:
- @Configuration
- @ComponentScan
- @EnableAutoConfiguration
This annotation is used in our application’s main class; it is our application’s entry point as well.
Example:
@SpringBootApplication
class SpringBootDemo {
public static void main(String[] args) {
SpringApplication.run(SpringBootDemo.class, args);
}
}
2. @EnableAutoConfiguration
This annotation is used to enable auto-configuration in our application. If a class contains this annotation, Spring Boot automatically looks for all beans on the classpath and automatically configures them.
Example:
@Configuration
@EnableAutoConfiguration
class DemoConfigure {}
3. Auto-Configuration Conditions
We have different conditions for auto configurations. So when we write our own or custom configuration, but we want Spring to use them on some condition, we can use this condition annotation to achieve this.
- @ConditionalOnMissingClass and @ConditionalOnClass: Now, we can pass the class object as an argument in the annotation. Spring will only use this auto-configuration bean if we pass the argument in the annotation.
Example:
@Configuration
@ConditionalOnClass(DataSource.class)
class SqlConnectionDemo {
//...
}- @ConditionalOnMissingBean and @ConditionalOnBean: We can also apply a condition on the presence or absence of a bean, which means we can pass the name of the bean inside the annotations.
Example:
@Bean
@ConditionalOnBean(name = "dataSource")
LocalContainerEntityManagerFactoryBean entityManagerFactory() {
// ...
}- @ConditionalOnProperty: We can also apply conditions on the value. So by using this annotation, we can be able to do so.
Example:
@Bean
@ConditionalOnProperty(
name = "username",
havingValue = "some-value"
)
DataSource dataSource() {
// ...
}- @ConditionalOnResource: We can also apply conditions by checking if the resource is available or not.
Example:
@ConditionalOnResource(resources = "classpath:mysql.properties")
Properties additionalProperties() {
// ...
}- @ConditionalOnNotWebApplication and @ConditionalOnWebApplication: We can also apply conditions on the application level; we can use them to check whether they are web applications or not.
Example:
@ConditionalOnWebApplication
HealthDemoController healthDemoController() {
// ...
}- @ConditionalExpression: We use this annotation condition related to the SQL expression. This condition comes under complex conditions.
Example:
@Bean
@ConditionalOnExpression("${usemysql} && ${mysqlserver == 'local'}")
DataSource dataSource() {
// ...
}- @Conditional: If you want to create more complex conditions, we can create a class to evaluate the custom condition.
Example:
@Conditional(HibernateCondition.class)
Properties additionalProperties() {
//...
4. @Required
The field using this annotation must be configured with all the required properties at the time of configuration; otherwise, it will throw an exception saying BeanInitilizationException. This annotation can be applied to the setter method.
Example:
public class Demo
{
private Integer costDemo;
@Required
public void setcostDemo(Integer costDemo)
{
this.costDemo = costDemo;
}
public Integer getcostDemo()
{
return costDemo;
}
}
5. @Autowired
This annotation can be used on the constructor, setter methods, and instance variables. Most of the time, it is used on the instance variable. When we use this annotation, Spring is responsible for creating the instance of that variable; it manages the whole life cycle of the object. The spring container contains the whole thing.
Example:
@Component
public class AutoDemo
{
private Demo demo;
@Autowired
public AutoDemo(Demo demo)
{
this.demo=demo;
}
}
6. @Configuration
This annotation is used at the class level. The Spring container uses classes annotated with @Configuration as the source of bean definitions.
Example:
@Configuration
public class Demo
{
@Bean
Demo engine()
{
return new Demo();
}
}
7. @ComponentScan
This annotation is used with one another annotation, i.e., @Configuration basically; we use this annotation to scan the packages of our application for the beans. Here we also pass the name of our base packages for scanning purposes of our spring components.
Example:
@ComponentScan(basePackages = "com.jdemo.annotation")
@Configuration
public class DemoSacn
{
// ...
}
8. @Bean
The Spring container uses this annotation to designate the bean that it will manage; its whole life cycle will depend upon the spring container, i.e., initialization, creation, destroy, etc. This annotation, i.e., @Bean, is the alternative to the XML tag. We can apply it to the method level.
Example:
@Bean
public Demo beanExampleDemo()
{
return new Demo();
}
Spring MVC Annotations
@RequestMapping: This annotation maps all web requests to the backend. We can use this annotation at the class level as well as at the method level. It also contains optional elements like path, value, consumes, produces, header, name, params, etc.
Example:
@Controller
public class DemoOCntroller
{
@RequestMapping("/demo/app/")
public String getAll(Model model)
{
//application code goes here
return "hello world ";
}
MVC uses so many different annotations to handle all types of requests from the user for which we have different annotations, which are as follows:
- @GetMapping: It takes all the GET methods.
- @PostMapping: Handles the POST method.
- @PutMapping: Map the HTTP PUT method.
- @DeleteMapping: Handles HTTP DELETE method.
- @PatchMapping: Handles HTTP PATCH method.
- @RequestBody: Used to send the object.
- @ResponseBody: Return the object in the form of JSON or XML.
- @PathVariable: Pass value in URI.
- @RequestParam: Used to extract the query parameter from the URL.
- @RequestHeader: Provide information about the request header.
- @RestController: The annotation at the class level contains the name attribute, which specifies the base URL for the class.
- @RequestAttribute: Binds parameter with the request.
Conclusion
Spring boot makes the auto-configuration very much easy with these annotations. It also combines previous annotations to avoid a lot of code. The spring container manages all the configuration, so developers need not worry about this.
Recommended Articles
This is a guide to Spring Boot Annotations. Here we discuss the introduction, spring MVC annotations, and different Annotations of Spring Boot. You may also have a look at the following articles to learn more –


