Introduction to Maya 3D Animation
Maya 3d graphics designing software was developed by Autodesk and named as Autodesk Maya. It is used for 3d graphics designing such as 3d modeling, 3d animation, the rigging of character, and many other 3d graphics work. 3d Animation is the best part of Maya software in which you can animate 3d objects by using some parameters of animation features of Maya software. 3d animation is not very tough work in Maya software. We can do 3d animation in a few simple steps. Here we will teach you 3d animation by a simple example in this software to easily understand this topic.
How to do 3D Animation in Maya software?
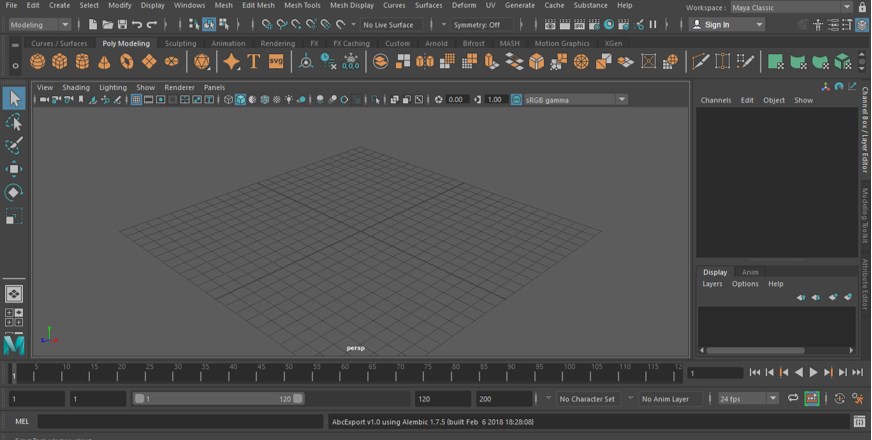
We can do 3d animation in Maya software by using some tools and features of this software. But before starting our learning, let us have a quick look at the working screen of this software so that you can understand this article without any problem.
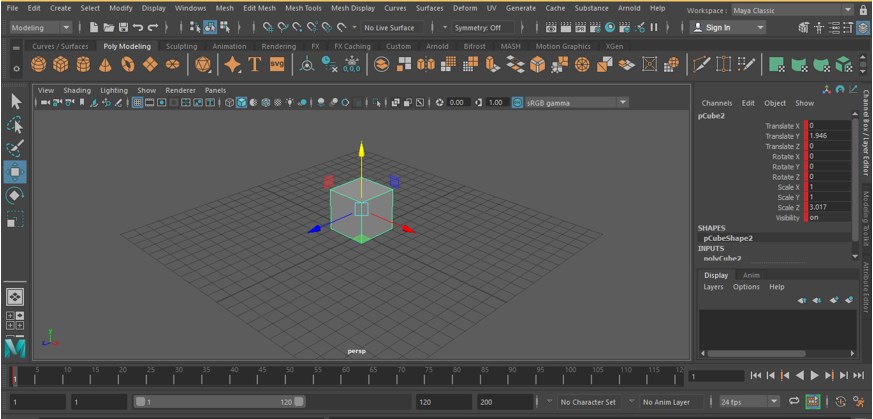
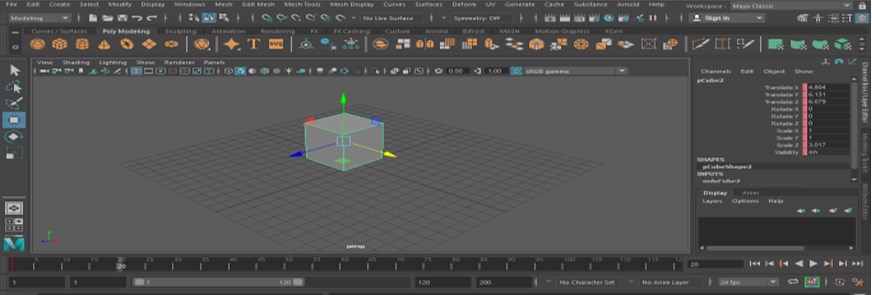
Step 1: At the top of the working screen of this software, we have a Menu bar which will change with the changing the method of working; these methods are Modeling, Rigging, Animation, Dynamics, etc. below this, we have a status line which has some short cut command for making our work easy, below this, we have shelf bar in which you can set most frequently used tools according to you, below these bars there are three sections that are Manipulating bar at the left side which have Move tool, Scale tool, Rotate tool and some others, at the center we have perspective viewport (you can have all viewport at a time by pressing space bar of the keyboard), at the right side we have Channels and other tabs which show you properties of the selected object and allows you to make a change in them, at the upper right corner we can choose Workspace theme, at the bottom end we have Timeline section for animating our objects.
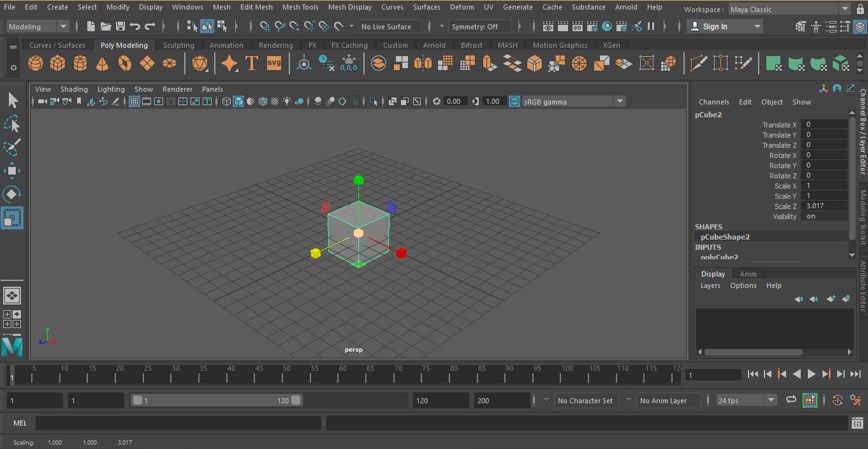
Step 2: Now, let us create a box for our 3d animation. For the box, go to the Poly Modeling option above the Shelf bar and click on the Polygon Cube command option.
Step 3: Now, draw a cube and adjust this cube according to you. For adjusting, the press R button from the keyboard for scale command or click on the scale icon of the Manipulating bar on the left side of the viewport. Now increase scale by holding and dragging the scale handle buttons.
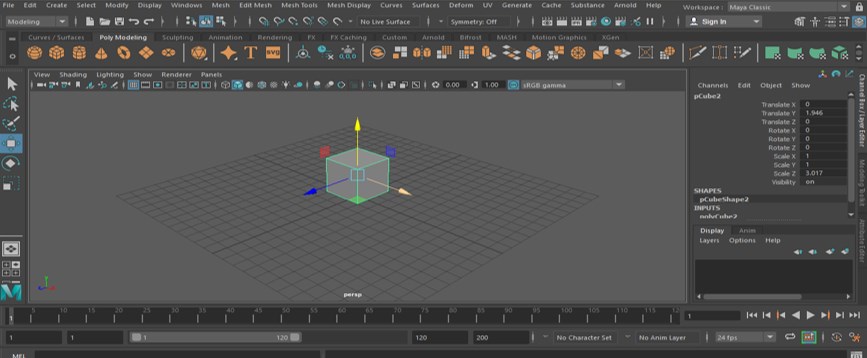
Step 4: Now move this cube above the gird line by using the move command. For the move command, press the W button for the keyboard or click on the Move command icon of Manipulating bar. Now move this cube by holding Y-axis handle and drag it in the Y direction.
Step 5: Now, let us animate this 3d object. Go to the keyframe slider area at the bottom of the perspective viewport and click on a keyframe in the keyframe area from where you want to start your animation. I will click on the starting frame of the keyframe slider area.
Step 6: Now press the S button from the keyboard for setting the key at this keyframe.
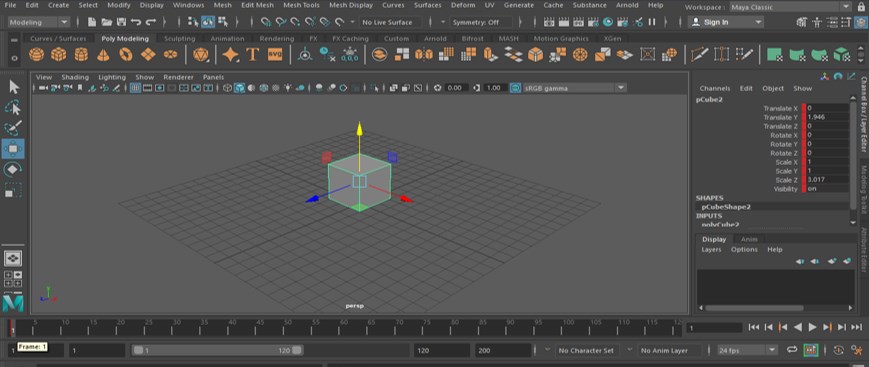
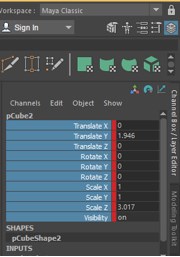
Step 7: You can see the key with the red sign at the properties of this cube in the channel box of this software.
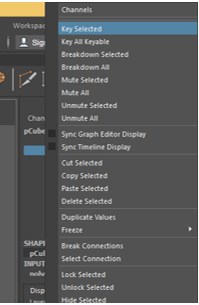
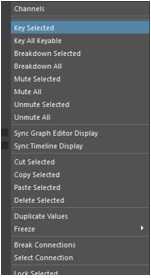
Step 8: You can set this keyframe at any one of the properties of any object. To set key at only one property, select that property by click on that and make right-click with the mouse button. A drop-down list will be open; choose the ‘Key Selected’ option from this list.
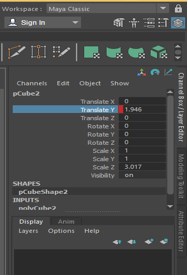
Step 9: Your key will be selected like this.
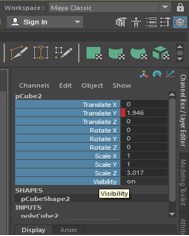
Step 10: You can add the key to all properties from here also. Just select all properties by holding the shift key like this.
Step 11: Now, make right-click here and select and select the ‘Key Selected’ option from here.
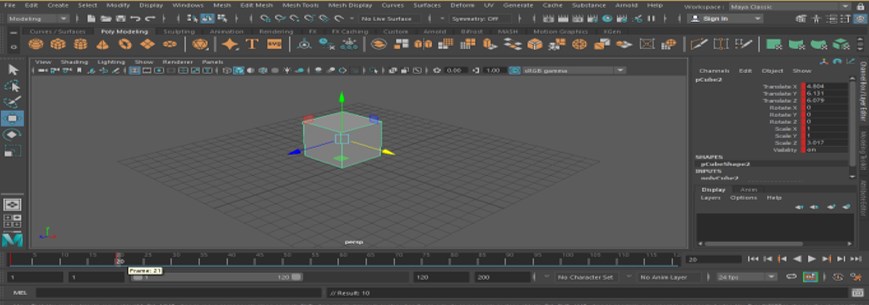
Step 12: Now, all the properties will be selected like this.
Step 13: Now, place the keyframe head at 20 frames or you can place it according to you and then move the object according to you in which direction you want to animate your object by using the move command. For the move command, press the W button from the keyboard and drag the arrows button of the X Y Z axis, respectively, for moving it.
Step 14: Now press the S button from the keyboard for the setting key at this frame.
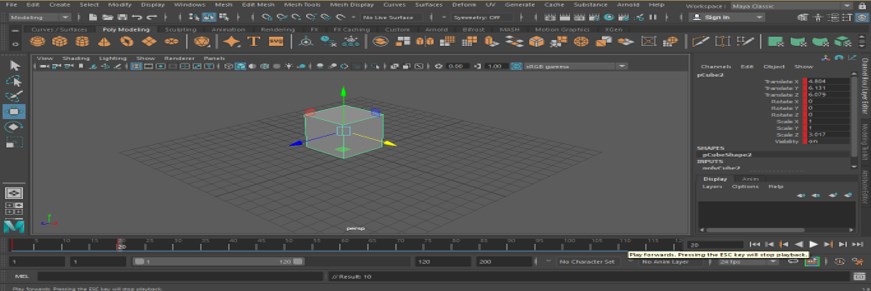
Step 15: Now press this Play Forward button for playing this animation, or you can press Ctrl + V button for the keyboard. You can press the Esc button for stopping the animation.
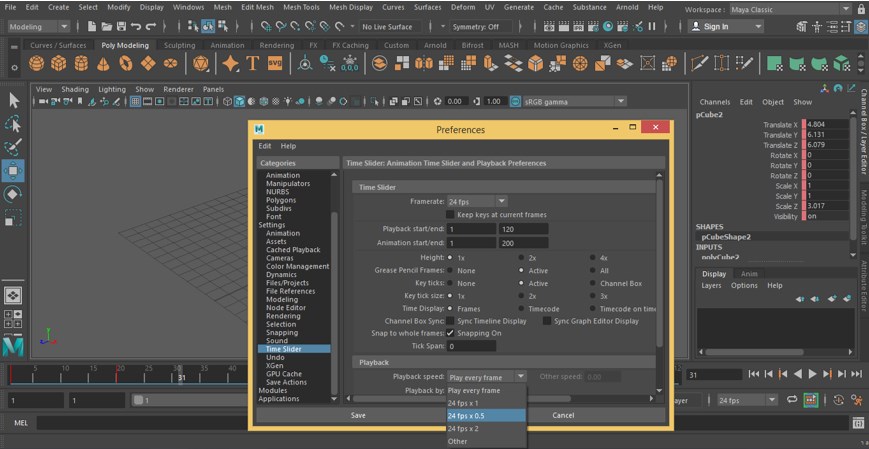
Step 16: You can adjust the frame rate of animation. For setting frame rate, go to the Menu bar and click on the Windows menu. A drop-down list will be open, go to the Settings/Preferences option, and then click on Preferences of the new drop-down list.
Step 17: Now, a Preferences dialog box will be open. Click on the Time Slider option; the Time Slider tab will be open like this. Now choose the 24 fps option in the Playback speed option of this tab. Now when you play your animation, your animation will be at a controlled frame rate.
Step 18: Here is some button also in the timeline section for setting animation. With the show button, you can go to the starting of the keyframe slider.
Step 19: By pressing the shown button, you can go to the end of the keyframe slider section.
Step 20: By pressing the shown button, you can go one frame back in the keyframe slider section.
Step 21: By pressing the shown button, you can go one frame forward in the keyframe slider section.
Step 22: If you want to go back one key backwards in the keyframe slider section, then press this button.
Step 23: If you want to go forward one key in the keyframe slider section, then press this button.
Conclusion
Now, after going through this article, you can understand ‘what is 3d animation in Maya software’ and ‘how you can handle its parameters’ for making effective 3d animation for your project work in Maya software. You can increase your working skill of 3d graphics designing by practicing on this type of feature of Maya software.
Recommended Articles
This is a guide to Maya 3D Animation. Here we discuss the introduction and how to create animation in 3d Maya in step by step manner. You can also go through our other related articles to learn more –
