Updated April 20, 2023
Introduction to ASP.NET Grid View
Grid view is one of the very popular views in the current IT industry. This is one of the very common expectations currently by every client for presenting their screen specifically in Grid view. It is basically a table presentation based on the values that came from one data source. It can able to control that specific data source and display in the screen as per the requirement of the client, mainly each column considering as a field in the data source and each row considering as a record of that specific column. This control has various features for multiple types of presentation on the screen, we will cover it in this document in detail.
Syntax of ASP.NET GridView
ASP.net Gridview is one of the very popular implementations for the specific applications in the current scenario. Grid view mainly handles data sources, controlling the same, display it on the screen as a table. Here every column is mainly representing as a field, and each row in the data source represents a specific record of that corresponding column.
There have multiple features supports by this Grid view, explaining below:
- SQLDataSource: Mainly require to maintain binding. Passing data source have huge data which mainly relate to specific fields in the screen. This control helps for binding those fields with data source available data.
- Sorting: It has the ability to sorting the data. This Grid view presentation default gives one sorting utility, don’t need to write any additional code for that. Representing data can be sort as ascending or descending order based on the link provided in the screen.
- Updating & Deleting: Can update or delete any data from the screen or data source. This ability ensures easy handle of the data from the screen by the end-user. This facility can be given based on some chosen parameters of the grid view presentation.
- Pagination: This is also very much requiring features of any of the views presented in the current industry. When huge data came into the data source and Grid view unable to present entire data on the screen, it can default break it with multiple pages and giving this pagination utility to the end-user. It also has searching utility with any text, which helps the user to find out specific data easily.
- Row selection: This is also one of the key utilities. Grid view gives the option to end-user for selecting one specific row, modify the required data, and save it. Modified data immediately display on the screen in the proper or expected view.
- Dynamic data adjustment: This is very much required features for any advance screen presentation in the current scenario. In a big table presentation, there have some data which needs to be adjusted dynamically, which means original data came from the data source, the developer might need to change it as per the requirements of the user. Grid view gives the opportunity for the developer to handle multiple properties, multiple events, and another view dynamically in an easy approach.
- Key Fields: Grid view provided multiple key fields for presenting or handling big data from the data source.
- Hyperlink: Grid view give good utility of handling multiple data source specifically on the hyperlink columns. Hyperlink columns have verities fields which developer can utilize as per their requirement.
- Themes & Style: Grid view provides the ability of multiple appearances which can be easily handled by themes & style utilities have given by Grid view.
Example to Implement ASP.NET Grid View
Creating a grid view presentation in ASP.net application, developer normally needs to use below specific code:
<asp:GridView runat=”Server” ID=”gridViewPre”></asp:GridView>Entire GridView presentation can be done by one behind the ASPX code for handling the dashboard and proper presentation.
We are mainly targeting to perform below operation in the example given from the code:
- Binding data in the GridView dashboard presentation with specific columns.
- Edit corresponding data in the grid view.
- Delete specific rows from the dashboard.
- Updating specific records after clicking on Edit.
HTML code:
<html xmlns="http://www.w3.org/1999/xhtml" >
<head id="Head1" runat="server">
<title>Untitled Page</title>
</head>
<body>
<form id="form1" runat="server">
<div>
<asp:GridView ID="GridView1" runat="server" AutoGenerateColumns="False"
OnRowEditing="GridView1_RowEditing" OnRowUpdating="GridView1_RowUpdating"
OnRowCancelingEdit="GridView1_RowCancelingEdit"
OnRowDeleting="GridView1_RowDeleting">
<Columns>
<asp:TemplateField HeaderText="ID">
<EditItemTemplate>
<asp:TextBox ID="TextBox2" runat="server" Text='<%# DataBinder.Eval(Container.DataItem,"ID") %> '></asp:TextBox>
<asp:RequiredFieldValidator ID="RequiredFieldValidator1" runat="server" ControlToValidate="TextBox2"
ErrorMessage="Enter an ID"></asp:RequiredFieldValidator>
</EditItemTemplate>
<ItemTemplate>
<%# DataBinder.Eval(Container.DataItem,"ID") %>
</ItemTemplate>
</asp:TemplateField>
<asp:TemplateField HeaderText="Name">
<EditItemTemplate>
<asp:TextBox ID="TextBox4" runat="server" Text='<%# DataBinder.Eval(Container.DataItem,"Name") %> '></asp:TextBox>
<asp:RequiredFieldValidator ID="RequiredFieldValidator2" runat="server" ControlToValidate="TextBox4"
ErrorMessage="Enter a Name"></asp:RequiredFieldValidator>
</EditItemTemplate>
<ItemTemplate>
<%# DataBinder.Eval(Container.DataItem,"Name") %>
</ItemTemplate>
</asp:TemplateField>
<asp:CommandField ShowEditButton="True" />
<asp:CommandField ShowDeleteButton="True" />
</Columns>
</asp:GridView>
<asp:Button ID="Button1" runat="server" OnClick="Button1_Click" Text="Button" />
</div>
</form>
</body>
</html>
Adding Page:
<body>
<form id="form1" runat="server">
<div>
<asp:TextBox ID="TextBox1" runat="server"></asp:TextBox>
<asp:TextBox ID="TextBox2" runat="server"></asp:TextBox>
<asp:Button ID="Button2" runat="server" OnClick="Button2_Click" Text="Add" />
<asp:Button ID="Button1" runat="server" OnClick="Button1_Click" Text="Show Data Page" /></div>
</form>
</body>
Binding:
public void BindMyGridview()
{
if (Session["myDatatable"] != null)
{
DataTable dt = (DataTable)Session["myDatatable"];
if ((dt != null) && (dt.Rows.Count > 0))
{
GridView1.Visible = true;
GridView1.DataSource = dt;
GridView1.DataBind();
}
else
{
GridView1.Visible = false;
}
}
}
Row Updating:
protected void GridView1_RowUpdating(object sender, GridViewUpdateEventArgs e)
{
TextBox TextBoxWithID = (TextBox)GridView1.Rows[e.RowIndex].FindControl("TextBox2");
TextBox TextBoxWithName = (TextBox)GridView1.Rows[e.RowIndex].FindControl("TextBox4");
string NewID = TextBoxWithID.Text.ToString();
string NewName = TextBoxWithName.Text.ToString();
DataTable dt = (DataTable)Session["myDatatable"];
DataRow dr = dt.Rows[e.RowIndex]
dr["ID"] = NewID;
dr["Name"] = NewName;
dr.AcceptChanges();
Session["myDatatable"] = dt;
GridView1.EditIndex = -1;
BindMyGridview();
}
Row Deleting:
protected void GridView1_RowDeleting(object sender, GridViewDeleteEventArgs e)
{
DataTable dt = (DataTable)Session["myDatatable"];
DataRow dr = dt.Rows[e.RowIndex];
dt.Rows.Remove(dr);
GridView1.EditIndex = -1;
BindMyGridview();
}
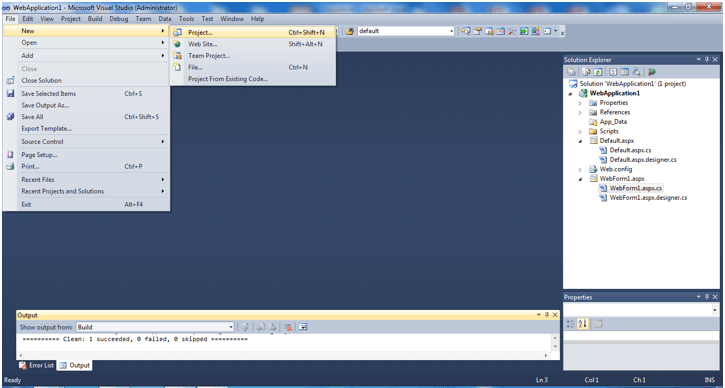
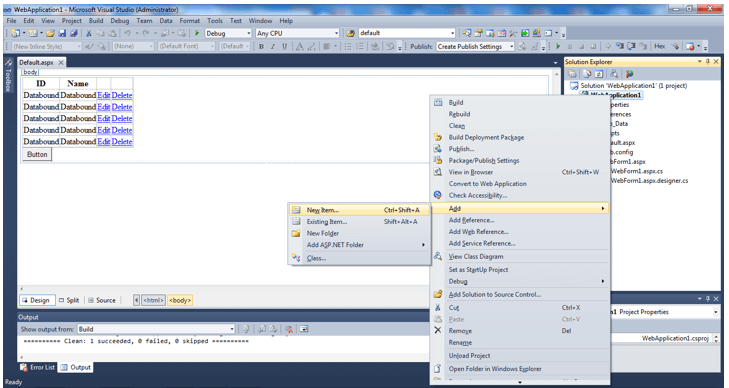
Create one ASP.net application by using New >>> Projects.
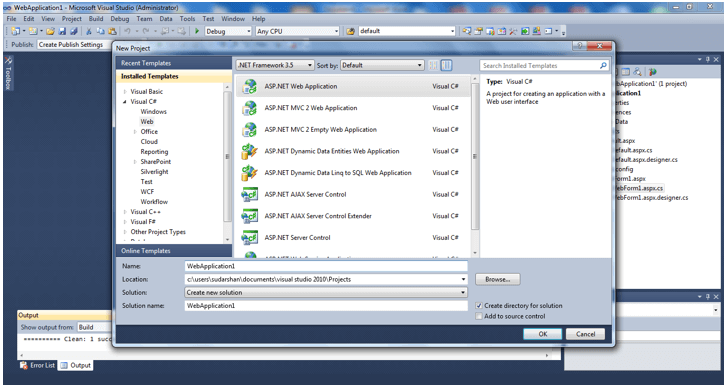
Select DOT NET Framework 3.5 from the drop-down.
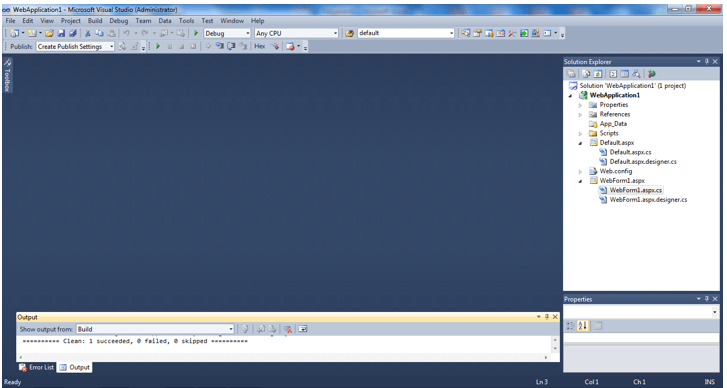
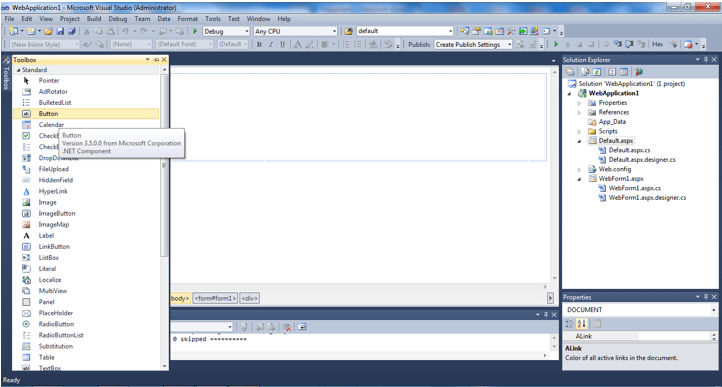
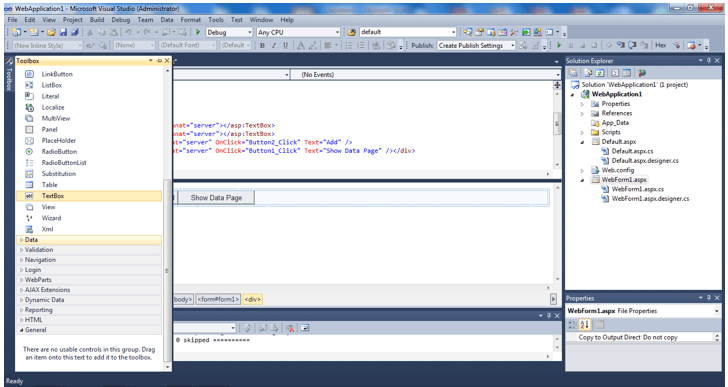
Open the page design page, where all the attribute needs to be designed.
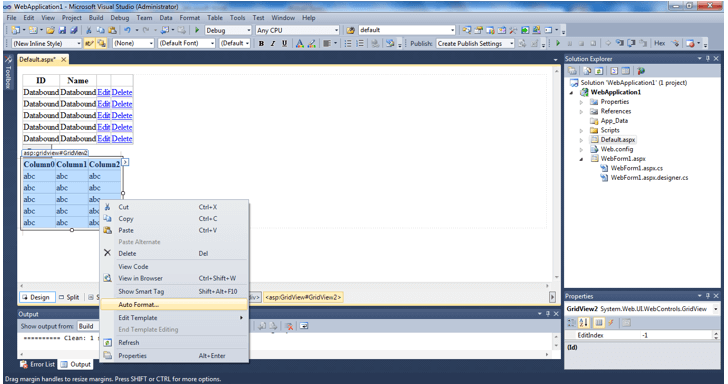
Take one new form for proper design. Inside the form, the table has been designed. ID and Name are there where specific data table data should display.
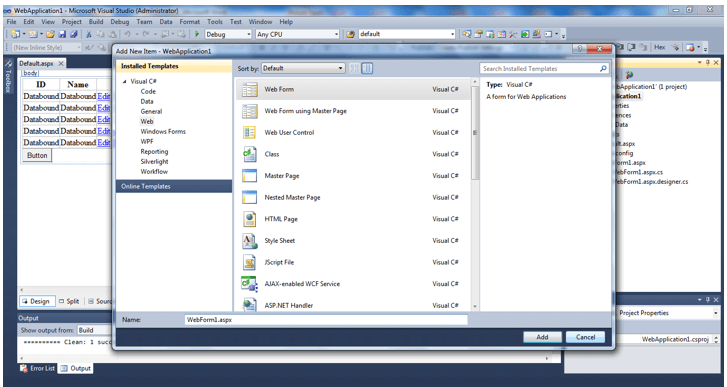
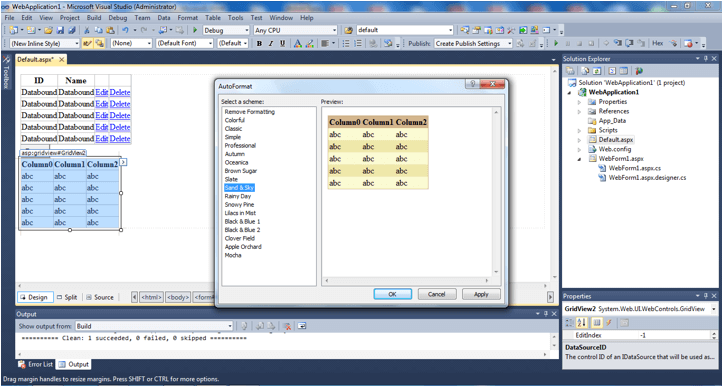
Choose a specific online template for writing the background logic of the Grid View presentation.
Preparing the code for the application and mapping the corresponding field for further execution.
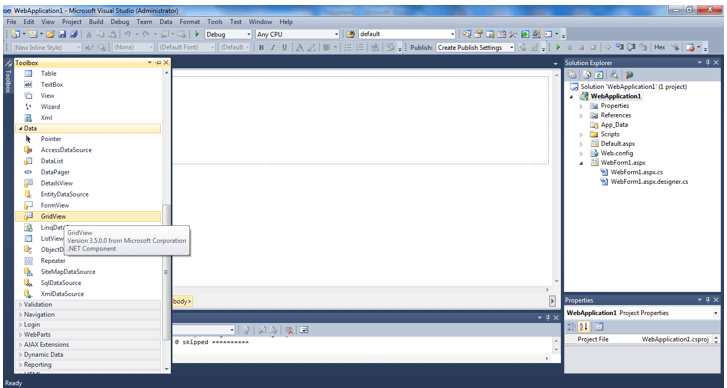
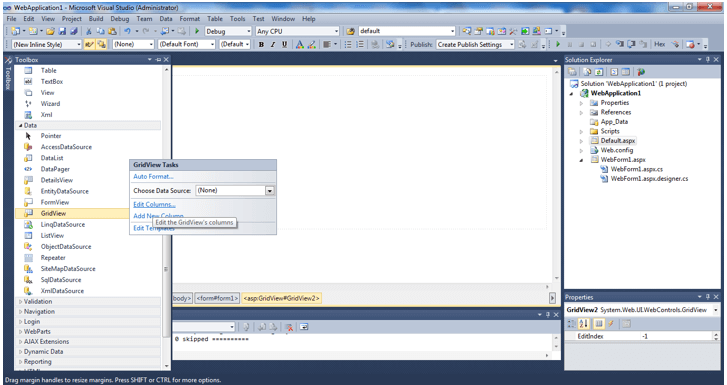
Choosing specific data sources for using and presenting Grid view data as per requirement.
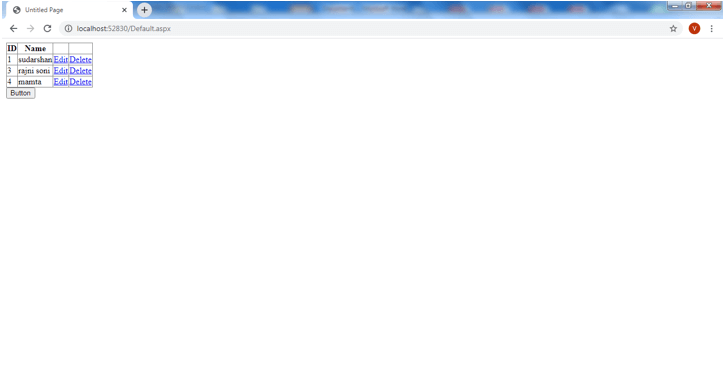
Grid View preview page where ID and Name have been displayed and EDIT or Delete also been designed for action.
Designing the dashboard also been executing in the preview page, displaying require information.
Define require action on button click event.
Writing the ASPX code for preparing the view presentation. It automatically came based on the page design.
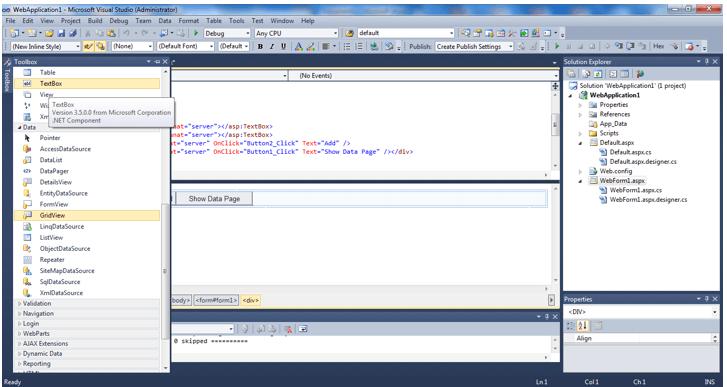
Working with a text box to define the field name, catch with the value, and perform the required tasks.
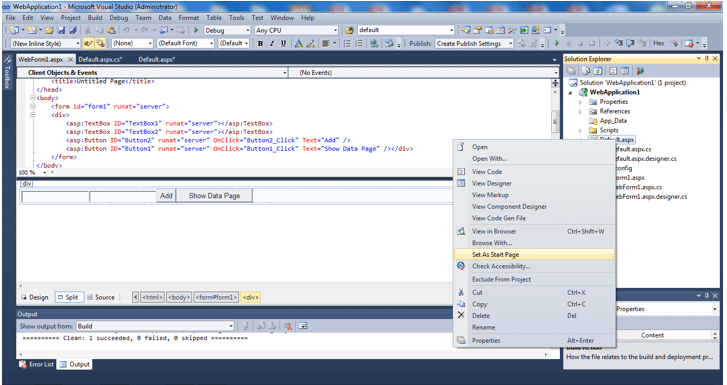
Set one specific dashboard page as a starting page for running the application.
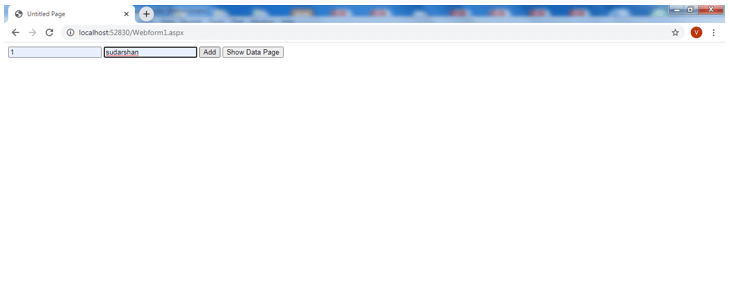
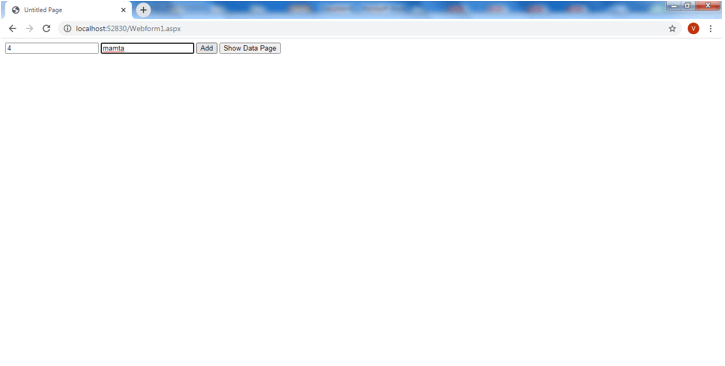
Putting some value into the available text box, click on add for saving those data.
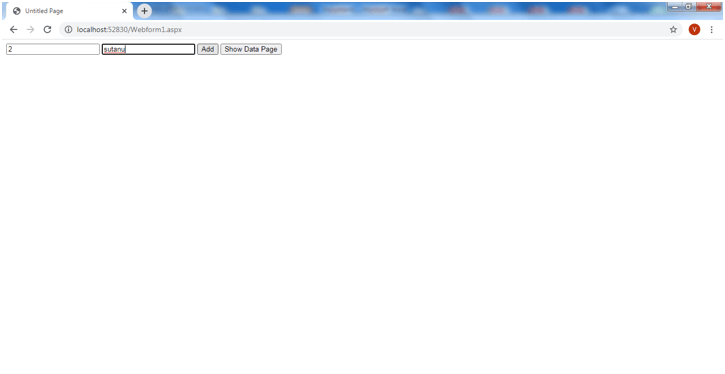
Add multiple data for generating a proper grid view presentation.
Add another data for the proper grid view dashboard presentation.
Adding one more data for displaying more in the dashboard.
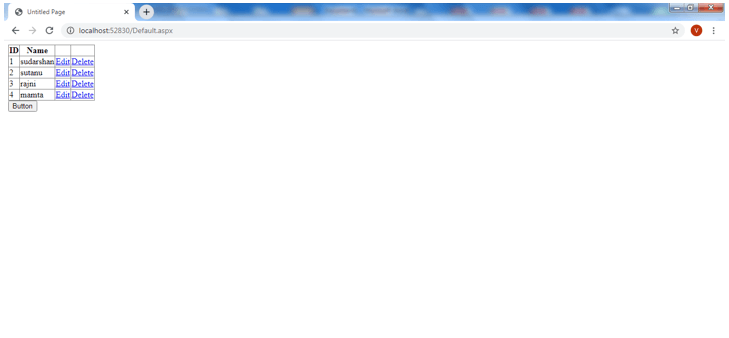
Displaying the main dashboard of grid view, where all the added data properly displayed on the screen including edit and delete link.
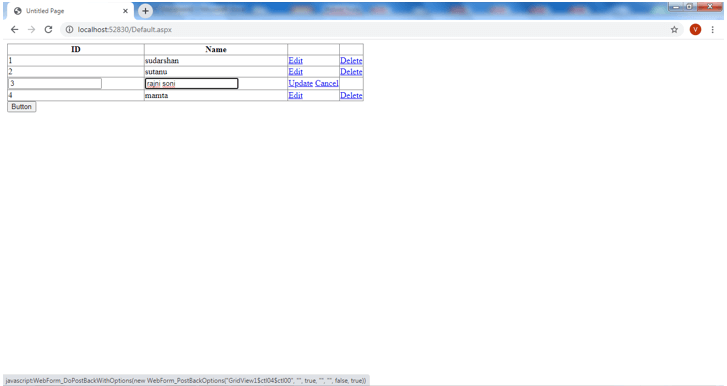
Click on Edit, the same record comes into the field, where existing data displayed. Users can able to update it and save the same by clicking on the Update button. Click on Cancel it will again return back to the dashboard page.
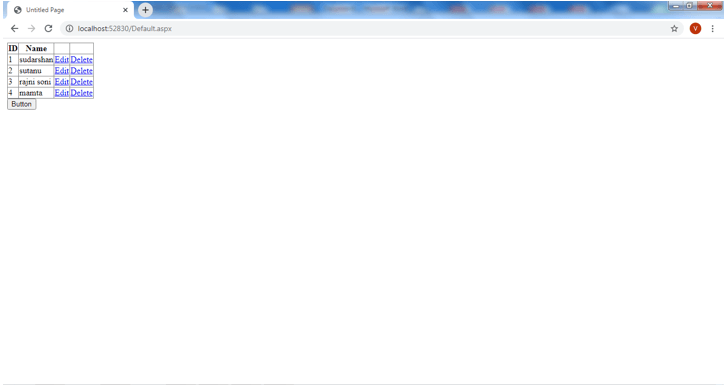
After the update, this page again returns back to the dashboard with a proper grid view.
The delete button is there for deleting one specific record from the grid view presentation.
Conclusion
ASP.net Grid view presentation is one of the common and key requirements from any of the clients in the current scenario. This presentation or designing the page is comparatively easy to do for the developer rather than performing normal design. The page has multiple fields to handle and present. Every field is actually bound with corresponding data coming from the backend code.
Recommended Articles
We hope that this EDUCBA information on “ASP.NET GridView” was beneficial to you. You can view EDUCBA’s recommended articles for more information.
