Introduction to Illustrator Repeat Action
Repeat Action in Illustrator is a very good feature through which you can record your steps of any particular illustration during making it in illustrator and use that recorded action on other objects for the same work in just one click or by pressing one button. We will learn about presets action buttons and create an action button for recording each step of creating an illustration by using different parameters of the Action option of this software. So for understanding this topic of illustrator, let us have a discussion about it in a very exciting manner of learning.
How to create Repeat Action in illustrator?
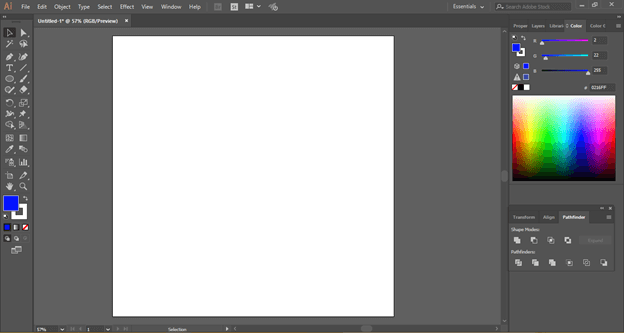
We can create a number of Actions buttons for making our work easy in this software, and you can also save your time by creating action buttons for different illustrations, but before starting, let us have a look at the working screen of this software so that we can better understand this topic.
At the top of the working screen, there is a Menu bar which has a number of menus such as File, Edit, Object, and some other important menus for making our work easy in this software. Below this, we have three sections, at the left side, we have the tool panel; at the center, we have a document window in which you can see your working; at the right side, we have some tabs such as Layer, Color, Property, and some others. You can set all these sections according to you anywhere on the working screen.
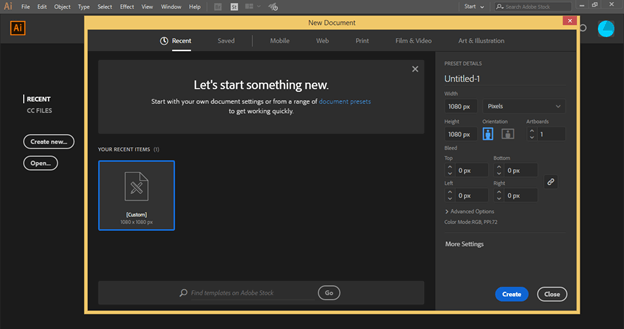
For our learning about this topic, let us have a new document. For the menu document, click on the Create button on the welcome screen of this software, or click on the new document’s File menu. Once you click on the Create button, a new document dialog box will be open. Make your desired settings there for your document and click on the create button.
Now go to the Window menu of the menu bar and click on it. Next, click on the Actions option of the drop-down list for the Action dialog box.
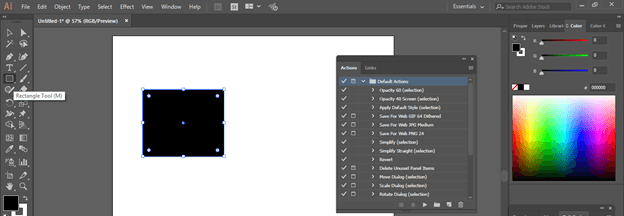
You will find this type of Actions dialog box. We have some action presets in this box that you can use to save your time during your work.
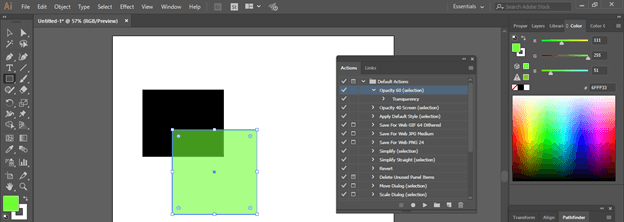
Let us understand the action preset by using one of the presets from the list. Take the Rectangle tool from the tool panel and make a rectangle of any size like this.
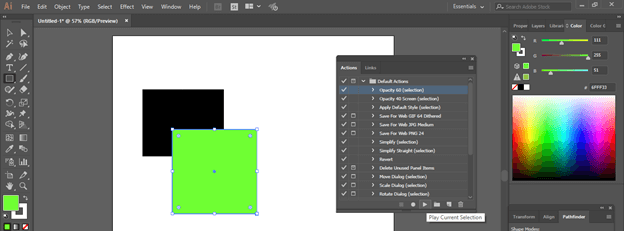
Again make another rectangle overlapping the first rectangle like this. Now select the ‘Opacity 60’ action button and click on the action dialogue box’s Play button.
Once you click on the play button, it will decrease the opacity of the selected object to 60%.
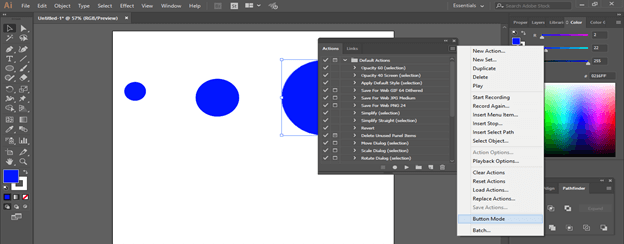
You can also use the button mode option of this dialog box. Make a click on this dialogue box’s options button and choose the Button mode option from the list.
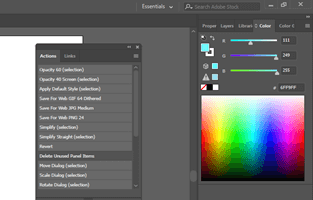
Now it will convert into buttons like this.
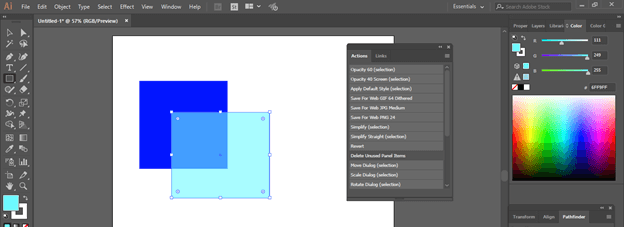
Now just click on the ‘Opacity 60’ action button, and it will convert your selected object opacity to 60% in just one click.
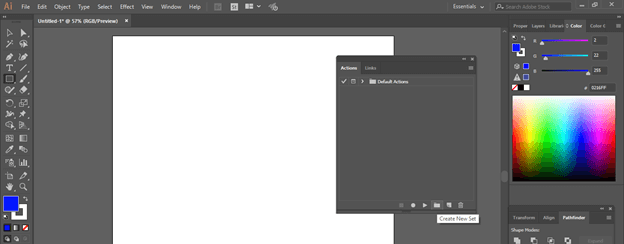
Now let us create our own action button. Click on the Create New set button of this dialog box which will work as a folder of your created action.
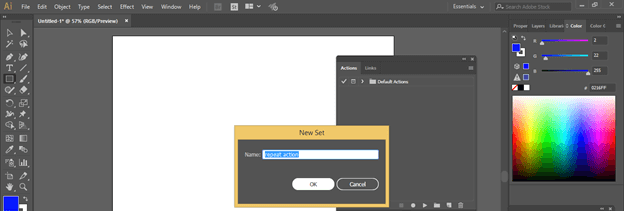
Name your action button as per your choice. I will name it ‘Repeat Action’.
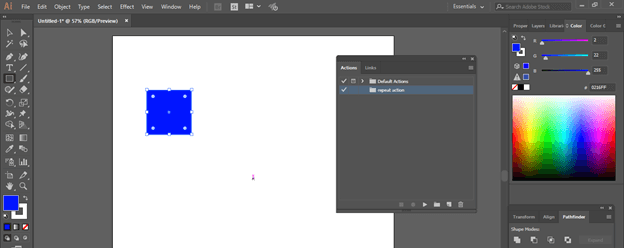
Your Repeat action folder will create an action dialog box. Now make a rectangle like this.
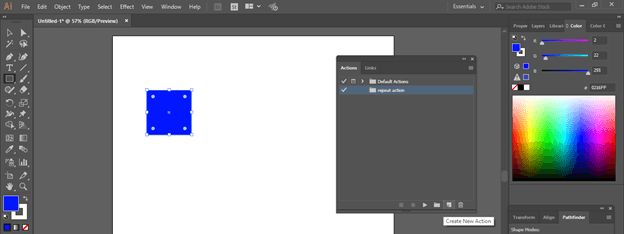
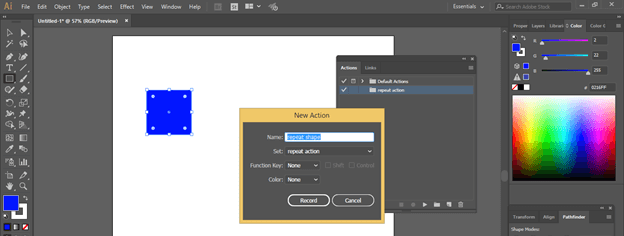
Now click on the Create New Action button of this dialog box for creating your action.
Name your action as per your choice. I will name it as Repeat Shape.
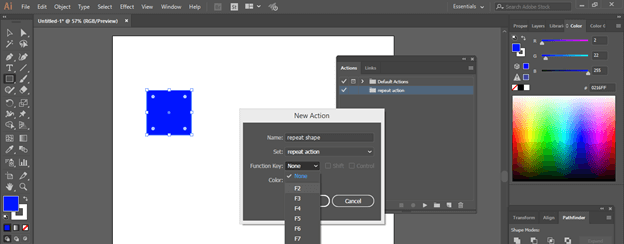
You can specify any shortcut keys for your action. Choose any function key from the list.
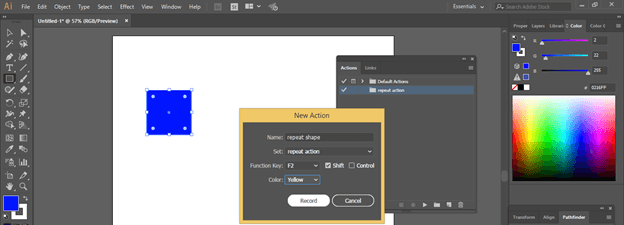
Let us choose F2 and enable the Shift button in addition to this function key if you want.
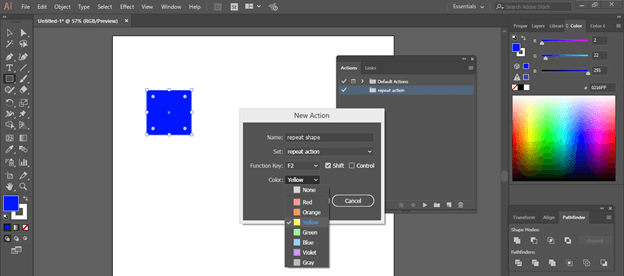
Choose the color of your action button from this list. For example, I will choose yellow as my action button color.
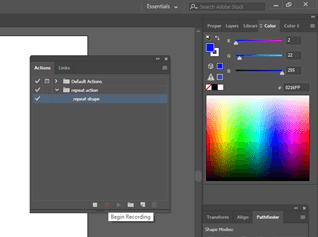
Now click on the Record button to start recording of steps of your action.
Once your recording is started, you can see this recording red symbol at the action dialogue box button.
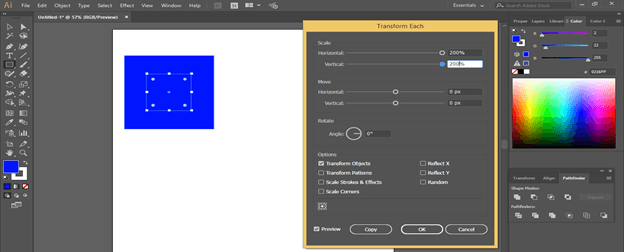
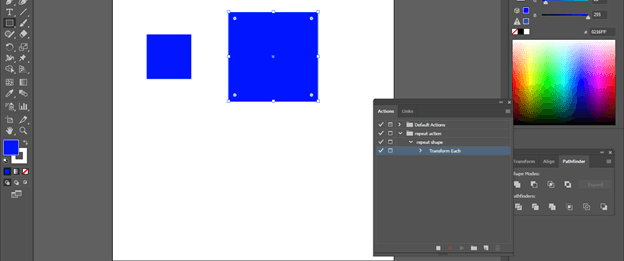
Now do start your illustration, and it will record. First, go to the Object menu of the menu bar and click on it. Next, go to the Transform option and click on the ‘Transform Each’ option of the new list.
I want the size of this rectangle to increase by 200%. So give the value of the horizontal and vertical option as 200% in transform each box. Make a preview button On so that you can see the preview of increased size.
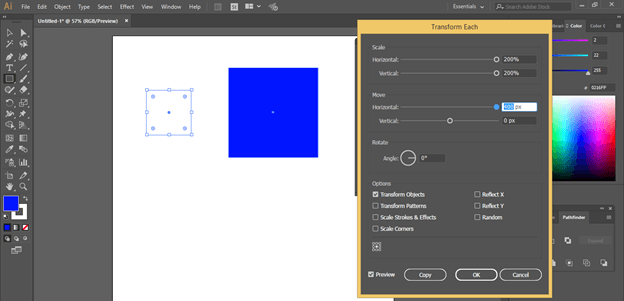
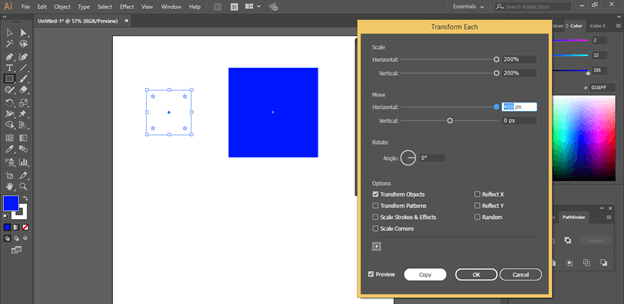
Now specify the distance at which you want to offset this rectangle. For example, I will give 400 px as distance in a horizontal direction.
Now click on the Copy button of this dialog box because I want to copy this rectangle in increased size.
Your steps will record in an action dialog box like this.
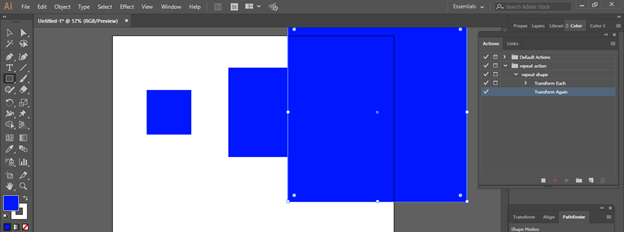
Now press the Ctrl + D button on the keyboard if you want to again transform this rectangle in increased size.
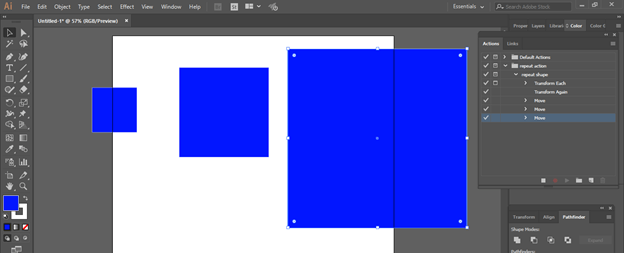
If you move these objects, then it will also record these steps.
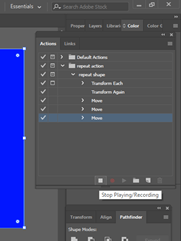
Once you have done then click on this button to Stop recording.
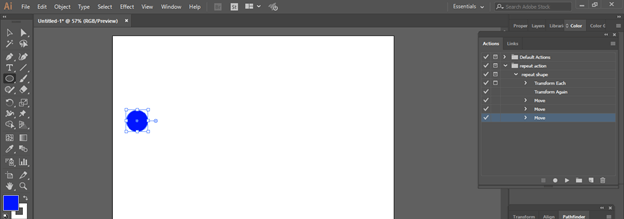
Now let us apply our created action to different objects. Take the ellipse tool from the tool panel and make a circle like this.
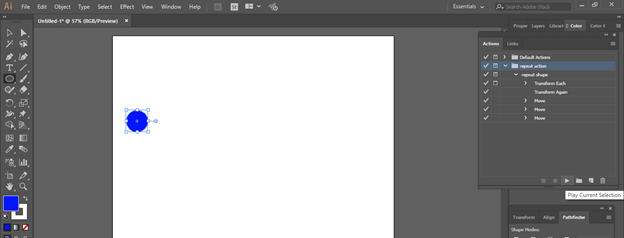
Select your created action from the action dialog box and click on the Play button.
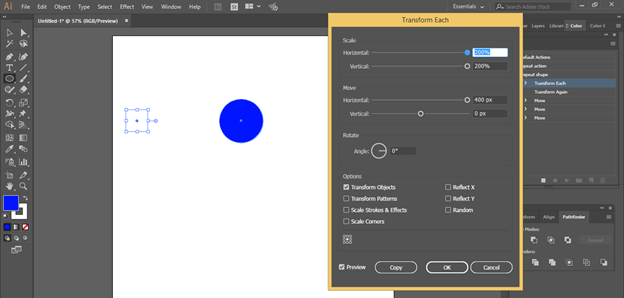
It will transform one time and ask you for transforming next time by showing this dialog box.
If you don’t want this dialog box for each time of transformation, then enable this Toggle/dialog button off.
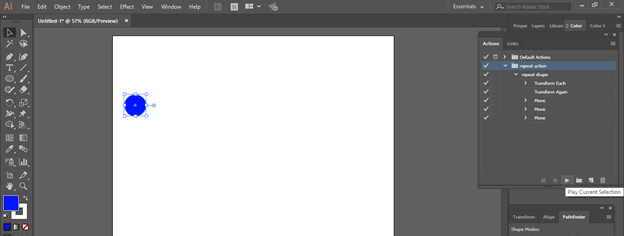
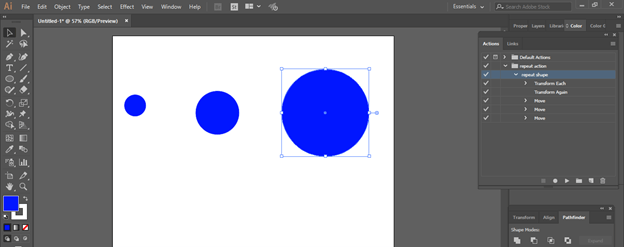
Now again, click on the play button for applying your selected action to this object.
And it will repeat your action without any asking dialog box like this.
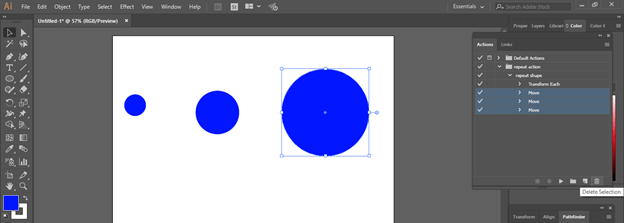
You can delete any step from your created action. Just select your desired steps and click on the Delete selection button.
You can go in button mode, and your created action will show by your selected color like this.
In this way, you can create action in an illustrator.
Conclusion
Now, after this article, you can understand what Repeat Action is in illustrator and how you can create an action for saving your time and managing different tasks in this software. You can make a number of action buttons for the different tasks as per your choice.
Recommended Articles
This is a guide to Illustrator Repeat Action. Here we discuss How to create Repeat Action in illustrator for saving your time and managing different tasks. You may also have a look at the following articles to learn more –
