Introduction to Inkscape pattern
Inkscape Pattern can be explained as a repetition of any shape or design in a specific order to create a wonderful template or background. You can also use patterns for different purposes of design and in Inkscape, i will tell you how you can make your own pattern of your created designed object and also tell you how you can use that created pattern as a background. Patter may have simple shapes in a specific order, logos of any organization, watermark and whatever you can use in order can be a pattern. One thing is important about the pattern is it should be symmetrical so that we can order them easily.
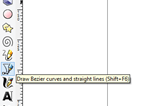
Let us create a design that will be an object of our pattern. I will make a simple flower shape by using the shape tool and bezier tool of the tool panel of Inkscape. So first take the Beizer tool from the tool panel or you can hit Shift + F6 keys of the keyboard.
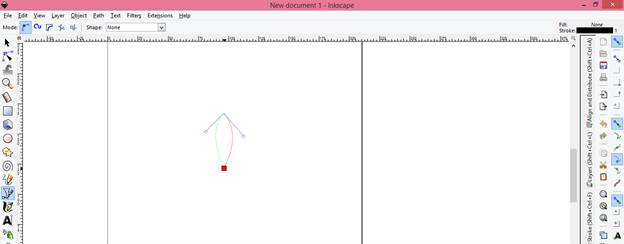
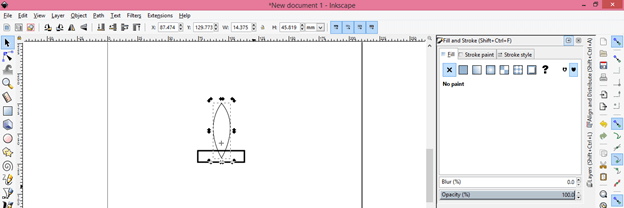
Now make this type of leaf shape by using this tool.
Now take Rectangle tool from tool panel or hit F4 functional key of keyboard.
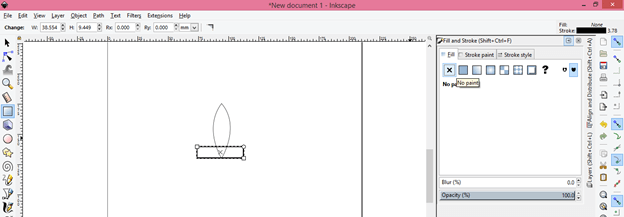
Make a rectangle shape with it like this and remove its fill from the ‘Fill and Stroke panel.
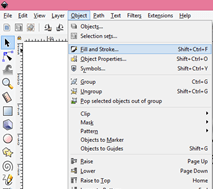
You can have this panel from the Object menu of the menu bar or you can simply hit Shift + Ctrl + F keys of the keyboard.
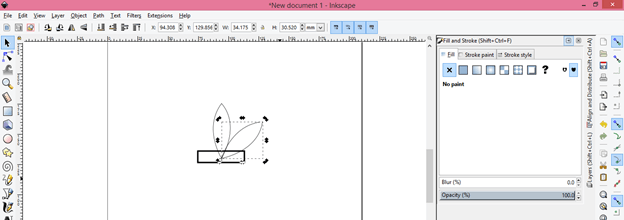
Now select this leaf and make a duplicate of it. For making a duplicate of this hit Ctrl + D button of the keyboard and move this plus sign at the bottom of this leaf because it is the center point of this leaf and I will rotate a duplicate copy around this point.
Now rotate this duplicated leaf like this by holding the rotating anchor point of bounding box of this leaf.
Now make a duplicate copy of this rotated leaf by the same method then click on the horizontally flip button which is at the properties bar of this software for flipping this leaf horizontally or you can simply press H key of the keyboard.
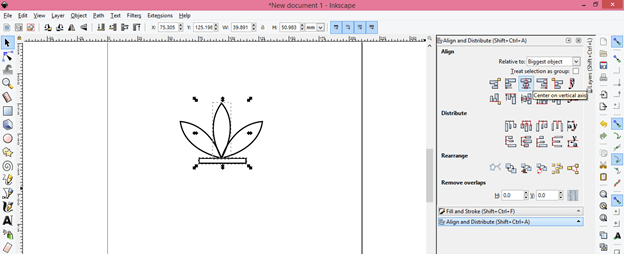
Now select center leaf as well as a rectangle then align the center leaf with the rectangle shape by using Align and Distribution panel’s vertical and horizontal align tab.
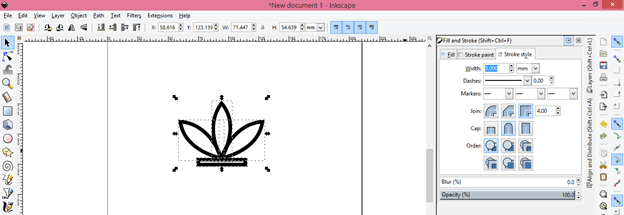
I will increase the width of the stroke of this shape because this pattern will be small in size and it will be properly visible with high stroke size when it set on pattern design.
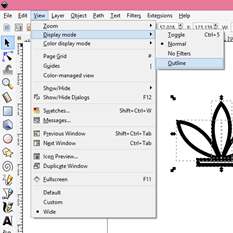
You can check the alignment of this shape by turn it into an outline mode of shape. So for that go to the View menu of the menu bar and go to the Display mode option of drop-down list then choose the Outline option it.
Here you can see it is perfectly aligned.
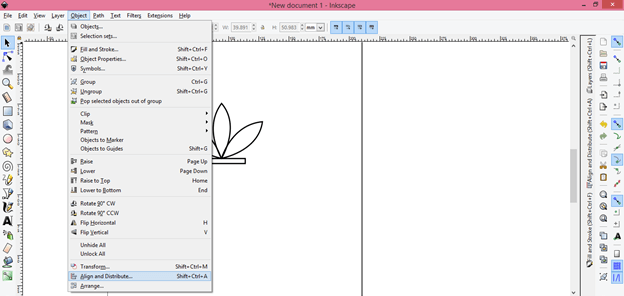
If there is no align panel in the left side section of this software. You can go object menu of the menu bar and click Align and Distribution option of a drop-down list or you can go with a short cut key which is Shift + Ctrl + A.
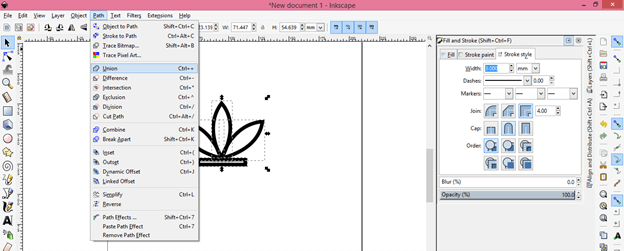
Now select all shapes then go to Path menu of the menu bar and click on Union option for converting these shapes into one shape or press Ctrl + + keys of the keyboard.
Now make a square by using the Rectangle tool of the tool panel. You can make squares with this tool by holding the Ctrl key of the keyboard. Now set this shape at the corner of this square.
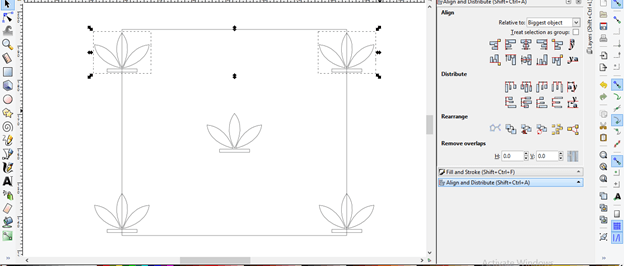
I will make duplicate copies of this flower shape by pressing the Ctrl + D button of the keyboard and arrange it on all four corners of this square then set one at the center of this square. I will check the alignment of these objects in outline mode. You can set your objects in a different order as per your choice.
Change the color of the square according to you. I will change the square color to red and the flower shape color to white. The flower is in stroke so for changing its color you have to change the color of stroke then I will set a gray background by using a rectangle tool so that i can see it properly.
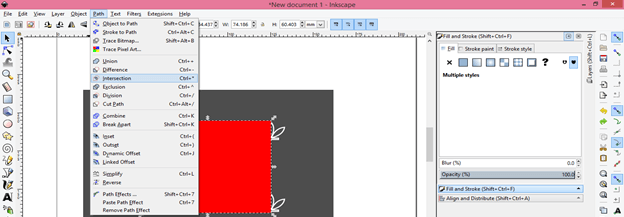
Now make a duplicate copy of this square then select duplicated square with one of the corner flower objects then go to the Path menu of the menu bar and click on the Intersection option of drop-down list so that it will give you half the flower shape on the square’s corner.
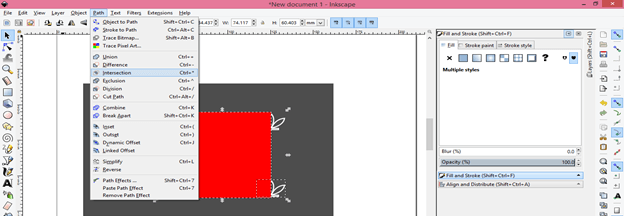
Again make duplicate copy of new intersected square then select other corner flower with this square and again hit on Intersection option.
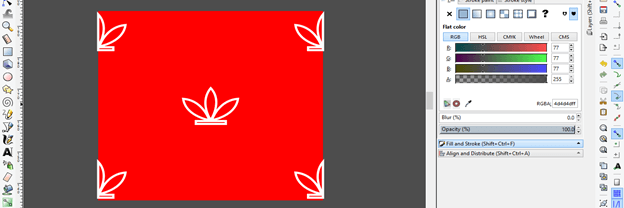
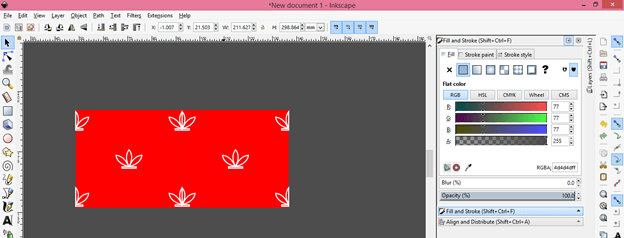
Repeat duplicating and intersecting process for the other two corner flower and you will get this type of pattern design on this square.
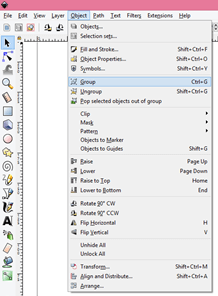
Now select Square and all flower shapes then group them by hitting on Group of the option of scroll-down list of Object menu or press Ctrl + G keys of the keyboard.
Now you can make duplicate copies of this patterned square and arrange them in row and column. I will make one copy and draw it next to the first one and so on.
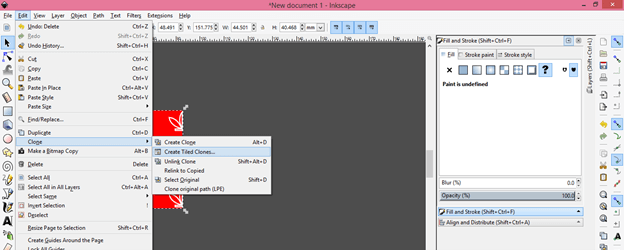
Or rather than making copies and placing them manually select this square then you can go with the Clone option of the drop-down list of the Edit menu. In Clone, option-click on Create Tiled Clones option.
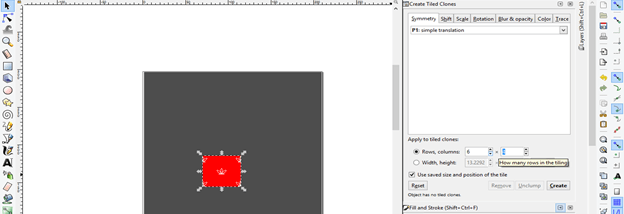
Now you will have a dialog box of this option at the right side of the user screen and here in the Clone Tiles panel, you can set a number of rows and columns. I will enter 6 numbers for rows and 4 numbers for a column in this panel then hit on Create button of this panel.
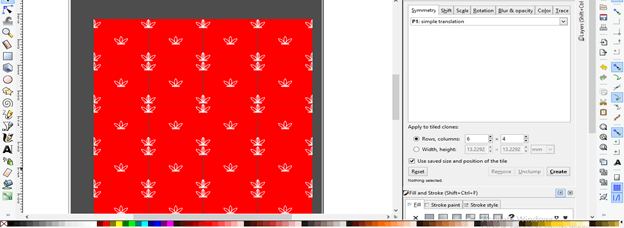
And I will have this type of pattern. You can export it as an image file for using it as a background of a different theme.
This was the simplest way through which you can create patterns in this software.
Conclusion
I have explained to you one way of creating pattern in Inkscape software, there is more ways through which you can do this but by this method, you can learn how you can handle pattern parameters so go and create your own pattern with unique ideas.
Recommended Articles
This is a guide to Inkscape pattern. Here we discuss how you can handle pattern parameters so go and create your own pattern with unique ideas. You may also have a look at the following articles to learn more –

