Introduction to Inkscape layers
Inkscape Layers play very important role for generating a user friendly environment during working with this software in other word you can have full control on the object of your illustration and arrange their sequences for having structure according to your requirement. You can understand it as slices of bread and if you place something on the top slice then it will be seen very first to you from top and same as in Inkscape we use layers for having object on the different layer with different properties so that we can manage them without disturbing other objects of our illustration.
How to create Layers and use them in Inkscape?
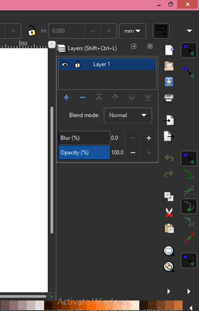
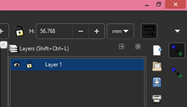
By default you will have Layers panel in the left side of the user interface of Inkspcae software.
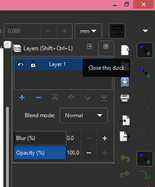
Let us close this.
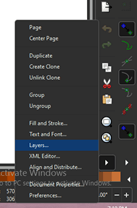
Now you will have this panel again from this list. You can open this list by clicking on arrow key.
There is one more option through which you can open layers panel for your use and for that you have to go to Layer menu of menu bar. In the scroll down list we have Layers option and by click on it you can have layers panel.
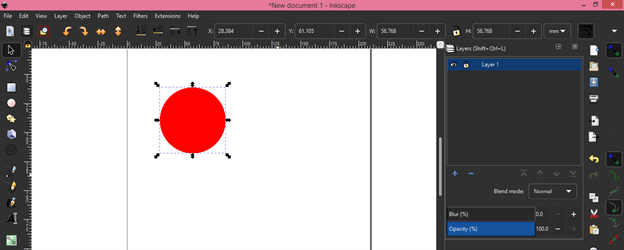
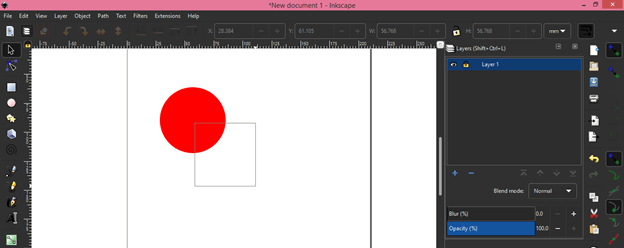
Now whatever you create it will create on the layer and right now we have one layer in layers panel so my create circle will be on this layer.
We have Eye button the layer in layers panel.
And by disabling it we can hide objects of that layer.
Next to Eye button there is Lock icon on the layer.
If i will click on it then it will lock objects of selected layer and now we can’t make any type of editing in the object of locked layer.
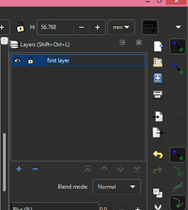
You can rename layer according to you and for this just make click on name of the layer and type your desired layer name.
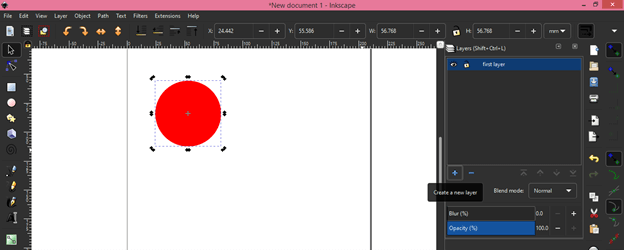
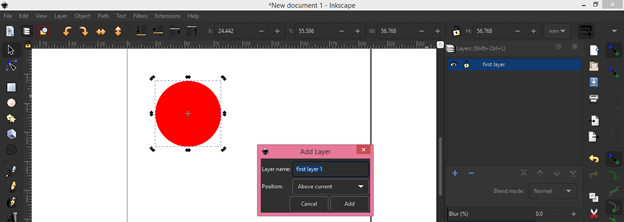
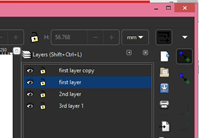
You can have a number of layers in the layers panel. Let us create a new layer in the layers panel and for that click on ‘Create a new layer’ button of this panel.
When you click on this button a dialog box will open. Here you can name this layer again as per your choice. It will take name in sequence of already have layer for example i have one layer with name ‘First layer’ in layers panel and now you can see it is suggesting me next layer name as First layer 1.
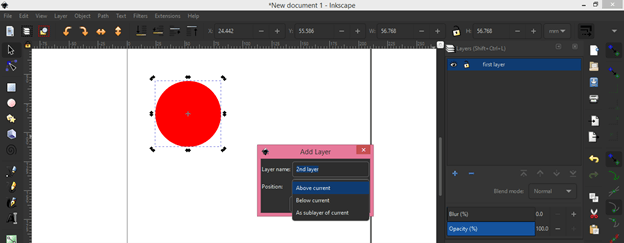
I will name it as 2nd layer. Here we have Position option in the box also that means you can add new layer to the above or below of the current layer or you can also add it as sub layer of selected layer.
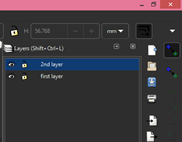
After clicking on Add button of this dialog box you will have new layer in layers panel.
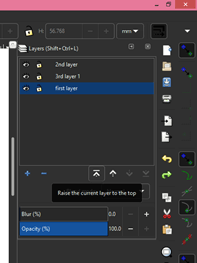
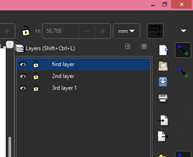
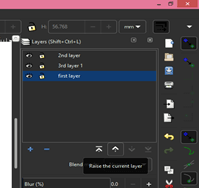
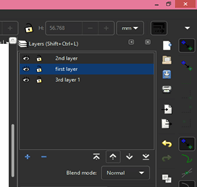
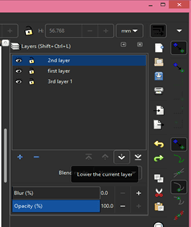
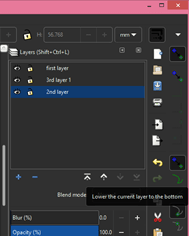
You can move any layer in upward or downward direction by moving that layer with the help of mouse.
‘Raise the current layer to top’ option will helps you to position your selected layer on the top of the all layers of layer panel.
If you want to move selecte layer one step up in the layer list then you can go with ‘Raise the current layer’ option.
Same as above options we have two option for down the layer in the list. You can try these option for this purpose.
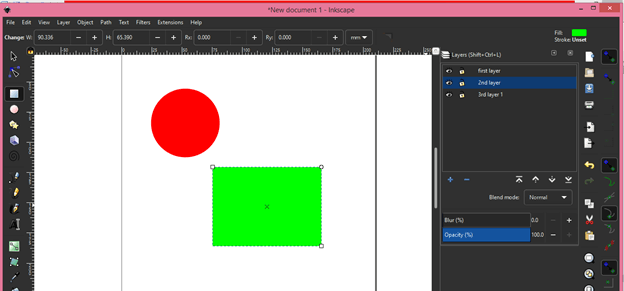
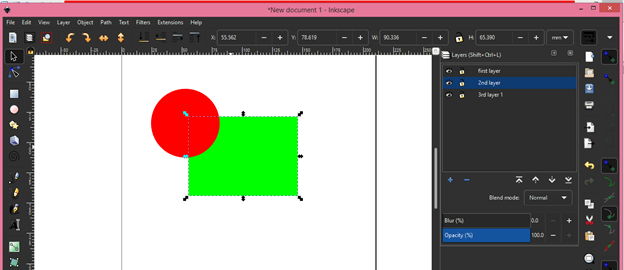
Any object which you will create during your work it will be on your selected layer. For example i will select 2nd layer in layers panel and draw a rectangle by using rectangle tool of tool panel.
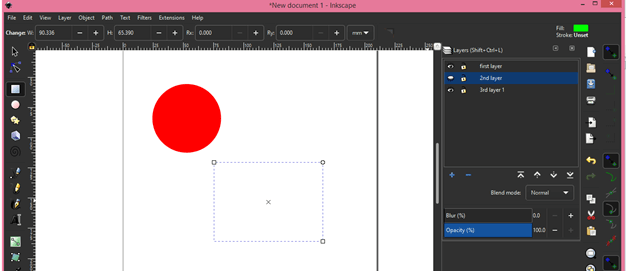
And you can see if i hide 2nd layer then only rectangle we be hide because it was created on this layer. So during creating your object make sure you are on the right layer. One thing i will also explain you with this example, you can understand importance of layers panel here that is when i hide object of 2nd layer it hasn’t disturb object of other layer. So you can work with different object separately due to the layers panel and its features.
The object will be below to the other object on document area that layer is below to the other layer. Here i have 2nd layer below to first layer so rectangle of the 2nd layer is below to the circle of the first layer. If you want it above to circle then you can move its layer above in layers panel.
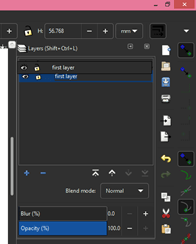
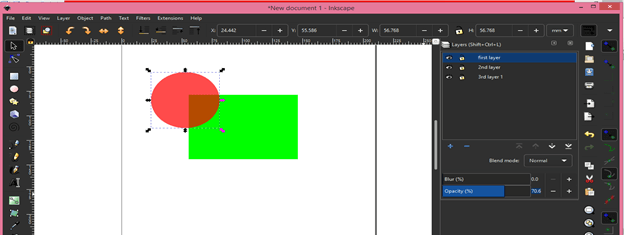
Now when i select circle i will automatically moves to the first layer in layer panel. I can decrease opacity of any layer from the opacity option of the layers panel. Opacity can define as how opaque any object it is.
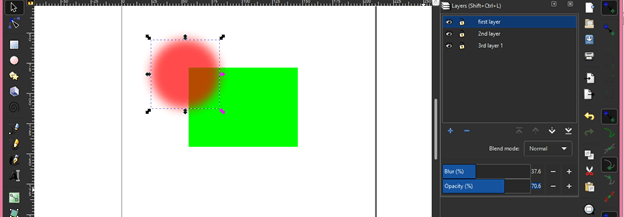
With Blur option of this panel you can also make any object of layer blur.
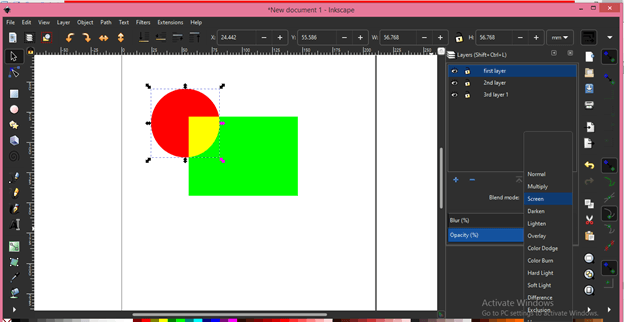
There is Blending mode option through which you can make changes in object of selected layer. For example I have selected circle and then change its mode to Screen and you can see we have other color due to blending of colors of both objects.
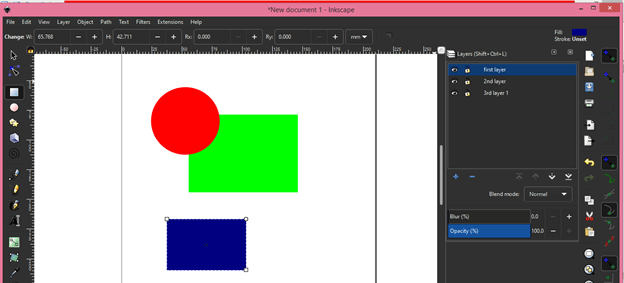
One thing we always face that by mistake we create object on wrong layer and Inkscape have solution for this also. This blue rectangle in on First layer and i want to move it 2nd layer. So i will select it.
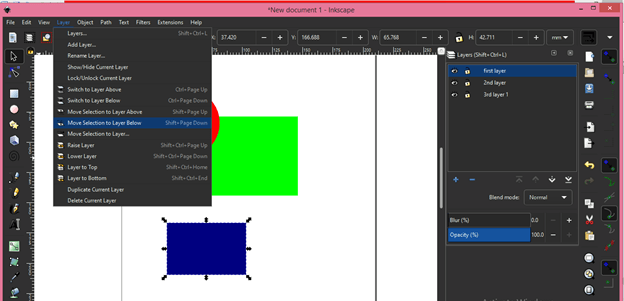
So go to layers menu and click on ‘Move selection to below layer’ option.
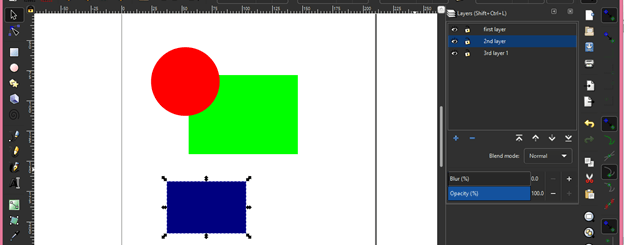
And now it is on 2nd layer.
You can remember short cut key of ‘Switch to layer’ option so that you can quickly jump to one layer to other layer or you can go through these option of this menu.
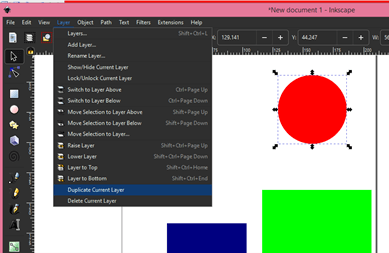
By ‘Duplicate current layer’ option you can make copy of selected layer in layers panel.
Conclusion
I have explained you all important features and fact of layers panel and also tell you why it is important to have layers panel? You can now make your working easy with Inkscape software by adding layers panels uses in your working.
Recommended Articles
This is a guide to Inkscape layers. Here we discuss How to create Layers and use them in Inkscape along with all important features and fact of layers panel. You may also have a look at the following articles to learn more –
