Introduction to Revit Keyboard Shortcuts
The following article provides an outline for Revit Keyboard Shortcuts. Revit literally means revise and edit so to make the workflow faster and to create more revisions we should be well versed with all the shortcuts or at least the default ones. The shortcut not only saves your time but also saves the annoying headache of browsing through multiple menus. Now imagine if you are using the same command over and over then using the shortcut is the way to go as it will definitely save your time.
Steps of Revit Keyboard Shortcuts
Given below are the steps mentioned:
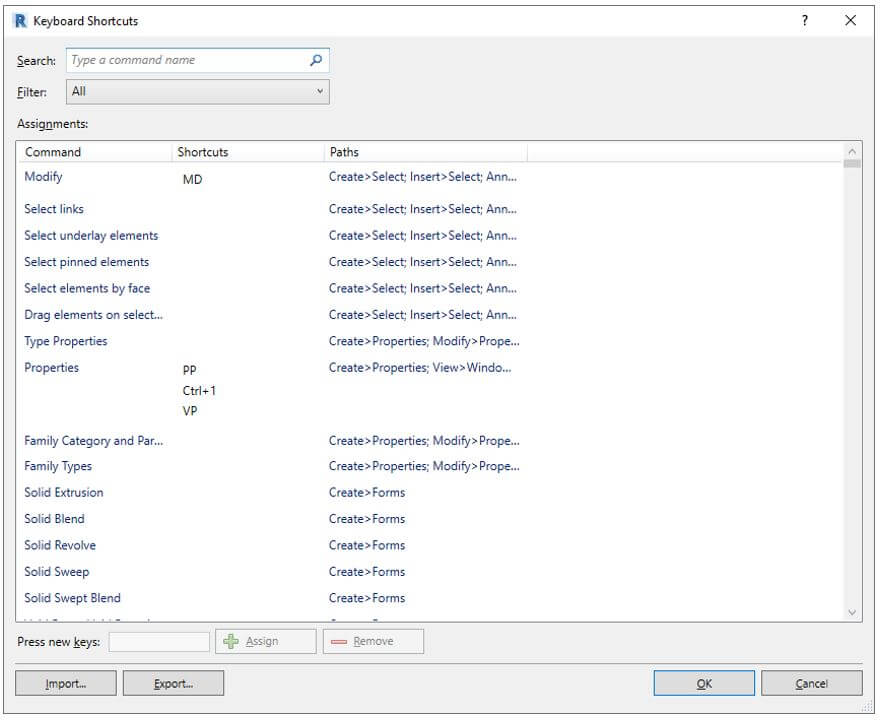
Step 1: To learn the shortcuts in Revit first start with the shortcut to see the list of available shortcuts in Revit. KS is the shortcut to view the available keyboard shortcuts in which you can search and filter according to the menu. To can change the shortcuts by assigning new keys but in this article, we will stick to the default ones.
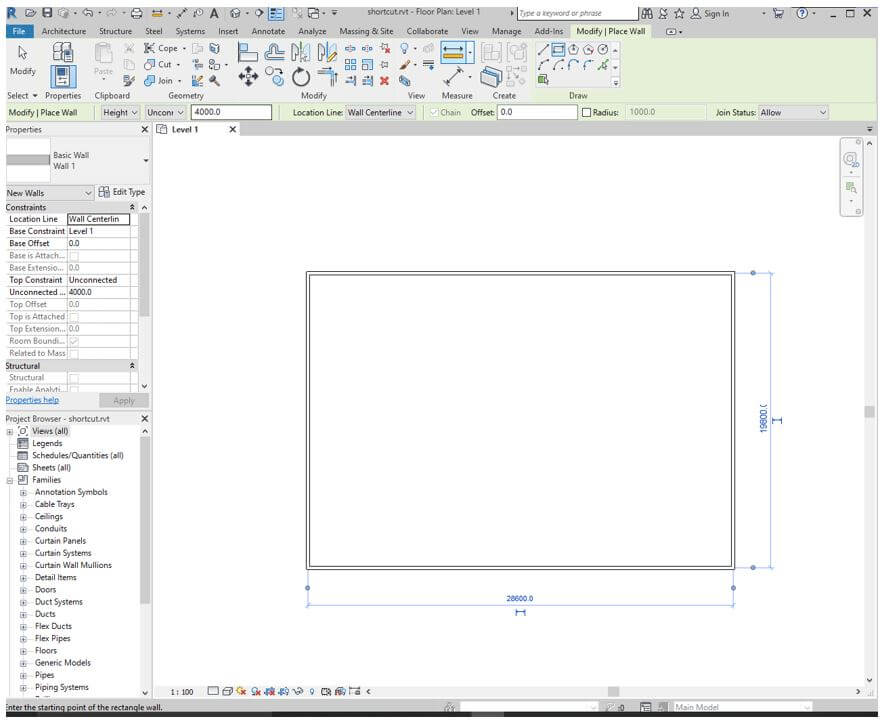
Step 2: Let’s start with the wall. WA is the shortcut for wall and we create a rectangle wall as shown.
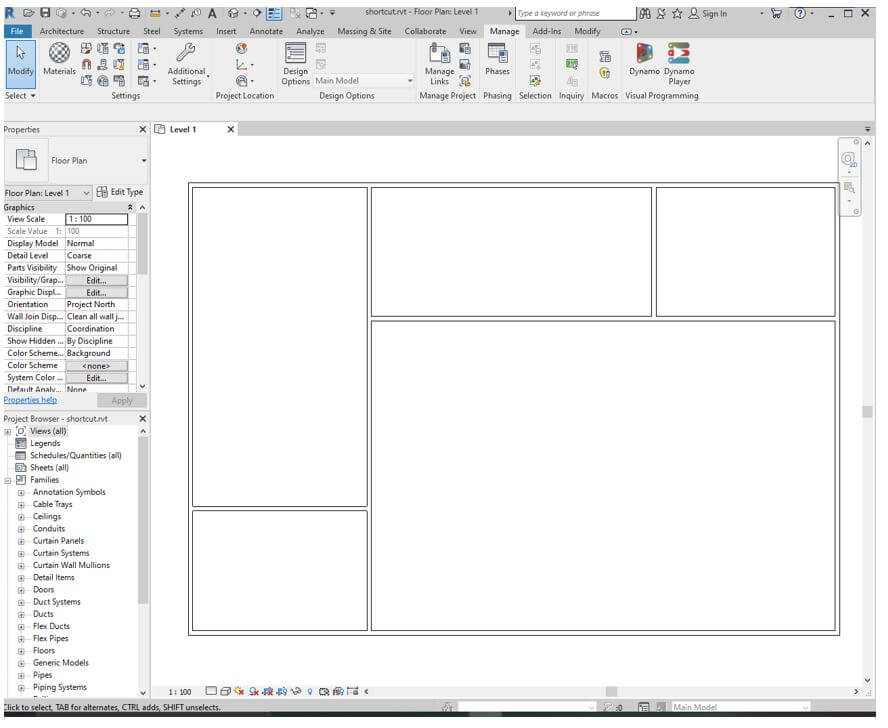
Step 3: Then let’s create some line walls to make the structure as shown.
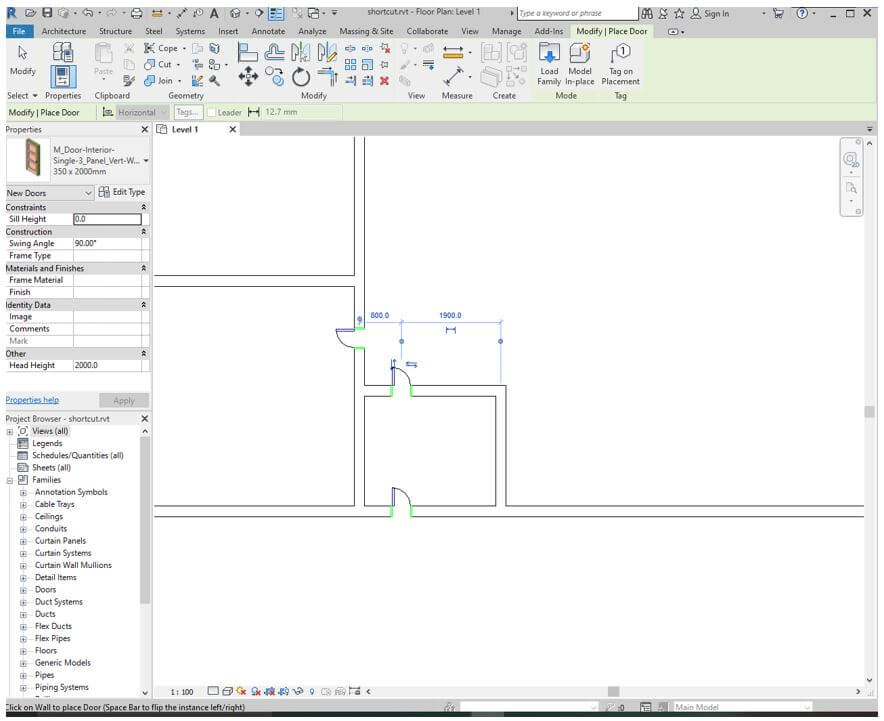
Step 4: Next we add some doors the shortcut is DR. If you get error of no door loaded then you might have to download the library and load if from there.
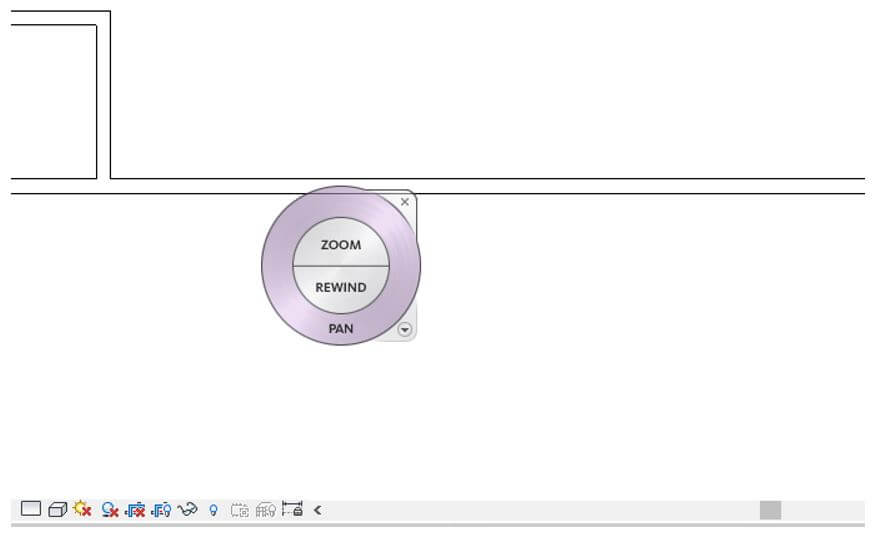
Step 5: You can use the mouse wheel to zoom but if you want to pan then you can use the wheel which can be toggle using Shift + W.
Step 6: You can place some windows using shortcut WN. Again, if it is not loaded in the project then you might want to load from the libraries.
Step 7: Similarly, we can add all the doors and walls as shown quickly as the Revit means revise and edit and you can easily toggle between shortcuts to accomplish the tasks.
Step 8: Then use shortcut GR to place a grid as shown.
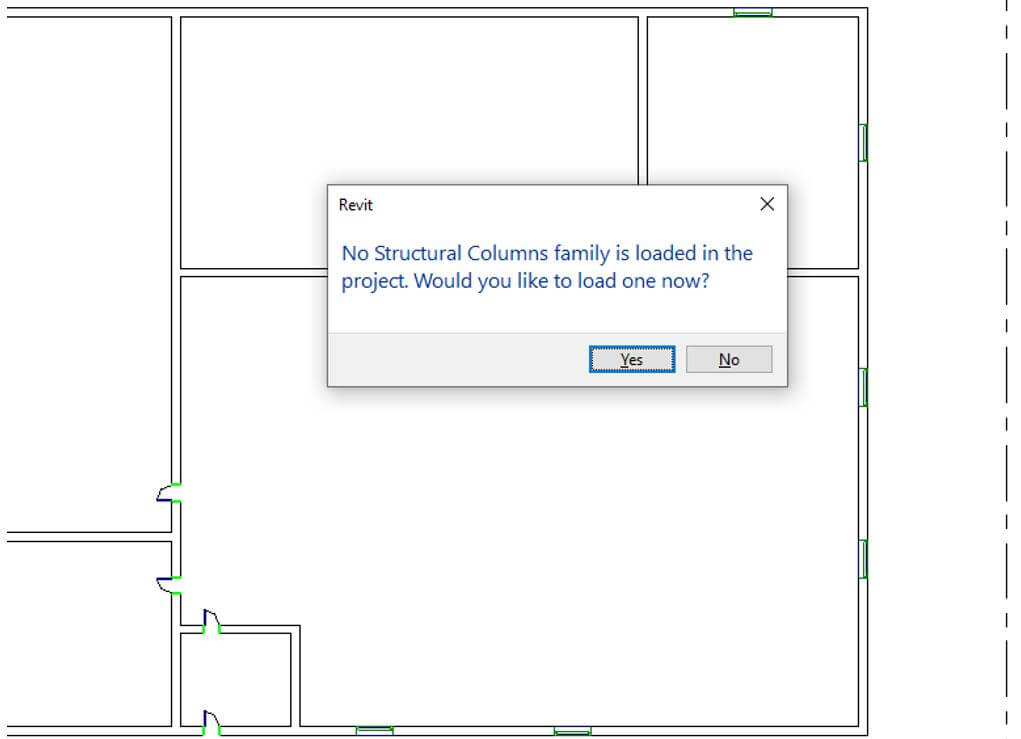
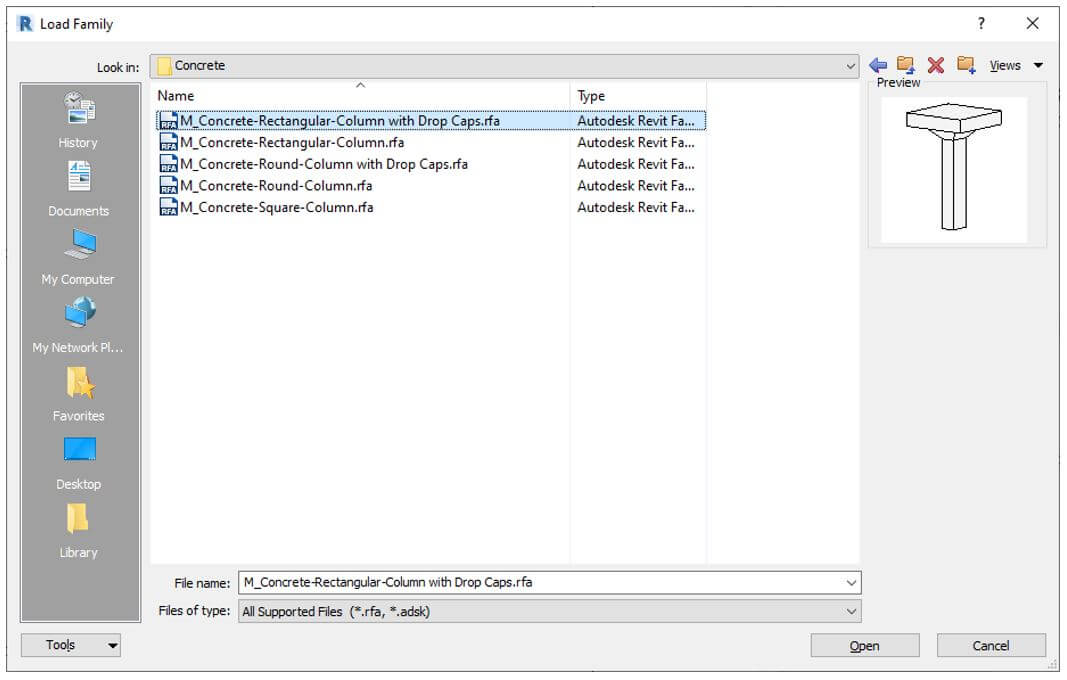
Step 9: Now we place some structural columns using the shortcut CL but since they are not loaded, we will load it from the library.
Step 10: Navigate to the column in library.
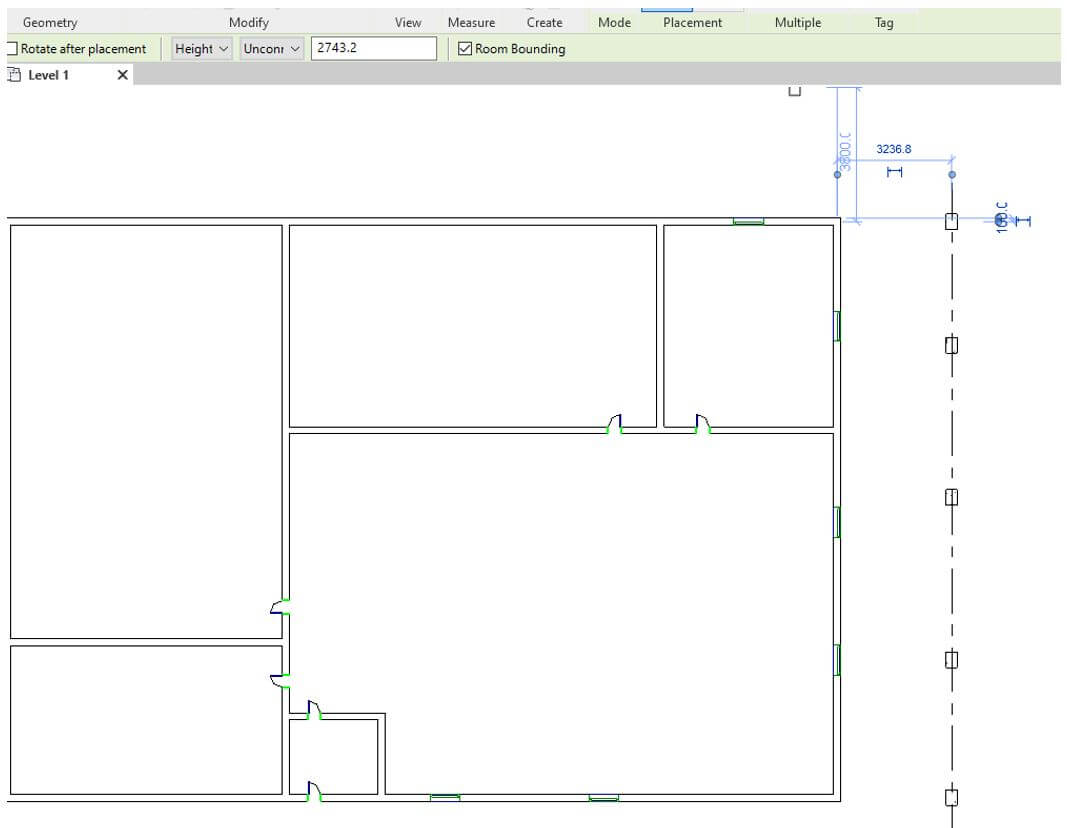
Step 11: Set the options to height while placing column using CL.
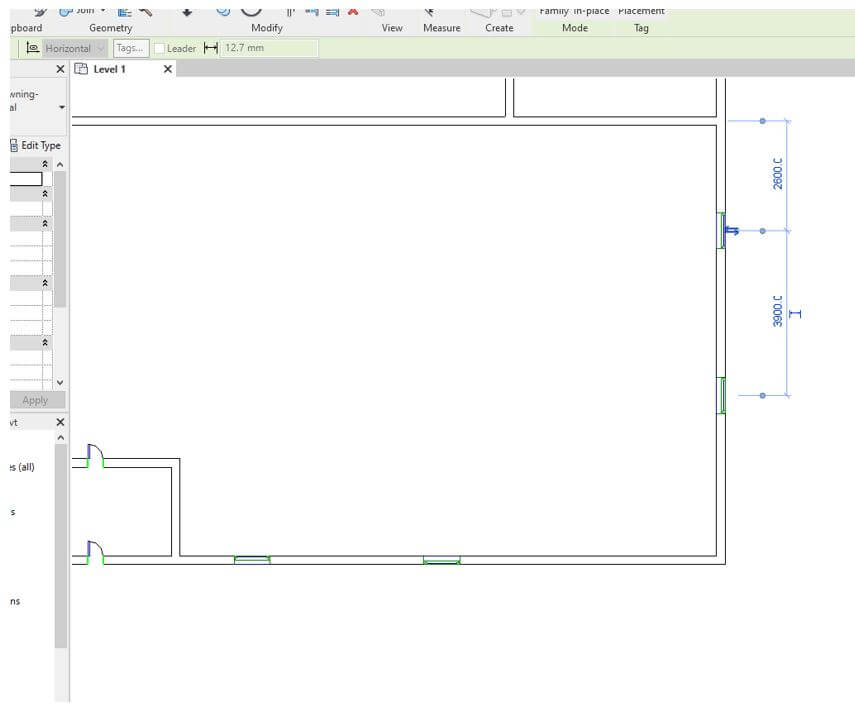
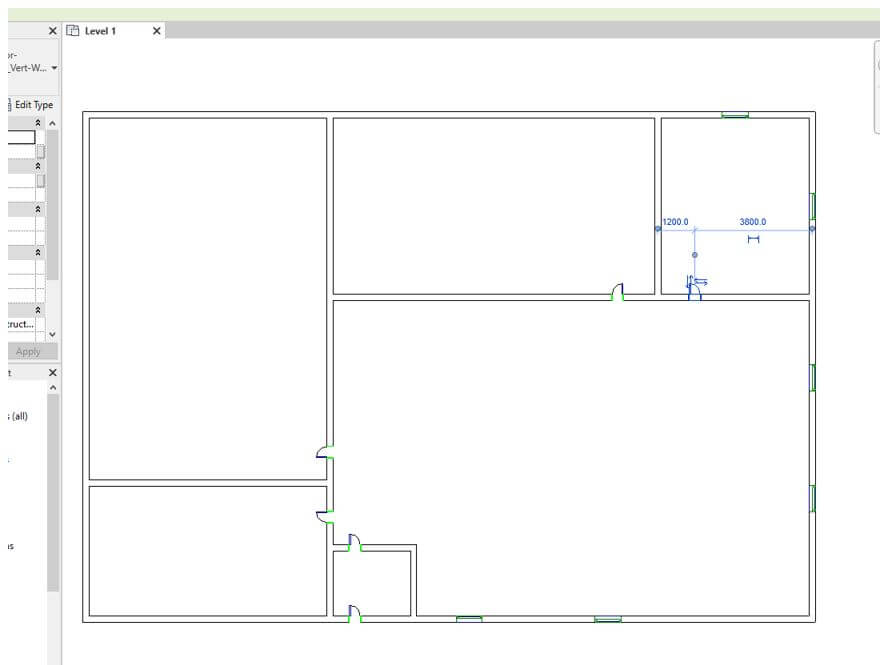
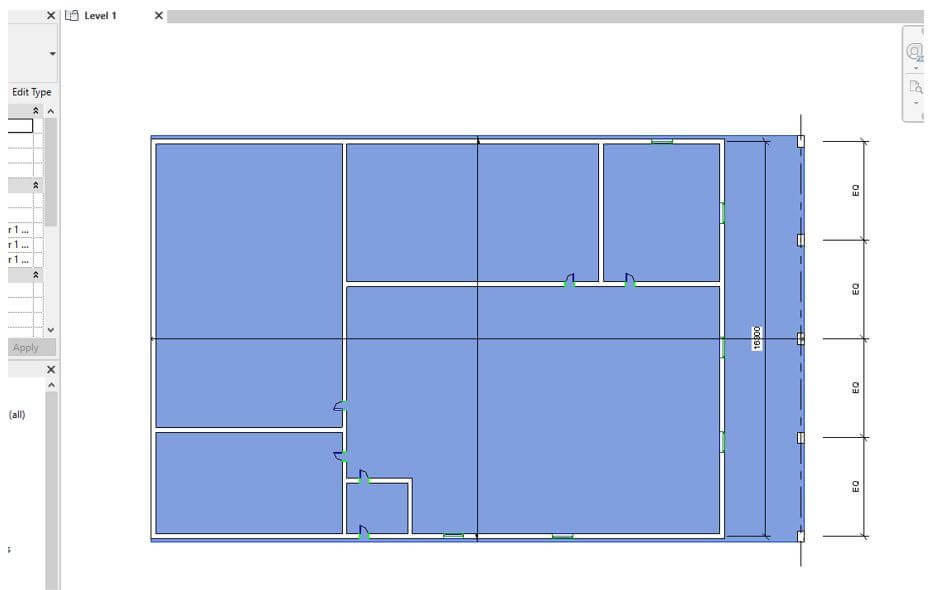
Step 12: Next we add dimensions using DI as shortcut and place it as shown.
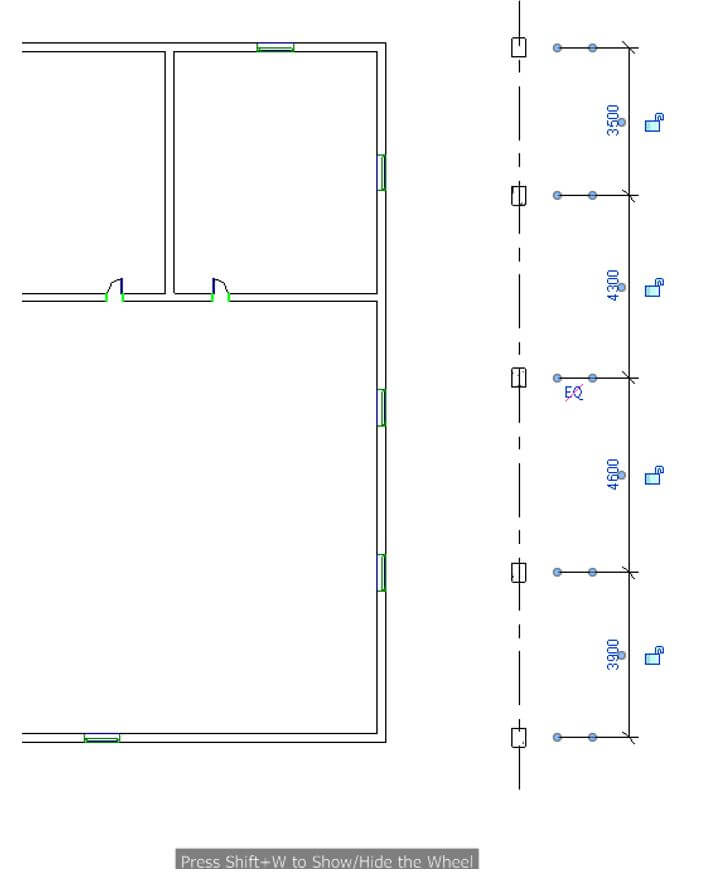
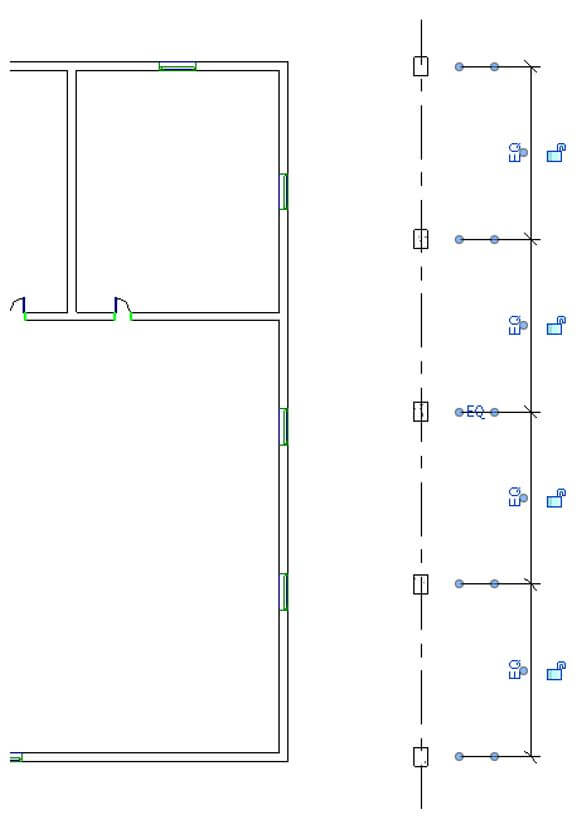
Step 13: Then if you click EQ at the center column then the columns will be spaced equally.
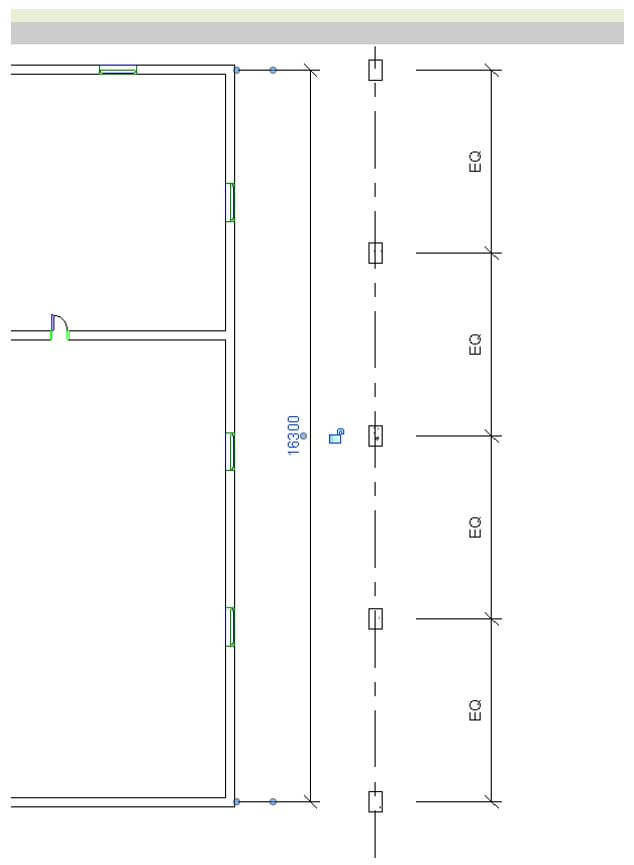
Step 14: Again we can add a dimension across the entire wall and the value is too large because it is in millimetres and we can change the dimensions.
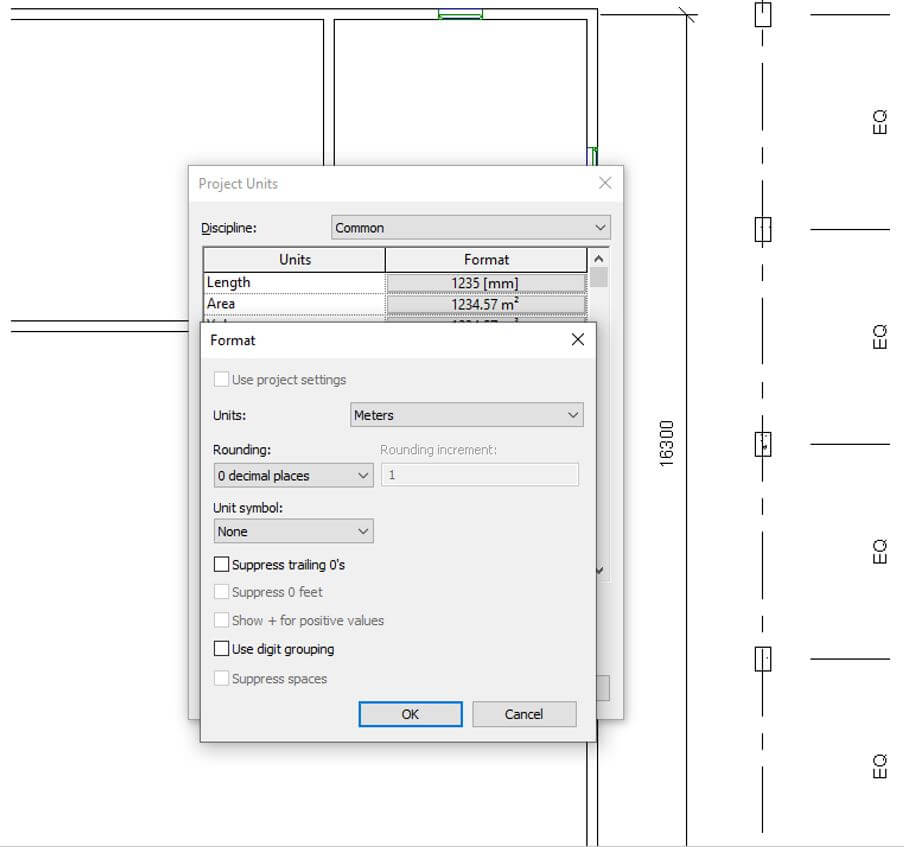
Step 15: To change Project Units press UN to change the length units to meters.
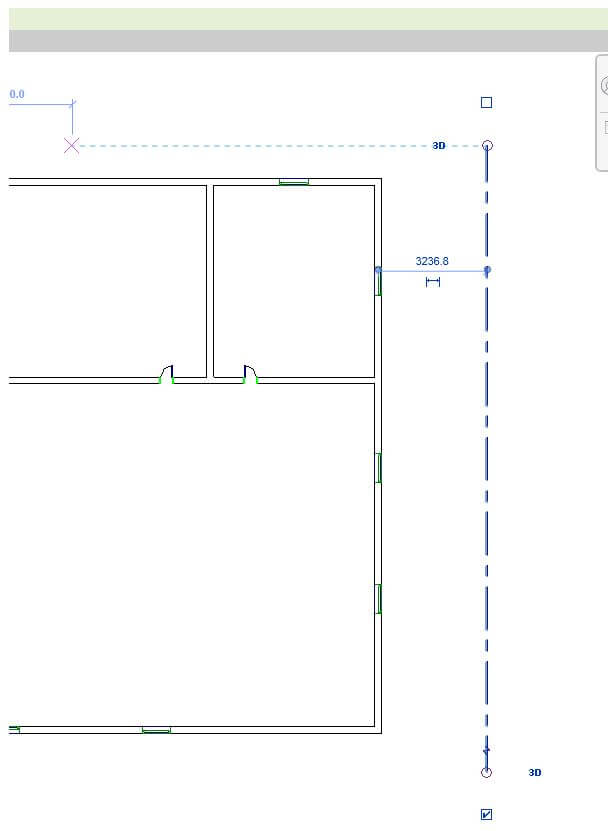
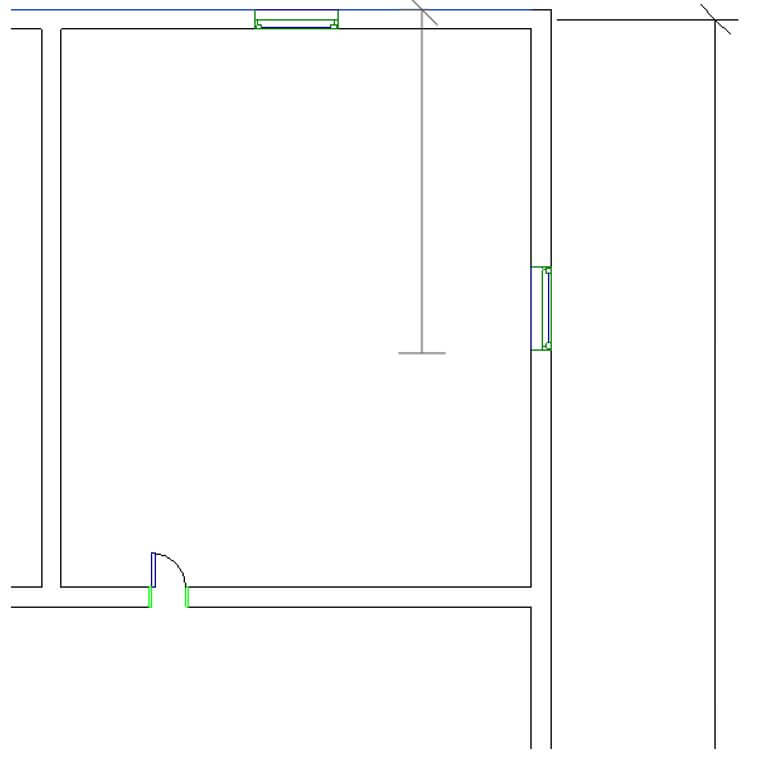
Step 16: Press tab key if you want to start the dimensions from the edges of the wall instead of center.
Step 17: Then to create a structural floor the shortcut is SB and we create a rectangle as shown up to the columns.
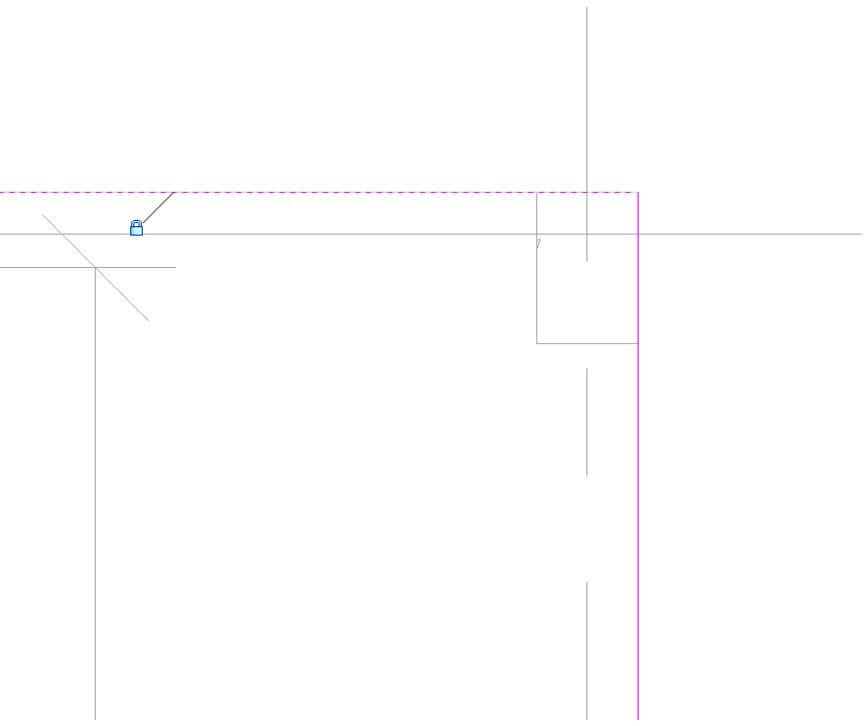
Step 18: We can align the floor to the top of the structural column by using AL then click the column and then the floor to align and you can lock it if you want.
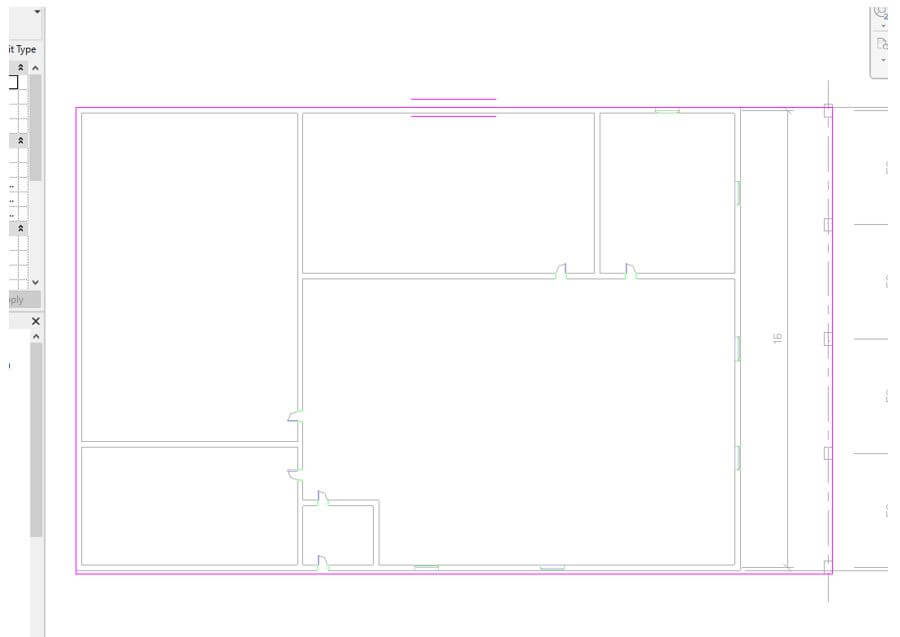
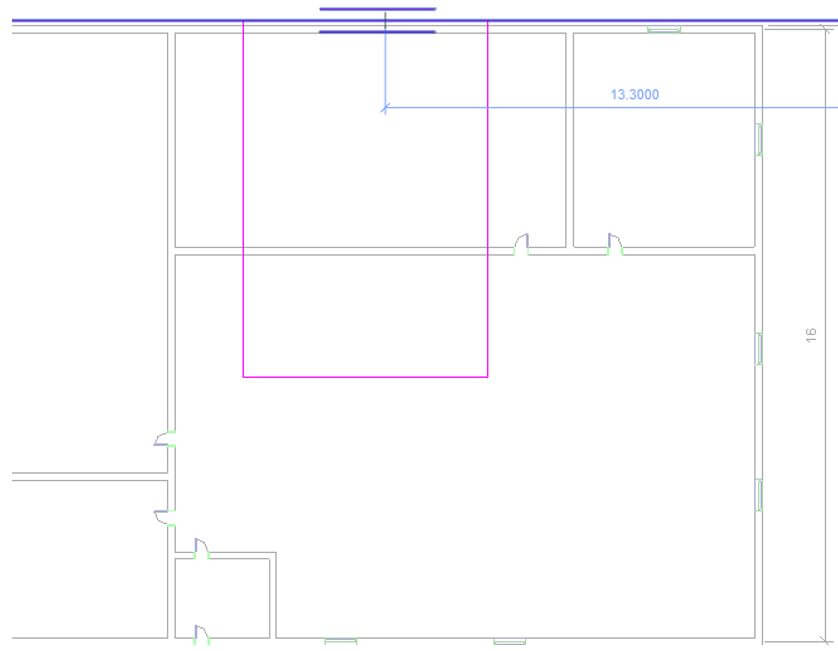
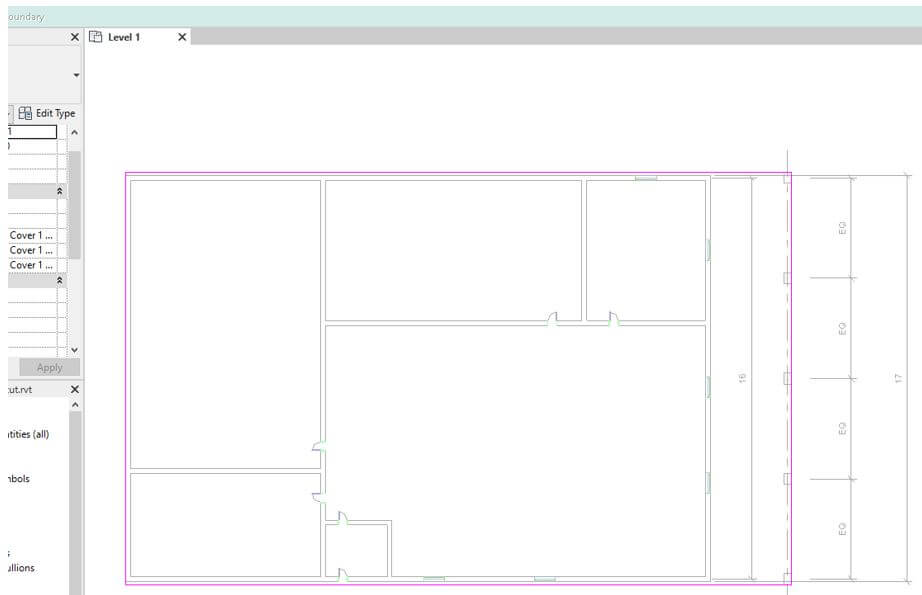
Step 19: We can create a different shape of the slab and the split it using split tool or SL and click to separate the part.
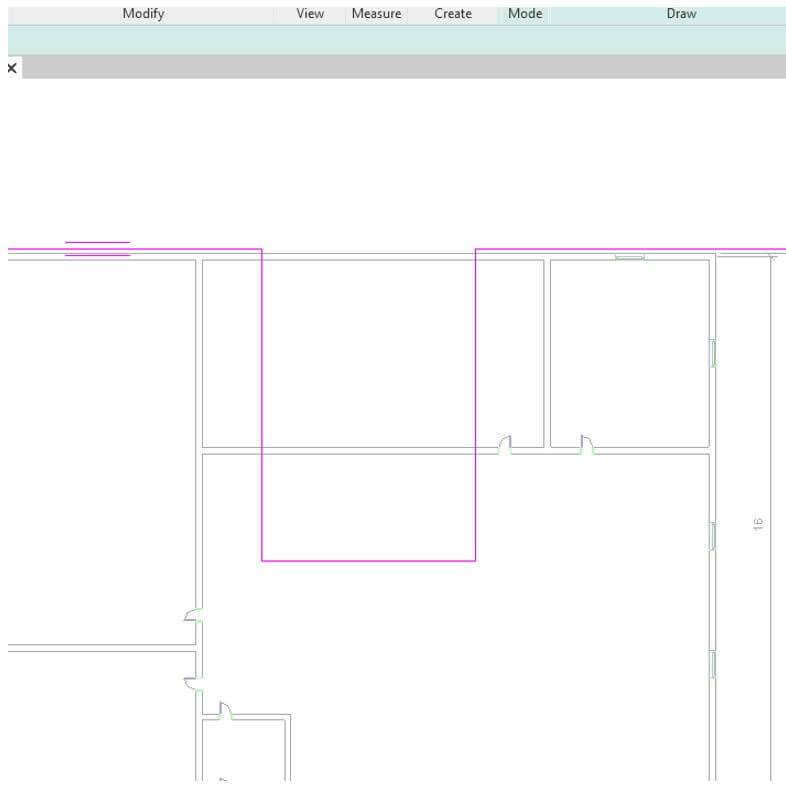
Step 20: Then using TR – Trim / Extend tool we can remove or trim everything which we do not need.
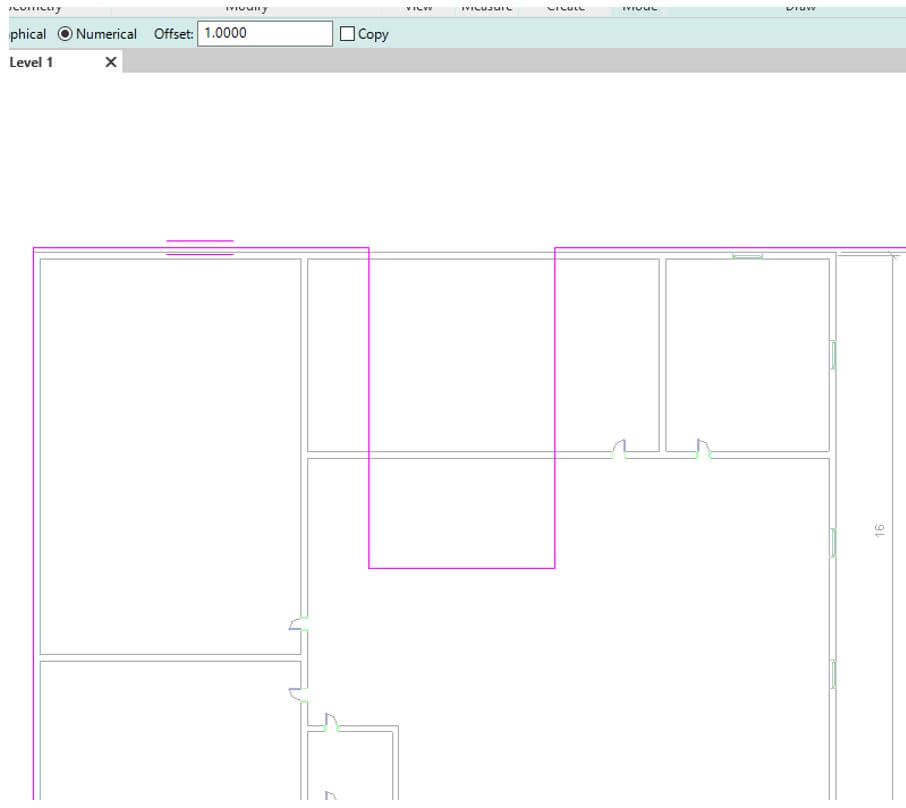
Step 21: Then you can do offset by pressing OF which can be used to move or copy selected element to a specified distance perpendicular to its length.
Step 22: But currently we do not need them so we delete it and do trim/extend or TR shortcut to join the lines as shown.
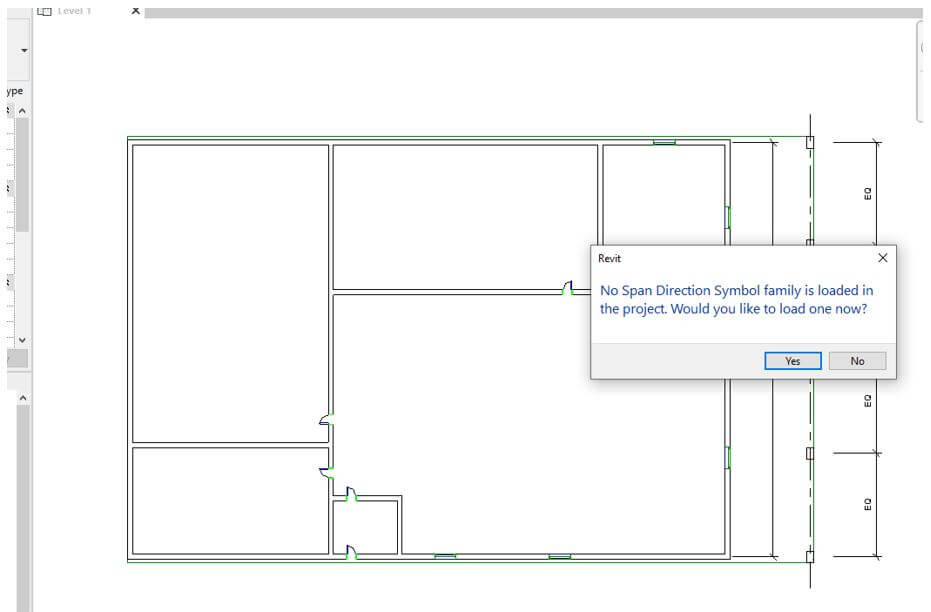
Step 23: Then we add a span direction line and if no symbol is loaded.
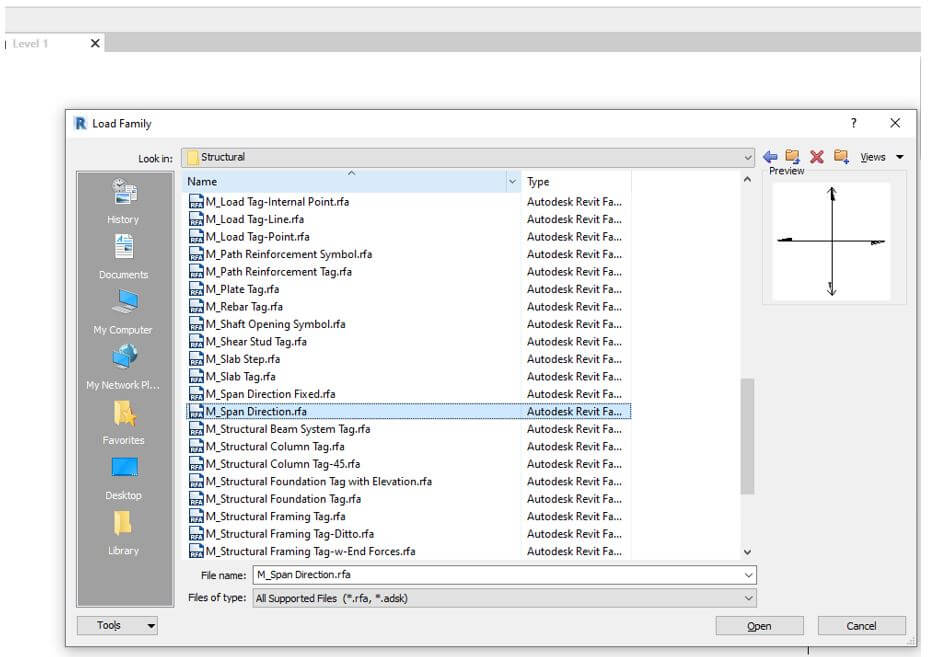
Step 24: Navigate to span direction in the library.
Step 25: So we have added the span direction.
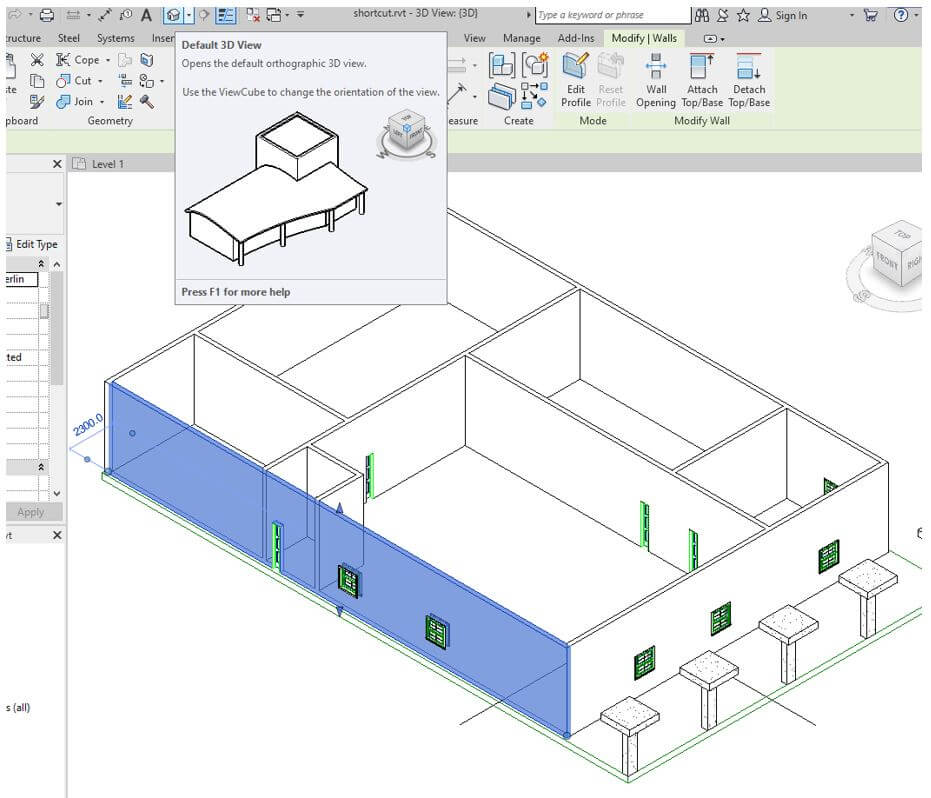
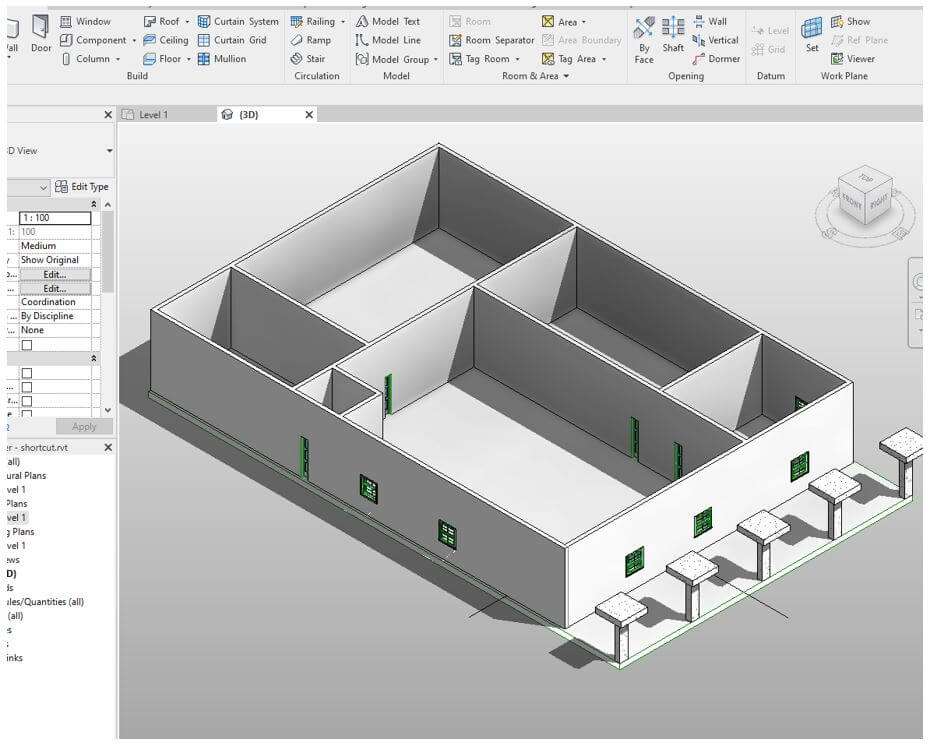
Step 26: Now to view the default 3D view we can see using the cion at the top or the project browser.
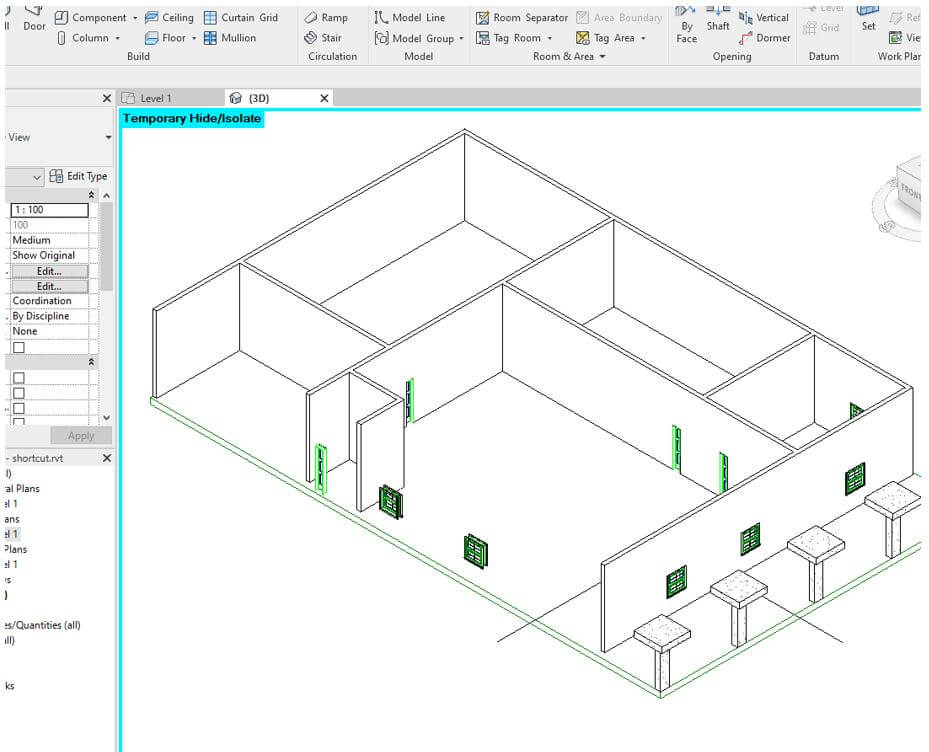
Step 27: Suppose we want to hide the wall temporarily then we use shortcut HH to hide the wall and then HR to Reset Hide/Isolate.
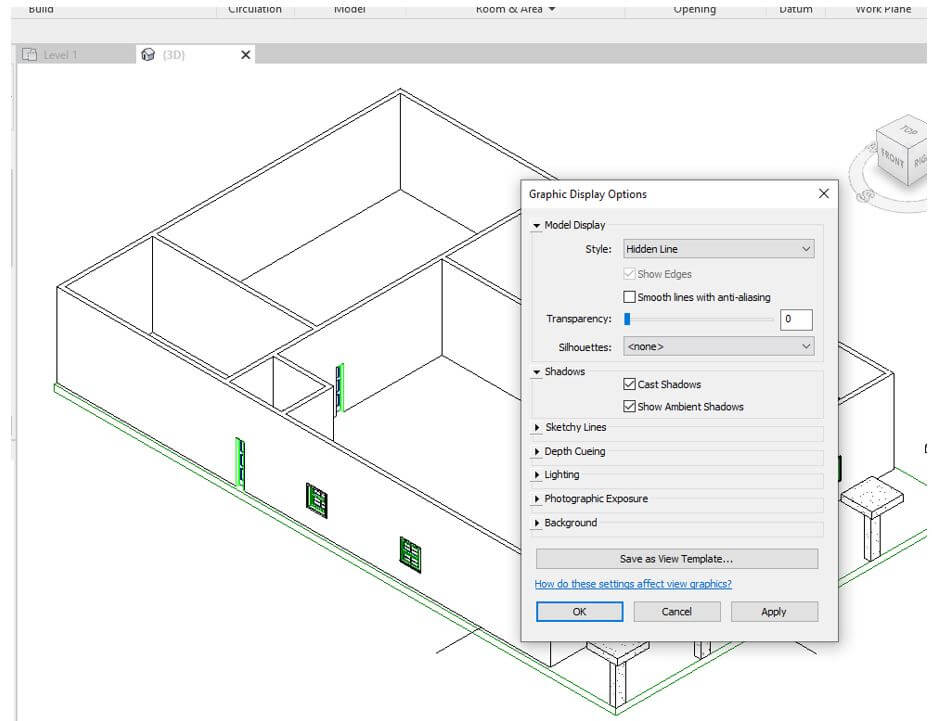
Step 28: If you want to change some visual styles then you can go to Graphic Display Options or press GD where you can give some shadows and some background.
Step 29: After changing the graphic display options the output looks like as shown.
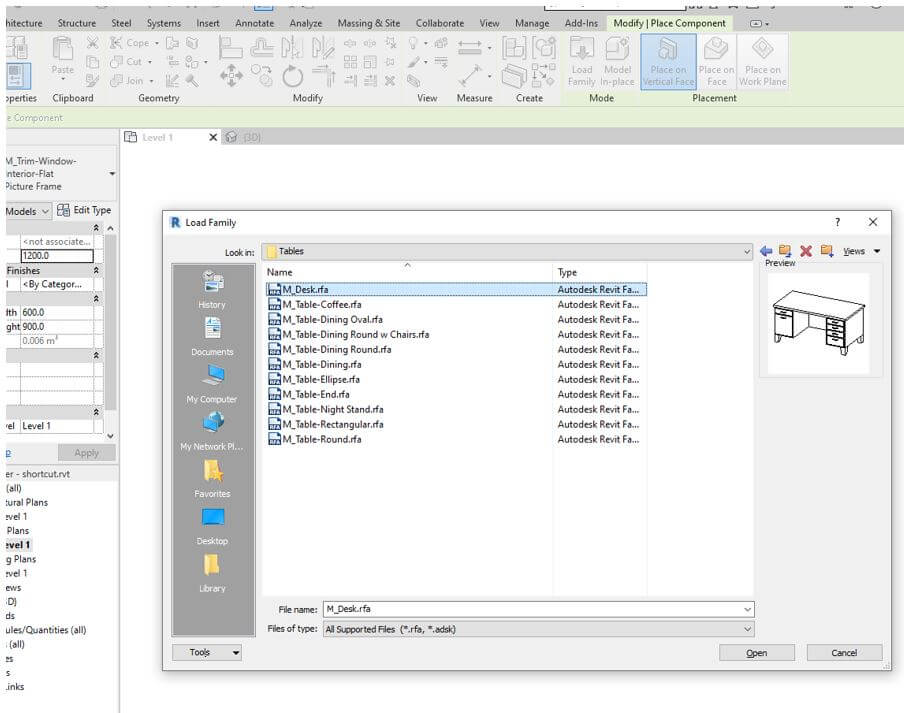
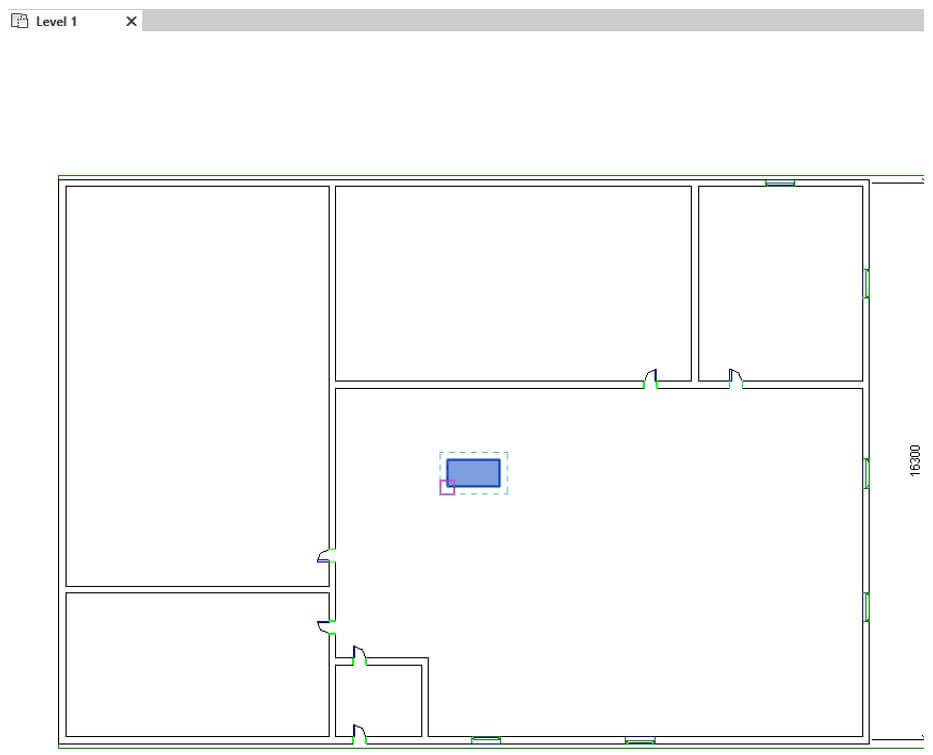
Step 30: Now let’s go again to the floor view and place some component by CM. To load the family, navigate to furniture section and add a desk.
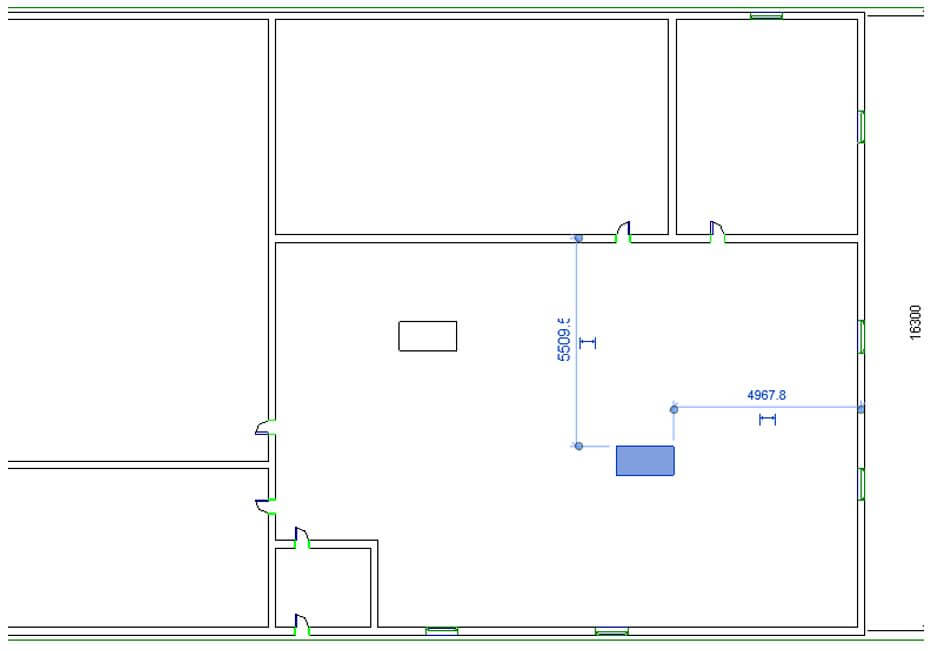
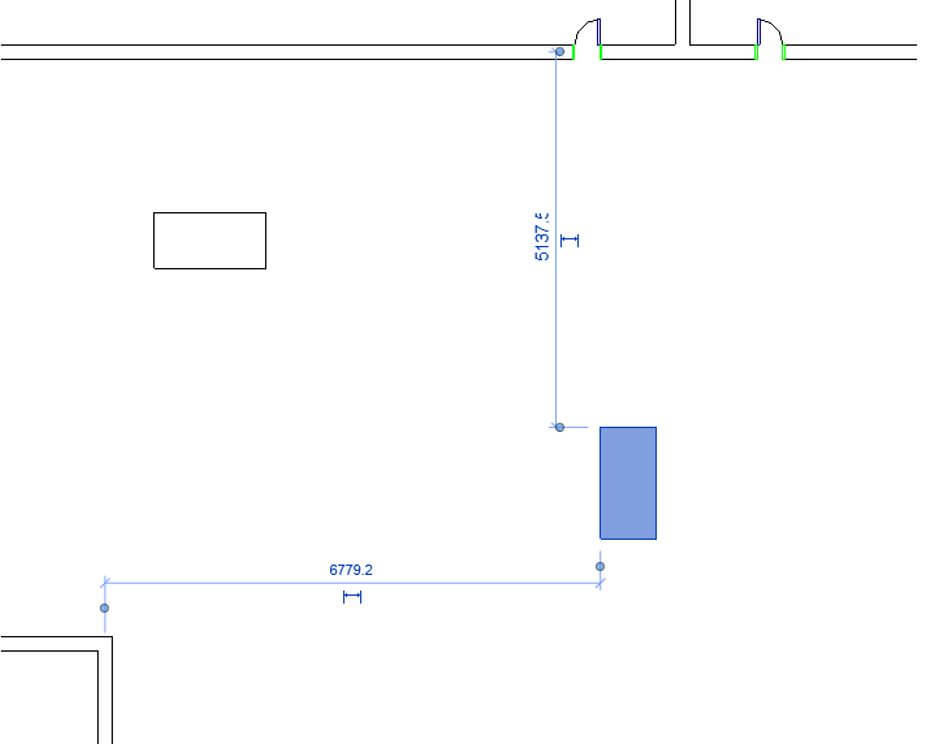
Step 31: You can use the shortcut MV to move which can be used to snap to an object or align.
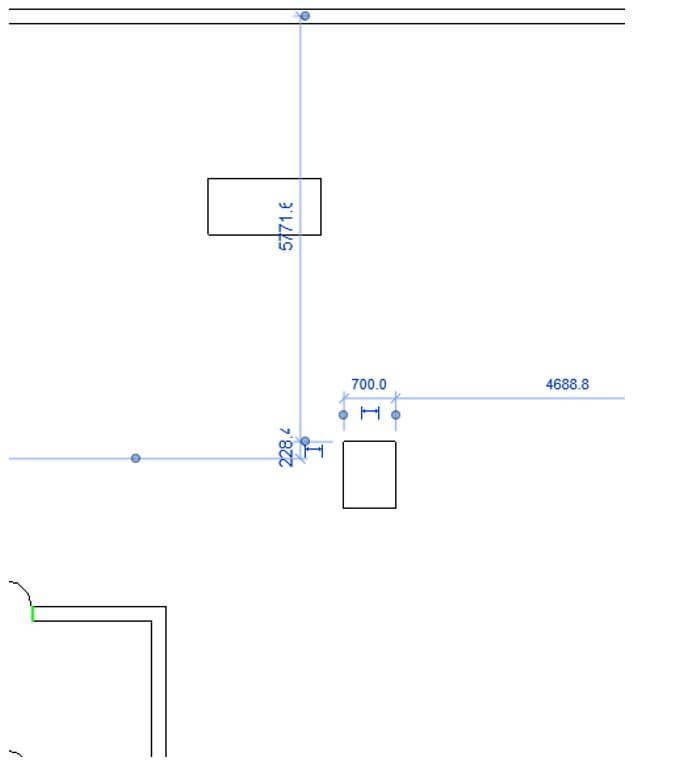
Step 32: You can also copy by using shortcut CO and then copying to where you want.
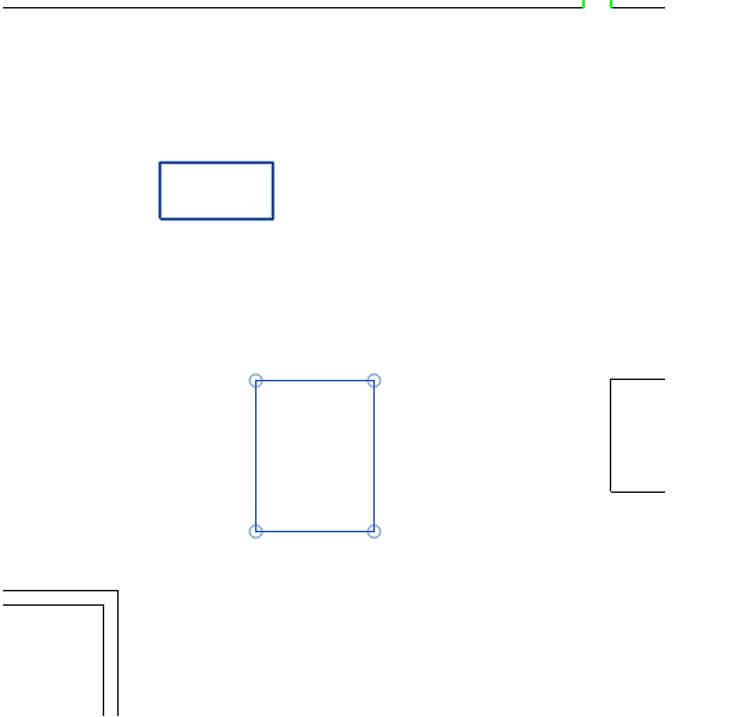
Step 33: You can also rotate it to a specified angle using shortcut key RO. In options you can make a copy after rotation or change the center of rotation.
Step 34: Now we will create a detailed line by using shortcut DL.
Step 35: Then you can select all the lines and press RE shortcut to scale them. But most elements cannot be scaled in similar manner.
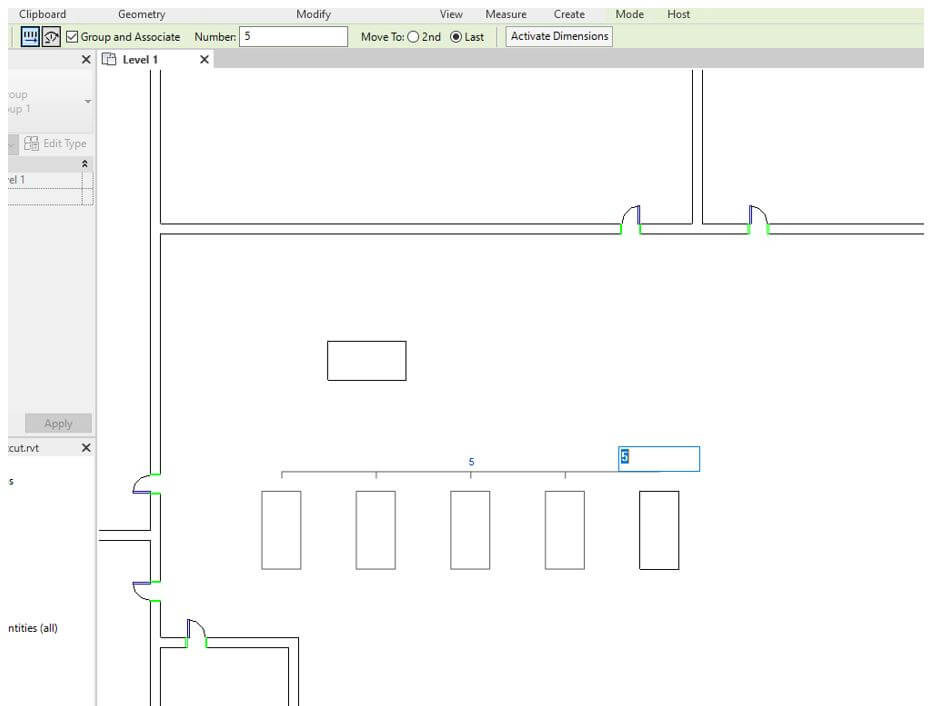
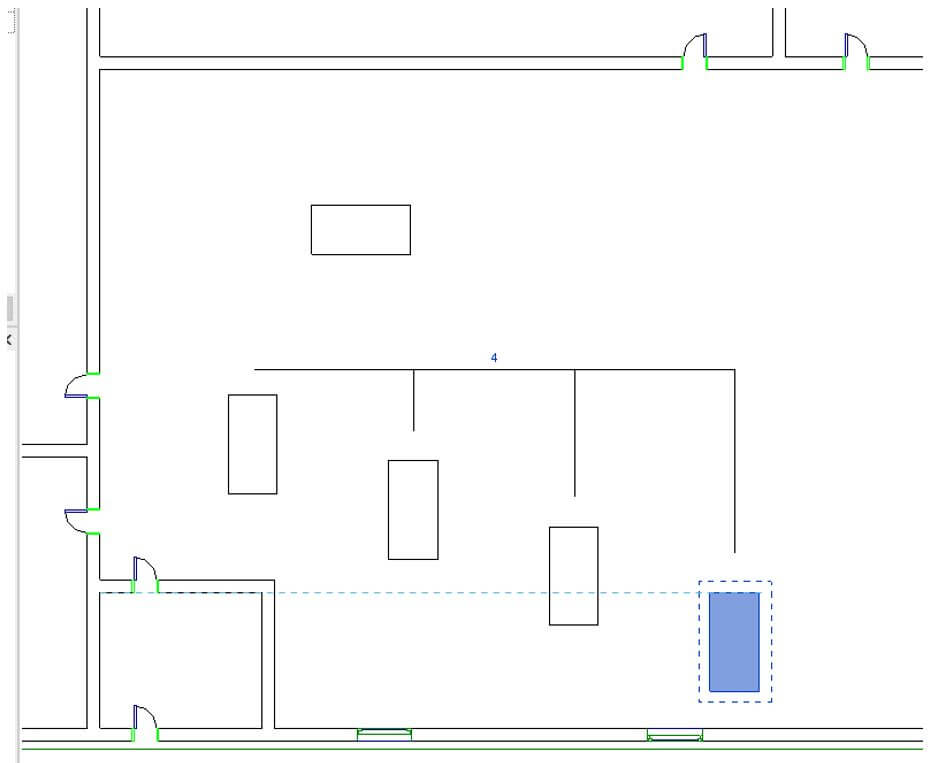
Step 36: Then you can use AR to place multiple objects of same kind by selecting the table and then set number to 5 and move to last.
Step 37: So by moving the objects and changing the numbers we can make some cool arrangements. When you select one of the objects, they are all linked as they are in a group.
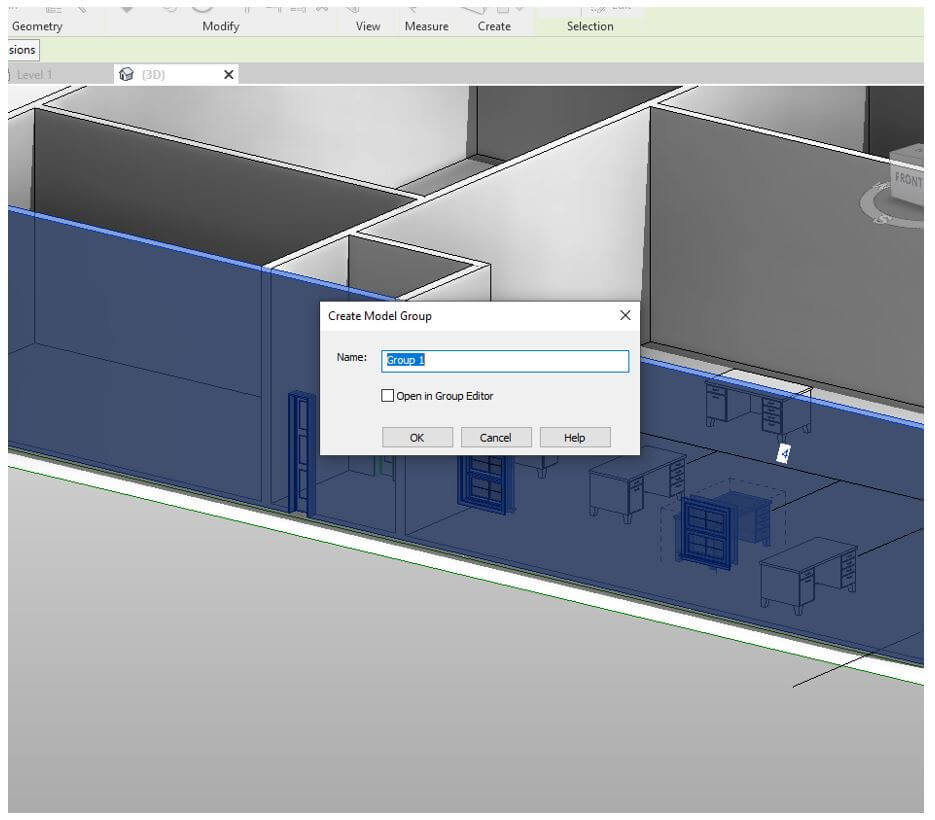
Step 38: If you want to create a group then let’s go to 3d view and select the walls, door and window and use shortcut GP to create a group.
Conclusion
In this article we have seen how to use keyboard shortcuts in Revit. We started with some basic shortcut of creating walls, doors and windows then we also seen how to bring the library if it is missing. Then we also worked with 3D view along with components using shortcut to make the workflow more efficient.
Recommended Articles
This is a guide to Revit Keyboard Shortcuts. Here we discuss the introduction and steps of revit keyboard shortcuts respectively. You may also have a look at the following articles to learn more –

