Introduction to SketchUp Unhide
SketchUp Unhide is a very important feature or the option of this software because during creating a model in SketchUp, most of the time, we need to hide some object or component from the working area so that we can see and create another object very smoothly. Once we hide components, it needs to unhide them after complications of our work so we can unhide all hidden objects in just one click, or you can unhide them one by one if there are a number of objects hidden in your working area. There are few options through which you can do the process of unhiding objects.
How Unhide works in SketchUp?
You can unhide objects in this software by using menus of the menu bar and some other options so let me tell you how you can do this during your work.
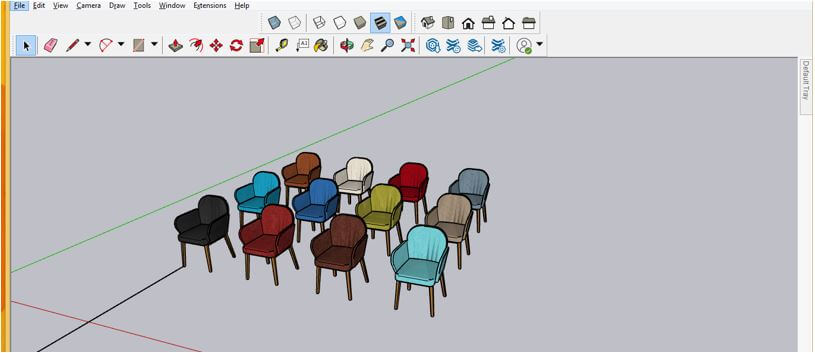
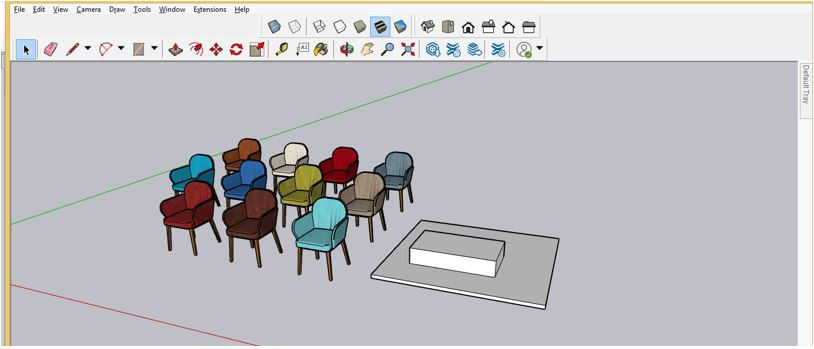
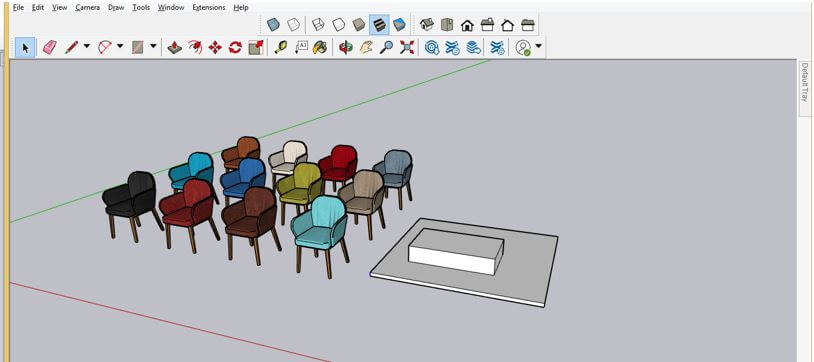
I have downloaded this chair’s model from the 3D warehouse of SketchUp to explain this topic. You can learn and practices this on your own designed model.
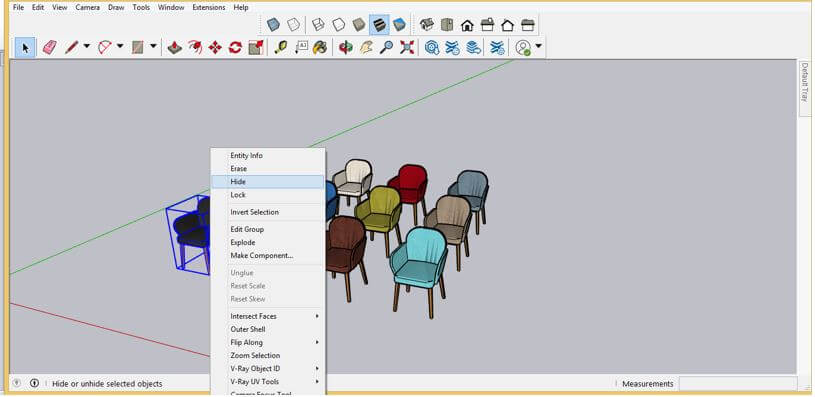
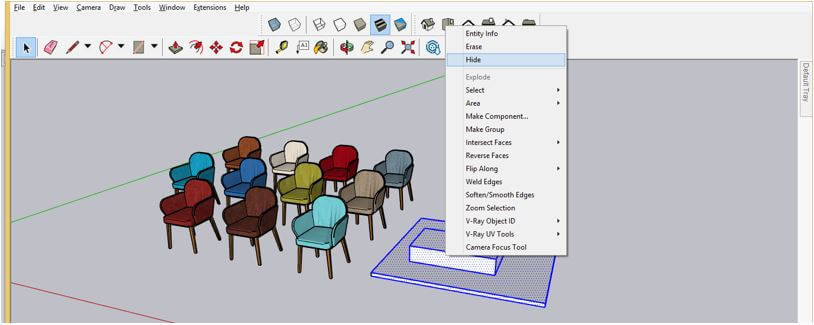
Now I want to hide this first chair, and for that, I will first select it with a select tool then make right-click on it. Choose the Hide option from the drop list.
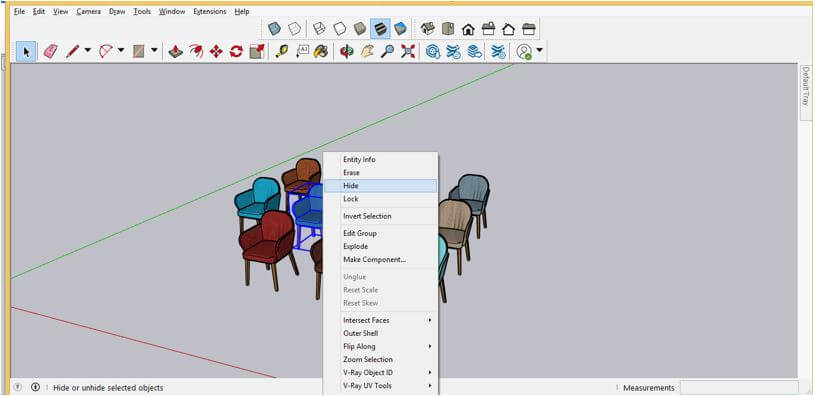
Once I will choose this option, it will hide our selected chair. I will do the same with some other chairs.
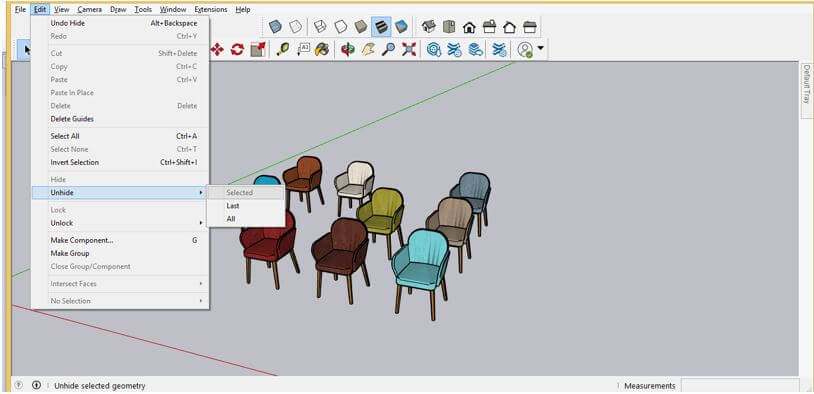
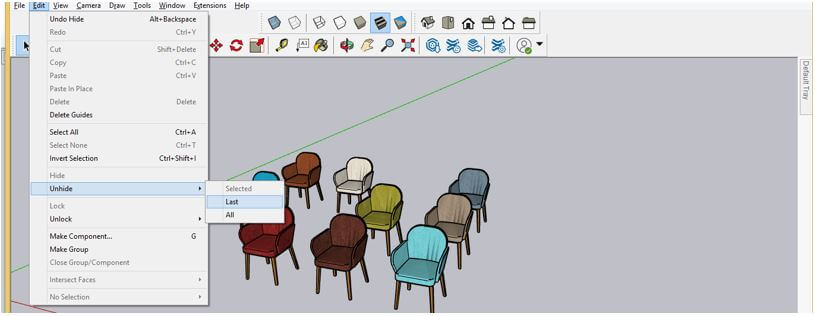
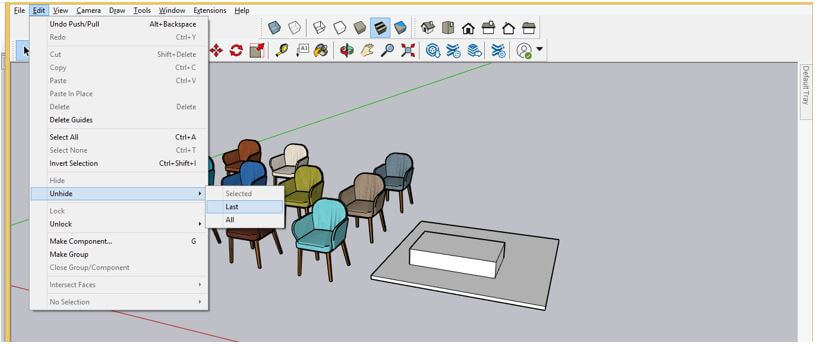
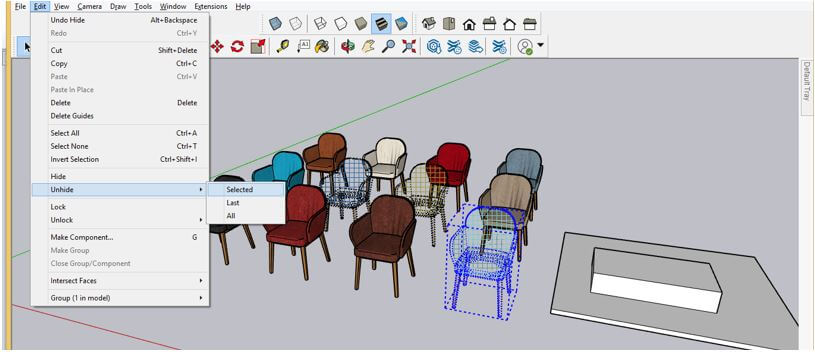
Now, if you want to unhide them, then go to the Edit menu of the menu bar, which is at the top of the working screen, and click on it. Here in the scroll-down list of it, you will find Unhide option. In Unhide option, there are three options through which you can unhide an object.
I will first click on the ‘Last’ sub-option of Unhide option.
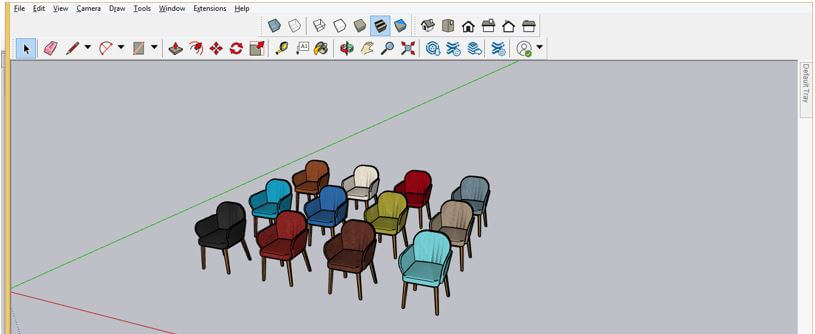
And you can see it will unhide the entire hidden object, but this option (Last) is used to unhide the last unhide object. In the current case, it unhides all hidden objects because we have been hiding all chairs one by one in sequence.
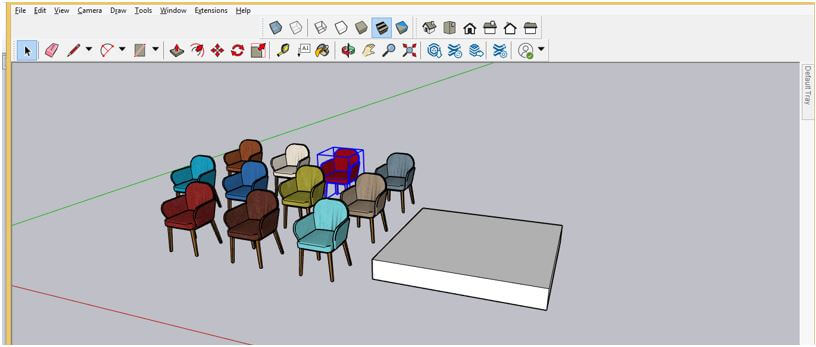
Now let us understand this option in another way through which it will only unhide the last hidden object. I will hide this selected chair again and then create an object like this by using push/pull and rectangle tools.
I will add one block to this object also.
Now this time, when you click on the Last sub-option of Unhide option for unhide the last object.
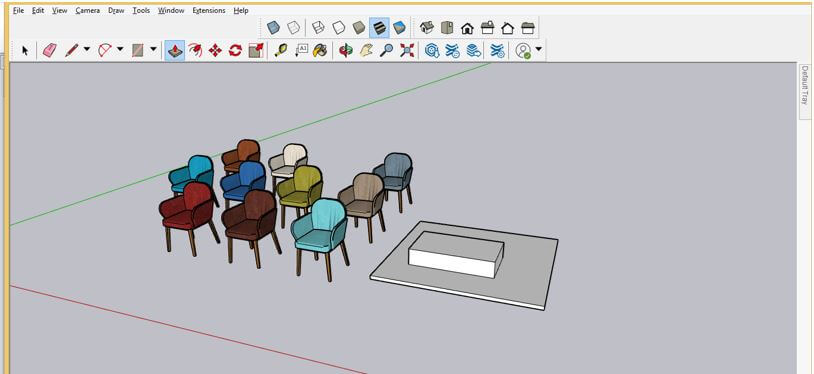
It will unhide only the last hidden chair. So I think you got it that if we hide any component then do other design work, then it will only unhide the last hidden object.
I will hide this drawn object too in the same way.
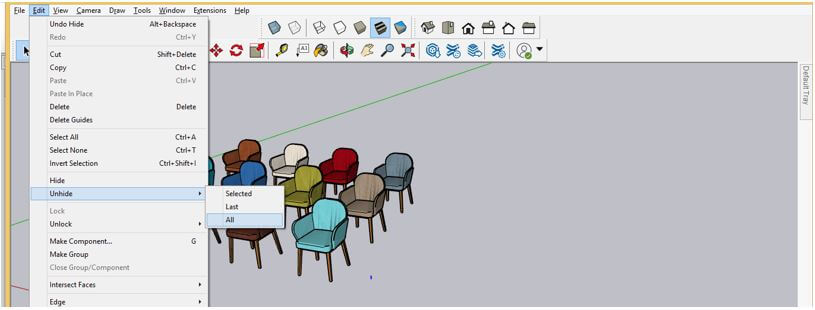
Now once again, go to Unhide option of the Edit menu and this time choose the All sub-option of Unhide option.
And it will unhide all hidden objects of our working model in just one click.
If you want to unhide objects one by one or your desired object only then, you can do this too, and for that, go to the View menu of the menu bar and click on it, then choose the Hidden objects option from the drop-down list of this menu.
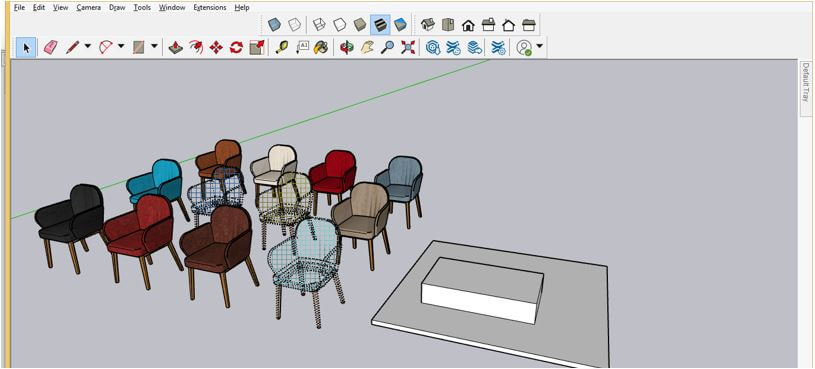
And it will show you a wireframe view of all hidden objects of your working model like this. I have been hidden these chairs only, so it is showing them only.
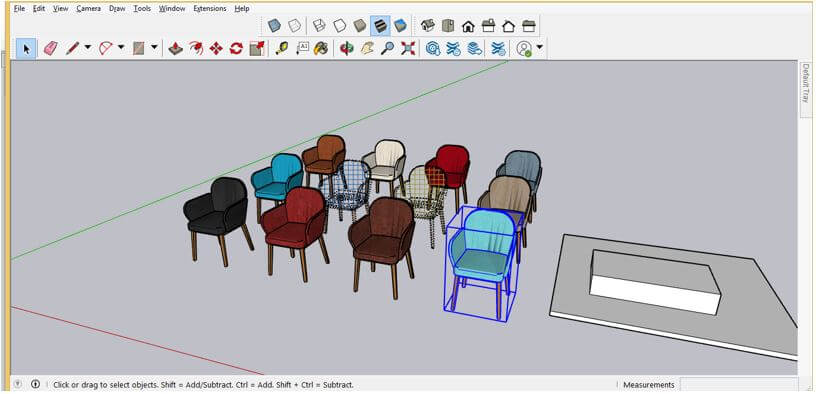
Now I will select this first chair which is in wireframe view, and choose Selected sub-option from the Unhide option.
And it will unhide only this chair. So by this way, you can unhide only your desired object or component during working on any project.
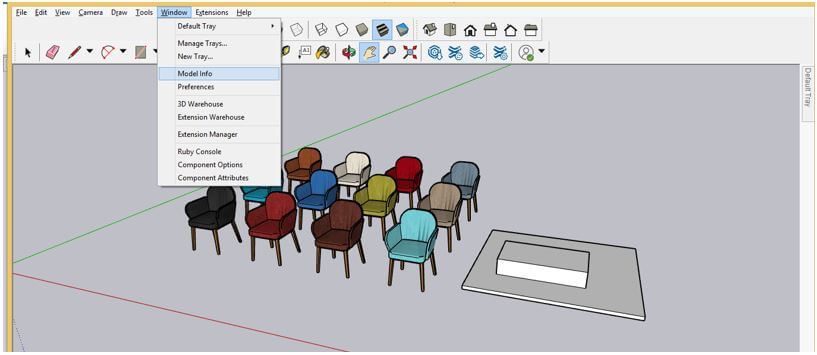
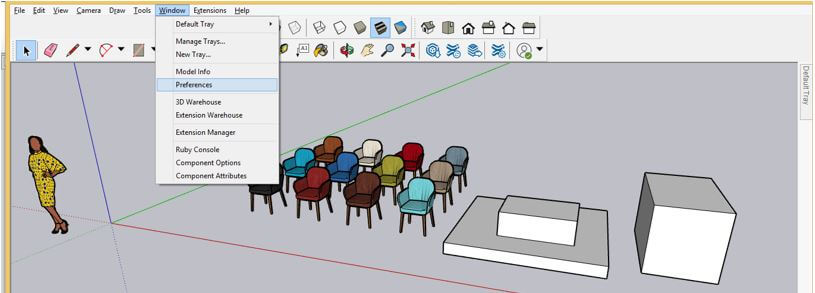
Now let me tell you one more option through which you can hide other objects expecting your desired object so that it will be easy for you to do editing in your selected object. Go to the Window menu of the menu bar and click on the Model info option of the drop-down list.
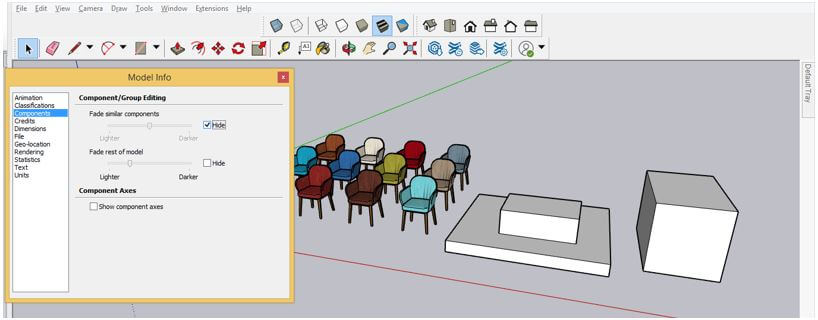
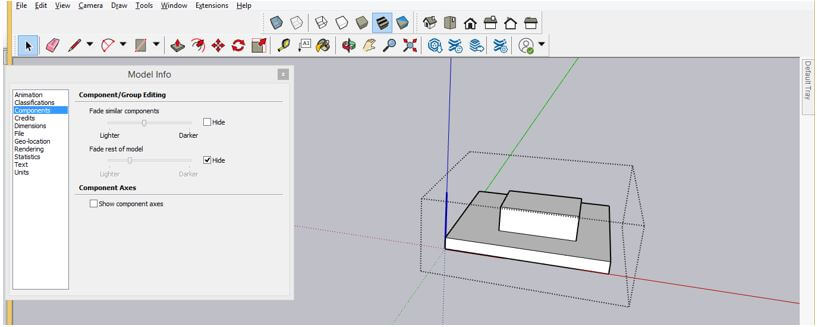
Here in the dialog box of Model info, choose the Components option from the shown list.
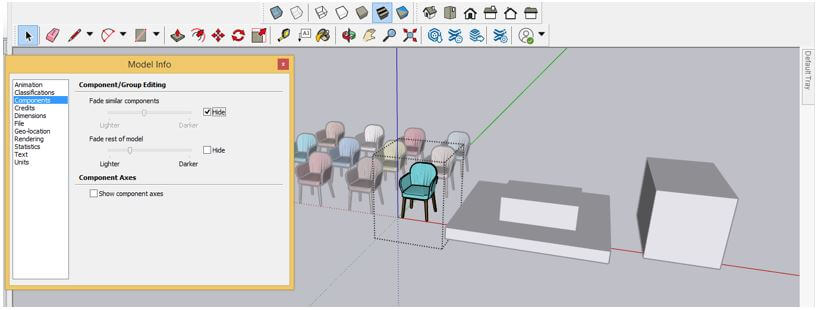
And enable the first option of this Component tab. For enabling the first option, make Checkmark On in the check box of the Hide option and now make double-click on the object on which you want to work. You can see it will highlight only selected objects and another similar object will be fade out.
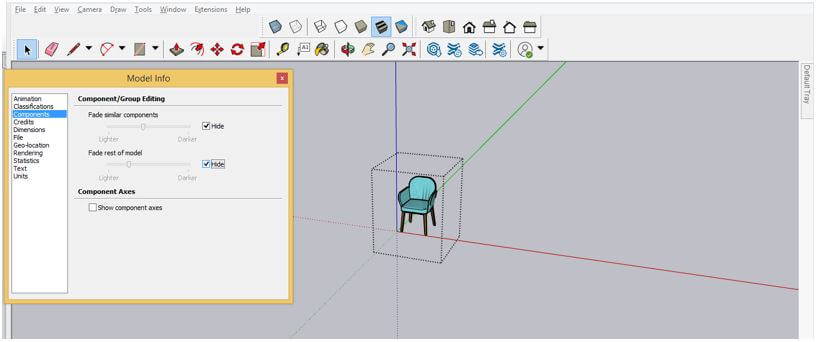
Now enable the second option of this Component tab. For enabling this option, make Checkmark On in the check box of Hide option of it too, and now make double click on the object on which you want to work. You can see it will highlight only selected objects, and the rest objects will disappear like this.
If you select other components, then the first select object will become disappear like this.
If you want, you can assign a shortcut key to the above discuss two options and for that, go to the Window menu again, and this type Click on the Preference option of the drop-down list.
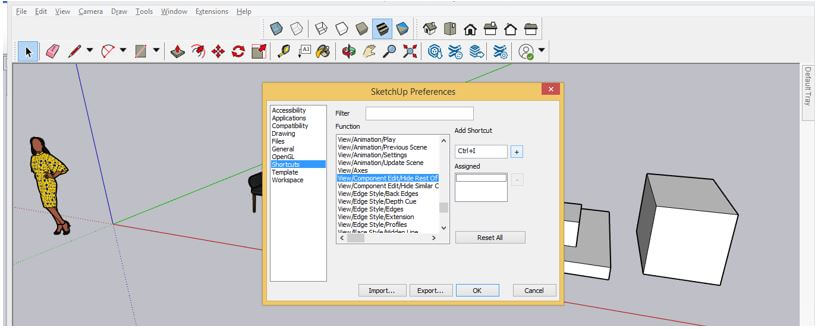
Here in the dialog box of Preferences, choose the Shortcuts option from the shown list and select the ‘Hide rest of object’ option in the list of Functions tab. Then go to Add Shortcut box and assign your desired key with a combination of the Ctrl key of the keyboard. Once you assign a key to it, if that combination of keys is already assigned to another command, then it will show you a message that it is already assigned. So choose that one that is not allotted to another command.
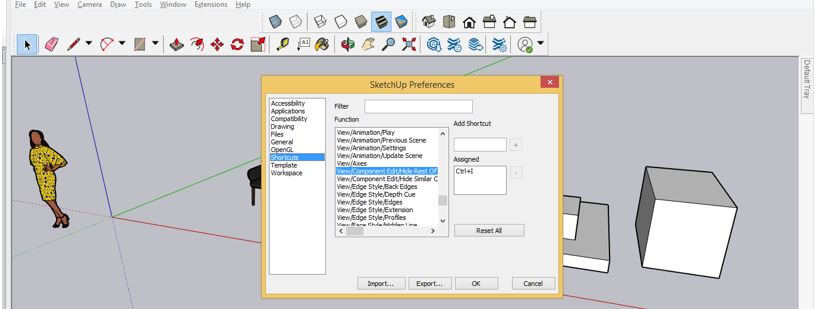
After that, click on the plus button of this box, and your assign key will come into an Assigned box that means it is set for your chosen command. Now you can use it to hiding another object in the same way during working on your model.
Conclusion
These were some important aspects of Unhide feature of SketchUp, and you can use it for having smooth working ability during creating a 3D model. You can go with any of the above-discussed ways according to your work requirement. You can also assign a shortcut key to ‘hide other objects’ as per your choice for speeding up your working skill in SketchUp.
Recommended Articles
This is a guide to SketchUp Unhide. Here we discuss the working of Unhide in SketchUp by using few options through which you can do the process of unhiding objects. You may also have a look at the following articles to learn more –

