Introduction to InDesign portfolio template
InDesign Portfolio Template can understand as designing the layout of the portfolio with all important details which provide the all information of the particular professional for which that portfolio is designed. In this software, we use a number of elements for the design portfolio template and these elements include images of different types of work done by that professional for which that portfolio is, text content that provides details of the work for proper understand about that work. Here in this software, I will tell you about some of the basics techniques through which we can create our own portfolio template with our own idea.
How to Create Portfolio Template in InDesign?
For designing a Portfolio Template we must have knowledge about the professionals for which that portfolio will work and according to that, we should include design elements as well as text content. Here I am going to create a portfolio layout design for a Graphics Design. It is not necessary that a portfolio only belongs to any person it can also create for any company for advertising purposes and so on.
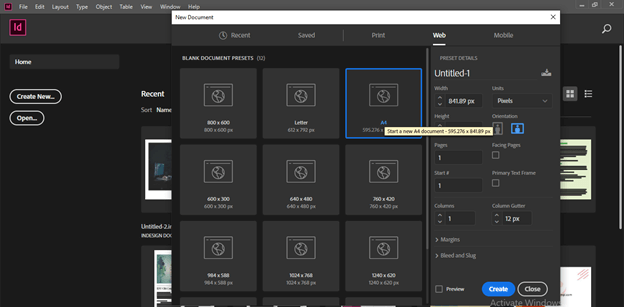
Here I will take an A4 size document of the Web section from the New Document dialog box of this software.
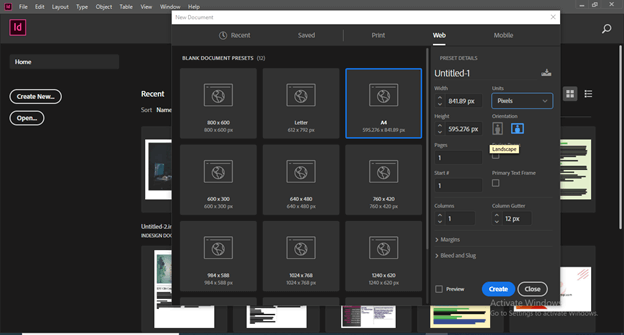
I will take Landscape orientation for creating this layout.
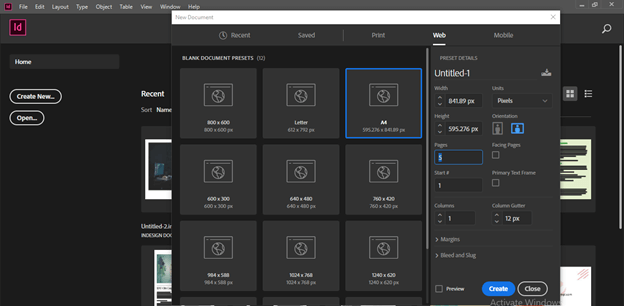
I will take 5 pages for now but you can decide the page numbers of your document according to how many details and your work you want to show in your portfolio.
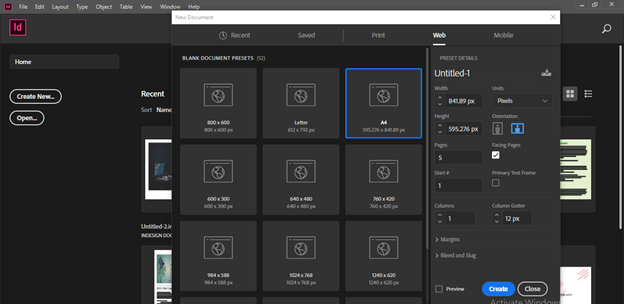
I will enable the Facing Pages option of this dialog box because I want side by side page in this portfolio.
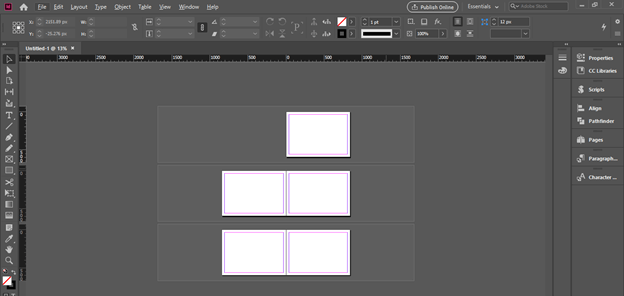
Now we will have this type of document page. The first page will be the cover page of our portfolio. So let us design it first.
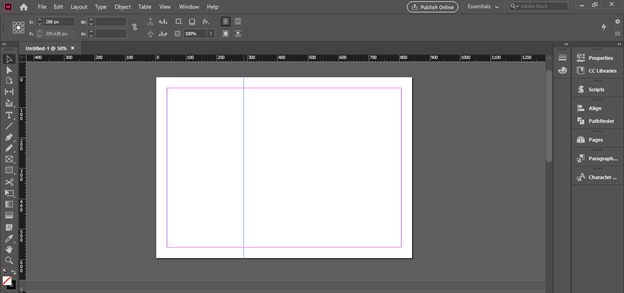
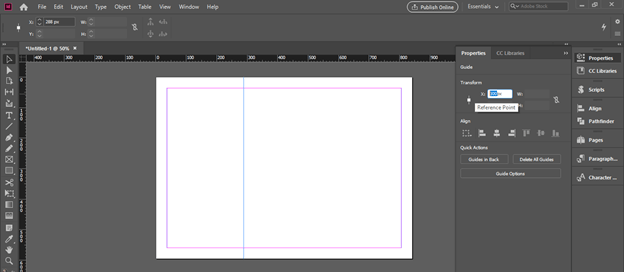
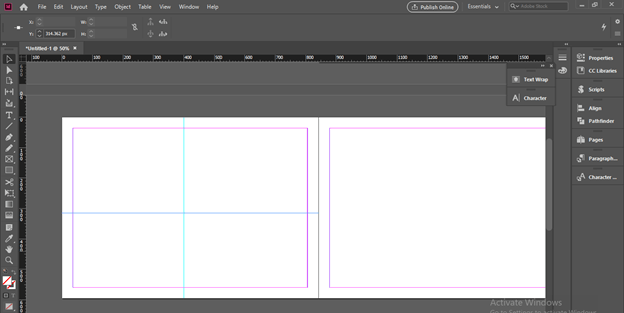
I will divide it into two sections and for that, I will drag a guideline from the vertical ruler of the user screen of this software. You can find this ruler on the left side of the display window. After dragging guideline you can leave it anywhere on the page.
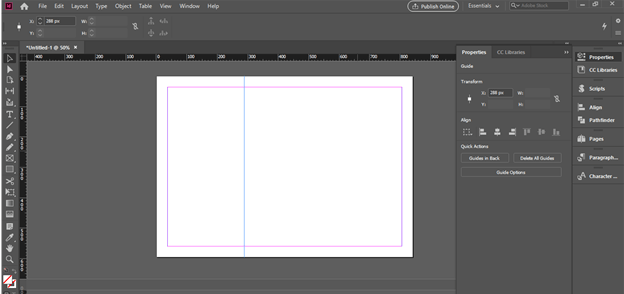
And after that I will go to Properties panel which is at the right side of the use screen.
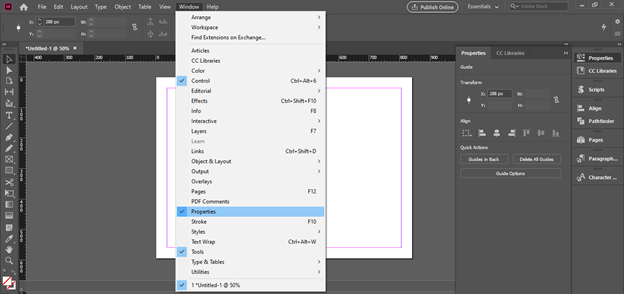
You can find this panel in the scroll-down list of the Window menu also.
Here I will enter the value as 300 px in the x distance of the Transform option and it will place my guideline at 300 px.
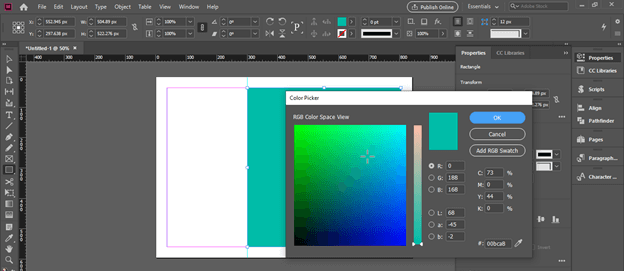
Now in the right side section of this page, I will create a rectangle and choose this color as the fill color of it.
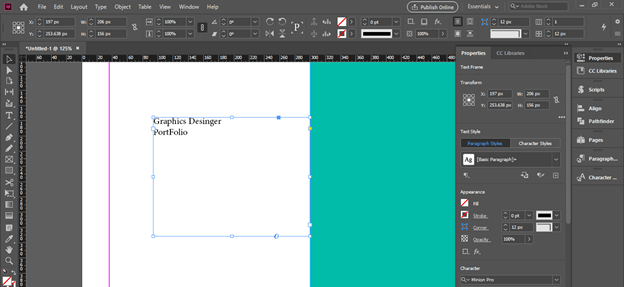
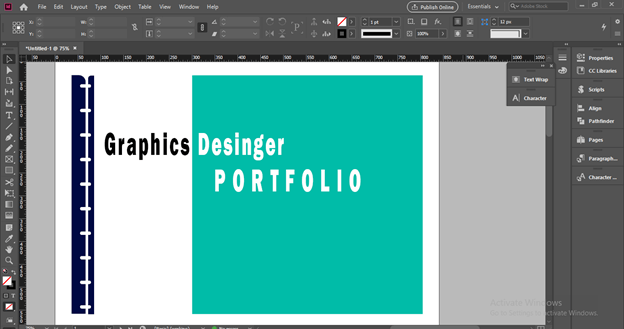
After that, I will take the Type tool and draw a text frame then type the heading of the Portfolio. For example, I am creating this portfolio for a graphics designer so I will name it Graphics Designer PortFolio.
Now I will make some formatting so that it will create an effective look. You can also add some other design elements to the cover page. For example, I will create some shapes at the left side of this page for making it attractive. You can also add details of your expertise area here.
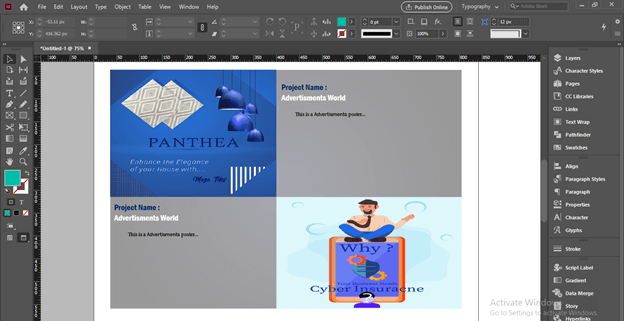
Once you are satisfied with your cover page design jump into other pages. I will design only one page for your reference so that you can have an idea about what things we should add to the next pages. I will divide this page into four sections as we have divided in previous using guidelines.
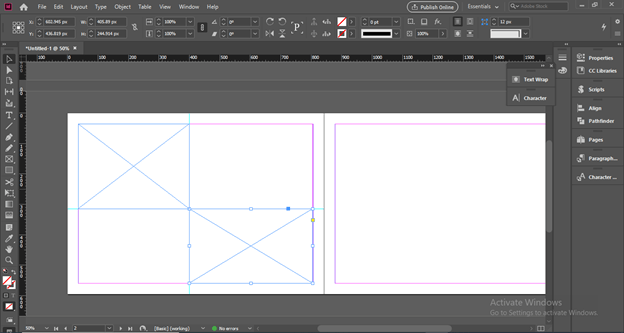
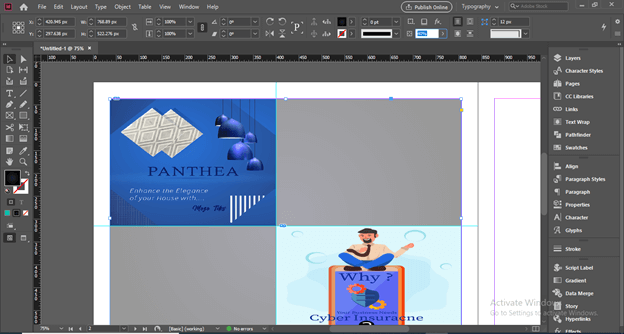
Now I will take the Frame tool and create two frames like this. I have created these two frames for placing work images that were created by me. You should place images that express your working as well as creative skills to the viewer.
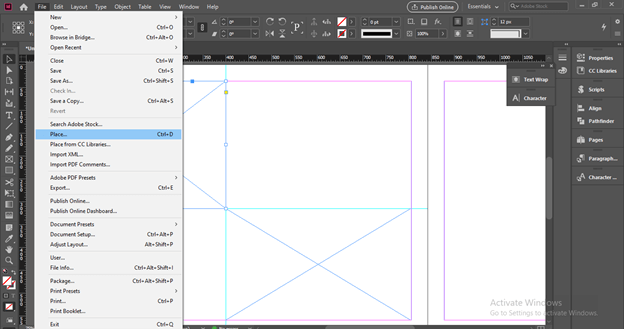
For placing the image into the first frame I will go to the File menu and click on it. Here choose the Place option from the scroll-down list of it or you can press Ctrl + D as is shortcut command.
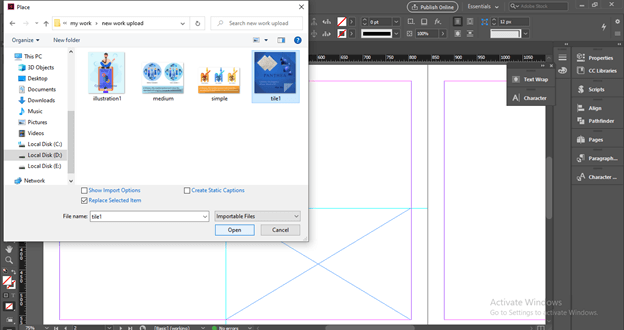
Now I will go to the location where I have saved my work and choose one of the works which I want to include in this portfolio.
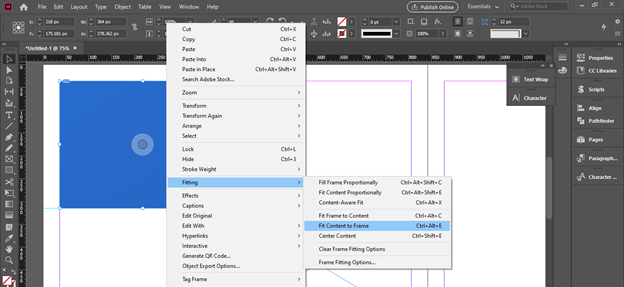
Now it will come into the selected frame and I will fit it into this frame. For that, I will make right-click on it and go to the Fitting option then choose the ‘Fit Content to Frame’ option from the new scroll-down list of it.
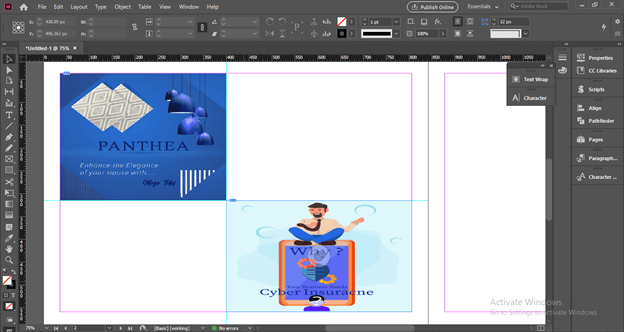
So this way I have placed two images of my work one is of advertisement poster and the other is an illustration poster.
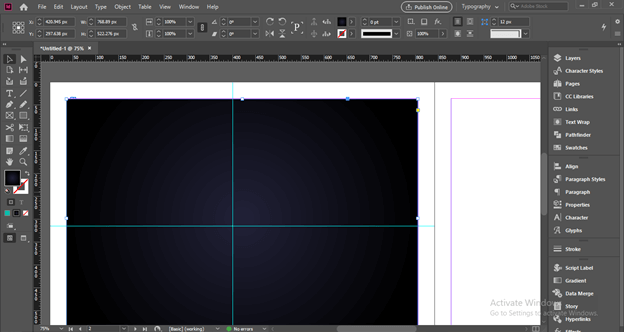
I will create a background of this page and for that, I will create a rectangle of this size and have a gradient on it.
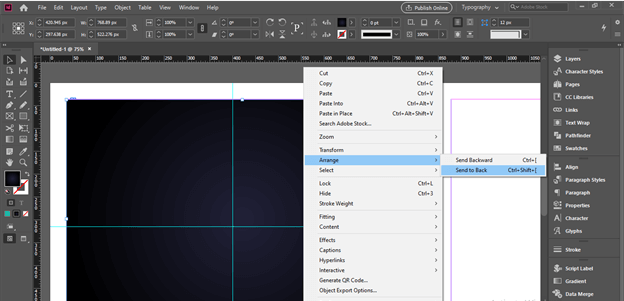
Now I will make right-click after selecting this background rectangle and go to Arrange option of the scroll down list then click on the ‘Send to Back’ option of the new scroll down list or you can press Ctrl + Shift + [ buttons of keyboard.
Now I will down the opacity value of this rectangle up to 40% from the Opacity option which is at the top of the user screen.
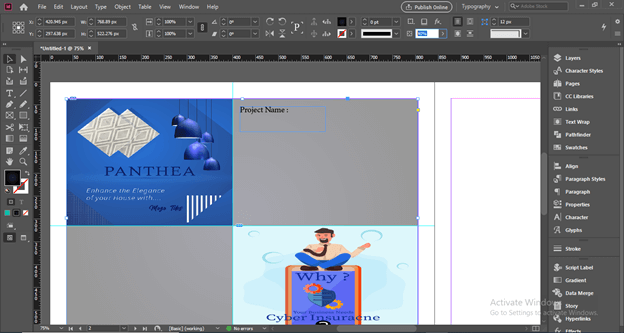
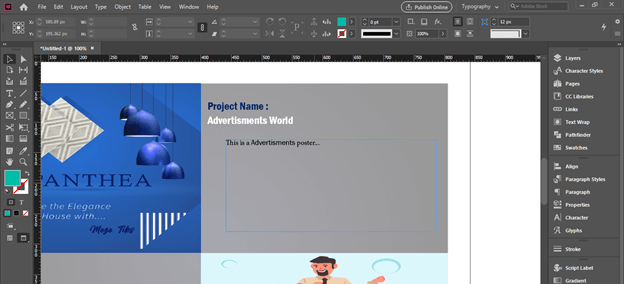
Now I will add Project Name here that will be related to this image. If you haven’t work on any project then you can just simply add the type of your work with which that placed image is related.
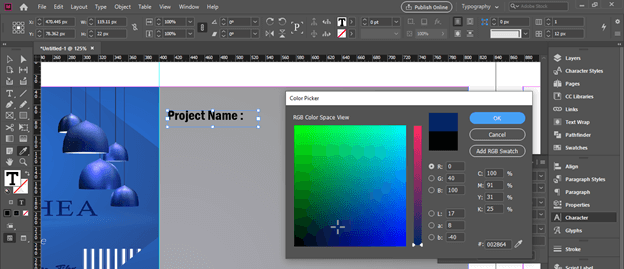
Now I will also choose a good font style for this text and change its color to something dark shade of blue.
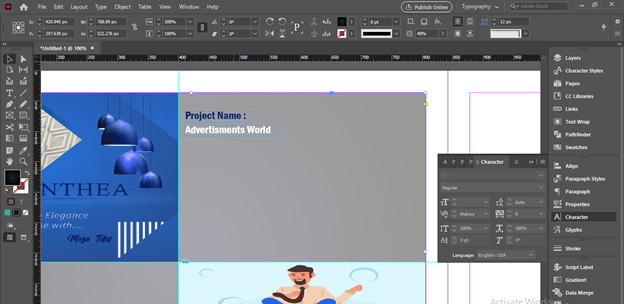
Then I will add the name of the project and change its color to white.
Now we should give an explanation about the work of which image we have a place here in the separated text frame.
In the same way, we can provide details of other placed work and you can follow one layout pattern design throughout your entire portfolio.
Conclusion
Here I have only given you an idea about how you can use elements and features of this software for creating a portfolio template and attach your work to it. Creating a portfolio is totally depends on how creatively you represent your work to others so that it leaves a good impact on them.
Recommended Articles
This is a guide to InDesign portfolio template. Here we discuss how you can use elements and features of this software for creating a portfolio template. You may also have a look at the following articles to learn more –

