Updated March 10, 2023
Introduction to Azure CLI
Azure command line interface is useful to create the resources, help to check the status or monitor the resources, easy to manage the environment on the Microsoft Azure cloud platform. There is no restriction for any specific service i.e. we can run, manage any Azure service via Azure CLI. The major proposal for designing is to support the automation technique. It is very easy to work with. There is no restriction with any programming language. It is compatible with all programming languages. Majorly the Azure CLI will work on both the Linux as well as Windows platforms. It will help to work quickly with it. Due to which we can easily spin up the Azure resources on the Azure cloud platform. It is very lightweight and easy to use. It will provide quick access to all the Azure services.
Get Started with Azure CLI
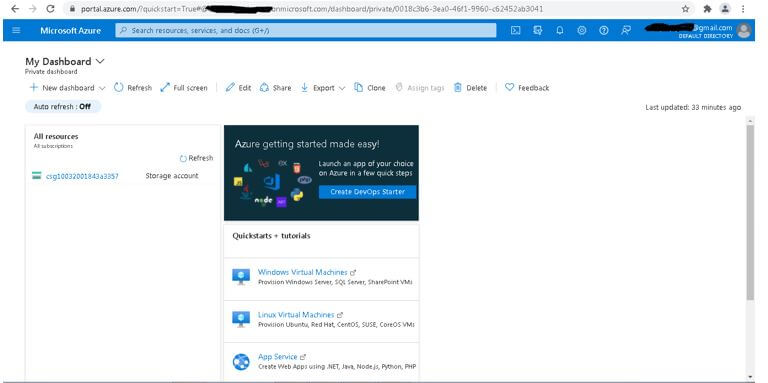
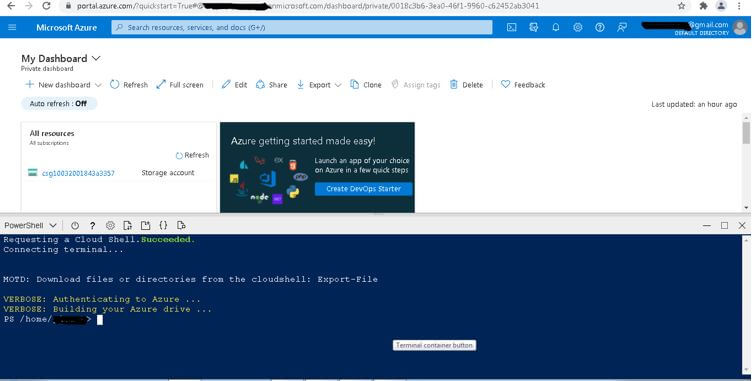
As we have seen, the Azure CLI is useful to access the Azure cloud platform services. It will help to manage or create the resources on the Azure platform. At the initial stage, we are directly using the window from the Azure portal only. As per the below screenshot, we are getting the initial dashboard window of the Azure environment. If we need to use it from the dashboard itself then we can directly use this. Here, there is no need to install the separate Azure CLI software or Client on the respective working machine. It totally depends on the environment or the application requirement.
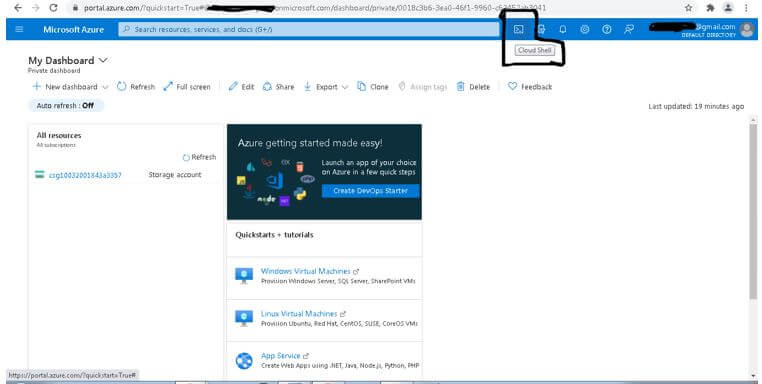
On the Azure dashboard, we are getting the cloud shell window. The cloud shell is providing the CLI functionality of the browser level only. In the default way, the Azure cloud shell is providing the PowerShell as well as the bash CLI prompt. As per the requirement, we need to choose the shell window. It will depend on the application or project requirement also. Which type of shell window do we need to choose on the browser level? In some cases, we have seen that choosing the bash or PowerShell window. It will also depend on the developer or admin.
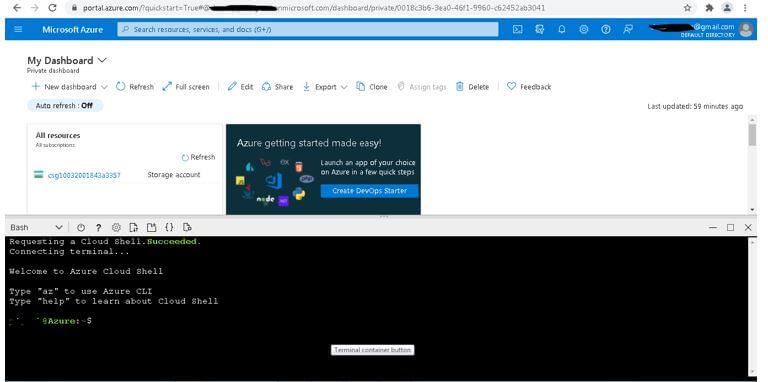
Once we will click on the Azure cloud shell. The first time, it will ask which type of shell prompt we need to use. It will be bash or the PowerShell one. As per the requirement or the application use, we need to choose the best option for it. To explore it more, we need to choose the bash CLI or the PowerShell CLI. As per the below screenshot, we have chosen the bash CLI window. Now in the same bash CLI window, we can trigger the different command or the query on the Azure cloud environment.
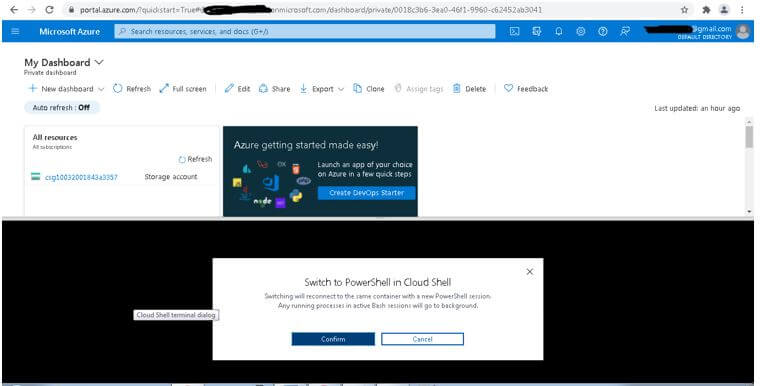
In some cases, we have chosen the bash CLI window. But in future, the requirement is changing or due to project or application requirements, we need to choose the different CLI windows i.e. the PowerShell CLI window. To handle such conditions, we are having the provision on the Azure cloud shell. As per the above screenshot, we have chosen the bash CLI. If we need to change it from bash to PowerShell then we need to CLIck on the “bash” dropdown and choose the PowerShell CLI prompt. It will help to choose the PowerShell CLI window. As per the below screenshot, we have selected the PowerShell CLI window on the browser level. Once we have switched from the bash CLI window prompt to the PowerShell CLI window prompt then it will take some time for the switch. As per the below screenshot, we are able to see the same scenario.
Once we have successfully switched to the PowerShell CLI window. We are able to trigger the different queries or command on the Azure cloud platform. Once the bash CLI window prompt will switch to the PowerShell CLI window prompt, we are able to see the below screenshot window on the Azure dashboard.
Azure CLI Tools
- In the market, there are different ways to work with Azure CLI.
- But it is highly recommended to work with office Azure CLI only because it will communicate securely and with the proper channels.
How to Install Azure CLI?
There are different ways to install the Azure CLI on different operating systems like on Linux or windows. But as per the requirement or convenience, we need to choose on which platform we need to deploy or run it. Here, we are using the Linux platform. We can be using CentOS 7 operating system, on top of the same operating system we are installing it.
Repo Name: install_Azure_CLI.repo
Repo Path: /etc/yum.repos.d/install_Azure_CLI.repo
Repo File Content:
[Install-Azure-CLI] name=Install Azure CLIbaseurl=https://packages.microsoft.com/yumrepos/Azure-CLI
enabled=1
gpgcheck=1
gpgkey=https://packages.microsoft.com/keys/microsoft.asc
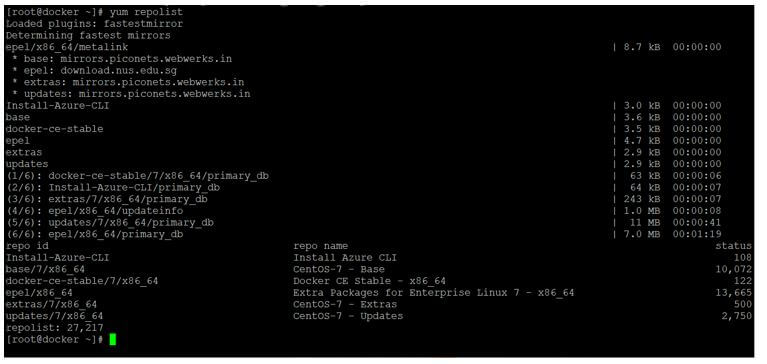
Once the repo file will update, we will list the yum repos.
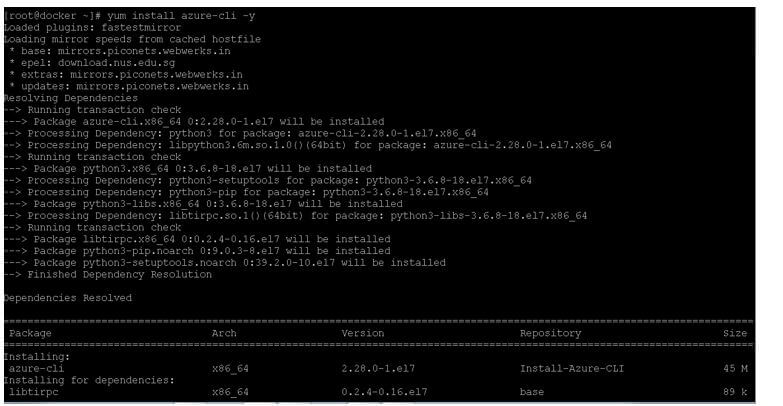
Then we need to install the Azure-CLI packages.
Code:
yum install Azure-CLI –y
Output:
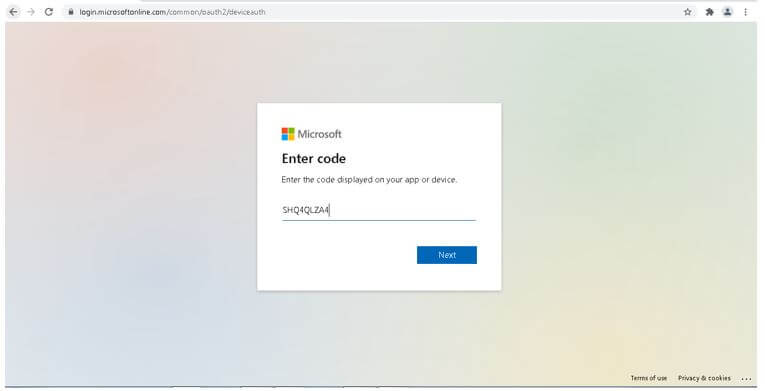
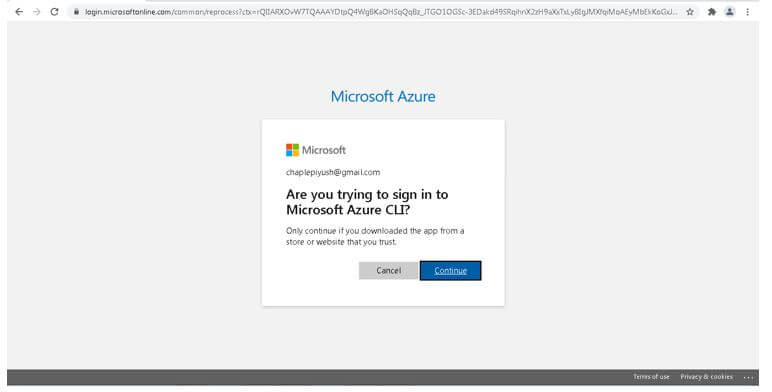
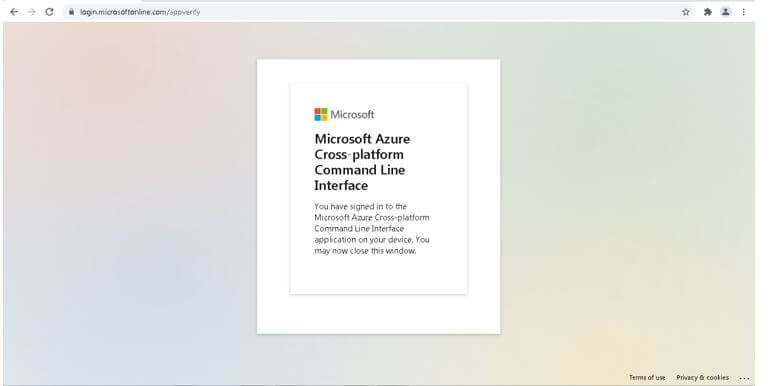
Once the packages is installed then we need to login to Azure cloud environment.
Once, we have successfully login to the Azure account with the help of it. We are getting the below screenshot information.
Features of Azure CLI
- With the help of it, we can easily find commands.
- From the working machine or environment, we can define the globally available arguments also.
- We can define the common or normal tasks or commands on the Azure cloud platform like defining the resource group, work on different databases like the SQL, Cosmos DB, create the virtual machines, work with the storage accounts, work with the key vault, work on the web applications.
- With the help of it, we will work with interactive mode.
Conclusion
We have seen the uncut concept of the “Azure CLI” with the proper Azure CLI tools, explanation and installation methods with different outputs. In the Azure cloud environment, we can trigger the different commands and queries from it. It will help to manage the Azure cluster resources. It is easy to manage the different accounts on the Azure cloud environment.
Recommended Articles
This is a guide to Azure CLI. Here we discuss the introduction, get started with Azure CLI, tools, installation and features respectively. You may also have a look at the following articles to learn more –


