Updated February 16, 2023
Introduction to Angular Material Autocomplete
Angular material autocomplete will allow us to auto-suggest the article based on data. This control will act as a real-time suggestion box and use types in the input area. We are using <mat-autocomplete> to provide the search results from the angular material’s remote and local data sources. It is beneficial and essential in AngularJS to complete the suggestion.
Overview of Angular Material Autocomplete
- The list of predefined suggestions the user showed is saved in a local json file, or we can also fetch it from the database server hosted remotely.
- The component library was used for the developer of angular JS. It will help us construct attractive and functional web pages while using the modern principle of device independence and portability of the browser.
- The layout is a container element used to specify the direction of the layout. For example, items will be arranged horizontally using rows with max height as a hundred percent and max-width as items in the container.
- Using angular material, autocomplete column items will arrange vertically with max height as a hundred percent and max height as items in the container.
- As we know, it contains the UI component library for the angular developers.
- It provides the modern component of UI, which works across mobile and web applications.
- The list of suggestions that we have defined is stored locally. The library of angular material will provide a variety of components.
- We can add the material to the component template by using a directive component of mat-autocomplete.
- The service displays the options to the end-users when they enter the specified keywords or put a cursor on the input field.
- Implementing the service of angular material autocomplete is very easy and straightforward. To implement the service, we only need to invoke the methods of getItems.
- We are using the select box for the auto-display items retrieved from the server. We need to set up the same to implement the project by using angular material autocomplete first.
Angular Material Autocomplete Configure
We need to install CLI in our system to configure the angular material autocomplete.
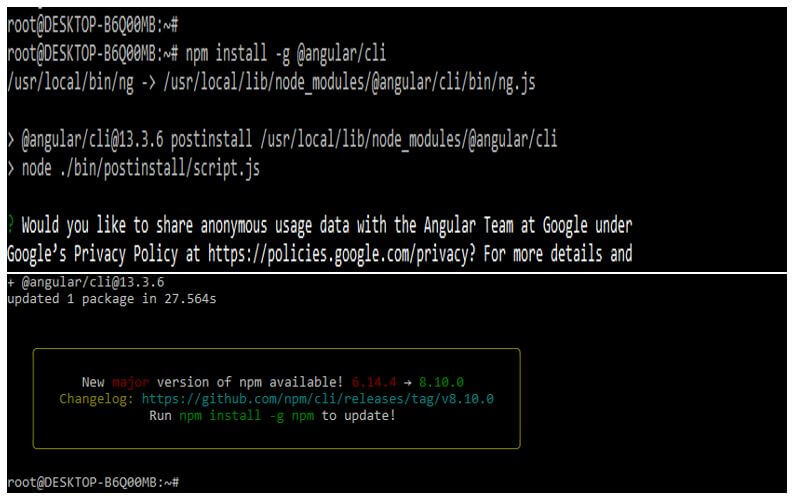
The below example shows how to install angular material CLI.
1. To configure angular material autocomplete, we must install the Angular CLI in our system. We can install the angular CLI by using the npm command.
Code:
npm install -g @angular/cliOutput:
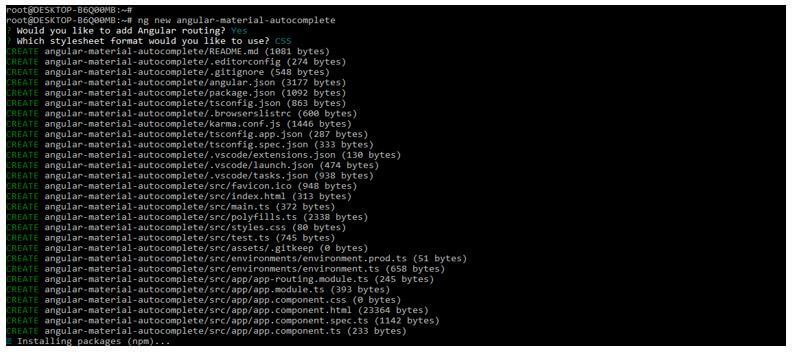
2. After installing the Angular CLI in this step, we create the workspace for our angular project. We are making a workspace name angular-material-autocomplete. The example below shows the workspace of our angular project as follows. We have added angular routing; this option will pop up when creating a workspace. Also, we have selected the stylesheet format as CSS.
Code:
ng new angular-material-autocompleteOutput:
3. After creating the project’s workspace in this step, we install the angular CDK, angular animations, and angular material.
Code:
npm install @angular/material –saveOutput:
4. After installing angular material, cdk, and animation in this step, we are adding the same in our project. The below example shows add the angular material library as follows.
Code:
cd angular-material-autocomplete/
ng add @angular/material
Output:
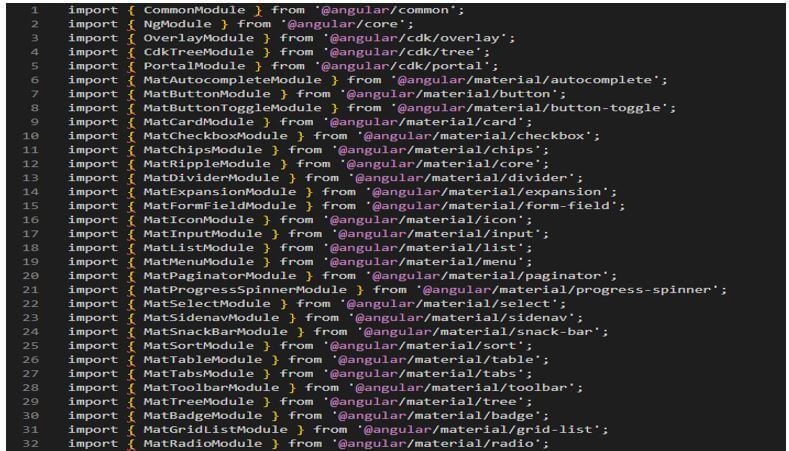
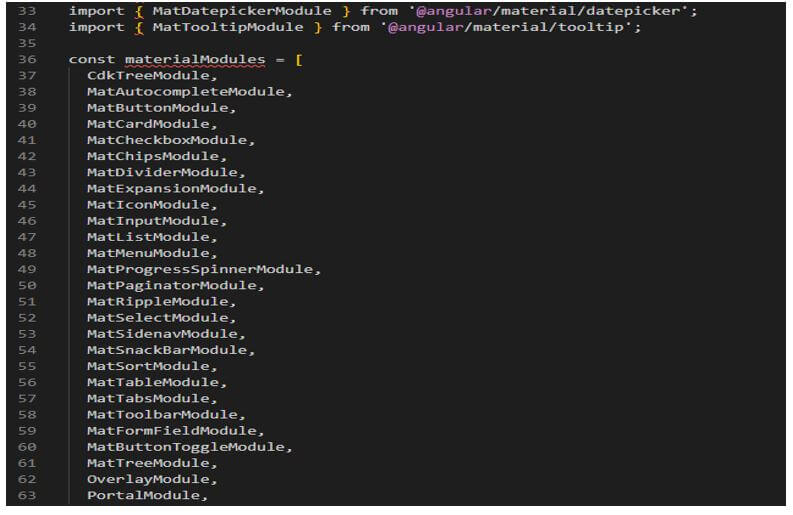
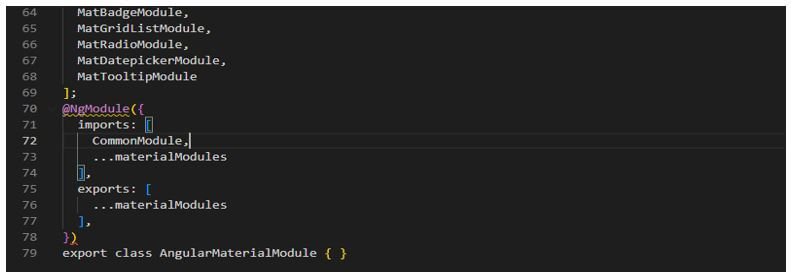
5. In this step, we create the custom angular material file. In this file, we are importing various components from the UI library.
Code:
import { CommonModule } from '@angular/common';
import { NgModule } from '@angular/core';
.......
exports: [
   materialModules
   ],
   })
export class AngularMaterialModule { }
Output:
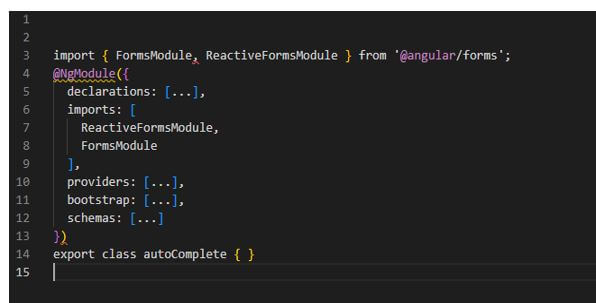
6. After creating the custom angular material file in this step, we import the forms module and reactive forms in-app module. The below example shows the import of the forms and reactive modules in-app.
Code:
@NgModule (
{
declarations: [...],
imports: [
ReactiveFormsModule,
FormsModule
],
providers: [...],
bootstrap: [...],
schemas: [...]
} )
export class autoComplete
{
}
Output:
Angular Material Autocomplete Application
In the below example, we are creating the project; in this project, we are making simple recommendations. The below steps show to create an application as follows.
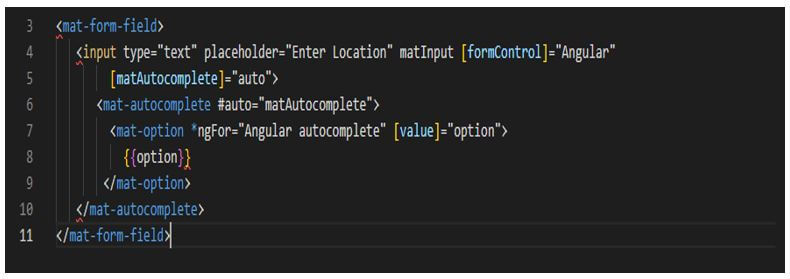
1. To develop the application, we need to add the code to the app.component.html file. Therefore, we are adding the below code to the app.component.ts file.
Code:
<mat-form-field>
 <input type="text" placeholder = "Enter Location" matInput [formControl] = "Angular"
[matAutocomplete]="auto">
<mat-autocomplete #auto = "matAutocomplete">
<mat-option *ngFor = "Angular autocomplete" [value] = "option">
{{option}}
</mat-option>
</mat-autocomplete>
</mat-form-field>
Output:
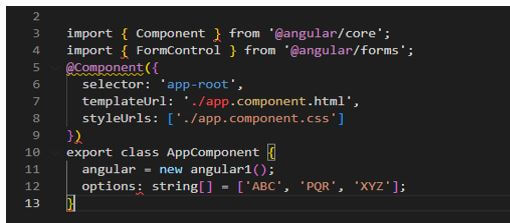
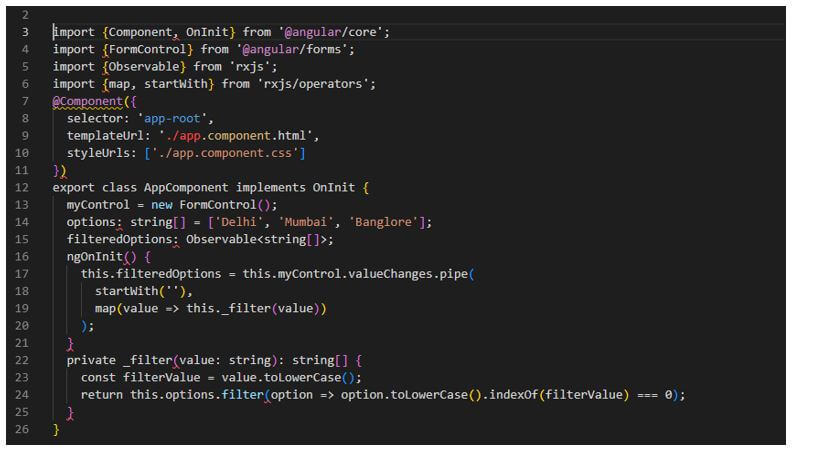
2. To develop the application, we need to add the code to the app.component.ts file. Therefore, we are adding the below code to the app.component.ts file.
Code:
import { Component } from '@angular/core';
import { FormControl } from '@angular/forms';
@Component({
selector: 'app-root',
templateUrl : './app.component.html',
styleUrls : ['./app.component.css']
})
export class AppComponent {
angular = new angular1();
options: string[] = ['ABC', 'PQR', 'XYZ'];
}
Output:
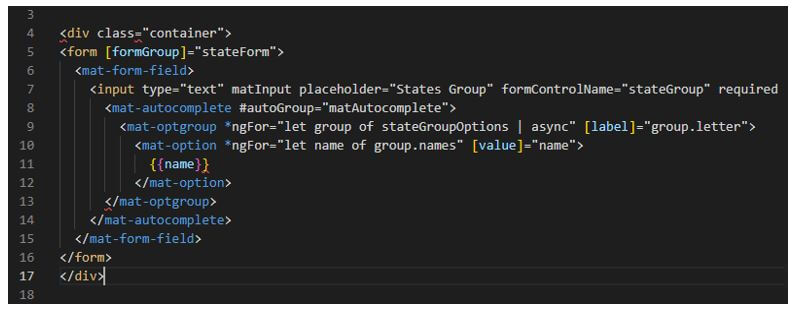
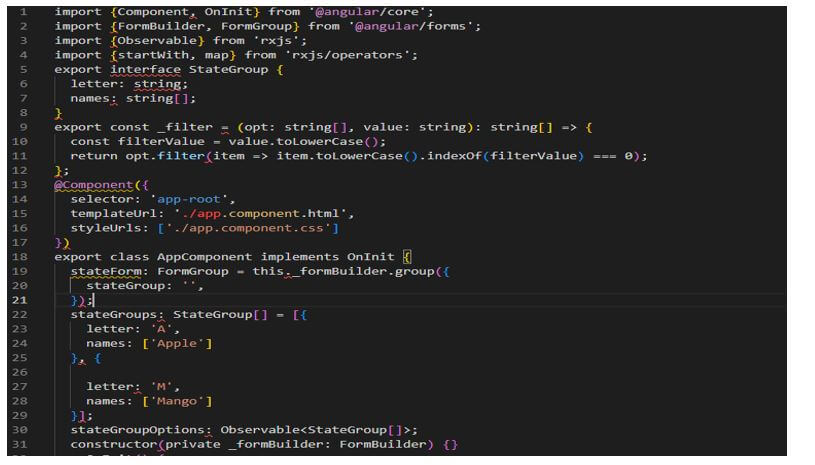
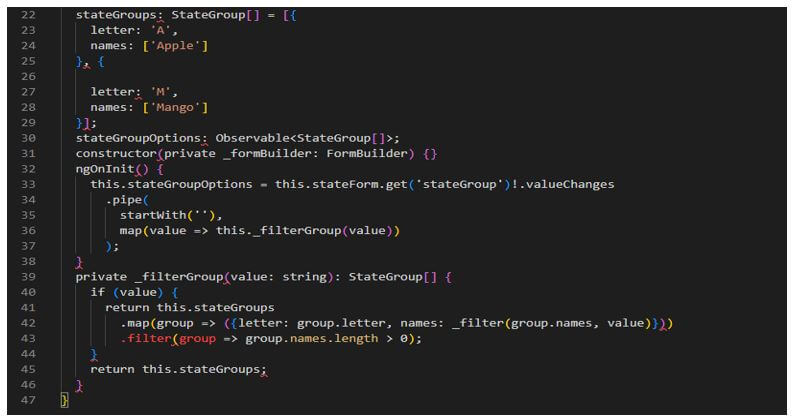
3. After adding the code in this step, we create options groups in a dropdown list.
App.component.html file:
Code:
<div class="container">
<form [formGroup]="stateForm">
------
</form>
</div>
Output:
App.component.ts file:
Code:
export interface StateGroup {
letter: string;
names: string[];
}
-----
return this.stateGroups;
}
Output:
4. In this example, we automatically highlight the first option in the autocomplete dropdown.
App.component.html file:
Code:
<mat-form-field>
<input type="text" [matAutocomplete]="auto">
............
</mat-autocomplete>
</mat-form-field>
Output:
App.component.ts file:
Code:
@Component({
selector: 'app-root'
------
return this.options;
}
Output:
Conclusion
Using a column, items will be arranged vertically with max height as a hundred percent and max height as items in the container. It looks like an input field, but it will help the user with suggestion matching from specified types of strings.
Recommended Articles
This is a guide to Angular Material Autocomplete. Here we discuss the introduction, configuration, and application of angular material autocomplete. You may also have a look at the following articles to learn more –

