Updated June 28, 2023

Introduction to Maven Install Dependencies
Maven install dependencies are required in the Maven project. Maven contains a good mechanism for describing dependencies in our project using simple XML elements. The pom.xml file of maven is used to download the dependencies. Maven uses the installed dependencies at the time of code compilation for direct dependent classes which were available for the compiler. Maven dependencies are required to run the project of maven.
Key Takeaways
- Basically, two types of dependencies are available in Maven, i.e., transitive and direct. The direct dependencies are nothing but what was explicitly included in the project.
- The transitive dependencies are required in the direct dependencies; maven is automatically included in the required transitive dependencies in a specified project.
Overview of Maven Install Dependencies
To install the dependencies of maven, we need to execute the mvn dependency command, which will install all the dependencies. We can use the Maven dependency plugin for downloading the dependencies. We can change the target location by setting the property of the output directory. We are running mvn dependency with copy dependency for downloading all the dependencies.
We can also use the IntelliJ idea for adding maven dependency in our project. Maven easily included the third-party dependencies in our project, which was equivalent to the other languages like PHP or ruby. By using Maven, we can build the Java project with the classes. Maven will be expecting the directory structure from the Java source code.
How to Download Maven Install Dependencies?
The below steps show how we can download the maven install dependencies as follows:
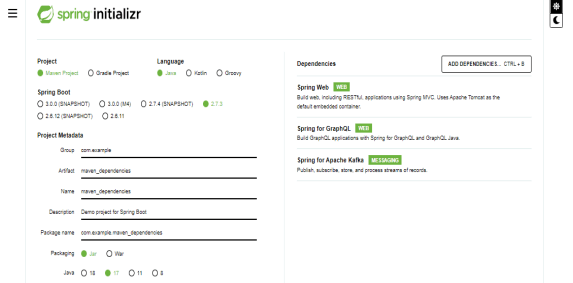
1. While downloading the maven install dependencies, we create the project template using spring initializer. Below we are creating the template of maven install dependencies using spring initializer.
Group name – com. example
Artifact – maven_dependencies
Name – maven_dependencies
Packaging – jar
Java version – 8
Language – java
After creating the template of maven install dependencies into spring initializer, we need to download and extract the project template.
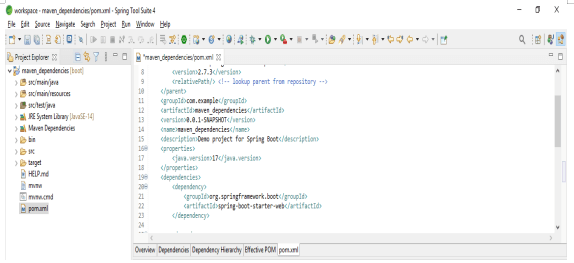
2. In this step, we are checking the project structure and pom.xml file. The project structure is as follows.
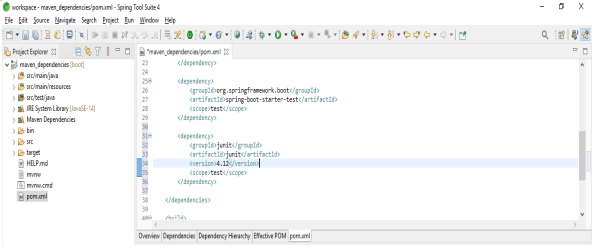
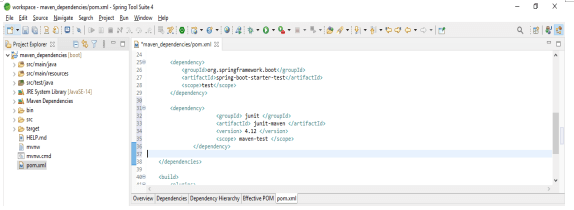
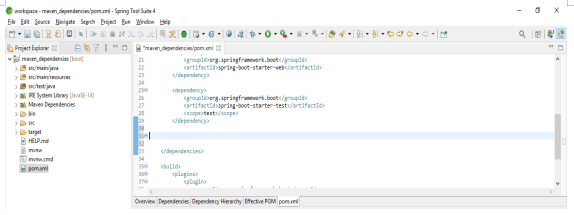
3. In the example below, we are adding the maven dependencies we require in our project into the pom.xml file as follows.
Code:
<dependency>
  <groupId> org.springframework.boot </groupId>
  <artifactId> spring-boot-starter-web </artifactId>
</dependency>
<dependency>
  <groupId> org.springframework.boot </groupId>
  <artifactId> spring-boot-starter-test </artifactId>
<scope> test </scope>
</dependency>
<dependency>
  <groupId> junit </groupId>
  <artifactId> junit </artifactId>
  <version> 4.12 </version>
  <scope> test </scope>
</dependency>
Output:
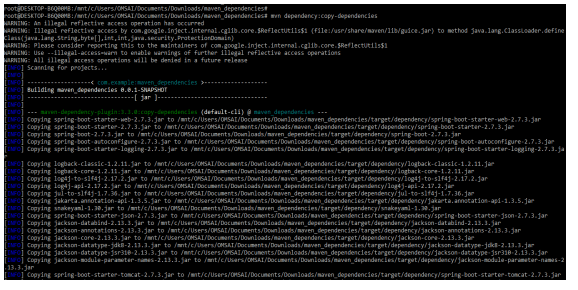
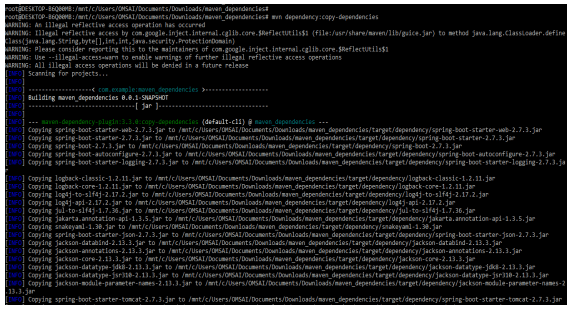
4. After adding the dependency in the below example, we open the terminal where our pom.xml file is located. After opening the terminal, we are executing the following command as follows.
Code:
mvn dependency:copy-dependenciesOutput:
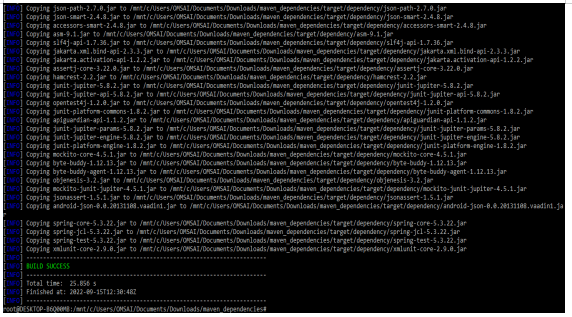
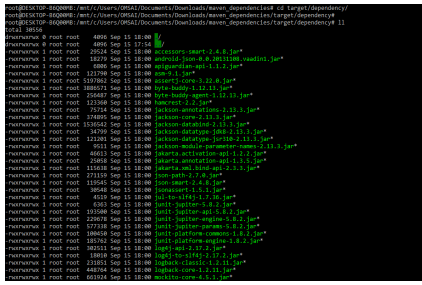
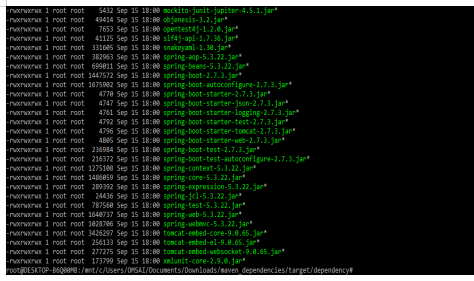
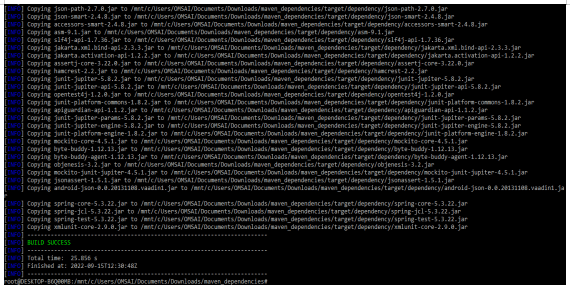
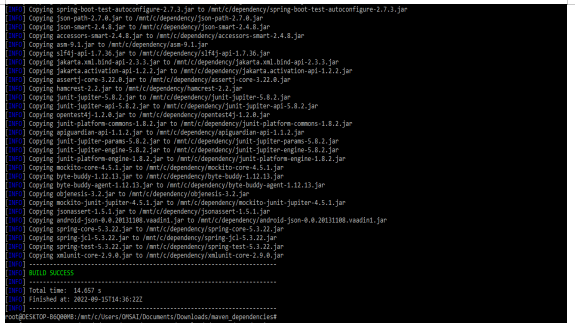
5. In the above example, all the dependencies are downloaded and copied into the target folder. After executing the above command, we can see that all the dependency is installed in the target/dependency folder. The example below shows that all the dependency is downloaded in the specified folder as follows.
How to Install Dependencies for Maven?
In the below example, we are installing junit dependencies for maven as follows. For installing the junit dependency, we need to add the dependency to the pom.xml file. We are adding the junit dependency into the pom.xml file as follows.
Code:
<dependency>
  <groupId> junit </groupId>
  <artifactId> junit-maven </artifactId>
  <version> 4.12 </version>
  <scope> maven-test </scope>
</dependency>
Output:
After adding the dependency, we are executing the below command to install the dependencies for maven as follows. First, it will download the dependencies then all dependencies are copied to the specified directory.
Code:
mvn dependency:copy-dependenciesOutput:
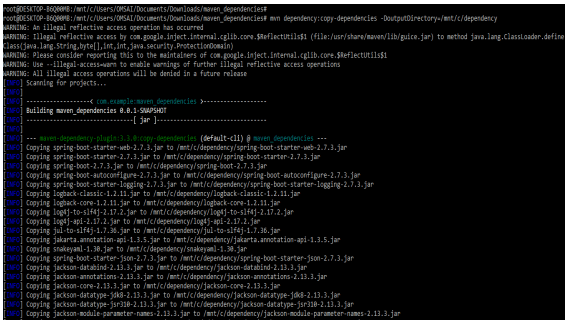
In the below example, we are downloading and installing the dependency into the specified location. We can see that we are downloading the dependency in /mnt/c/dependency location as follows.
Code:
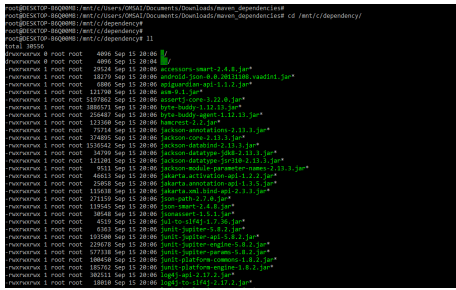
mvn dependency:copy-dependencies –DoutputDirectory = /mnt/c/dependencyOutput:
After downloading and installing the dependency, we can check the specified location where our dependency file is generated.
Maven Dependencies for Scope
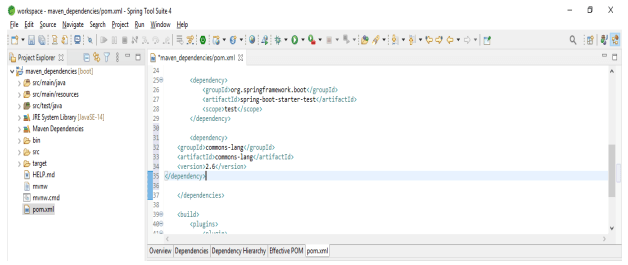
Dependency scope helps us to limit the transitivity dependency. It is modifying the classpath for the different task build. Below is the default scope where no other scope is provided.
Code:
<dependency>
  <groupId> commons-lang </groupId>
  <artifactId> commons-lang </artifactId>
  <version> 2.6 </version>
</dependency>
Output:
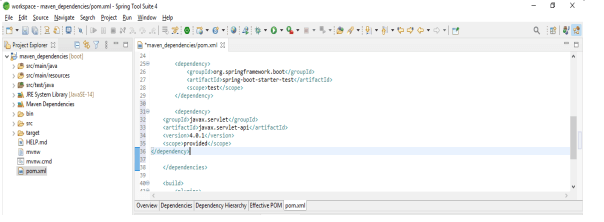
The provided scope is used to mark the dependencies provided at runtime by the container of JDK. Below, an example of provided scope is as follows.
Code:
<dependency>
  <groupId> javax.servlet </groupId>
  <artifactId> javax.servlet-api </artifactId>
  <version> 4.0.1 </version>
  <scope> provided </scope>
</dependency>
Output:
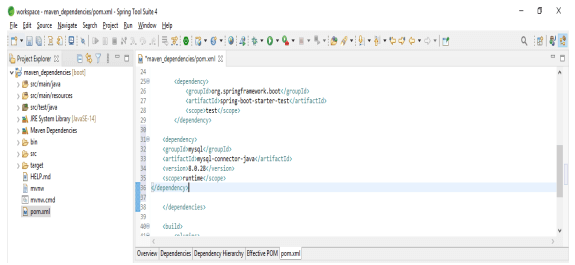
The dependency with the runtime scope is required at runtime. But we have not required the same at compile time as follows.
Code:
<dependency>
  <groupId> mysql </groupId>
  <artifactId> mysql-connector-java </artifactId>
  <version> 8.0.28 </version>
  <scope> runtime </scope>
</dependency>
Output:
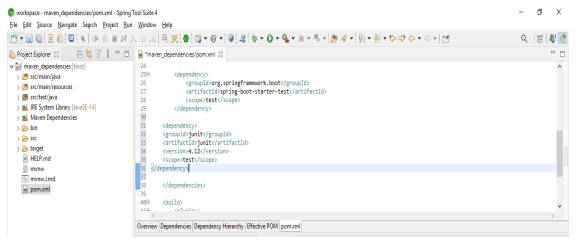
We use the test scope to indicate the specified dependency is not required during runtime.
Code:
<dependency>
  <groupId> junit </groupId>
  <artifactId> junit </artifactId>
  <version> 4.12 </version>
  <scope> test </scope>
</dependency>
Output:
The scope of the system is similar to the provided scope. The system scope requires a direct point.
Code:
<dependency>
  <groupId> com.baeldung </groupId>
  <artifactId> custom-dependency </artifactId>
  <version> 1.3.2 </version>
  <scope> system </scope>
  ……
</dependency>
Output:
Import Maven Dependencies
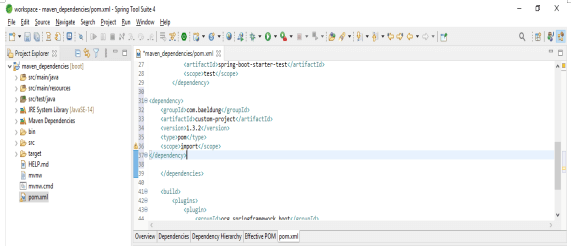
Import will indicate that the dependency will be replaced with the effective dependency declared in a POM. In the below example, we are replacing the custom project dependency in a pom.xml file.
Code:
<dependency>
  <groupId> com.baeldung </groupId>
  <artifactId> custom-project </artifactId>
  <version> 1.3.2 </version>
  <type> pom </type>
  <scope> import </scope>
</dependency>
Output:
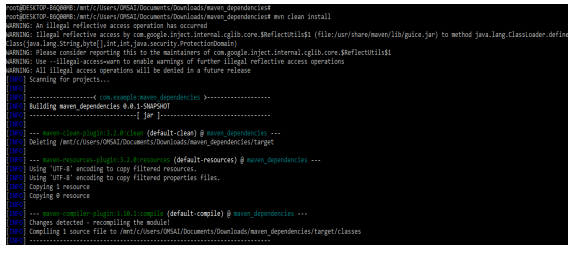
After adding the dependency, we need to go into the project folder and execute the mvn clean install command to import the dependence we have added. In the below example, we are running this command from the command line.
Code:
mvn clean installOutput:
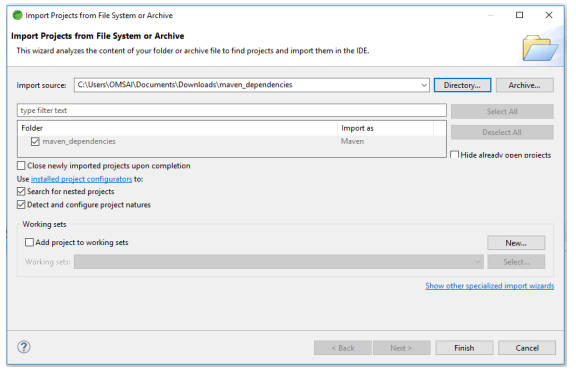
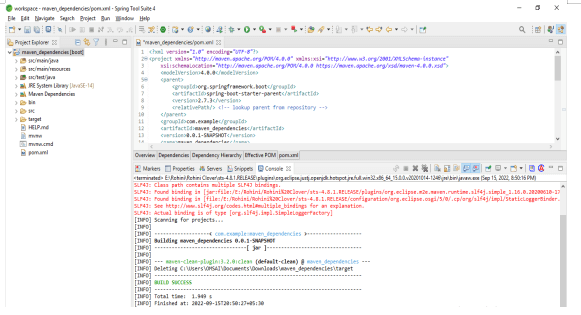
In the below example, we are importing the maven dependencies using the Spring tool suite.
Conclusion
To install the dependencies of maven, we need to execute the mvn dependency command, which will install all the dependencies. Maven contains a good mechanism for describing dependencies in our project using simple XML elements. The pom.xml file of maven is used to download the dependencies.
Recommended Articles
We hope this EDUCBA information on “Maven Install Dependencies” benefited you. You can view EDUCBA’s recommended articles for more information.

