Updated June 19, 2023
Definition of Java Projects in NetBeans
Java projects in Netbeans are defined as creating a new project of Java. Using Netbeans IDE, we may create a new Java project or open an existing Java project to make changes to the project code. Using Netbeans IDE, we can run, compile, and modify Java programs. Netbeans will compile all the project data at the time of project creation. We can run a java project by using Netbeans.
Key Takeaways
- Using the Netbeans integrated development environment, we may create new Java projects and edit already existing ones.
- Netbeans integrated development environment has a variety of functions, and it is aware of the standard changes that programmers make to their code one by one.
What are Java Projects in NetBeans?
Every Java project in Netbeans includes a directory under the specified workspace. Additionally, we have the option of changing the place. Our project’s understanding of the Java language is reflected via Netbeans. The Java editor functionality in the Netbeans Java editor will hasten the development of our project.
It will continue to check for mistakes while you type the code. Instead of waiting for Java compilation to complete before building the project, all compilation errors are detected when committed. The Netbeans assist us in navigating the same project while we read unknown code and try to understand it. Netbeans will handle the code we have stated if we choose the function of a variable name.
How to Create Java Projects in NetBeans?
Netbeans can be used to start a new Java project.
The instructions below demonstrate using the Netbeans IDE to build a new Java project.
1. The Netbeans IDE package must first be downloaded to construct the Java project. The Netbeans package is being downloaded, as shown below.
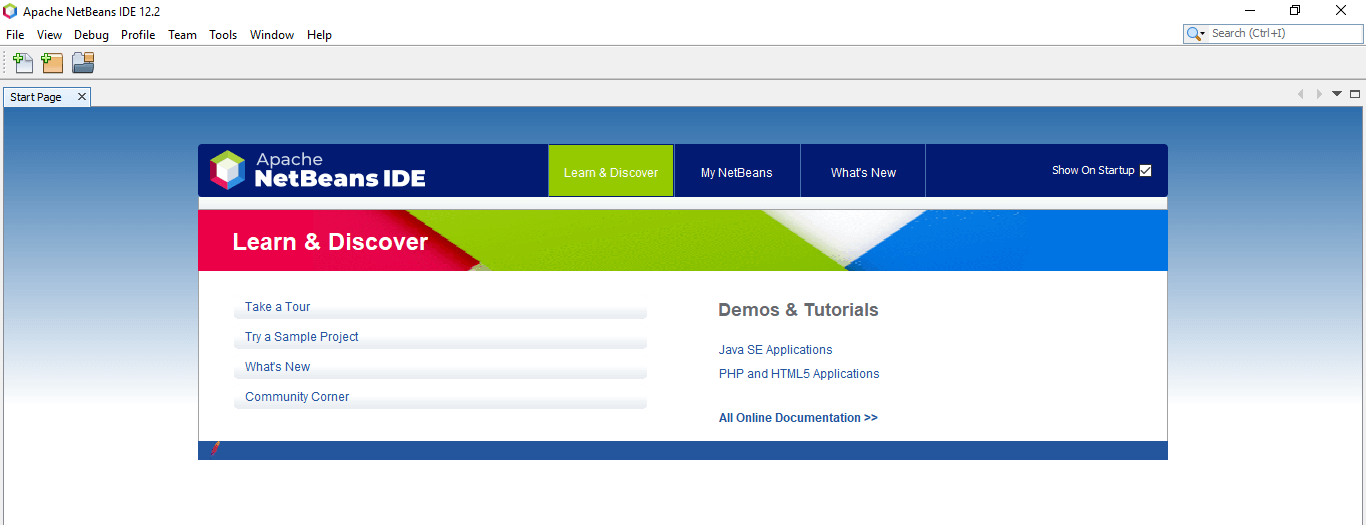
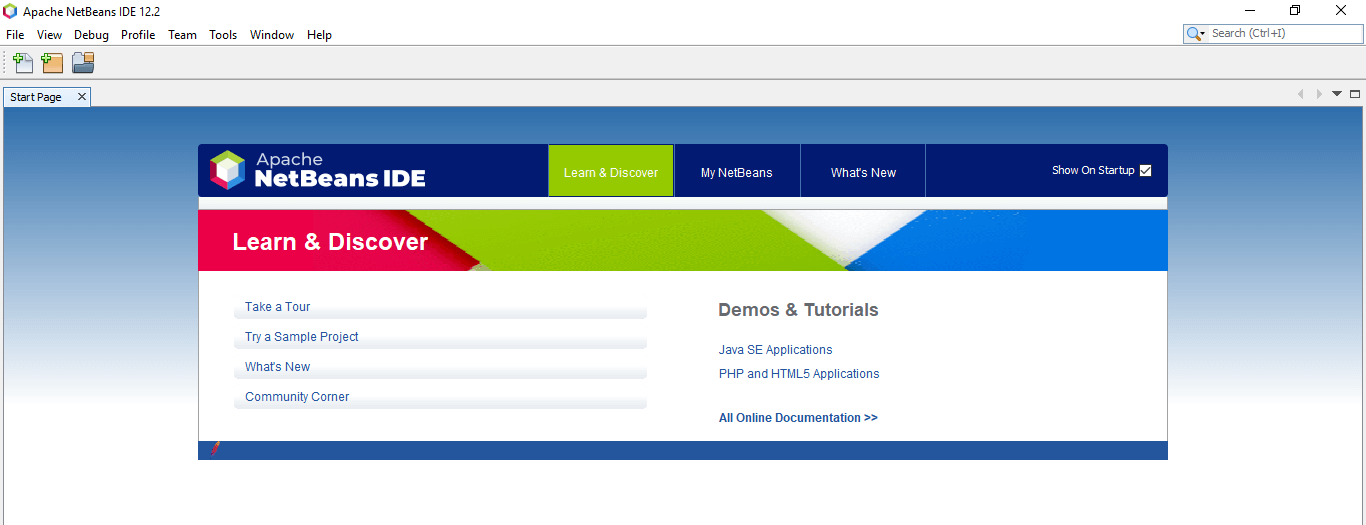
2. After downloading and installing the Netbeans, now, in this step, we are opening the Netbeans as follows.
3. After opening the Netbeans IDE, now in this step, we click on the file menu to create a new project as follows. To create the new project, we need to click on the file and then need to click on a new project.
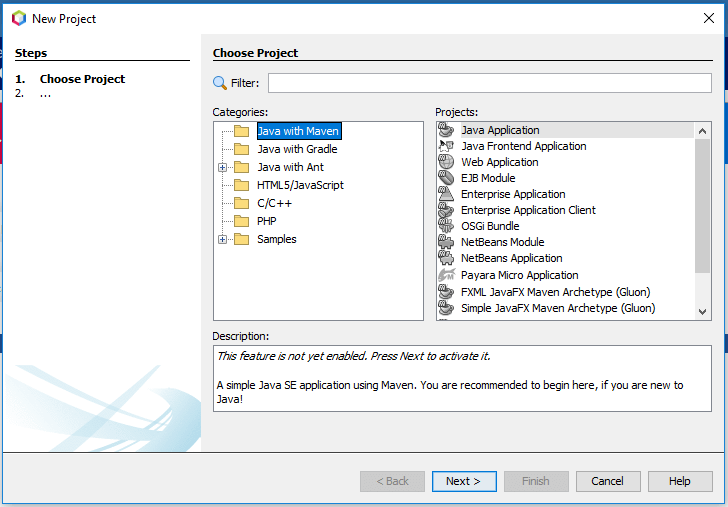
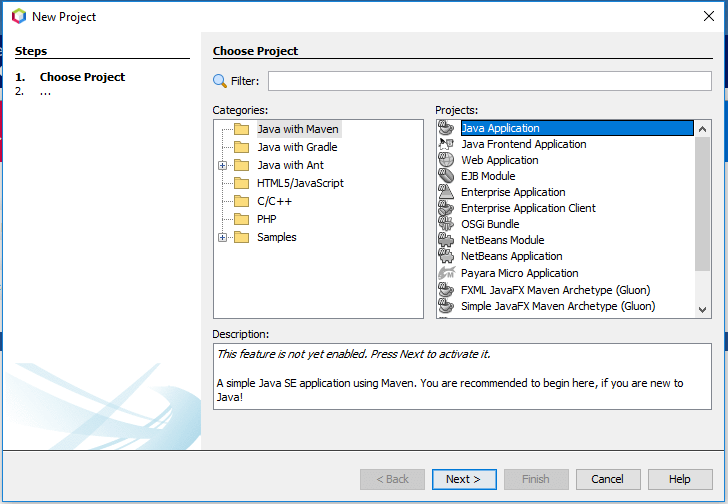
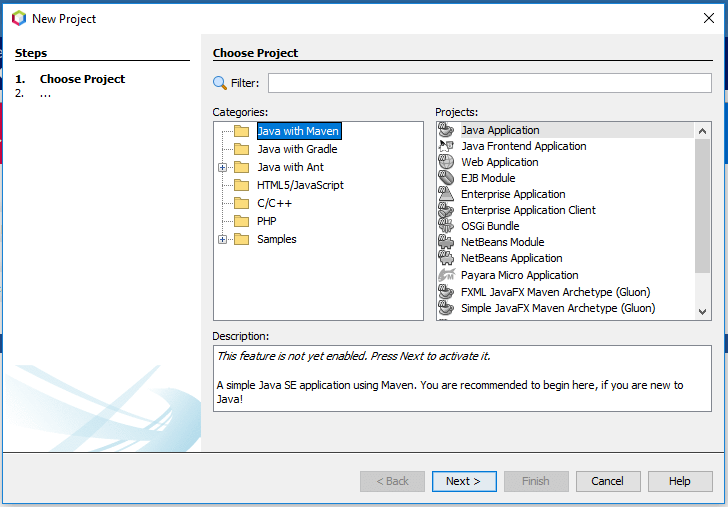
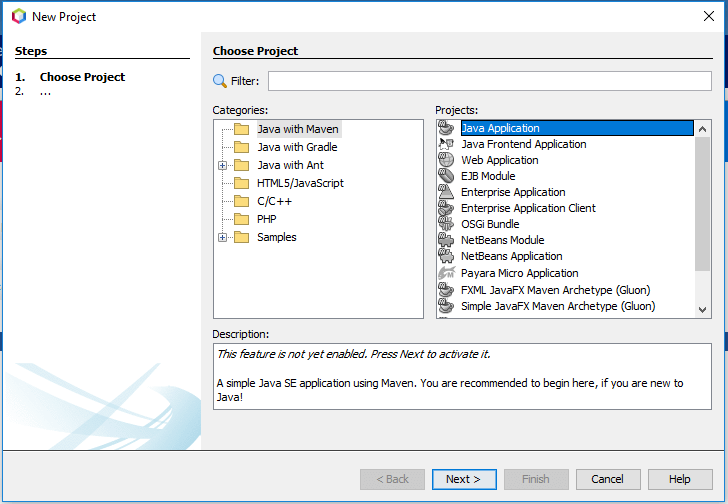
4. After opening the new project page, now in this step, we select the Java application. After selecting the Java application need to click on the next button.
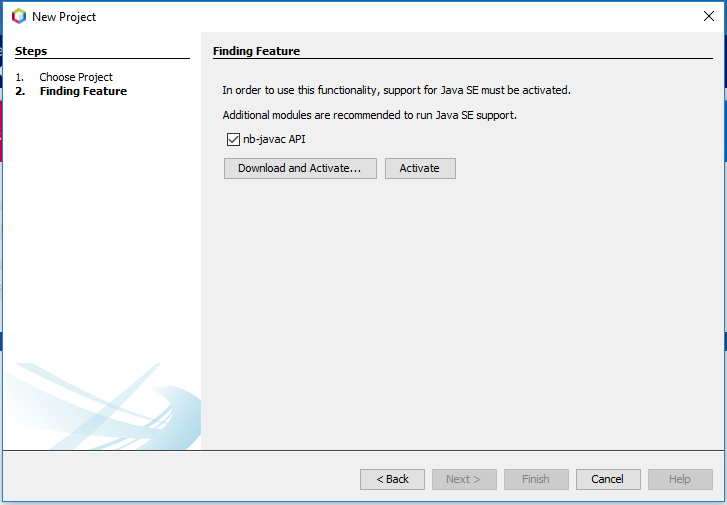
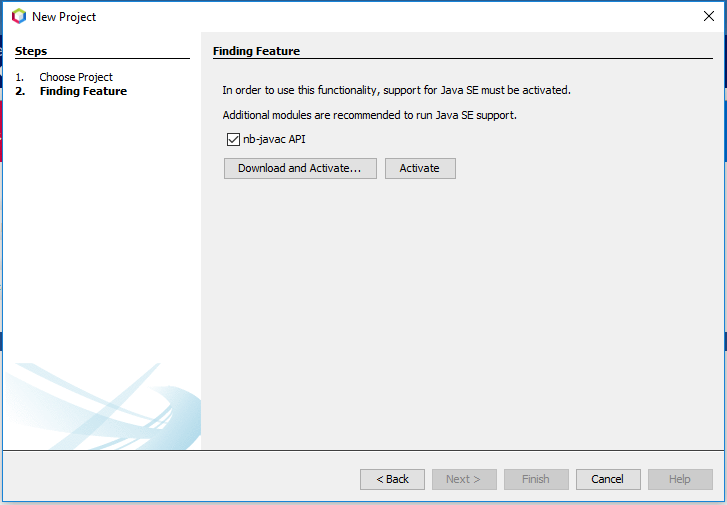
5. After clicking on the next page below page will open; it will find the feature of the Java project as follows.
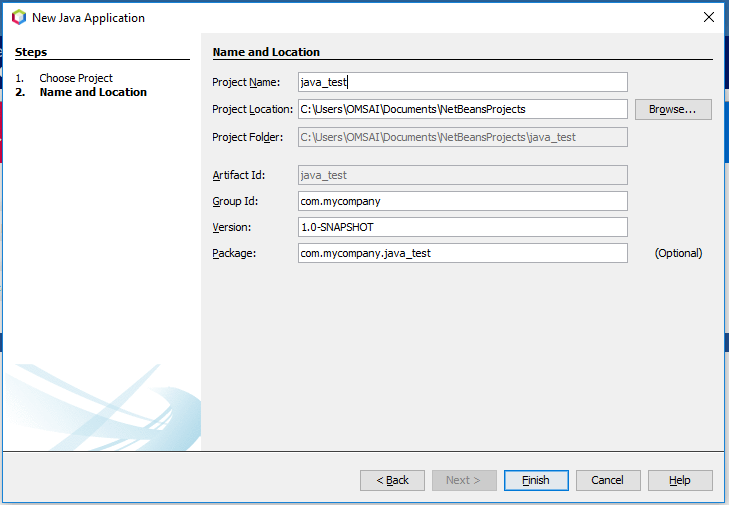
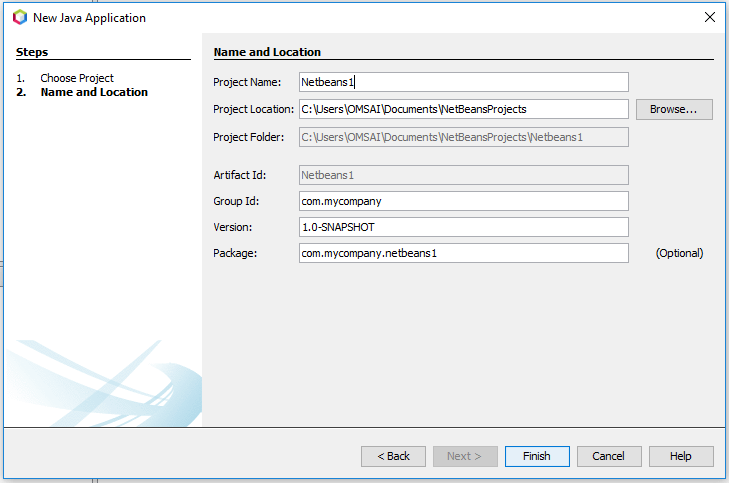
6. After clicking the activate button, it will define a new feature of the Java project. Then below page will open in that we need to define the project name, location, version, and group ID as follows.
7. After giving the project’s name, we need to click on the finish button to create a new project as follows.
How to Use Swing GUI Designer in NetBeans?
The below steps show how we can use the swing GUI designer in Netbeans as follows.
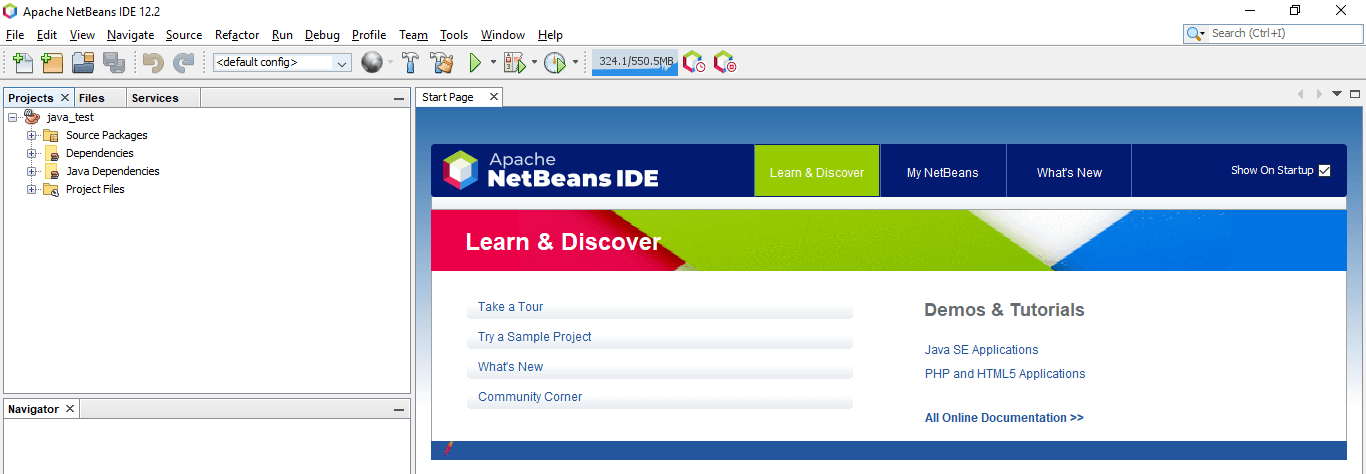
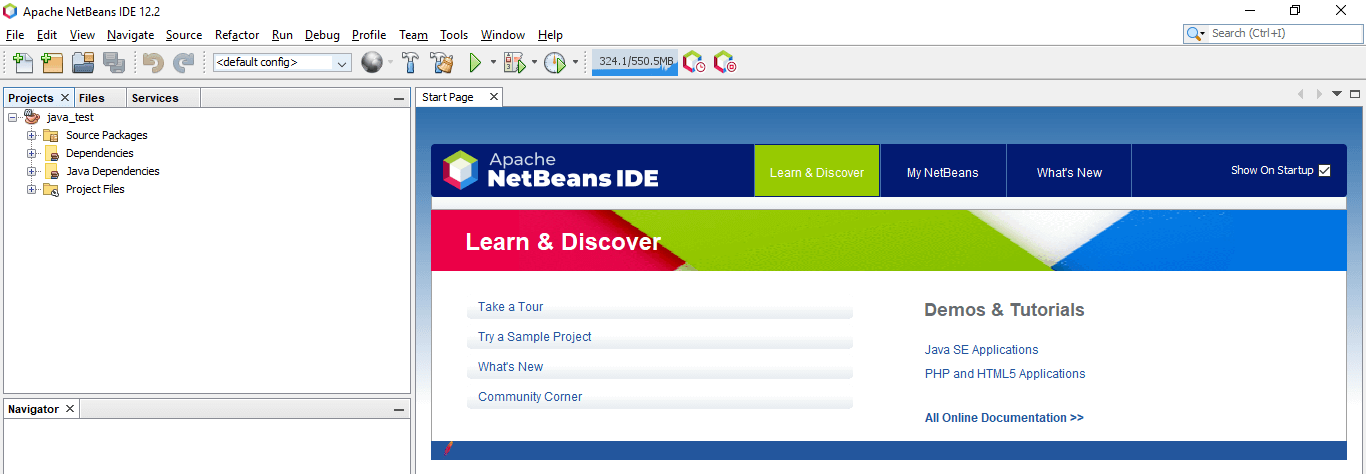
First, we create the java project as follows:
1. we need to create the java project to use the swing GUI designer. In the below example, we create the java project name java_test as follows.
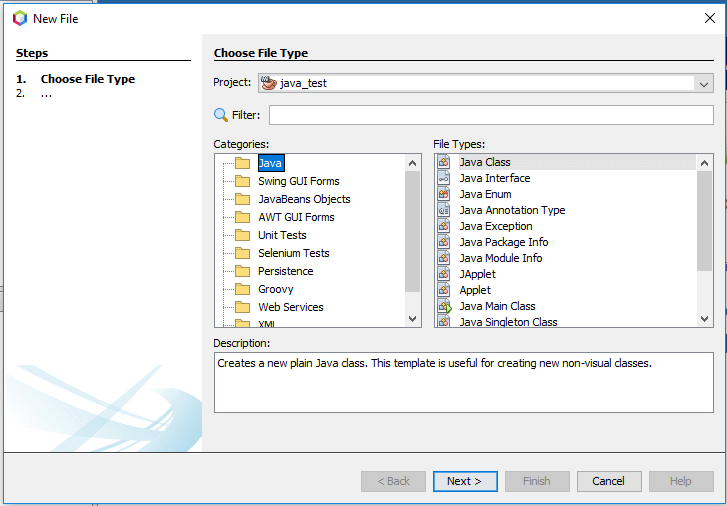
2. we must create the JFrame container after creating the Java project. To create the JFrame container, we need to create a JFrame form. To create a JFrame form, click on new and select another option.
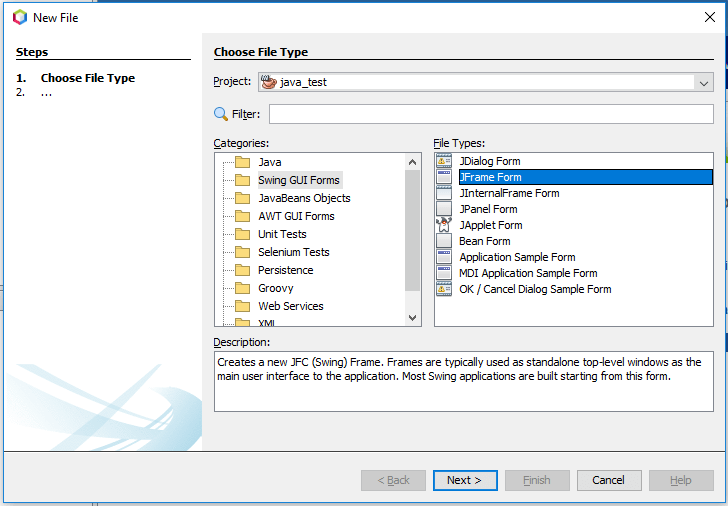
3. After opening the page, we must select the swing GUI forms. We must select the JFrame form in the swing GUI form as follows.
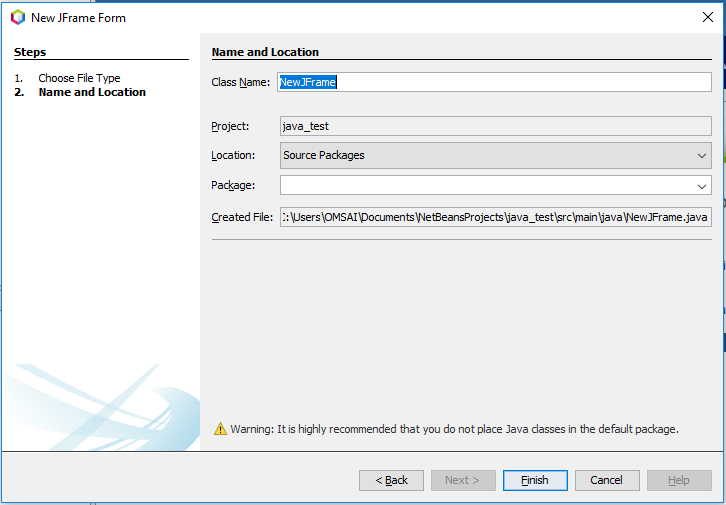
4. After selecting the JFrame form, we need to click next. After clicking the next button, it will open the below page.
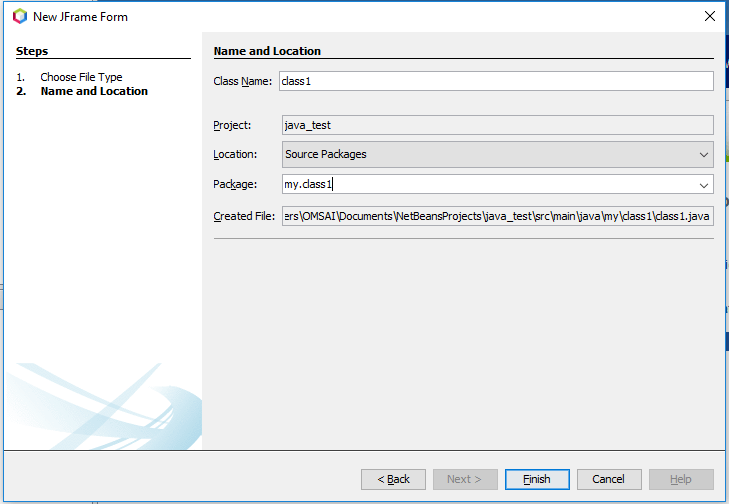
5. After opening the JFrame page, we must enter the class and package name. We define the class name as class1 and the package name as my.class1.
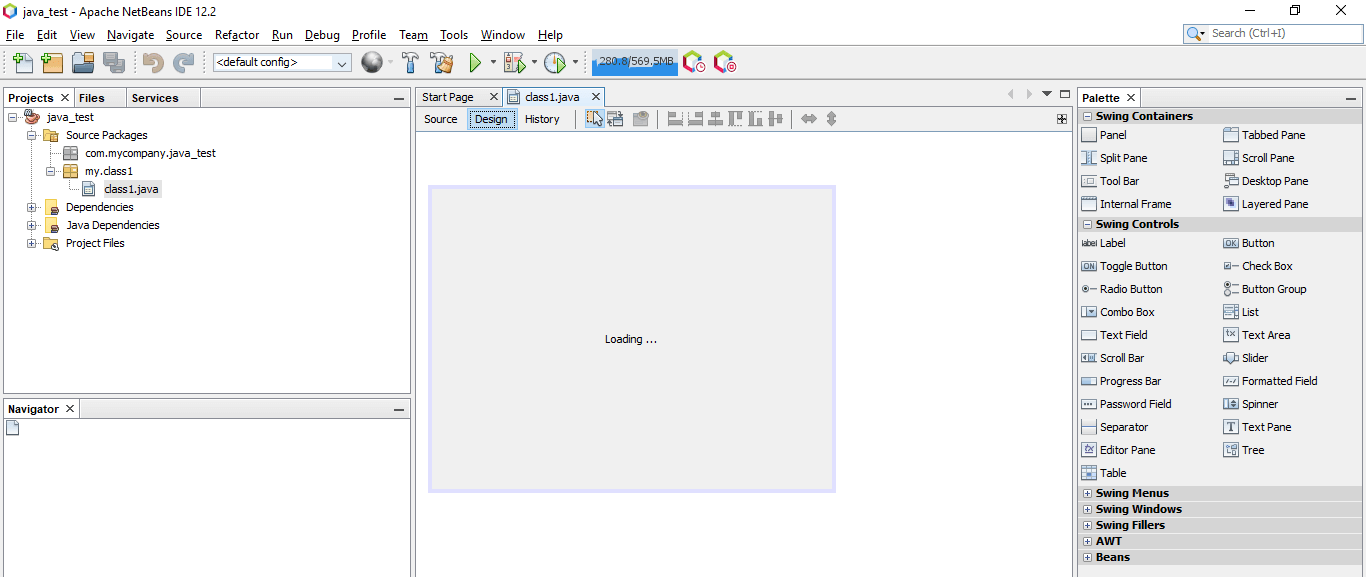
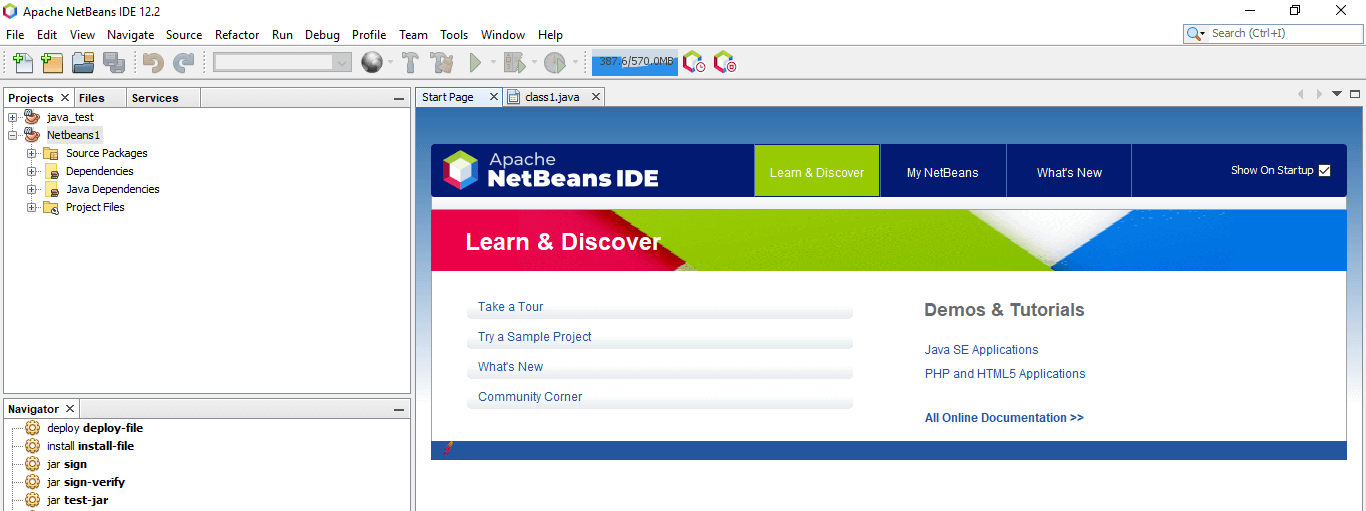
6. After clicking the finish button, we see that the new swing GUI builder Jframe form is created as follows.
Examples of Java Projects in NetBeans
The below steps show how we can create the java project with Netbeans as follows. In the below example, we are creating a project named Netbeans1.
1. In the first step, we are opening the Netbeans as follows. To open the same first, we need to install it in our system.
2. After opening the Netbeans IDE, now, in this step, we click on the file menu to create a new project as follows. To create a new project, we need to click on the file and then need to click on a new project.
3. After opening the new project page, now in this step, we select the Java application. After selecting the Java application need to click on the next button.
4. After clicking on the next page below page will open; it will find the feature of the Java project as follows.
5. After clicking on activate button, it will define a new feature of the Java project. Then below page will open in that we need to define the project name, location, version, and group ID as follows.
6. After giving the project’s name, we need to click on the finish button to create a new project as follows.
FAQs
Given below are the FAQs mentioned:
Q1. What function does the Netbeans IDE provide in Java?
Answer: We are utilizing the Netbeans IDE for building a new Java project. We can also edit and alter the currently running project using the Netbeans IDE.
Q2. Can the existing project be imported into the Netbeans IDE?
Answer: Yes, the Netbeans IDE allows us to import already-existing projects. The project can also be imported from the file system. Additionally, we can import the project’s jar file.
Q3. Can we use Netbeans to build a jar file for the Java project?
Answer: Yes, we may use Netbeans to build the jar file for the Java project. When exporting the current project, we can produce the jar file.
Conclusion
Using the Netbeans IDE, we may create a new Java project or open an existing Java project to make changes to the project code. We can run, compile, and modify Java programs using the Netbeans IDE. Additionally, we have the option of changing the place. We reflect our project’s understanding of the Java language through Netbeans.
Recommended Articles
We hope that this EDUCBA information on “Java Projects in NetBeans” was beneficial to you. You can view EDUCBA’s recommended articles for more information.


