Updated May 11, 2023
Install AWS CLI
AWS CLI is a combined tool used to manage the AWS service. We can install AWS CLI by using the package manager. We can also install the installer from the AWS website. AWS services like AWS Aurora MySQL are something we need to be familiar with. We can manage the services of AWS, such as AWS Aurora MySQL.
Key Takeaways
- Update the repository to install the AWS CLI on Ubuntu. After updating the repository, we can install AWS CLI using the command line tool.
- We can directly access the public API using AWS CLI of AWS, which is a command-line tool. We can use it to execute the command and run the script.
Basics of AWS CLI
AWS CLI is a command line tool that allows administrators and developers to interact with the AWS services from the command prompt or terminal. AWS CLI will enable us to begin running commands that operate functionality equivalent to AWS’s management console. We can install AWS CLI in multiple operating systems like Linux, MacOS, and Windows.
To use the AWS CLI, configure it first. We have the required credentials for an AWS account to configure the AWS CLI. We can configure the AWS CLI by using AWS configure command. After configuring the AWS CLI, we can use and interact with the various services of AWS. The AWS CLI is a powerful tool. Using this tool, we can automate and manage the benefits of AWS.
AWS CLI Versions
AWS CLI is a unified tool; with this tool, we can control the multiple services of AWS. Below are the versions of the AWS CLI as follows.
- AWS CLI version 1: This is the first version of AWS CLI released in 2013. This version is written in Python and installed on Linux, Windows, and MacOS.
- AWS CLI version 2: This is a newer version of AWS CLI, released in 2020. This version is also written in Python and installed on Linux, Windows, and MacOS. This version was redesigned to improve stability and performance.
- AWS CLI version 1.18.69: This is the latest version of AWS CLI version 1, released in 2021. It will include bug fixes and minor version enhancements.
- AWS CLI version 2.3.3: This is the latest version of AWS CLI version 2, released on Sept 2021. It will also include bug fixes and minor version enhancements.
The minor version of AWS is updated regularly, so update it regularly to solve the bug in the previous release.
Aspects of aws-shell
AWS Shell is an interactive command line interface built on the AWS CLI. Below are the aspects of aws-shell as follows.
- Auto-completion: AWS shell provides aws commands tab completion, which makes it easier to avoid the mistakes of syntax errors.
- Interactive mode: AWS shell contains an interactive way, which allows us to execute the AWS CLI commands and see the output in real time. This is very useful for exploring the services of AWS and its capabilities.
- Command history: AWS will keep the history of the commands we have executed, making it easy to repeat commands or reference them later.
- Contextual help: AWS shell will provide contextual support that shows us the available commands and options based on our current location of the AWS CLI hierarchy command.
- Customization: AWS shell is customized using user-defined aliases, making executing the frequently used and user-defined commands easier.
- Integrate with the AWS services: AWS shell will integrate with multiple benefits such as AWS S3, AWS EC2, AWS RDS, and many more, which make it easy to manage the AWS resources.
- Cross-platform: AWS shell is available for Windows, Linux, and MacOS so that we can use the same on our preferred operating system.
AWS Shell is a powerful tool used to interact with the services through the command line providing a more streamlined and efficient way to manage the resources.
Install AWS CLI Ubuntu using different methods
We can install the AWS CLI using different methods. Below are the two ways to install the AWS CLI on the Ubuntu system.
1. Using APT Package Manager
Below are the steps that show how to install the AWS CLI using the APT package manager. AWS CLI is available in the repository of Ubuntu 22.04.
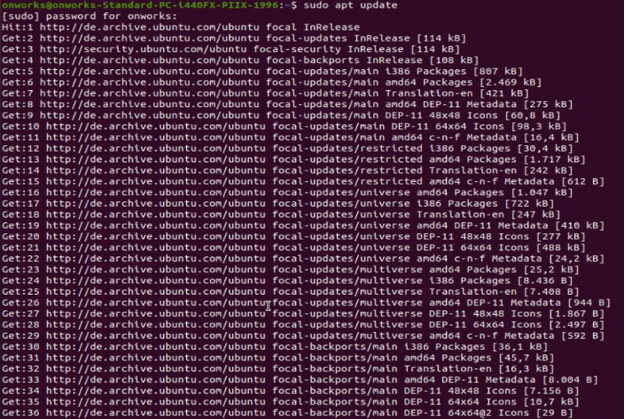
- Launch a terminal window on your Ubuntu computer. Run the following command to update your system’s package list:
$ sudo apt update- Once the package list is updated, install the AWS CLI package using the following command:
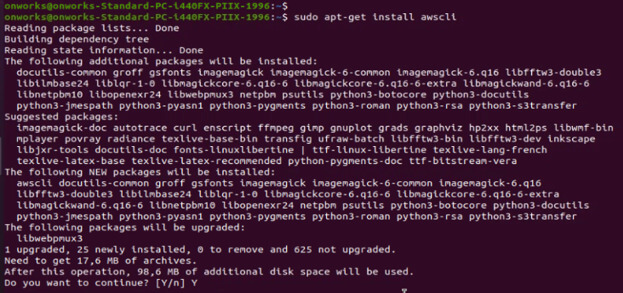
$ sudo apt-get install awscli- Press “Y” and then hit Enter to confirm the installation.
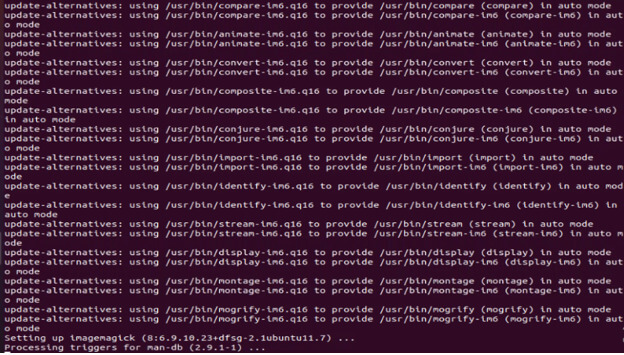
- Wait for the installation to complete. Once done, you can verify the installation by running the following command:
$ aws --versionThat’s it! Using the APT Package Manager, you have successfully installed AWS CLI on your Ubuntu machine.
2. Using Python PIP
Below are some steps that show how to install the AWS CLI using pip. First, install pip on our system to install the AWS CLI using the pip command.
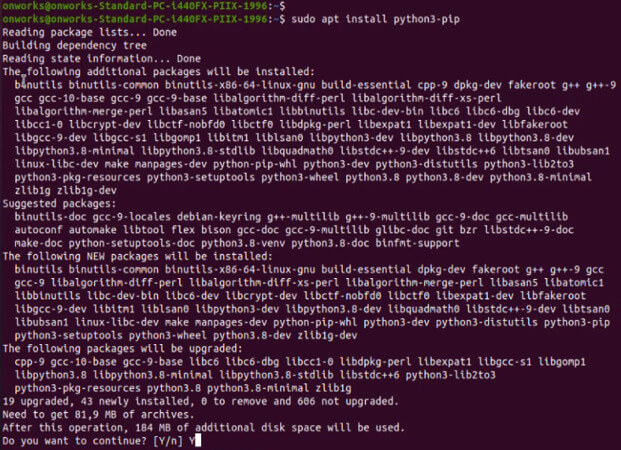
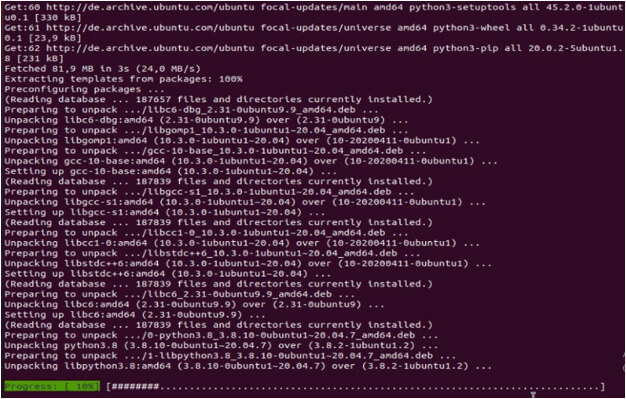
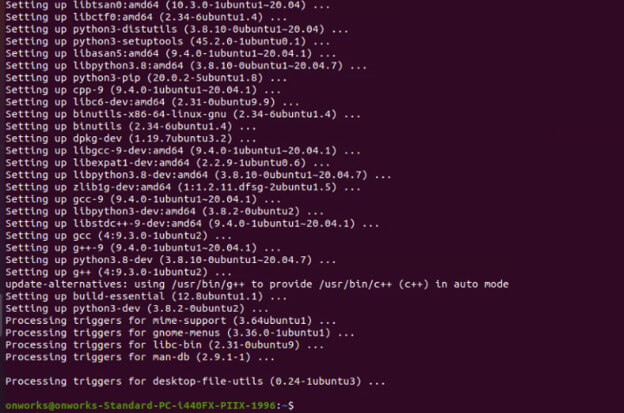
- In the first step, we install the pip by executing the following command.
$ sudo apt install python3-pip- After installing the pip, to check the pip installation we can check the version of the pip command as follows.
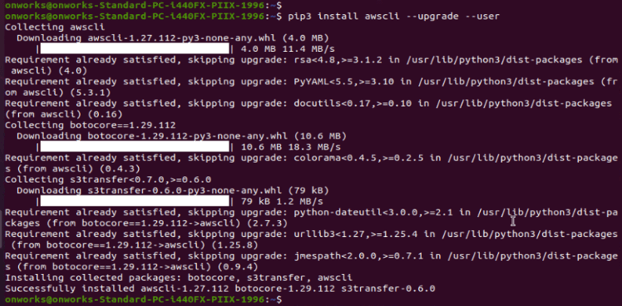
$ pip --version- In this step, we install AWS CLI using the pip command as follows.
$ pip3 install awscli -–upgrade -–user- After successful installation, we can check the version of AWS CLI by executing the following command as follows.
python3 –m awscli --versionCongratulations! You have successfully installed AWS CLI on Ubuntu using Python PIP. You can now use the AWS CLI to manage and automate your AWS resources from the command line.
Configuring AWS CLI with credentials
After installing AWS CLI on Ubuntu, you need to configure it with your AWS credentials to access your AWS resources securely. Here are the steps to configure the AWS CLI with credentials:
1. We have already installed the AWS CLI in our system, so now, in this step, we are checking the version of AWS CLI as follows.
aws --version2. After checking the version in this step, open the terminal to execute the configure command.
3. After opening the terminal, now, in this step, we are executing the aws configure command as follows. After executing the configure command, it will ask for the following input. You have to enter your mail account and password for the same.
#aws configureUsing AWS CLI to manage AWS resources on Ubuntu
Follow the steps below to manage the resources using the command line interface.
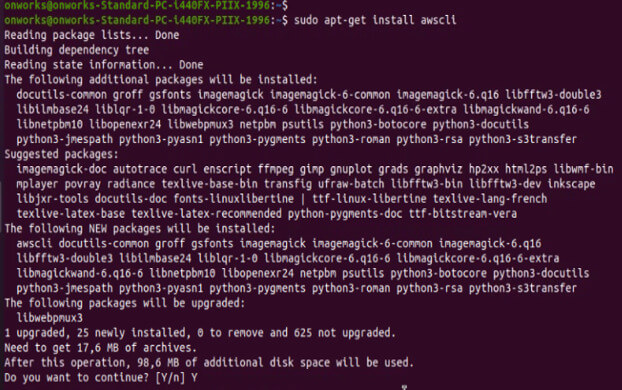
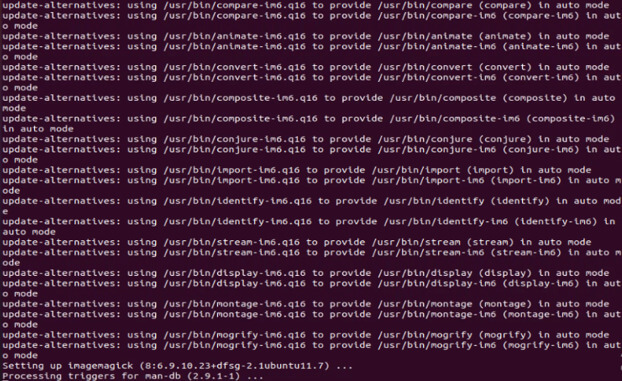
1. Installing the AWS CLI in our system is the first step. The below figure shows to install AWS CLI in our system as follows.
$ sudo apt-get install awscli2. In this step, we are checking the installation of AWS CLI by executing the below command as follows.
#aws --version3. After checking the AWS CLI version, we are configuring the AWS CLI in our system as follows, and after executing the configure command, it will ask for the following input. You have to enter your mail account and password for the same.
#aws configure4. After configuring AWS CLI in this step, we are listing all the files from the S3 bucket as follows. We are listing the files from bumbucket.
aws s3 ls s3://bucketname --recursive --human-readable5. In the below example, we have listed the filename from the bucket as follows. We have listed all the filenames from bumbucket as follows.
aws s3api list-objects --bucket bumbucket --output6. In the below example, we have listed the folder from the bucket as follows. We have listed all the folders from bumbucket as follows.
aws s3api list-objects --bucket bumbucket --prefixAWS command-line interface
The AWS command line is a unified tool for managing resources. While downloading and installing the AWS command-line tool, we can manage the multiple resources of AWS. The AWS CLI version 2 offers numerous features, including new configuration options like AWS SSO. The below points show OS and how we can install the AWS CLI on a specified OS.
- Windows: Download and install the 64-bit installer.
- MacOS: Download and run the MacOS PKG installer.
- Amazon Linux: The AWS CLI comes pre-installed with Amazon Linux.
- Linux: In Linux need to download the unzipped file and run the Linux installer.
Advantages of AWS CLI
AWS CLI contains multiple advantages. Below are the advantages of AWS CLI as follows.
- Automation: By using AWS CLI, we can automate our tasks and workflows, which saves time and also reduce errors. We can also write scripts that perform tasks such as launching the instance, managing the resources, and creating the SG.
- Cross-platform support: AWS CLI is available on multiple platforms, including MacOS, Windows, and Linux, making it access various users.
- Flexibility: It is a flexible tool that allows us to interact with AWS resources from the command line. This is useful for developers and administrators who preferable working on the terminal window.
- Integrate with other tools: This tool is easily integrated with services and tools such as Git, Chef, and Jenkins. This allows us to build complex workflows and automate tasks across multiple services and tools.
- Documentation: AWS CLI is well documented, with examples and explanations of every command. This will help us to learn and understand the capabilities quickly.
- Easy to install: The main benefit of AWS CLI is that it is easy to install. We can easily install this toolkit in our system.
AWS CLI is a potent tool that helps us automate tasks and increases productivity.
File command for Amazon S3
To use the file command on an object in an S3 from the Ubuntu terminal, download and install the AWS CLI. The file command is used to determine the type of file while examining the contents of a file. Amazon S3 is a cloud-based service that will not contain direct terminal access like the Unix file system. We cannot use file commands directly on AWS CLI. Below are the file commands of Amazon S3 as follows.
- Below we are listing all the S3 buckets as follows. To list all the S3 buckets, we are executing the below commands as follows.
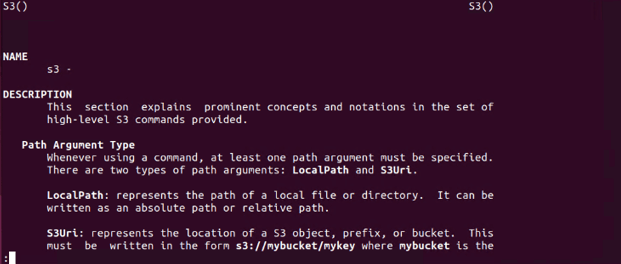
aws s3 ls- To take the help for the aws s3 command, we can execute the below command as follows. It will list all the help commands as follows.
aws s3 help- Below example shows to perform the recursive upload of a text file. We use the recursive and summarize option with the s3 bucket as follows.
aws s3 ls s3://bucketname –recursive –human-readableConclusion
Installing AWS CLI on Ubuntu is a very straightforward process. It will involve installing the necessary dependencies, and then we can install AWS CLI either by using pip or apt-get command. Once installed AWS CLI, we can configure the same with the access key of the AWS account to begin interacting with the services of AWS. To use this tool, we required some knowledge regarding AWS services.
FAQs
Q1. How can we install AWS CLI on Ubuntu?
Answer: We can install the AWS CLI on Ubuntu using the apt-get or pip command. To install the AWS CLI, we have to install the required dependencies.
Q2. How can we configure the AWS CLI after installation?
Answer: To access the AWS resources using AWS CLI, we need to configure it first. We can configure the AWS CLI using the “aws configure” command.
Q3. On which operating system can we install AWS CLI?
Answer: AWS CLI is a platform-independent tool; we can install AWS CLI on Windows, MacOS, and Linux operating systems.
Recommended Articles
We hope that this EDUCBA information on “Install AWS CLI Ubuntu” was beneficial to you. You can view EDUCBA’s recommended articles for more information,
