Introduction
The Arduino Integrated Development Environment (IDE) is indispensable for electronics enthusiasts, hobbyists, and professionals venturing into microcontroller programming. Designed to simplify code writing, compiling, and uploading onto Arduino boards, the IDE fosters creativity and innovation in embedded systems. Installing Arduino IDE on Ubuntu, a prominent Linux distribution, facilitates the seamless integration of Arduino boards into the Linux environment. Whether you’re an aspiring maker, electronics enthusiast, or seasoned developer, having Arduino IDE readily accessible on your Ubuntu system streamlines development and expedites electronic project prototyping. This guide equips readers with essential knowledge and tools to embark on their Arduino journey with Ubuntu, covering system prerequisites, necessary software, and installation methods via terminal or Ubuntu Software Center.
Table of Contents
System Requirements
- Ubuntu operating system: Ensure that you have Ubuntu installed on your computer. Arduino IDE is compatible with various versions of Ubuntu, including the latest releases.
- Adequate system resources: Although lightweight, ensuring smooth performance with Arduino IDE recommends having sufficient RAM and disk space, with at least 2GB of RAM and a few hundred megabytes of disk space recommended.
Downloading Arduino IDE
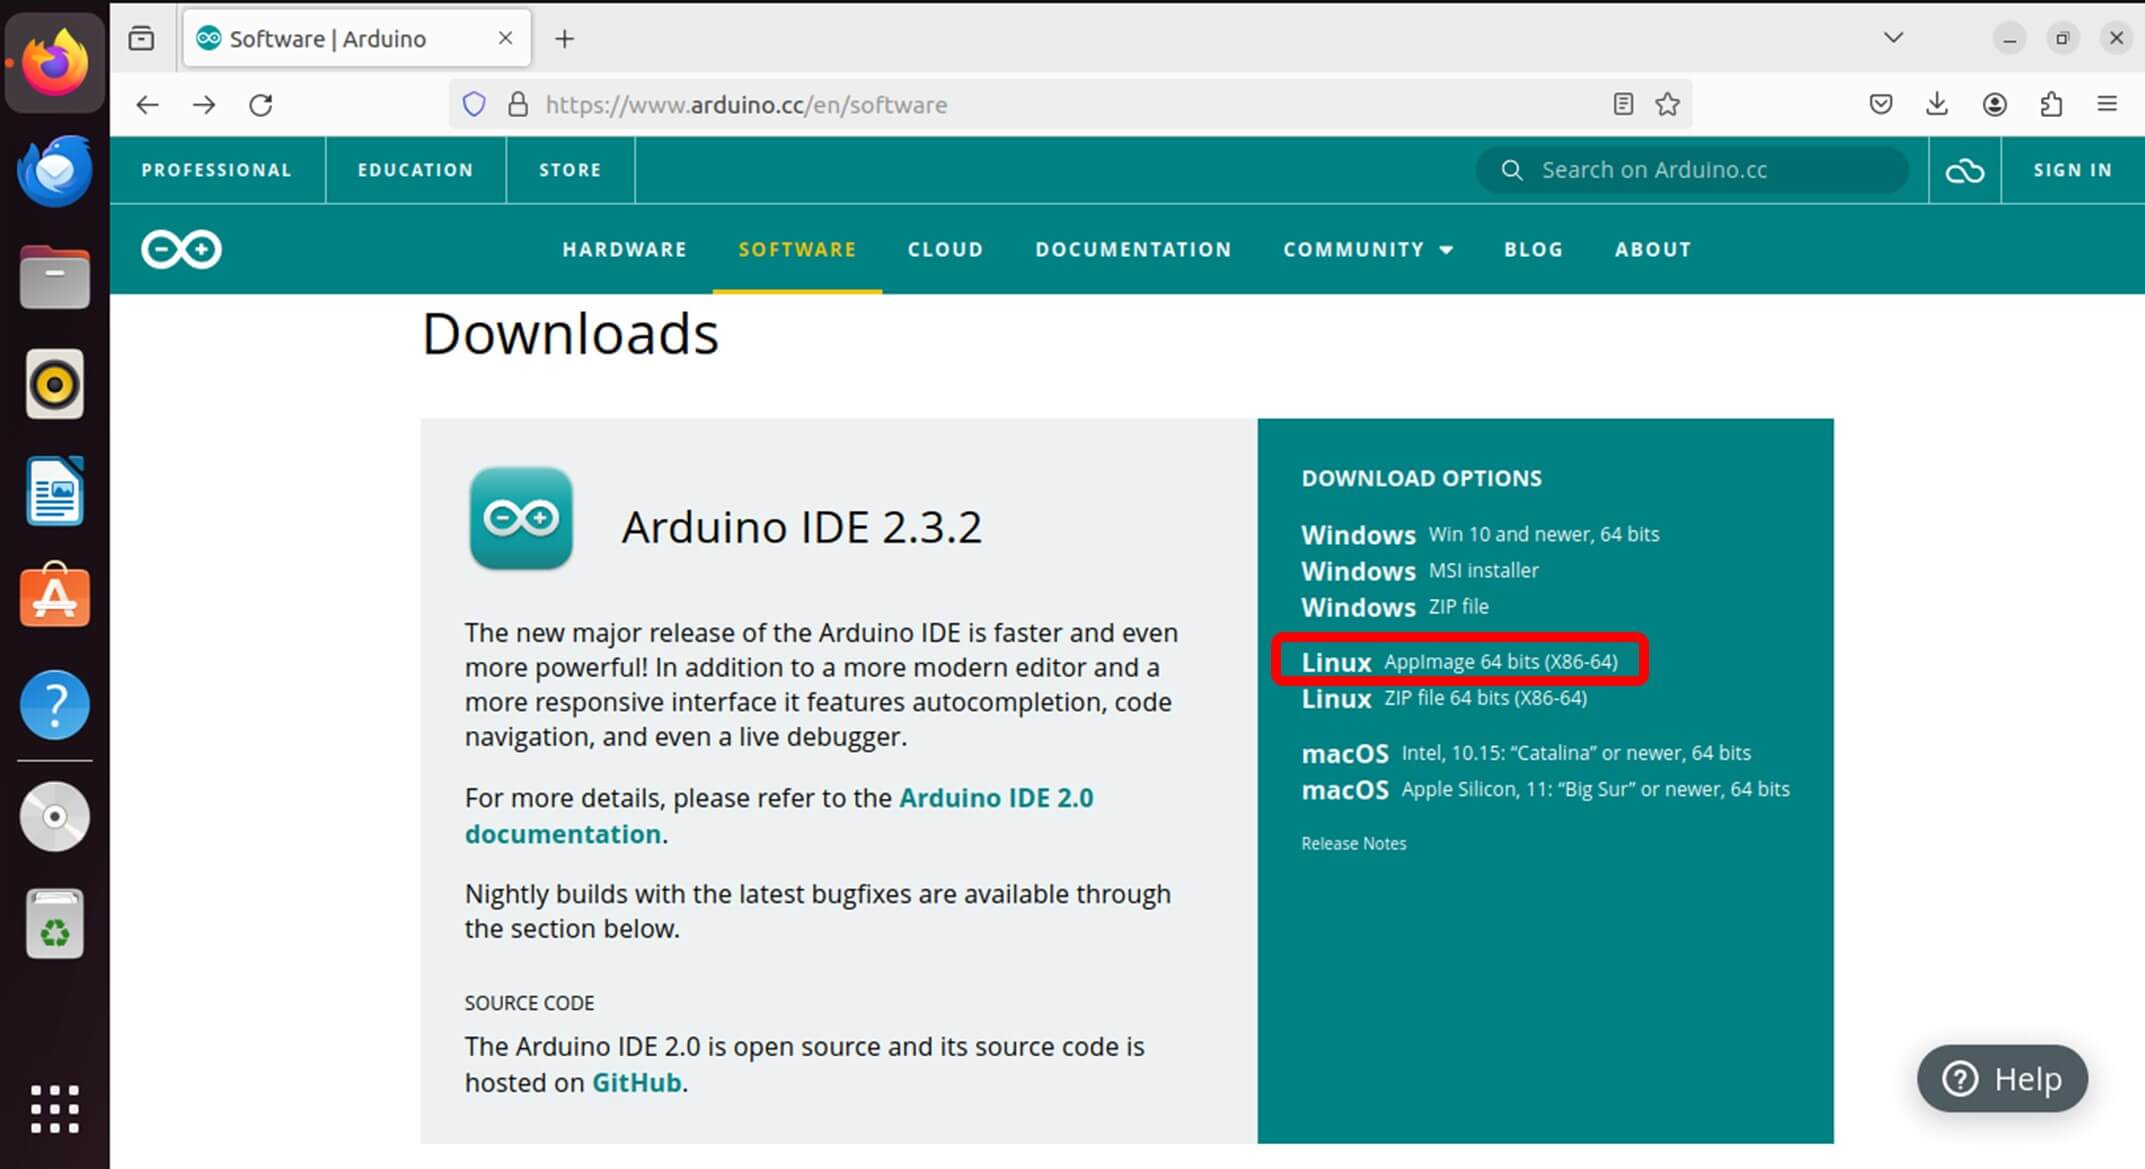
- Open the web browser and navigate to the official Arduino
- There will be download options for the various platforms on the Arduino software page. Click on the Linux AppImage 64 bits.
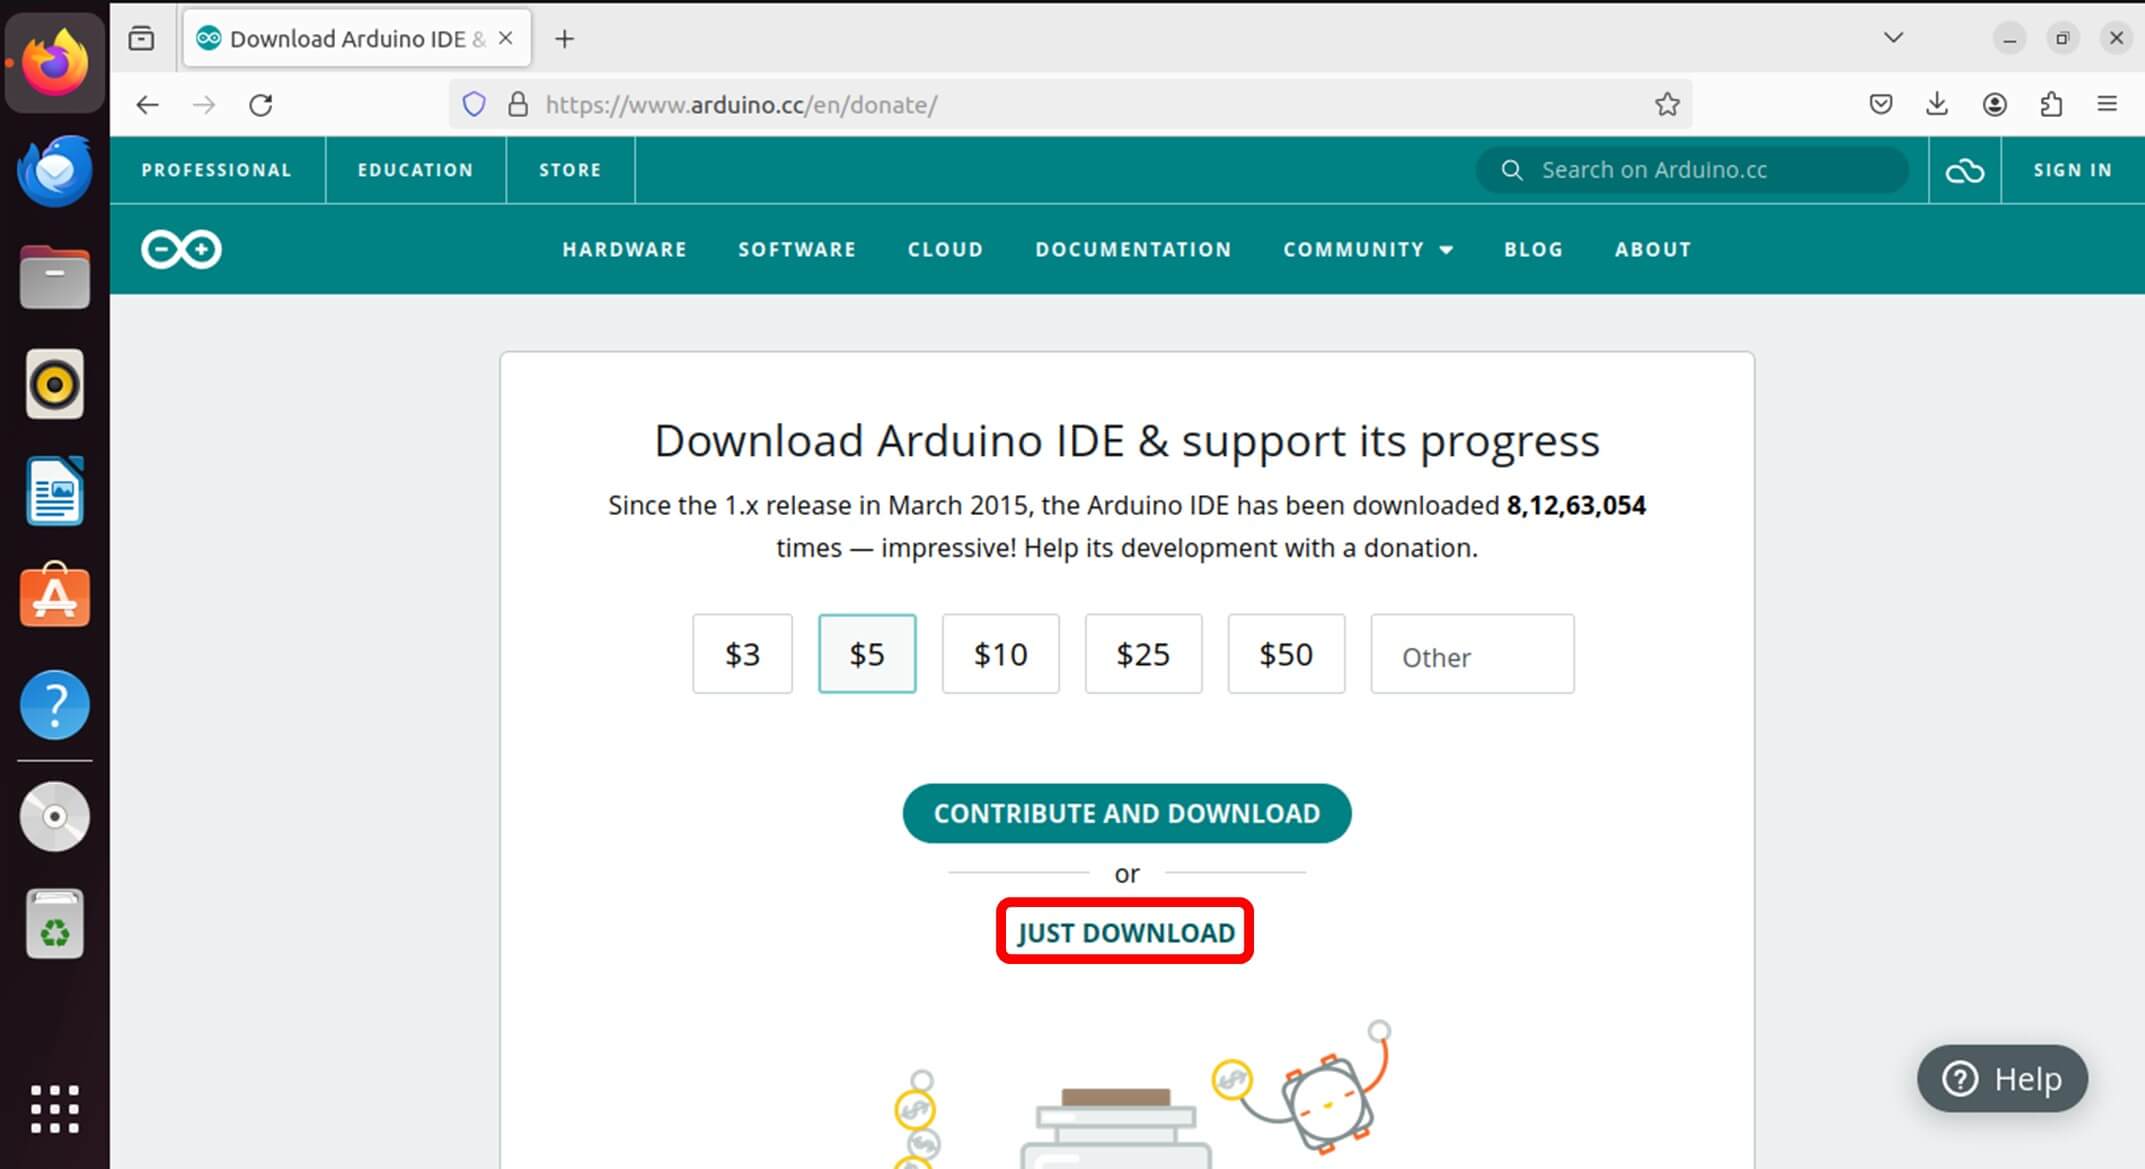
- Click on the Just Download button to start downloading the AppImage file of Arduino IDE.
- It will start downloading the file.
We have successfully downloaded the Arduino file. Now, we can proceed to our installation process.
Installation of Arduino IDE
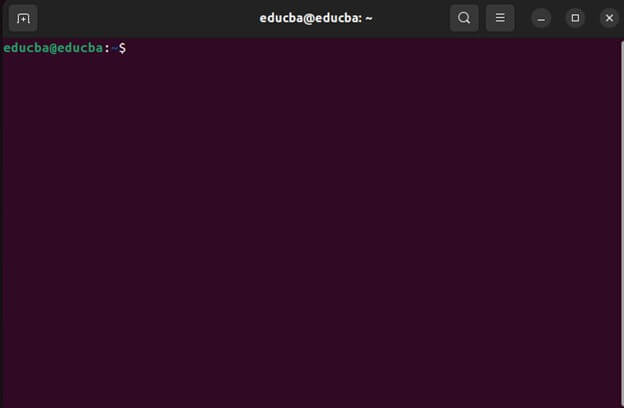
1. Open the Linux terminal (Ctrl + Alt + T).
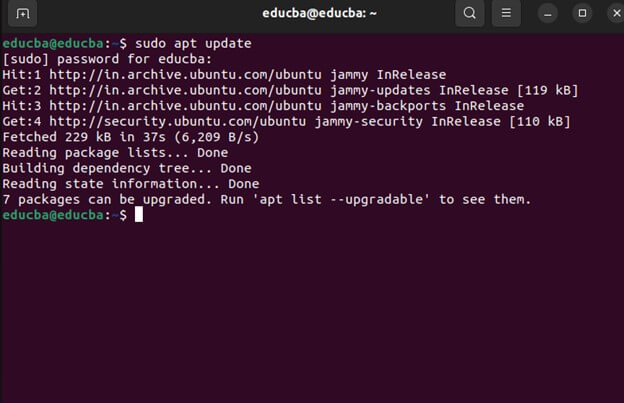
2. Before installing new software, updating your system’s package lists is advisable to guarantee that you install the most up-to-date versions of available packages. Run the following command in the terminal:
sudo apt update
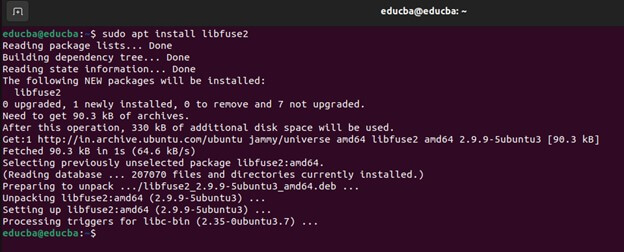
3. For running app images, type the following command on the terminal to install it:
sudo apt install libfuse2
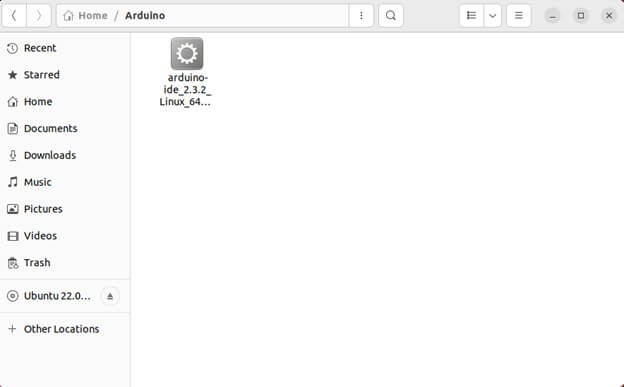
4. Now open files and navigate to the folder where we have downloaded our Arduino app image file.
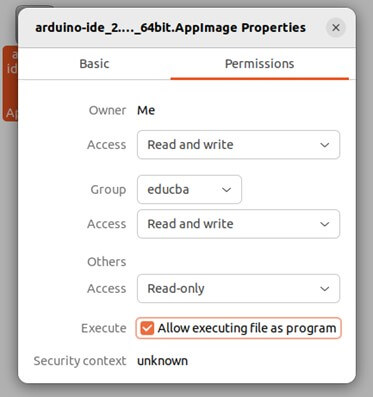
5. Right-click on the file and open Properties. Go to the Permissions tab and tick the Allow executing file as program.
6. Now, we can run the Arduino IDE. Close the Properties and double-click on the file.
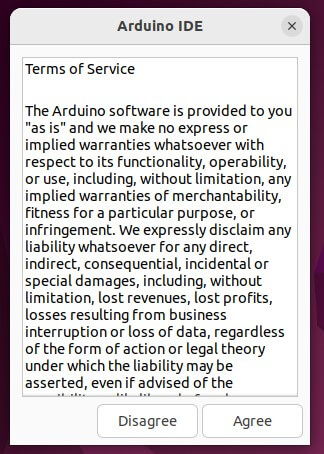
Click on the Agree button.
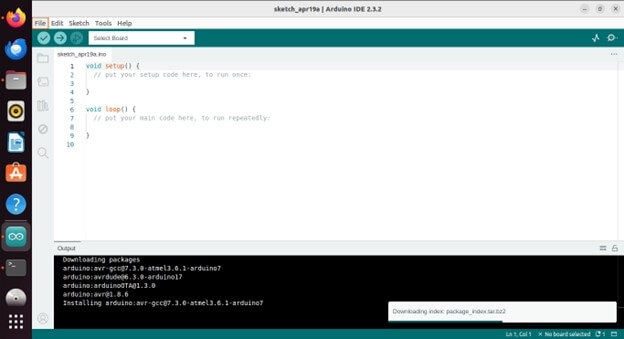
7. And we have successfully installed our Arduino IDE on Ubuntu.
Installation through Ubuntu Software Center
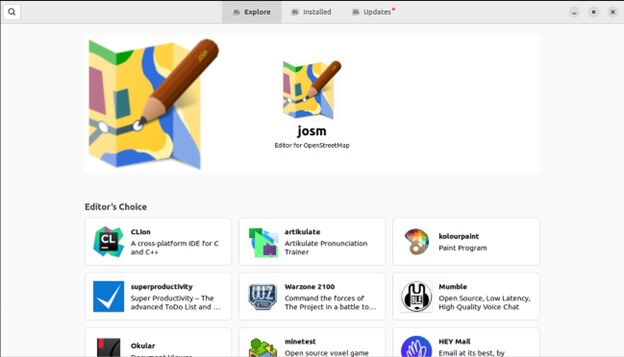
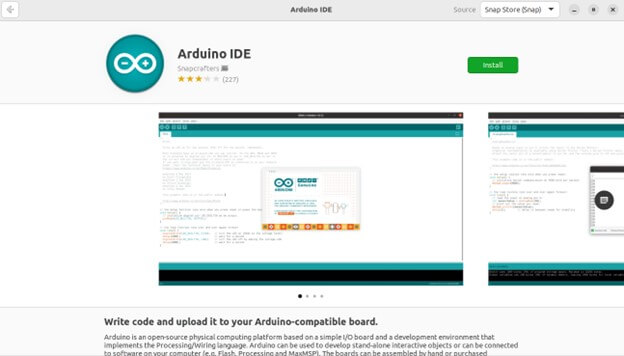
- Open Ubuntu Software Center: First, open the Ubuntu Software Center application. You can do this by searching for “Ubuntu Software” in the application menu or clicking on the Ubuntu Software icon if it’s available in your system’s dock.
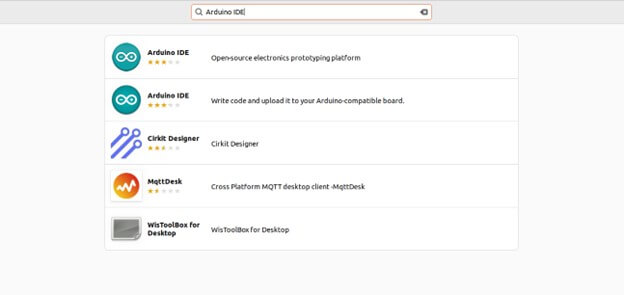
- Search for Arduino IDE: Type “Arduino IDE” in the search bar and press Enter. It will initiate a search for Arduino IDE in the software repository.
- Select Arduino IDE: From the search results, you should see Arduino IDE listed. Click on the Snapcraft version of Arduino IDE since it is safer. You can click on the listed program to view full details.
- Install Arduino IDE: You’ll find an “Install” button on the Arduino IDE page. Click on it to begin the installation process.
- Authenticate: Depending on your system configuration. The installation process may prompt you to enter your user password for authentication. Type your password and click Authenticate or OK to proceed.
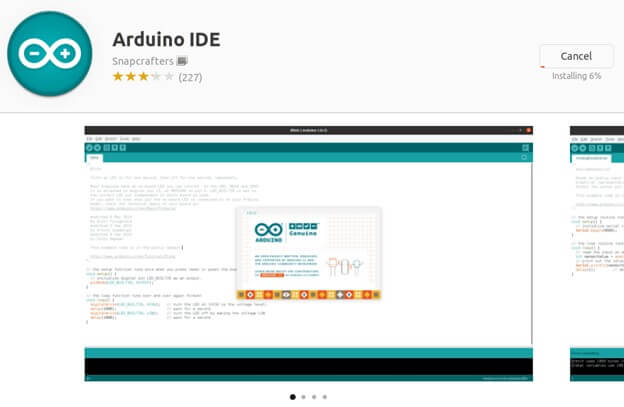
- Wait for Installation: The Ubuntu Software Center will now download and install Arduino IDE and any necessary dependencies. Shows the status of the installation process in progress.
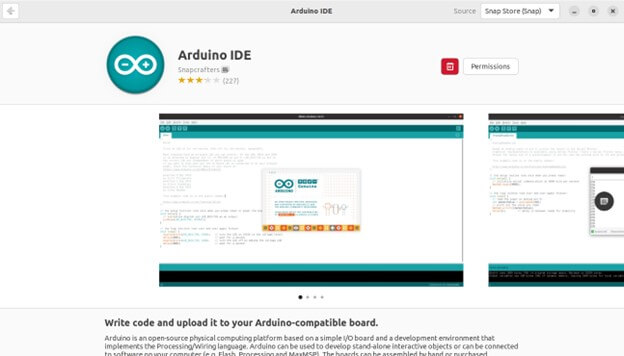
- Installation Complete: After you complete the installation, you’ll receive a successful installation notification for the Arduino IDE on your system.
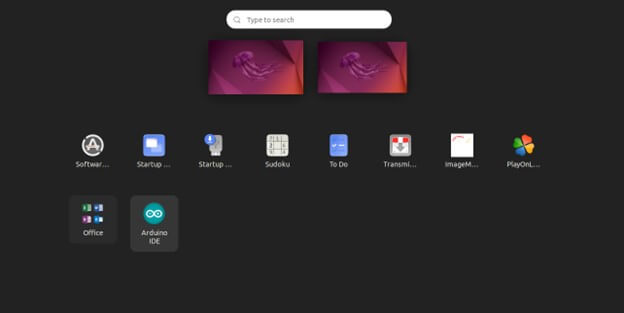
- Launch Arduino IDE: You can now launch Arduino IDE directly from the Ubuntu Software Center, or you can find it in your system’s application menu.
Setting up Arduino IDE
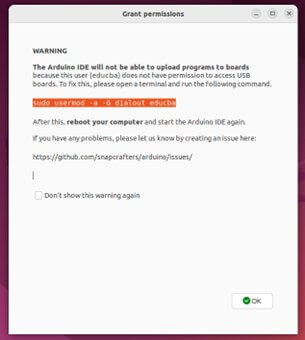
- While launching the application, we get a Grant permission message pop up.
- Open the terminal and add the following command:
sudo usermod -a -G dialout {username}
Under the username, add the username of your pc.
- Once we add and run the command, reboot the system.
- After the reboot, open the terminal again and add command groups.
If you get this output, you are now ready for Arduino programming.
Troubleshooting
While installing Arduino IDE on Ubuntu is usually straightforward, you may encounter issues. Here are some standard troubleshooting steps to resolve potential problems:
- Dependency Issues: If the installation process fails due to missing dependencies, you can manually install them using the following command:
sudo apt install -f
This command will endeavor to resolve any broken dependencies on your system.
- Permission Denied: If you encounter “Permission denied” messages during installation, make sure you possess administrative privileges. To elevate your permissions, prepend your installation commands with sudo.
- Internet Connection Problems: Should the installation halt or fail due to an unreliable internet connection, consider restarting the process after confirming a stable connection.
- Software Repository Issues: At times, software repositories may face complications. You can resolve this by changing to an alternative mirror or refreshing your package lists with the command:
sudo apt update
- Corrupted Installation Package: The Arduino IDE package may corrupt during download or installation. Try redownloading the package from the official Arduino website and reinstalling it.
- Check System Requirements: Double-check that your system meets the prerequisites mentioned in this guide, such as having sufficient disk space and RAM.
- Community Support: If you cannot resolve the issue independently, consider seeking help from online forums, such as the Arduino community forums or Ubuntu forums. Fellow users and experts may provide insights or solutions to your problem.
Conclusion
Installing Arduino IDE on Ubuntu unlocks numerous opportunities for electronics enthusiasts, hobbyists, and professionals. This software integrates Arduino boards into the Linux environment, empowering users to innovate in embedded systems. This guide has detailed essential steps for installing Arduino IDE on Ubuntu, covering prerequisites and installation methods via the terminal and Ubuntu Software Center. Troubleshooting tips also address common issues. With Arduino IDE now on your Ubuntu system, you’re ready to explore the vast world of Arduino, whether you’re a beginner or an experienced developer. Remember to embrace learning and experimentation, utilizing tutorials, forums, and project ideas to enhance your skills and fuel your creativity.
Frequently Asked Questions (FAQs)
Q1. Can I install Arduino IDE on a 32-bit Ubuntu system?
Answer: Arduino IDE primarily provides a 64-bit Linux version, but it should also work on most 32-bit Ubuntu systems. However, verifying compatibility with your specific system configuration is recommended.
Q2. Is Arduino IDE open-source software?
Answer: Yes, Arduino IDE is open-source software, enabling users to freely access, modify, and distribute the source code without restrictions under the terms of the GNU General Public License (GPL). This open-source nature encourages collaboration and community contributions to improve the software over time.
Q3. Does Arduino IDE support third-party libraries and extensions?
Answer: Indeed, Arduino IDE facilitates the integration of third-party libraries and extensions, enabling users to enhance the functionality of their projects. These libraries, contributed by the Arduino community and other developers, encompass diverse functionalities and components, simplifying and incorporating intricate features into projects.
Recommended Articles
We hope that this EDUCBA information on “Install Arduino IDE Ubuntu” was beneficial to you. You can view EDUCBA’s recommended articles for more information,
