Introduction
Anaconda is a powerful, free, open-source distribution of R and Python designed for scientific computing, data science, and machine learning. It simplifies package management and deployment, offering over 1,500 packages that cater to the needs of data analysts, developers, and researchers. This article aims to guide users through installing Anaconda on Ubuntu, providing a robust programming and data analysis platform. Following the steps outlined, The versatile toolset will equip readers with enhanced productivity and foster an environment for innovative solutions in various fields.
Table of Contents
Prerequisites- Install Anaconda Ubuntu
- Processor: A dual-core processor with at least 2 GHz clock speed is preferred.
- Memory (RAM): Minimum 4 GB RAM is recommended, with 8 GB or more offering a smoother experience for complex projects.
- Disk Space: Anaconda has a modest footprint, but data science projects can consume storage space. Allocate at-least 10 GB of free disk space.
- Ubuntu Version: Anaconda is compatible with various versions of Ubuntu. However, it is recommended that you use a recent and stable version, such as Ubuntu 22.04 LTS or Ubuntu 24.04 LTS.
Step 1: Updating the System
To update the system package list on Ubuntu:
- Launch the Terminal: By pressing Ctrl + Alt + T or searching for ‘Terminal’ in your applications menu.
- Update the Package List: Run the below command to update the packages and versions that are available:
- sudo apt update
Step 2: Downloading Anaconda
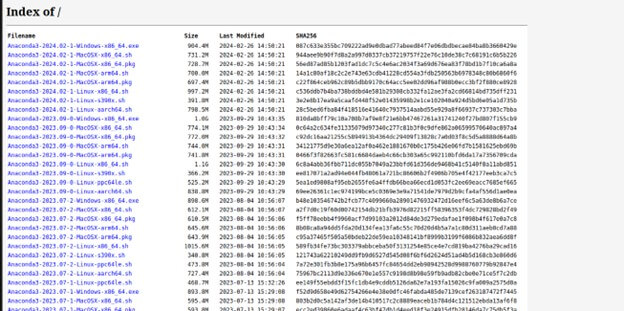
- To get the latest version of Anaconda, visit: repo.anaconda /archive
- wget repo.anaconda /archive/Anaconda3-<INSTALLER_VERSION>-Linux-x86_64.sh
- replace <INSTALLER_VERSION> with the version number of the Anaconda installer you wish to download.
- Download Using wget: Open a terminal window and download the installer using the wget command.
- cd Downloads && curl -O repo.anaconda /archive/Anaconda3-2024.02-1-Linux-x86_64.sh
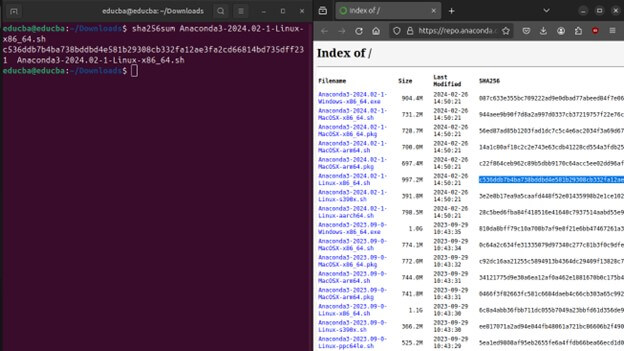
- Check the Download: After the download is complete, you can check the integrity of the installer by comparing the SHA-256 checksum provided on the installer page with the checksum of the downloaded file using the sha256sum command:
- sha256sum Anaconda3-2024.02-1-Linux-x86_64.sh
Step 3: Running the Installer
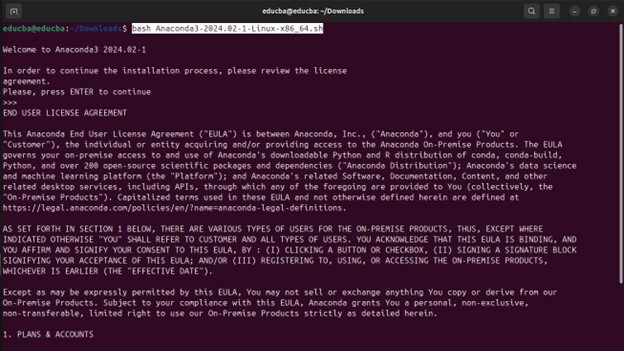
- Run the Installation Script: Execute the script by using the bash command:
- bash Anaconda3-2024.02-1-Linux-x86_64.sh
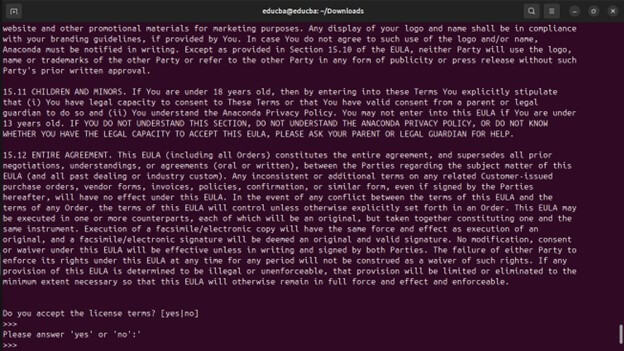
- Review the License Agreement: You must read through and approve the agreement to continue with the installation.
- Press Enter until you see “Do you accept the license terms?”
- Choose Installation Location: The installer will suggest a default location to install Anaconda. You can accept this by pressing Enter or specify a different location.
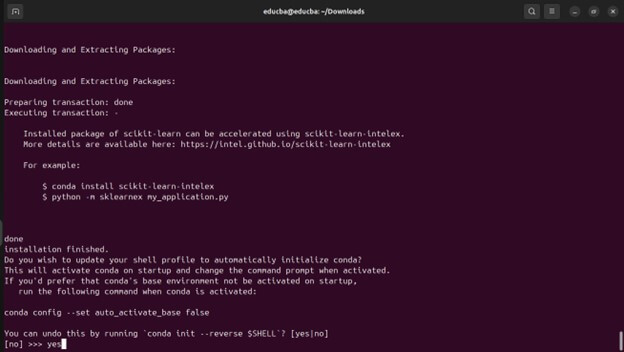
- After the installation, it will prompt you to run Conda whenever you open the terminal. You should type ‘yes’ to continue.
Step 4: Opening Anaconda Navigator
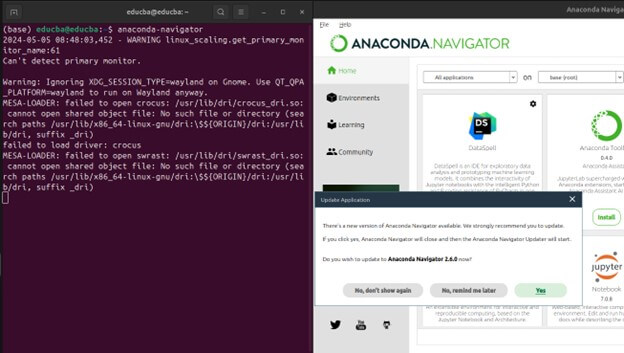
- After installation, you should reopen your terminal. After reopening the terminal, you should see (base) in your terminal prompt, indicating that the base Anaconda environment is active.
- To open Anaconda Navigator, run in the terminal:
- anaconda-navigator
Step 5: Setting Up the Environment
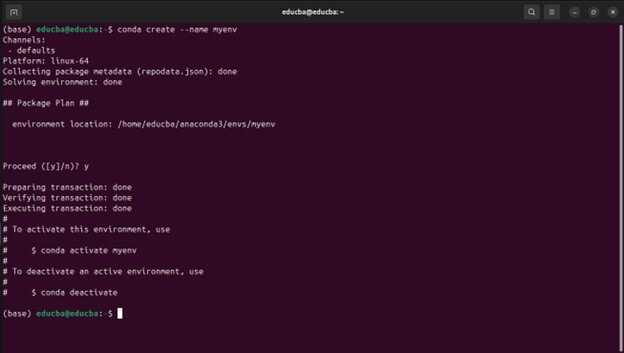
- To create a New Environment: Use the following command in your terminal:
- conda create –name myenv
- Replace myenv with the name you choose for your environment. This command creates a new environment without any installed packages.
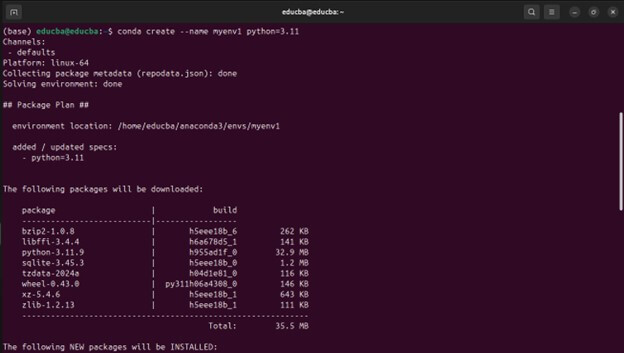
- Specify Python Version: If you need to set-up an environment with a particular Python version, you can do so by adding the Python argument:
- conda create –name myenv python=3.11
- Activate the Environment: To start using or managing the new environment, you need to activate it:
- conda activate myenv
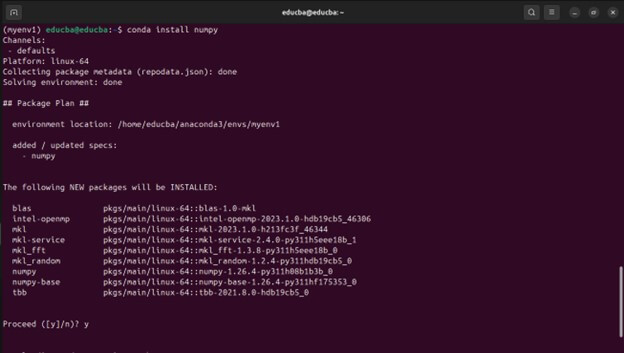
- Install Packages: With the environment activated, you can install packages using conda. For example, to install NumPy:
- conda install numpy
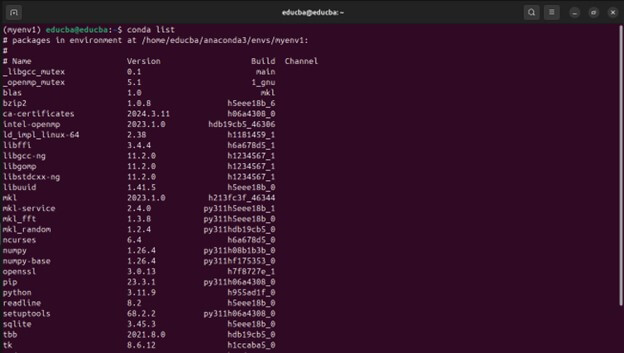
- List Installed Packages: Use the following command to view the installed packages in the active environment
- :conda list
- Deactivate the Environment: You can deactivate the environment when you finish.
- conda deactivate
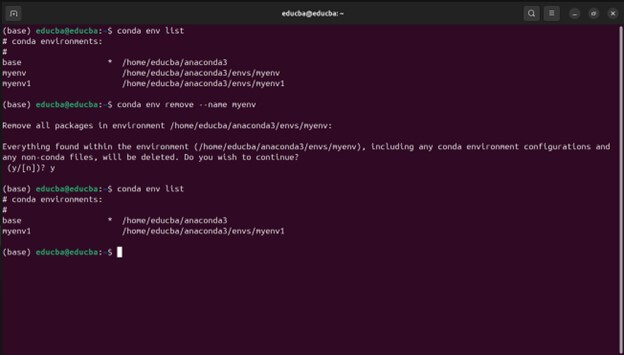
- Manage Environments: You can list all your environments with:
- conda env list
- Or remove an environment with:
- conda env remove –name myenv
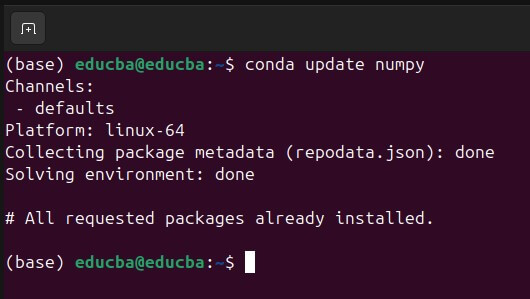
- Update Packages: To update a specific package, use:
- conda update numpy
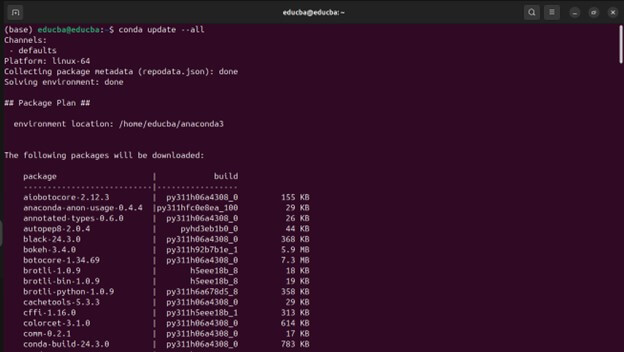
- Or update all packages in the environment with:
- conda update –all
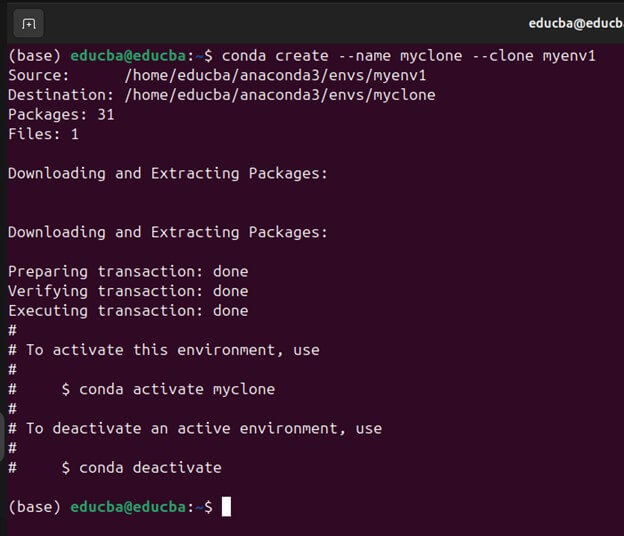
- Clone Environments: If you want to make a copy of an environment:
- conda create –name myclone –clone myenv
- It will create a new environment, myclone, that is a duplicate of myenv.
Step 6: Uninstalling Anaconda Navigator
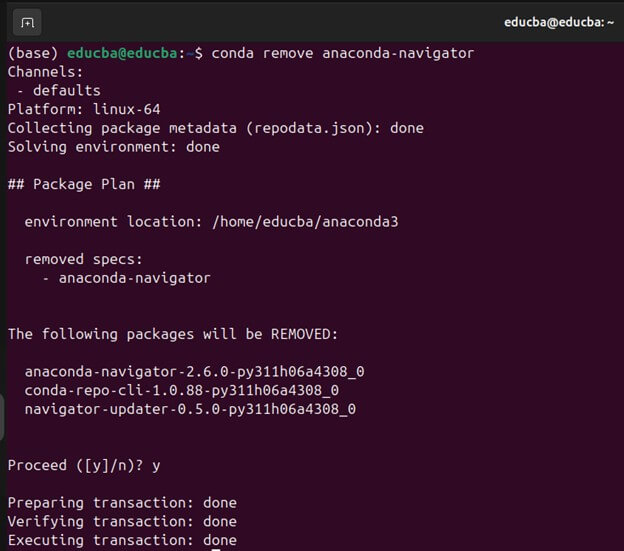
- Run the Uninstall Command: Use the following command to remove Anaconda Navigator:
- conda remove anaconda-navigator
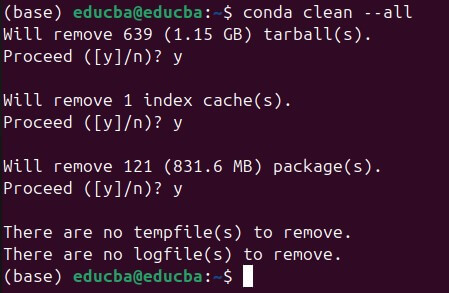
- Clean Up Conda: To remove any unused packages and cache after uninstalling Navigator, you can run the following:
- conda clean –all
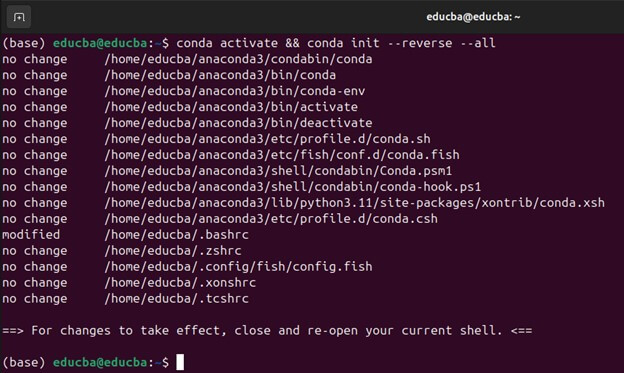
- To Remove Conda Initialization Scripts: Execute the following command:
- conda activate && conda init –reverse –all
- Clean Up Any Remaining Files: Execute the following command to remove the entire Anaconda directory:
- rm -rf anaconda3 && rm -rf ~/anaconda3 && sudo rm -rf ~/.conda ~/.continuum && sudo rm -rf /opt/anaconda3
Conclusion
Install Anaconda on Ubuntu provides developers a powerful platform for Python development, data science, and machine learning projects. By following the procedures in this guide, users can seamlessly set up Anaconda on their Ubuntu systems and leverage its vast collection of packages and tools. Anaconda simplifies package management, environment setup, and project collaboration, making it an indispensable tool for Python enthusiasts. With Anaconda installed, users can explore new possibilities in Python development, enhance their productivity, and confidently tackle complex computational challenges.
Frequently Asked Questions (FAQs)
Q1. What is the difference between Anaconda and Miniconda?
Answer: Anaconda is a full-fledged distribution of Python and its associated libraries optimized for data science and machine learning tasks. It comes with a large number of pre-installed packages and tools. Miniconda, on the other hand, is a minimal installer for Conda, the package manager from Anaconda. It allows users to install only the packages they need, making it lighter and more customizable.
Q2. Can I use Anaconda with other programming languages besides Python?
Answer: While Anaconda primarily focuses on Python,Other programming languages supported by it include R, Julia, Java, C++, and others through various packages. Users can install packages and environments for these languages using conda, the package manager from Anaconda.
Q3. Can I install Anaconda alongside existing Python installations?
Answer: Yes, you can install Anaconda alongside existing Python installations on your system. Anaconda manages its isolated environments so that it won’t interfere with other Python installations. However, it’s recommended to be cautious with environment variables and PATH configurations to ensure smooth interoperability between Anaconda and other Python installations.
Q4. I don’t see Anaconda Navigator after installation. Where is it?
Answer: The graphical user interface (GUI) that comes with Anaconda is called Anaconda Navigator. You can search for “Anaconda Navigator” in your terminal or open it from the applications menu.


