Introduction to Adobe Illustrator for Windows 8
Adobe Illustrator is a software that is used for drawings, creating artworks, illustrations, etc. and is the best vector graphics program software. It is maintained by Adobe Systems and is a part of Adobe Creative Cloud nowadays. The latest version of Adobe Illustrator software is CC 2019, released in October 2018. It is compatible with Windows 7 operating software, Windows 10 operating software, and macOS, but you can also use it in Windows 8 with the same features without any major issues. Working with an illustrator in windows 8 gives you a smooth working interface, and you can easily install illustrator in windows 8.
Installing Adobe Illustrator in Windows 8
The following steps will show you how to install Adobe Illustrator software in your Windows 8 operating system. For installing, you just have to follow the below process. Let’s start our article in a very interesting way.
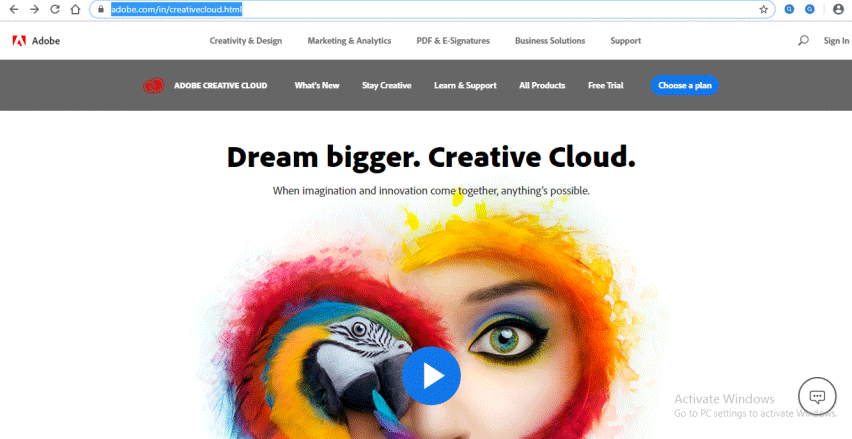
Step 1: Search for Creative Cloud on your URL or go to the link – https://www.adobe.com/in/creativecloud.html.
The Home page of Creative Cloud will be open. Creative Cloud is the package app of the adobe system.
Step 2: Now, for a free trial, click on the Free trial tab at the top of the web screen.
Or click on the All Products tab on top of the web screen to see the products of the creative cloud.
Step 3: Now scroll down to search Ai Illustrator (Adobe Illustrator) if it is not visible to you on the web screen.
Step 4: Here are two methods of installation. You can download the trial version for your learning or Buy the full version of a product for business purposes. You can choose any one of them according to your comfort.
Step 5: I will click on the Download trial option so that I can analyze this software whether it is good for me or not, and then after the trial version, I will buy the full version.
Step 6: Now, it will ask you to Create an Account or Sign In if you already have an illustrator account, or you can connect it with your Facebook account or with your Google account. Whatever you want, you can use it for registering with a creative cloud suit.
Step 7: To create an account, click on the Create Account button with the mouse’s left button. A dialog box of account creation will be open; fill in your details and click on Create account tab of this dialog box to create an account with a creative cloud.
Step 8: Now, when you Sign In here, it will ask you for a phone number which is optional. Click on Not now if you do not want to share your mobile number.
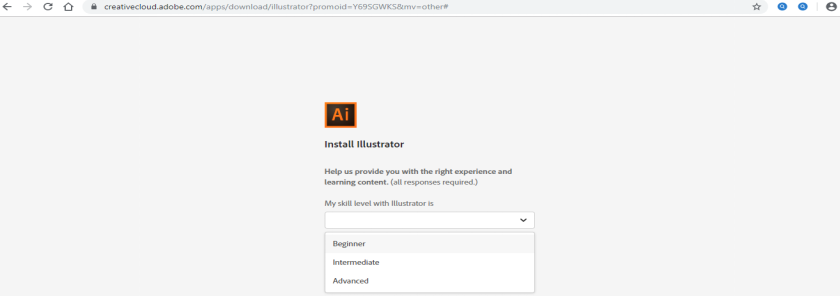
Step 9: Now, it will ask you about your skill of illustrator, whether it is Beginner, Intermediate or Advanced. Choose it according to your skill level. Click on the Continue tab for the next step.
Step 10: It will show some messages and ask you Open the Creative Cloud Desktop App to install an illustrator. Click Ok on this tab.
Or Click on the Cancel tab to cancel and click on the Creative Cloud tab a the upper left corner of the web screen.
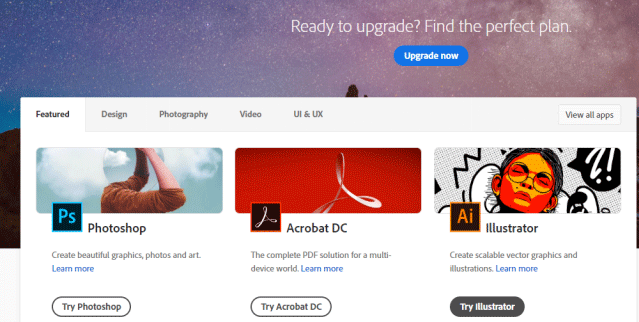
Step 11: Now, the Home screen of the Creative Cloud app will be open on the web. Click on the Try illustrator option of illustrator software.
Step 12: Now, it will show you two options that are Try Older Version or Buy. You can choose any one of them. I will click on Try Older Version for a free trial.
Step 13: It will again ask Open Creative Cloud Desktop App.
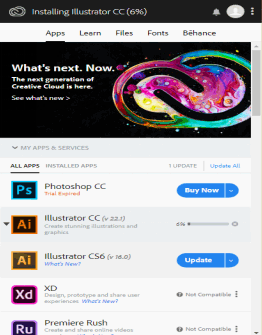
Step 14: Now, an installation dialog box will open. Here you can see all versions of an illustrator is available in the creative cloud app. You can choose any one of them according to you. I will install an Illustrator CC version.
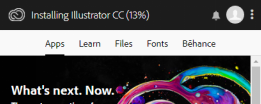
Step 15: The download speed of illustrator software will depend on your internet speed, and it will show you from time to time how much percentages of downloading has been done. It will take some time for the completion of downloading.
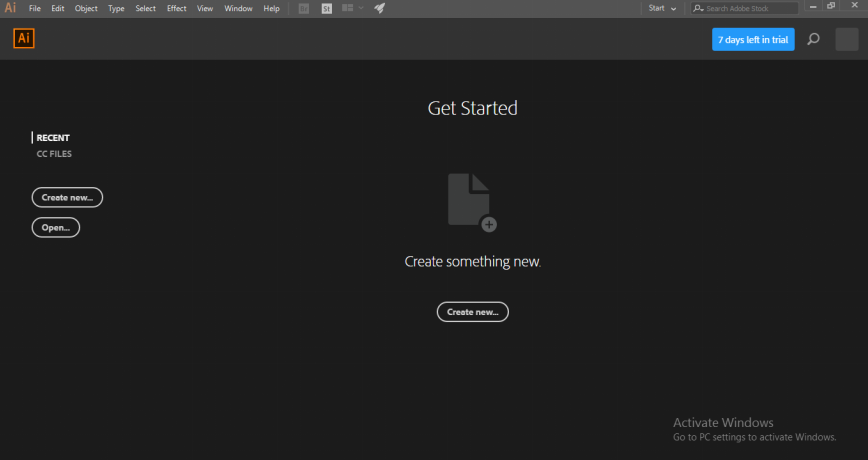
Step 16: Now, when the downloading is completed, it will show a dialog box. Here it will show you days of trial that means you can use this free version for a limited time. Now click on the Continue Trial button of this dialog box for installation of the free version on your pc or laptop.
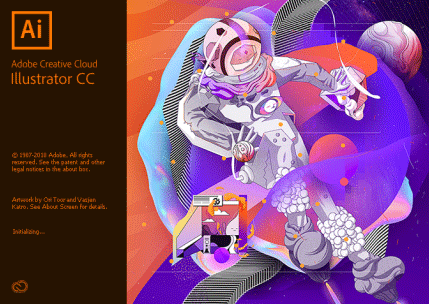
Step 17: Now, the installation of adobe illustrator software will begin.
And when the installation is completed, your trial version will be opened.
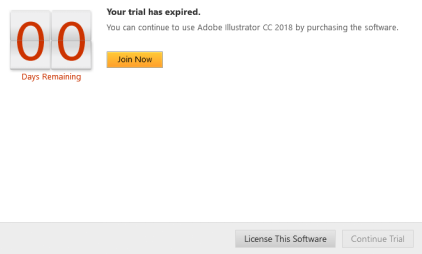
Step 18: But when you have been used the trial version, it will show you ‘Your trial has been expired’. Then go with License This Software option.
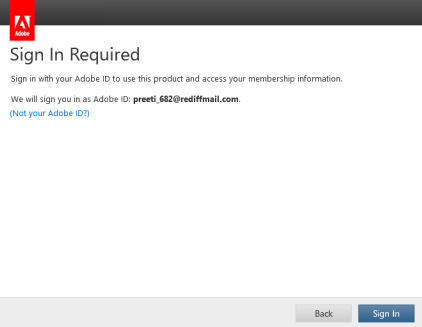
Step 19: It will ask you to Sign In again if you logged out from creative cloud suit.
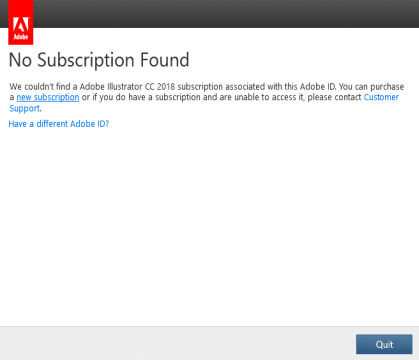
Step 20: Now, if you want to purchase a new one. Click on the new Subscription option of the open dialog box.
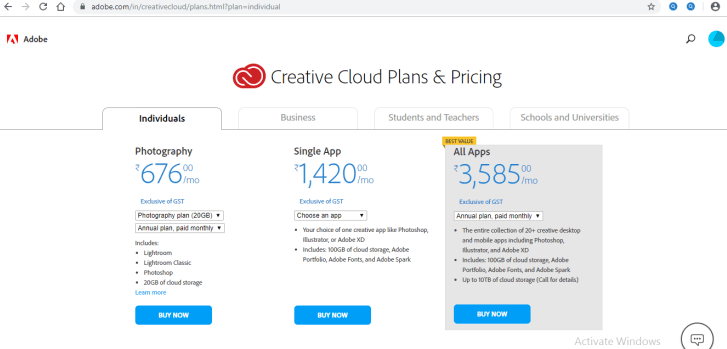
Step 21: It will show you payment packages for different purposes. You can choose any one of them and get your full version of adobe illustrator after some payment processes.
Pre-requisites for Installing Adobe Illustrator
- We need Intel Pentium 4 or AMD Athlon 64 processor.
- We need 1 GB and 2 GB RAM for 32 bit and 64 bit respectively.
- For using Illustrator in HiDPI mode, a monitor must support 1920 x 1080 resolution or more.
- For using the new Touch workspace feature of illustrator, you should have a touch screen enabled tablet or monitor of operating system Windows 8 or Windows 10.
- NVIDIA Quadro K Series, NVIDIA Quadro 6xxx, NVIDIA Quadro 5xxx, NVIDIA Quadro 4xxx, NVIDIA Quadro 2xxx etc. are some video adapter which is compatible in illustrator.
Some other pre-requisites and features are also available in an illustrator; you will get familiar with them after having command on it.
Conclusion
Here in this article, you can see adobe illustrator software versions are also compatible with windows 8 operating software. It can easily be installed in the windows 8 operating system in a simple manner by following the steps given in our article. You can enjoy the illustrator’s any version in windows 8 operating software after installation of that version.
Recommended Articles
This is a guide to Adobe Illustrator for Windows 8. Here we discuss the introduction along with steps for installation of adobe illustrator in windows 8. You may also look at the following articles to learn more –
