Introduction to Affinity Photo Presets
Affinity Photo Presets can understand as making different types of manipulation in our photos by making some adjustments. We use these presets for doing color correction in our images, improving skin tones of images, providing a different look to the selected images, and so on. There is a number of the adjustment layer in Adjustment layer panel of this software and we can create presets for any of them by just going through few simple steps. You can also use external presets by going through a few more steps. So let us have an overview of Affinity Photo presets so that we can have a good idea about this topic.
Overview of affinity photo presets
Before we go through a deep discussion of affinity photo presets let us have an overview presets of it so that we can have a good understanding of them.
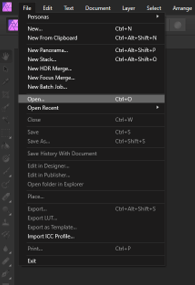
For presets let us have an image here in this software and for that go to the File menu and click on the Open option of the dropdown list of it.
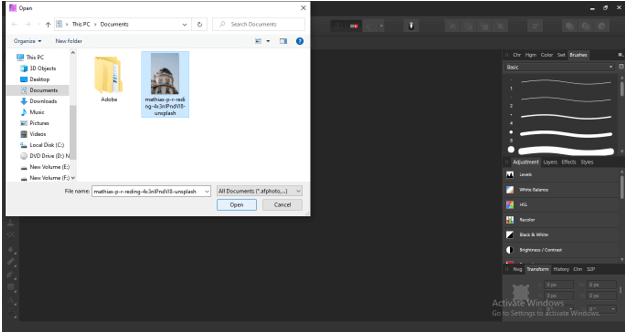
I will choose this image from the opened dialog box. You can go on your own one.
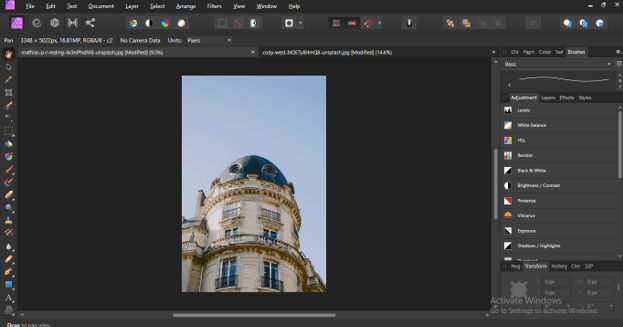
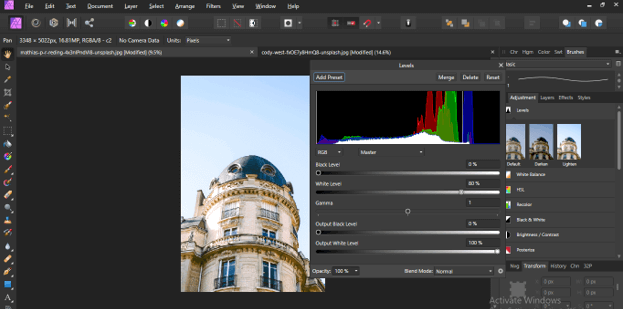
This image will open like this. Here at the right side of the working window, we have an Adjustment panel. In the Adjustment panel, we have a number of adjustment layers such as Levels, White Balance, HSL, and so on.
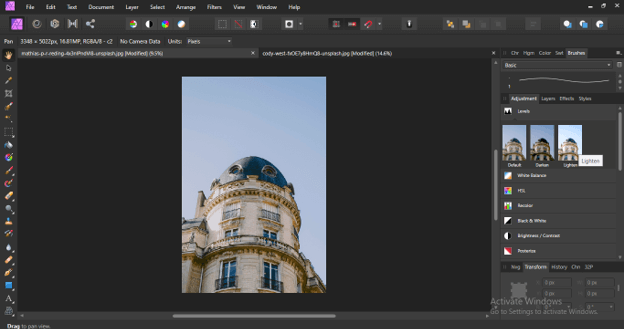
Now click any of the adjustment layers and once you click on it you will see there are some presets of that adjustment layer. You can use any of the saved presets from the list with just one click.
Once you click on any preset a parameters’ settings box of that preset will be open in which you can make further changes as per your choice.
Use LUT presets
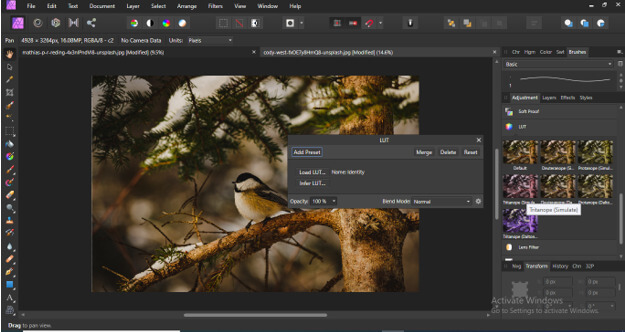
LUT is a type of preset through which we can use some other presets that we have downloaded from the internet. LUT presets automatically adjust the parameters of the image to give that image totally different look.
Now for loading any LUT click on the Load button of opened LUT dialog box.
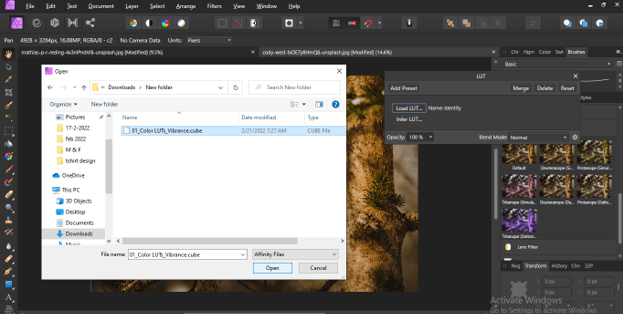
Once you click on it a dialog box will open for choosing your downloaded LUT file from its saved location. Currently, I have only one LUT preset here so I will click on it to choose it.
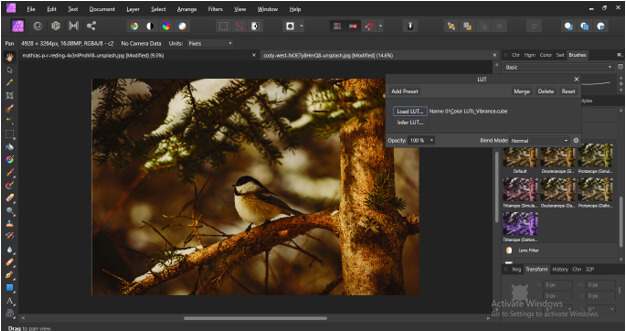
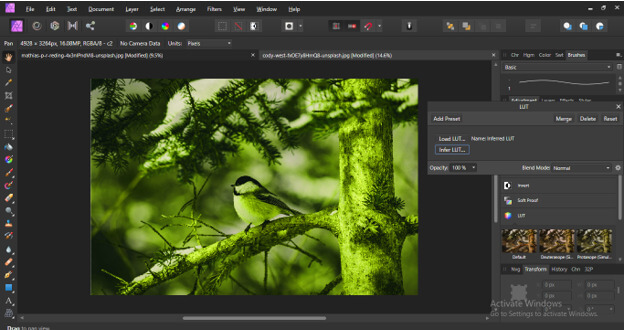
Once you click on the Open button of the dialog box your chosen LUTs preset will apply to your selected image layer. You can see the change here.
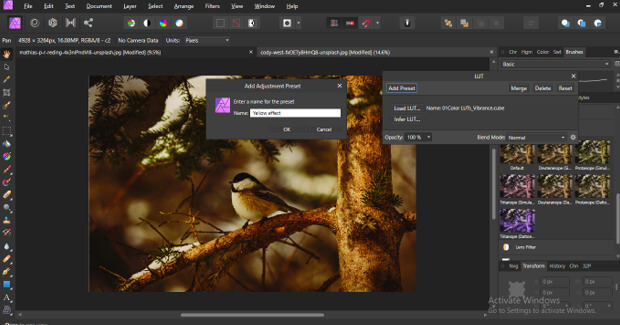
If you want, you can save these LUTs present in the LUTs panel of the Adjustment panel section, and for that click on Add Preset button of the LUT dialog box. Once you click on this button a new dialog box will open for saving your chosen preset. Here name it as per your choice. I will name it ‘Yellow Effect’ and click on the Ok button of this Add Adjustment Preset dialog box.
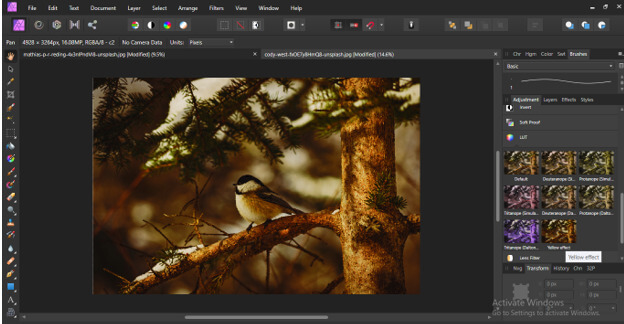
Now you can find your saved preset in the LUT panel of the Adjustment Layer with your saved name.
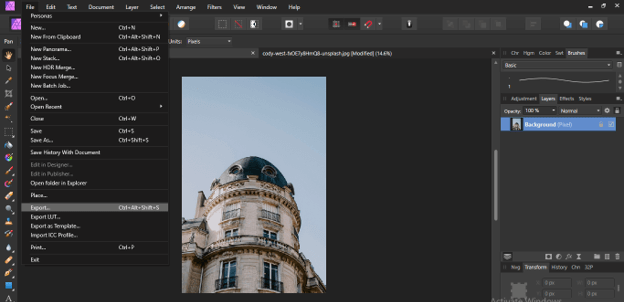
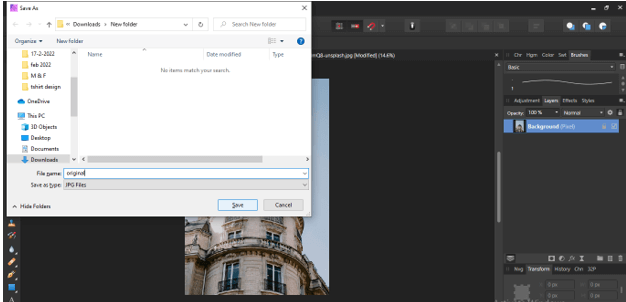
Now let us understand Infer LUTs option of the LUT dialog box and for that, I have taken this image from the internet and I will save it as jpge with its original parameters. For saving this image go to the File menu of the menu bar and click on it. Choose the Export option from the drop-down list or you can use its short cut key which is Ctrl + Alt + Shift + S.
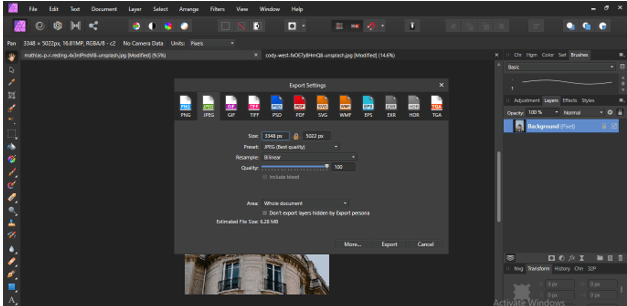
Now an Export Settings dialog box will be open. Choose here JPEG settings and click on the Export button of this dialog box.
A dialog box will open for choosing its saving location. I will save it here and name it as Original.
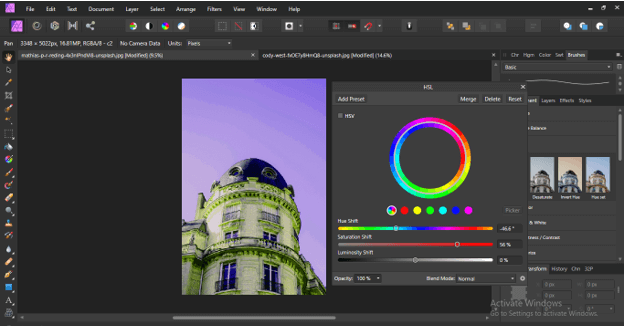
Now I will make some color correction in the image like this.
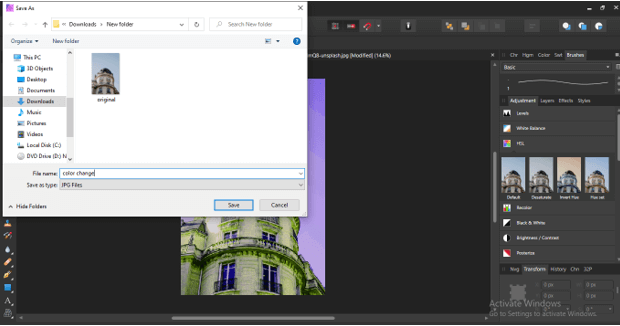
Then save it in the same way as we have saved the original image. I will save it by the name ‘Color Change’.
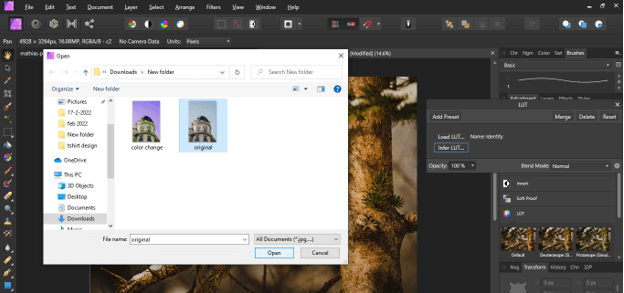
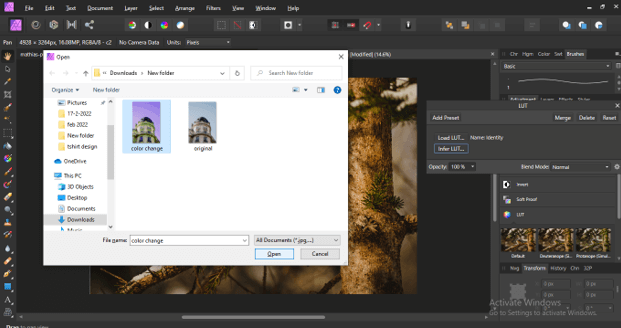
Now again open LUT dialog box and click on Infer LUT button of this dialog box. Once click on this button a dialog box will be open. Go to save location of your images and choose Original image first.
Once you choose the original image it will automatically open again. Now choose that image that has a color correction or any other changes.
And you will see that all changes of chosen LUT will apply to your selected image.
How to create affinity photo presets?
You can create your own presets if you want apart from using the pre-installed preset of this software. You can create a preset for any of the layers of the Adjustment panel. Let us do this for one adjustment layer.
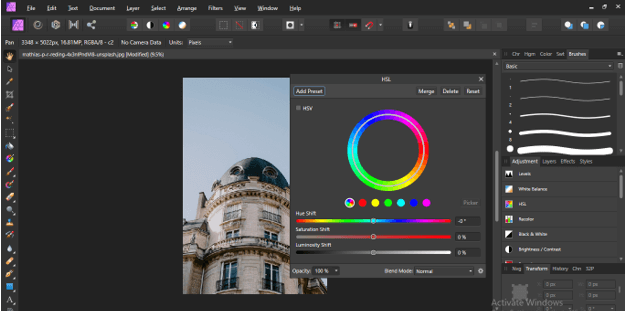
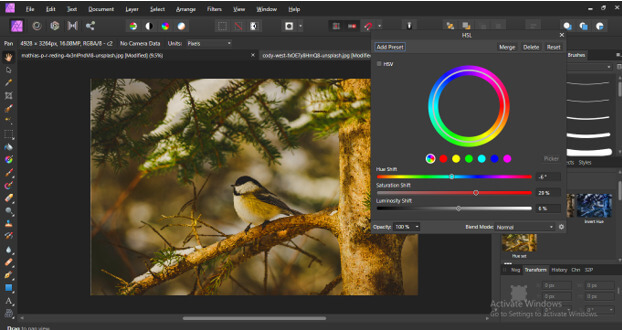
I will make some changes in the HSL of this image and for that, I will click on the HSL adjustment layer. Once I will click on it parameters’ settings box it will open.
I will make changes in Hue as well as the Saturation of this image from the parameters box of it.
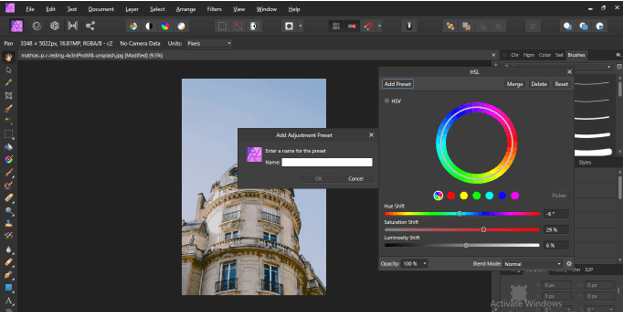
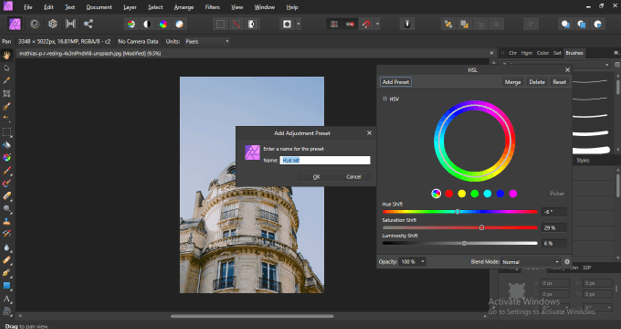
Now here at the top left corner of this dialog box, there is a button ‘Add Preset’ so click on it for saving it. Once you click on it an ‘Add Adjustment Layer’ box will be open.
Name your preset as per your choice. I will name it as Hue set.
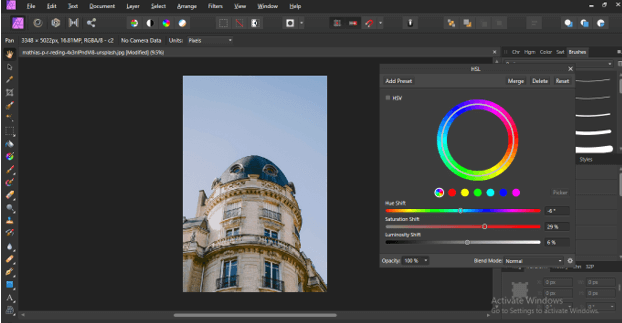
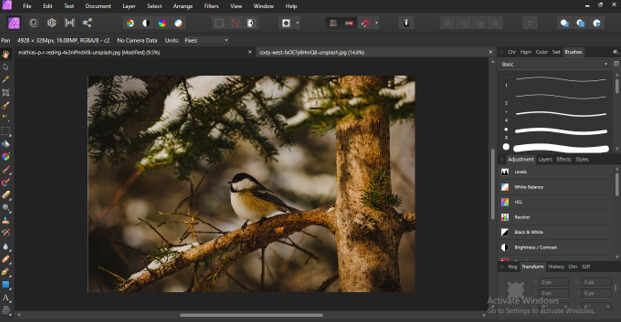
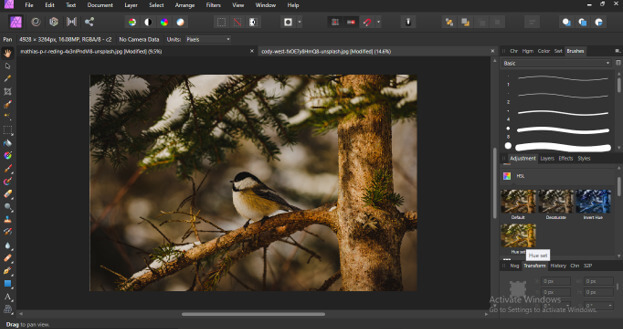
Now let us open another image and we will apply our saved preset here on this image. We have saved preset for HSL so we will find it in the preset list of HSL adjustment layers. So go to the Adjustment layer panel and click on the HSL layer.
You can see we have our preset here. Click on it to apply it to the selected image.
Once you make click on it you will also have a parameters’ settings box through which you can make a further changes if you are not satisfied with the applied preset.
Conclusion
Now I am sure that you have gathered lots of information from this article and you can use presets of this software as well as create your own one as per your choice by going through any of the adjustment layers. I will suggest you try each one for better understanding.
Recommended Articles
This is a guide to Affinity Photo Presets. Here we discuss the Introduction, overviews, Use LUT presets, How to create affinity photo presets, examples with code implementation. You may also look at the following articles to learn more-

