Updated August 28, 2023
Introduction to After Effect Font Theme
Fonts in after effects are different types of styles with an additional effect for typing our text. We can create a font theme in after effect according to our own idea by just using some plugins and features of this software. You can make an effective font theme for your project purpose and animate it by managing some parameters of the font manager of after effect. For creating a font with our own idea, we must have a font manager installed on our computer to manage the font’s parameters. We will use one more thing for this purpose that is the Saber plugin. It will add more style to our font theme. So for learning about this topic, let us start our discussion.
How to Create and use Font Theme in After Effects?
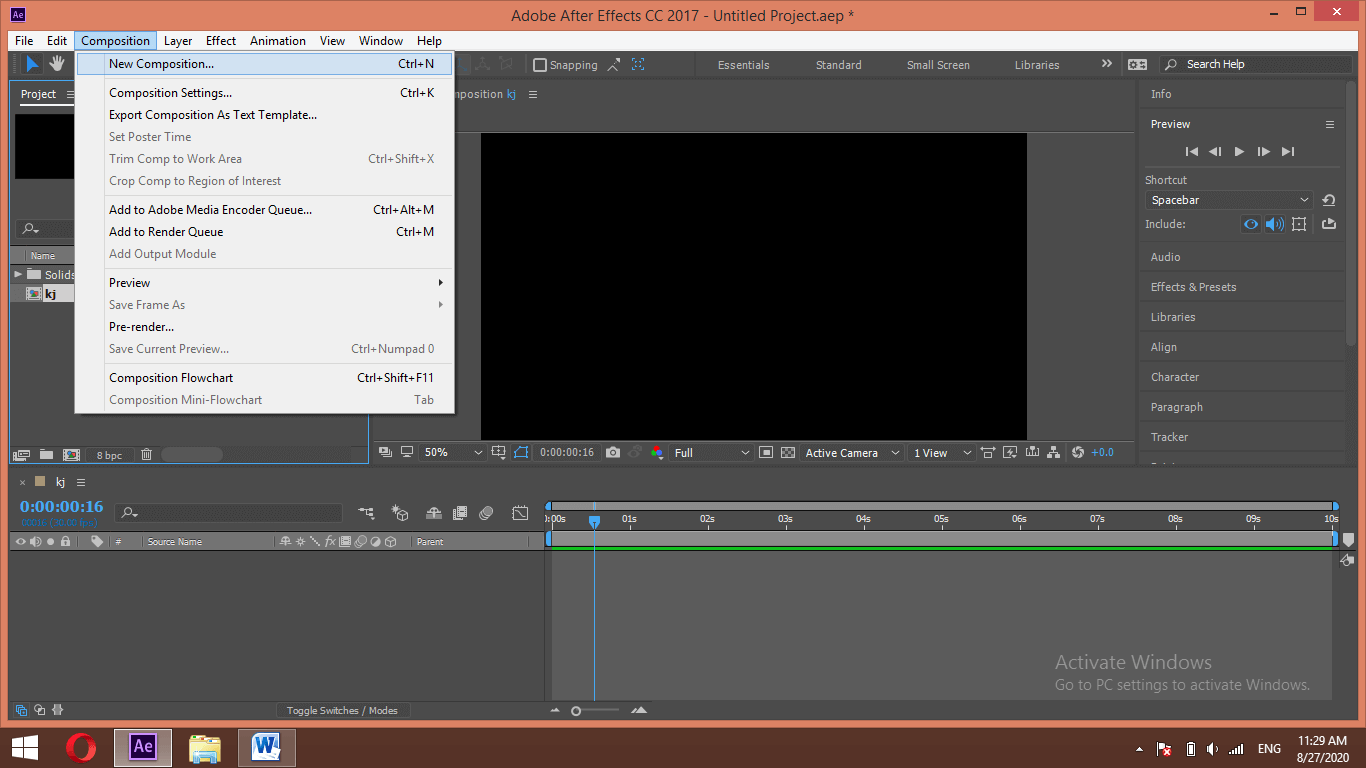
We can create a Font theme in after effect by just following some simple steps and using some important features as well as a plugin. Now let us have a new composition for our learning. For new composition, go to the composition menu of the menu bar and click on it. Choose the ‘New Composition’ option from the drop-down list.
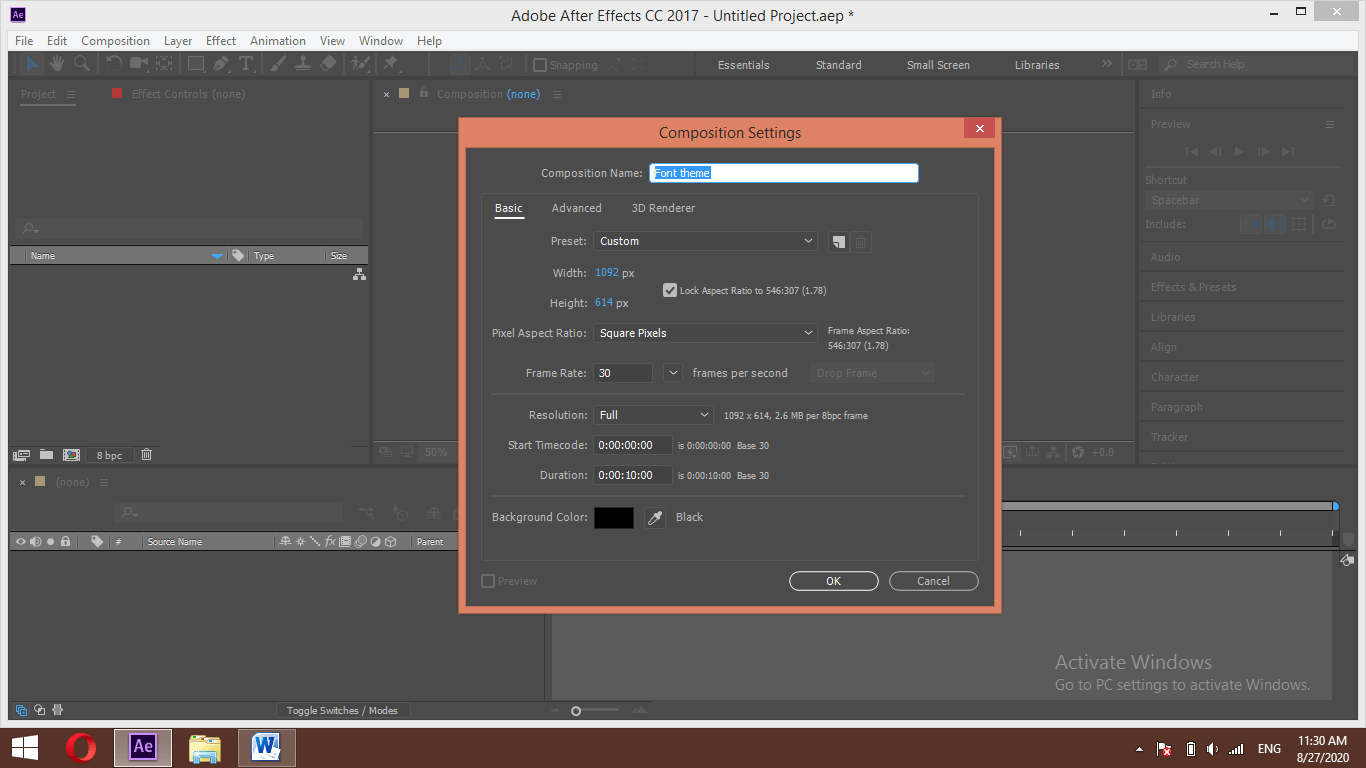
A new composition box will be open. Make your desired settings, then hit the Ok button of this box.
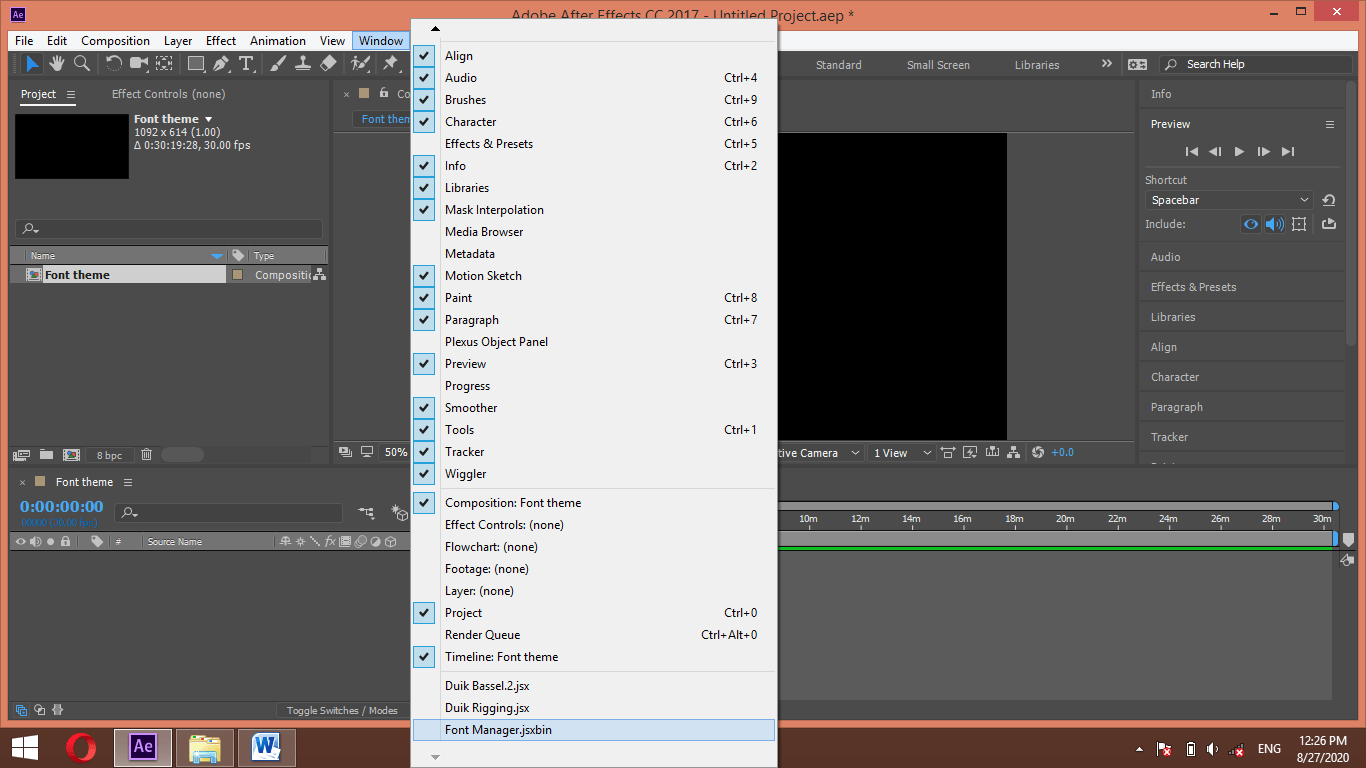
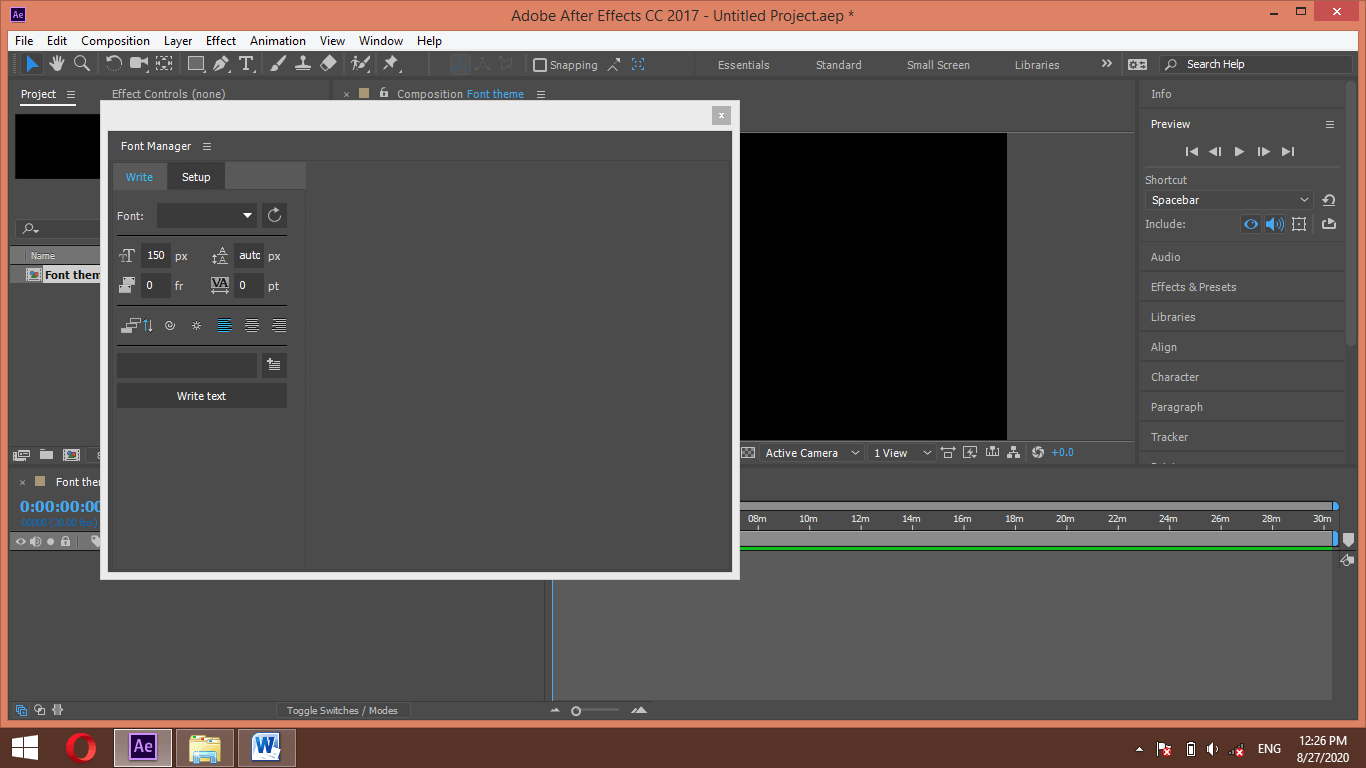
Now go to the Window menu of the menu bar and click on it. Choose Font Manager Option from the drop-down list. If you do have not Font Manager, then download it from the internet.
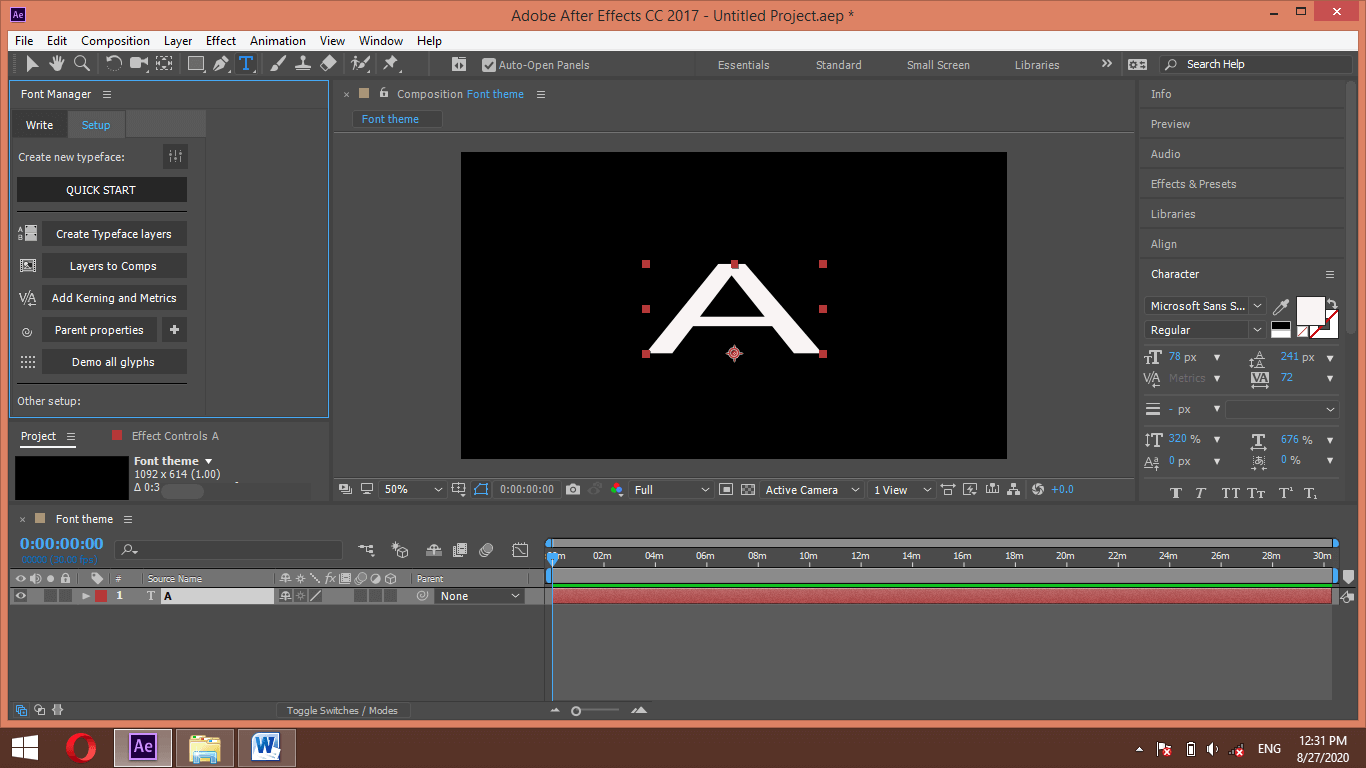
You will find this type of Font Manager dialog box on your screen.
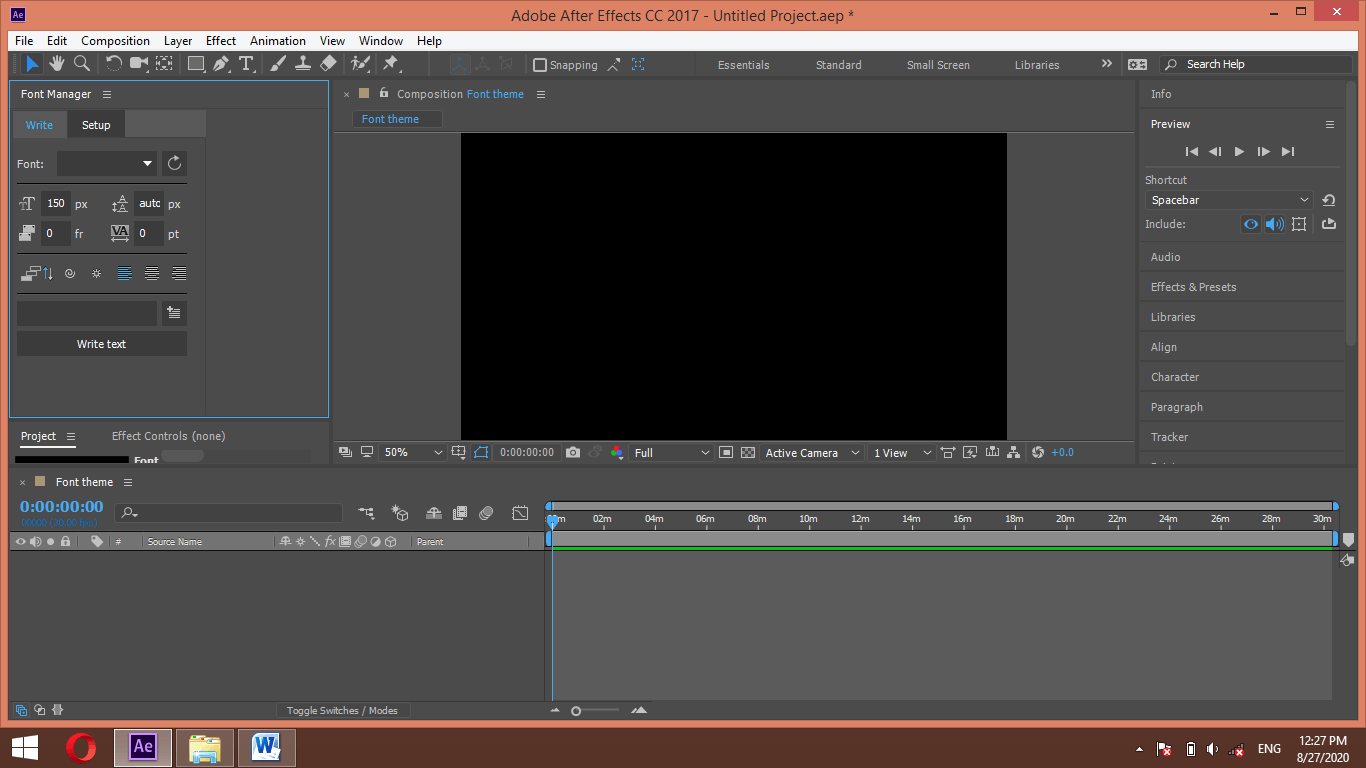
Place this box at your desired place on your working screen. I will place it here.
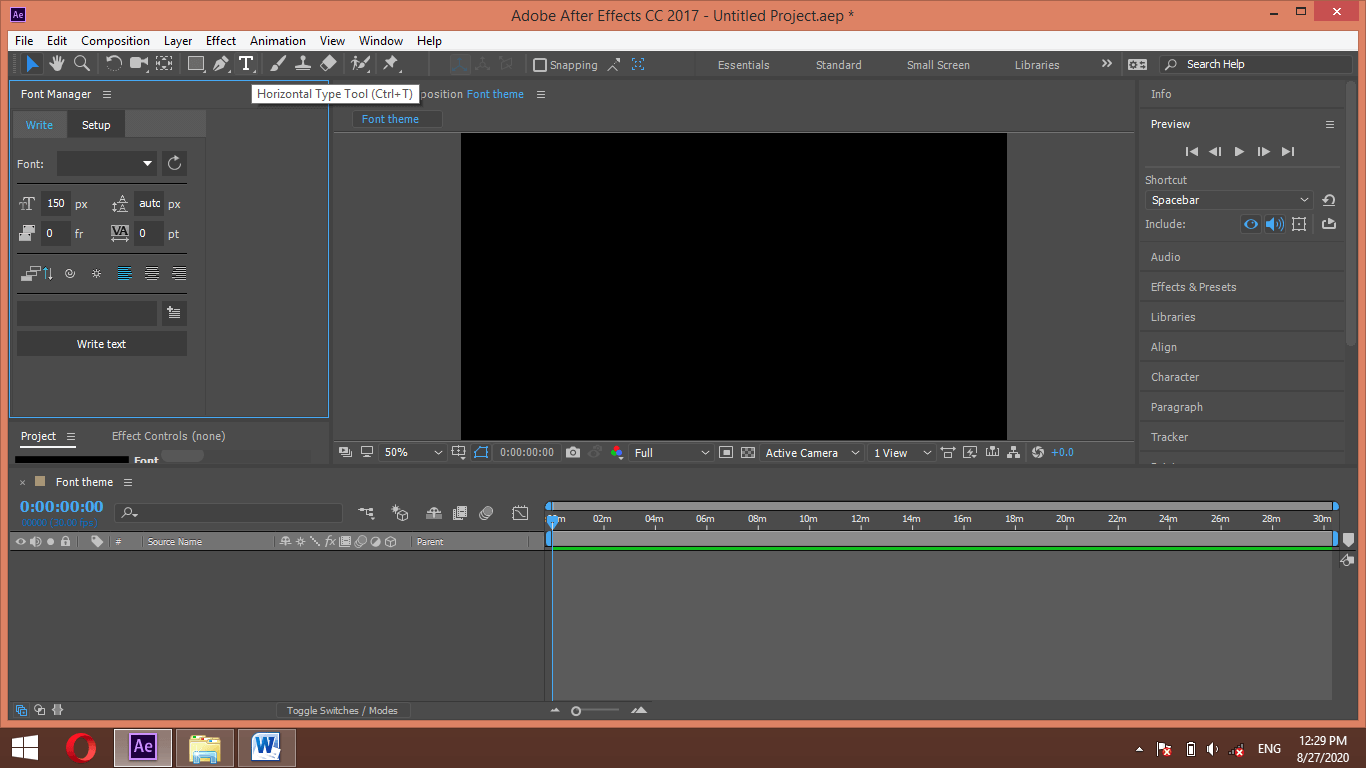
Now take the text tool from the tool panel.
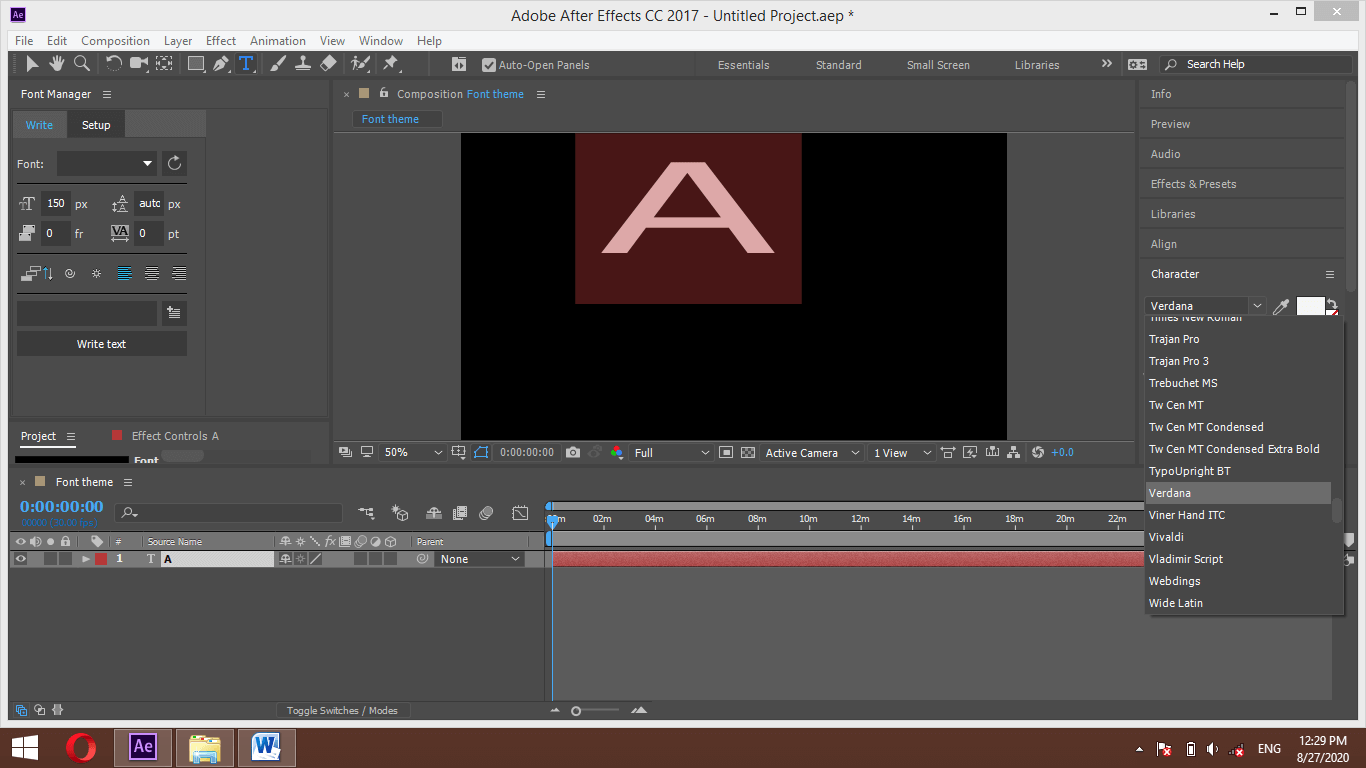
Set your desired font style from the text box and type a letter.
Align it at the center of the composition window by using the align tab of the parameters’ section of this software.
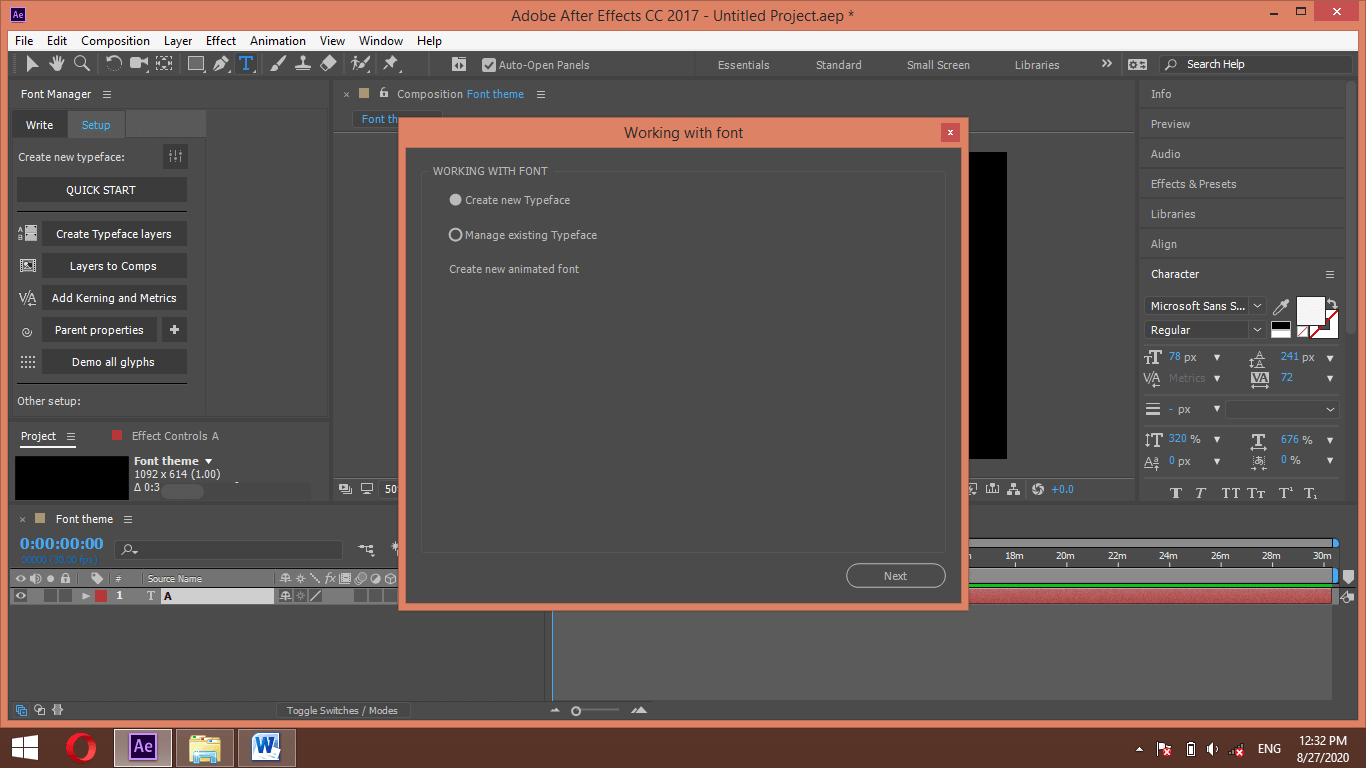
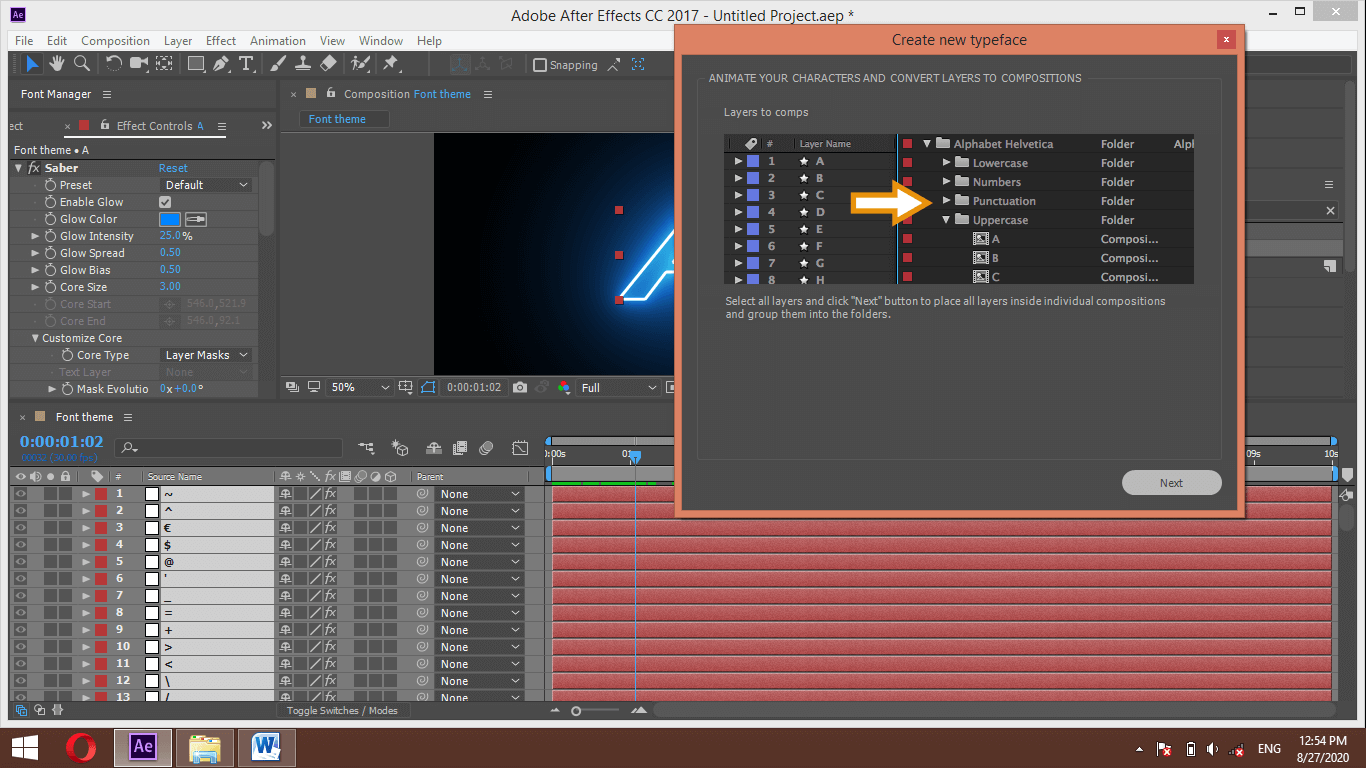
Now go to the Font manager’s tab and click on the Setup tab, then click on the QuickStart option of this tab. A dialog box will open like this. First, select the ‘Create new Typeface’ option, then hit the Next button of this box.
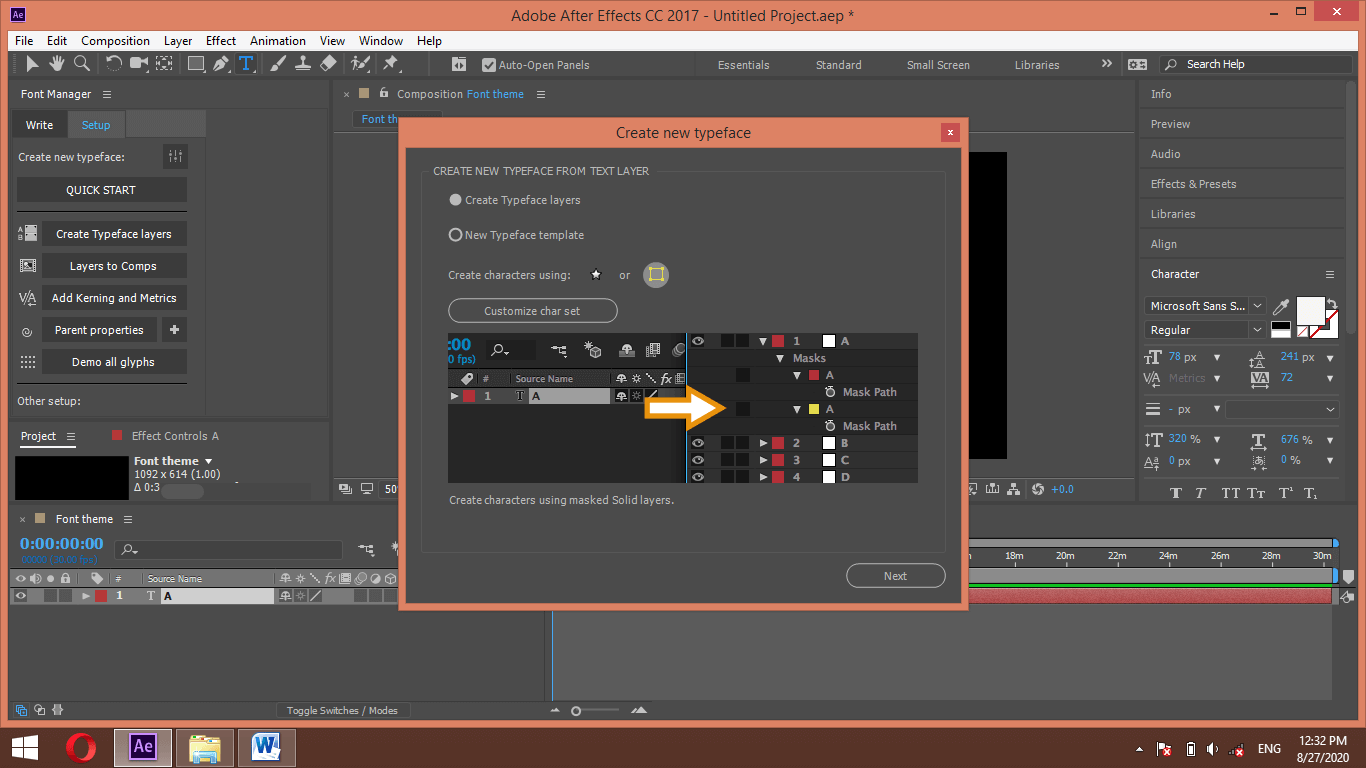
Select the solid layer option in the ‘Create characters using’ option of this next box, then hit the Next button of this box.
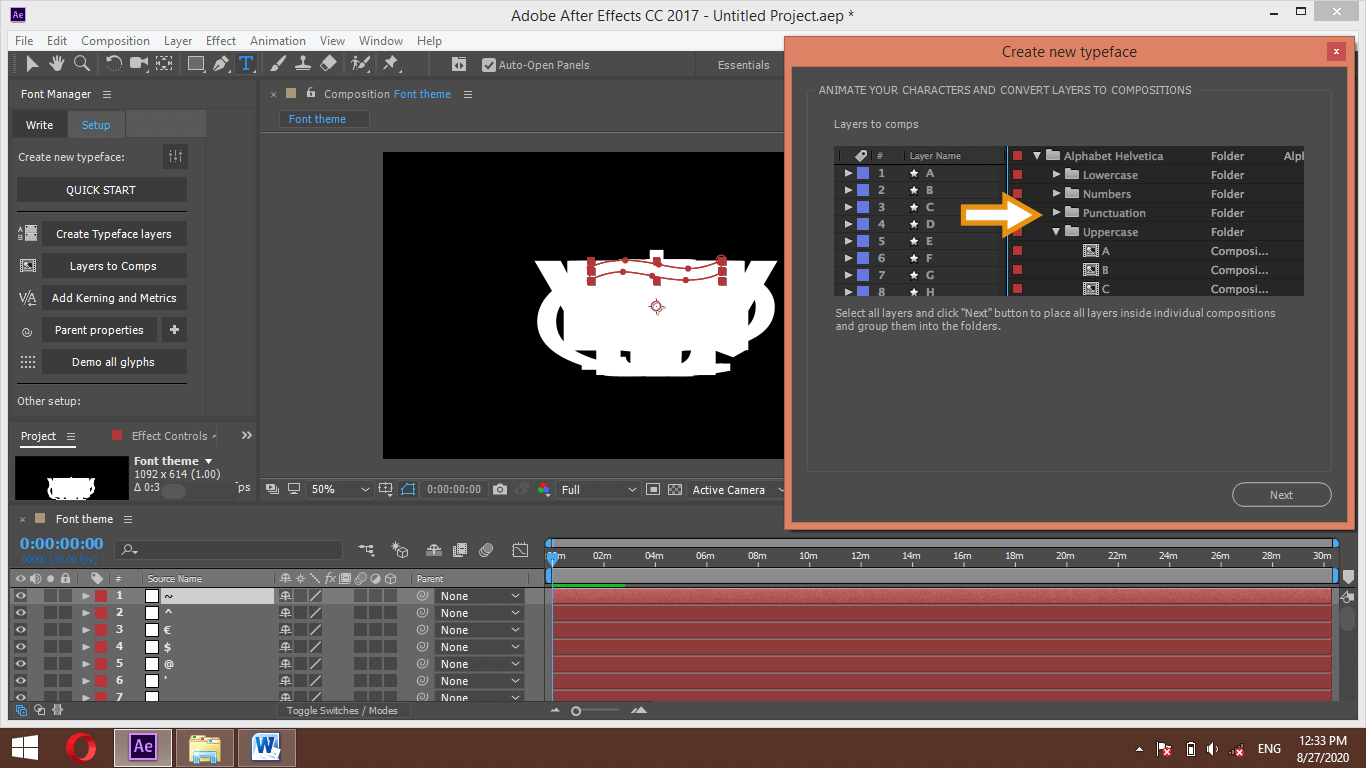
It will take few seconds for creating a layer of different forms of text such as symbols, numeric, alphabetic fonts. All layers will create like this.
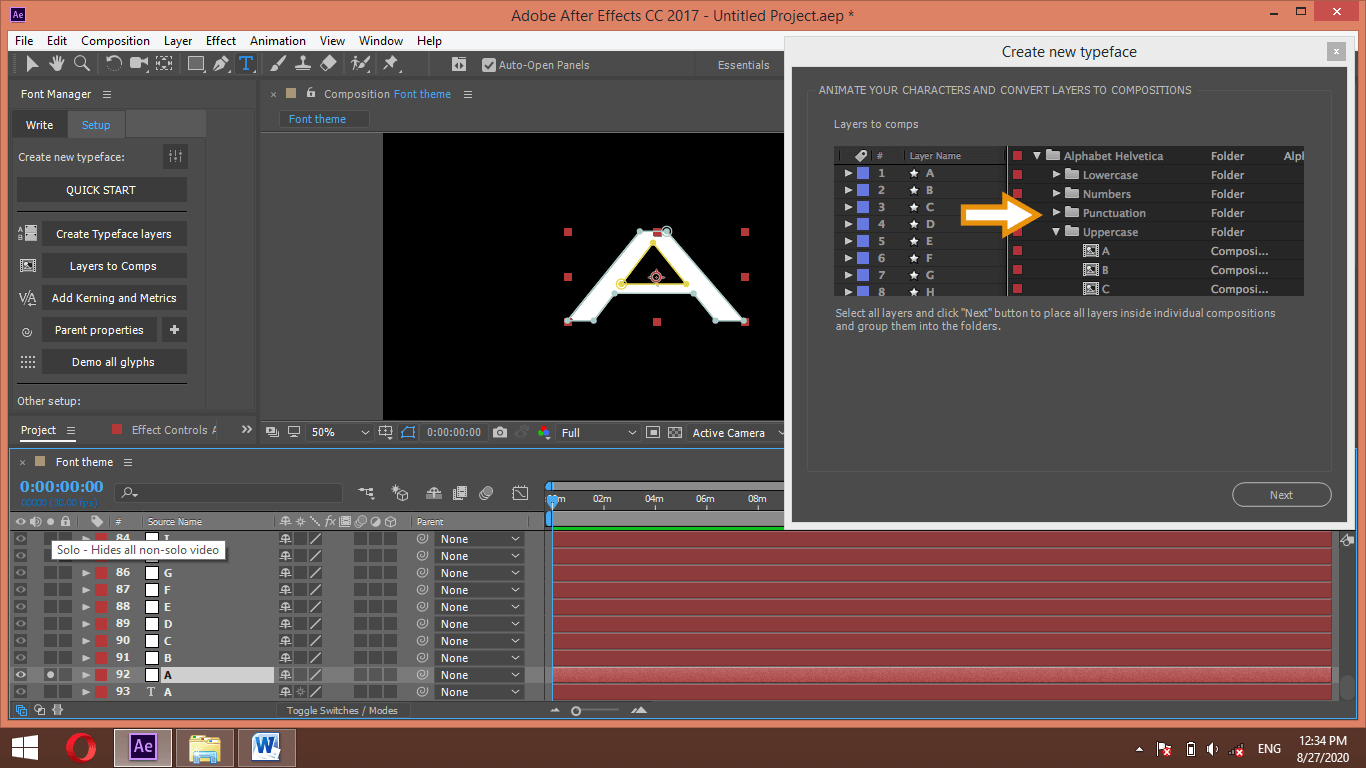
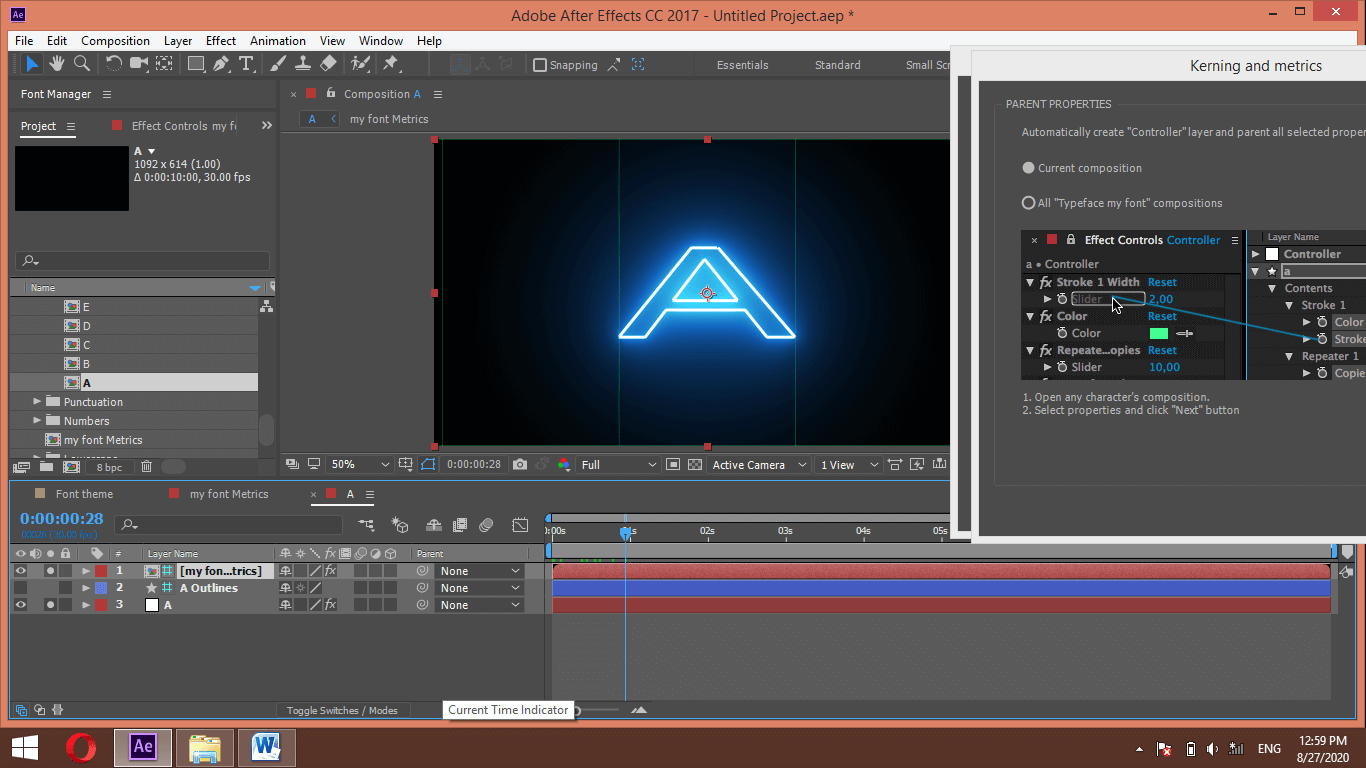
Now select the layer of letter A and click on the solo button of this layer for animating it solo.
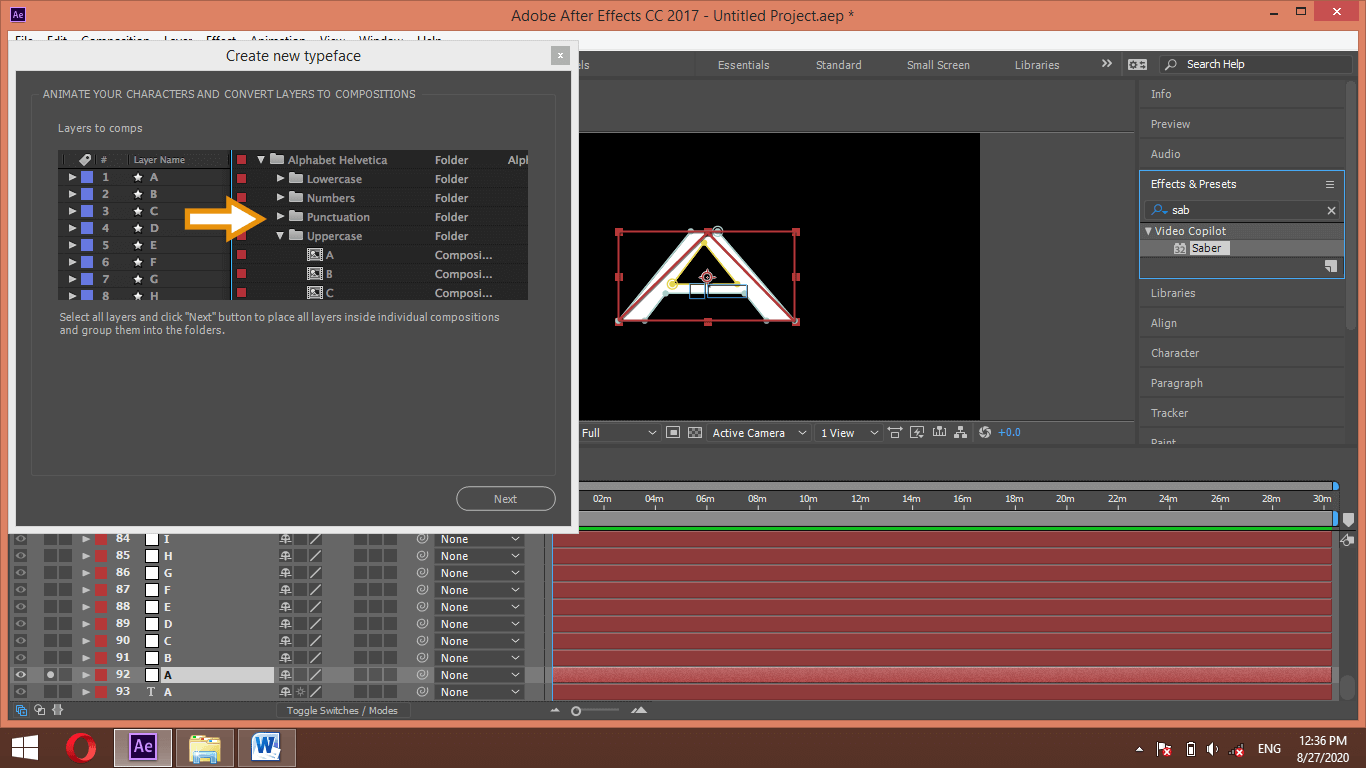
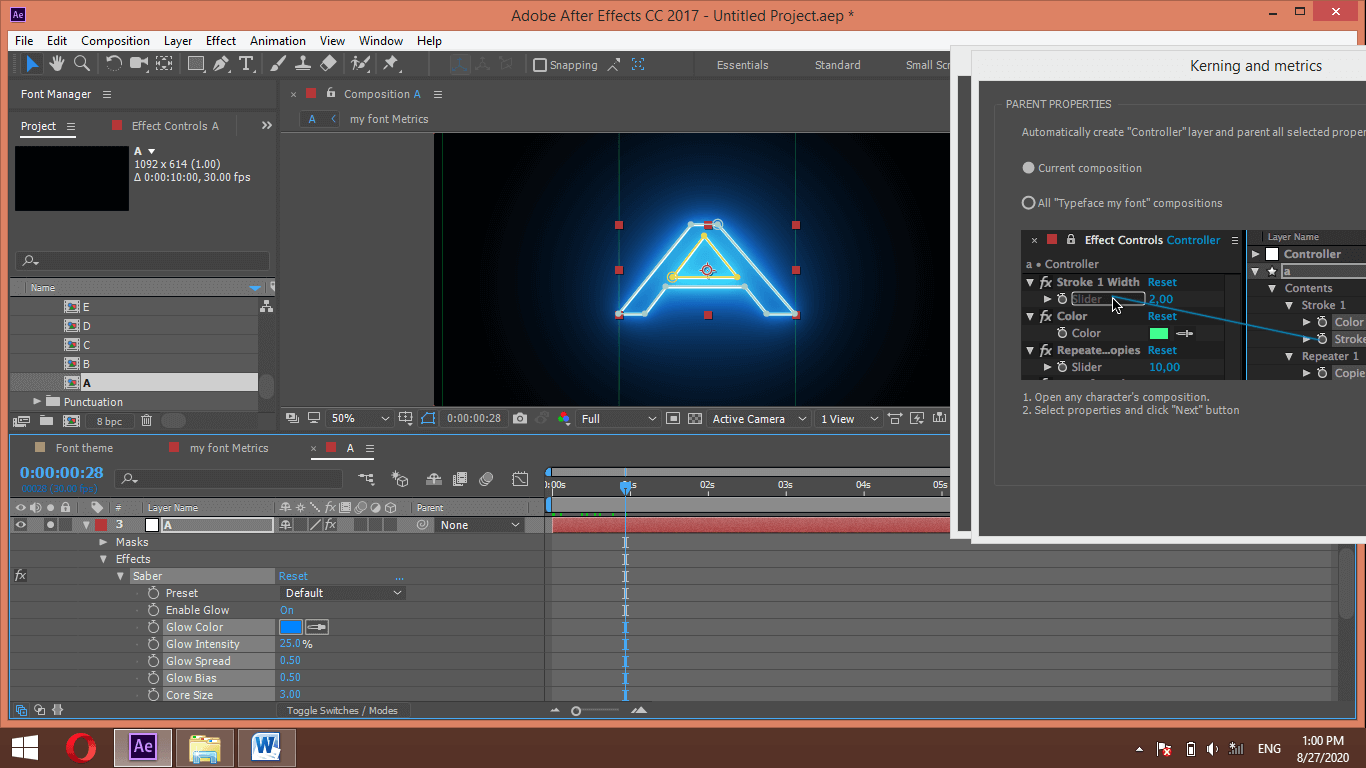
Now go to the Effects & Presets tab of the Parameters’ section and search for the Saber plugin. Now drag this effect to the letter A layer.
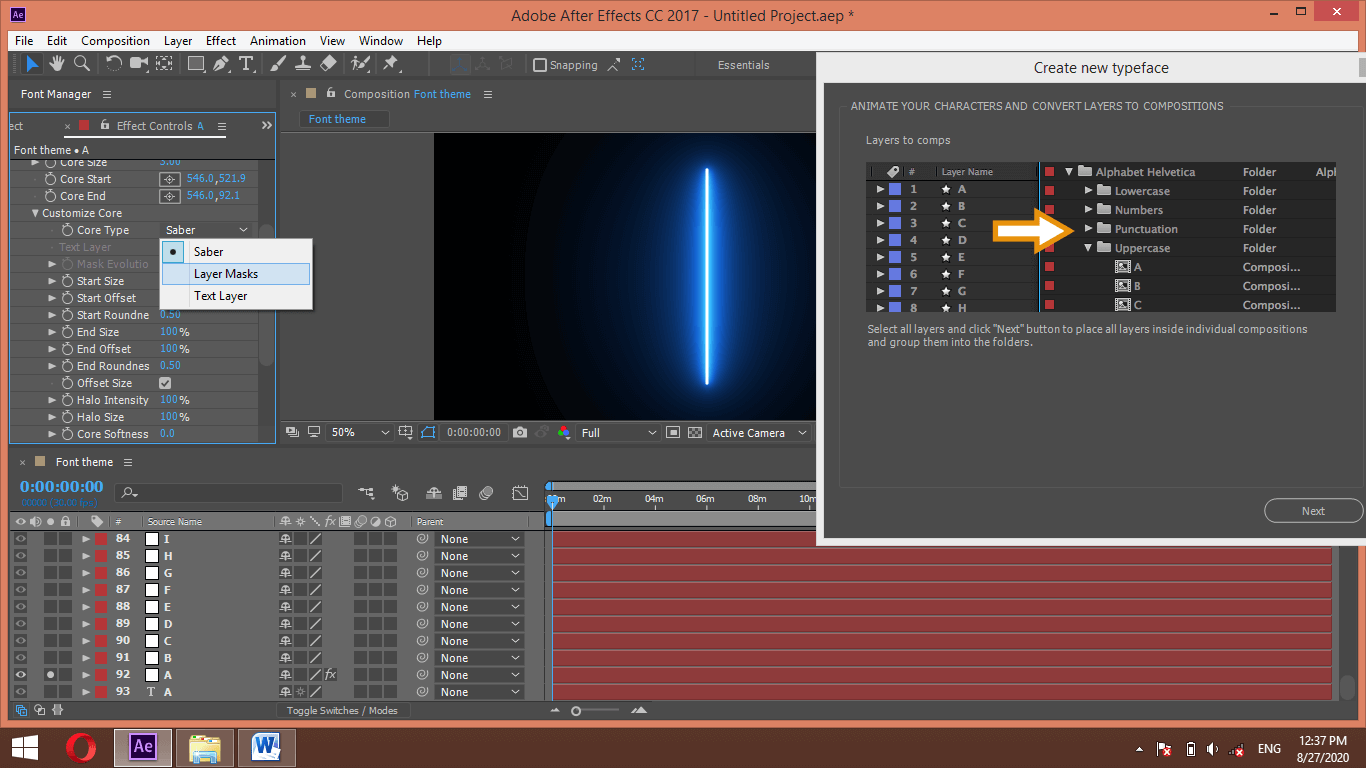
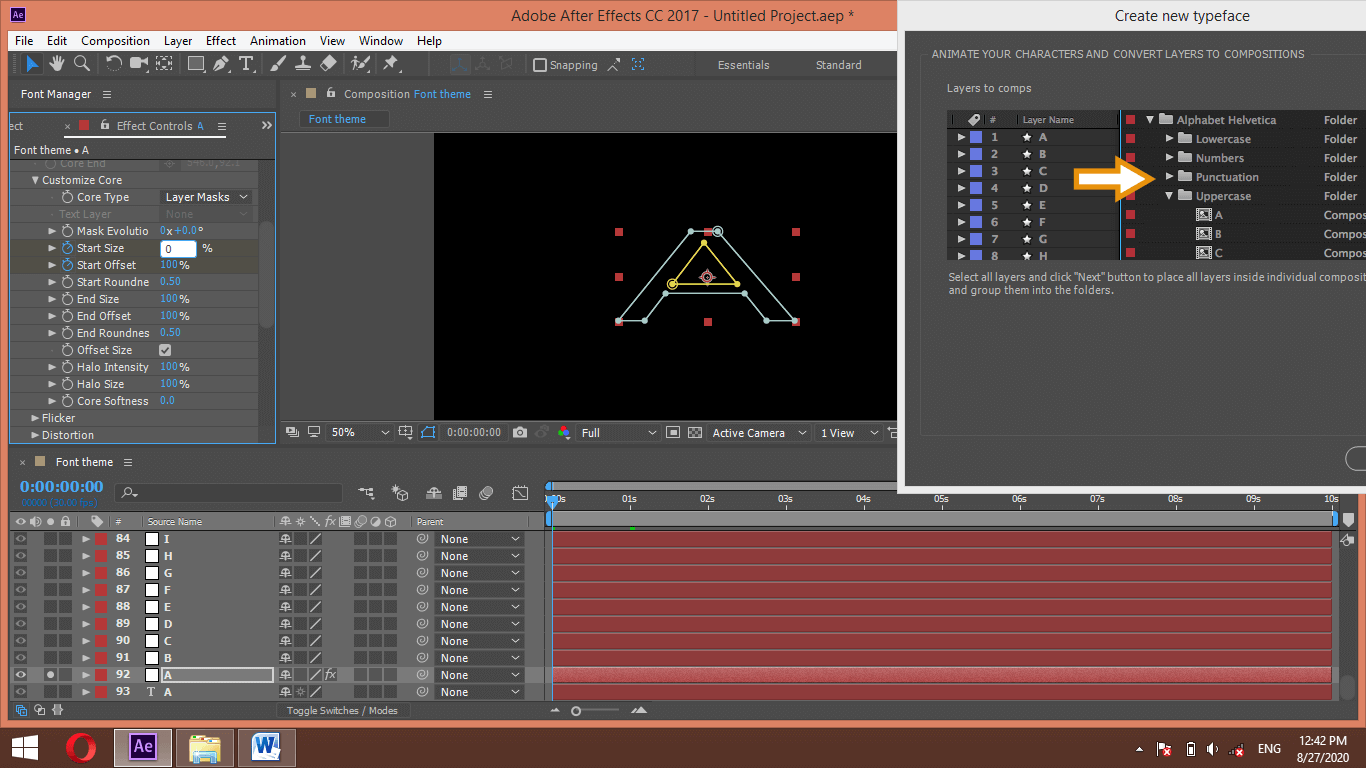
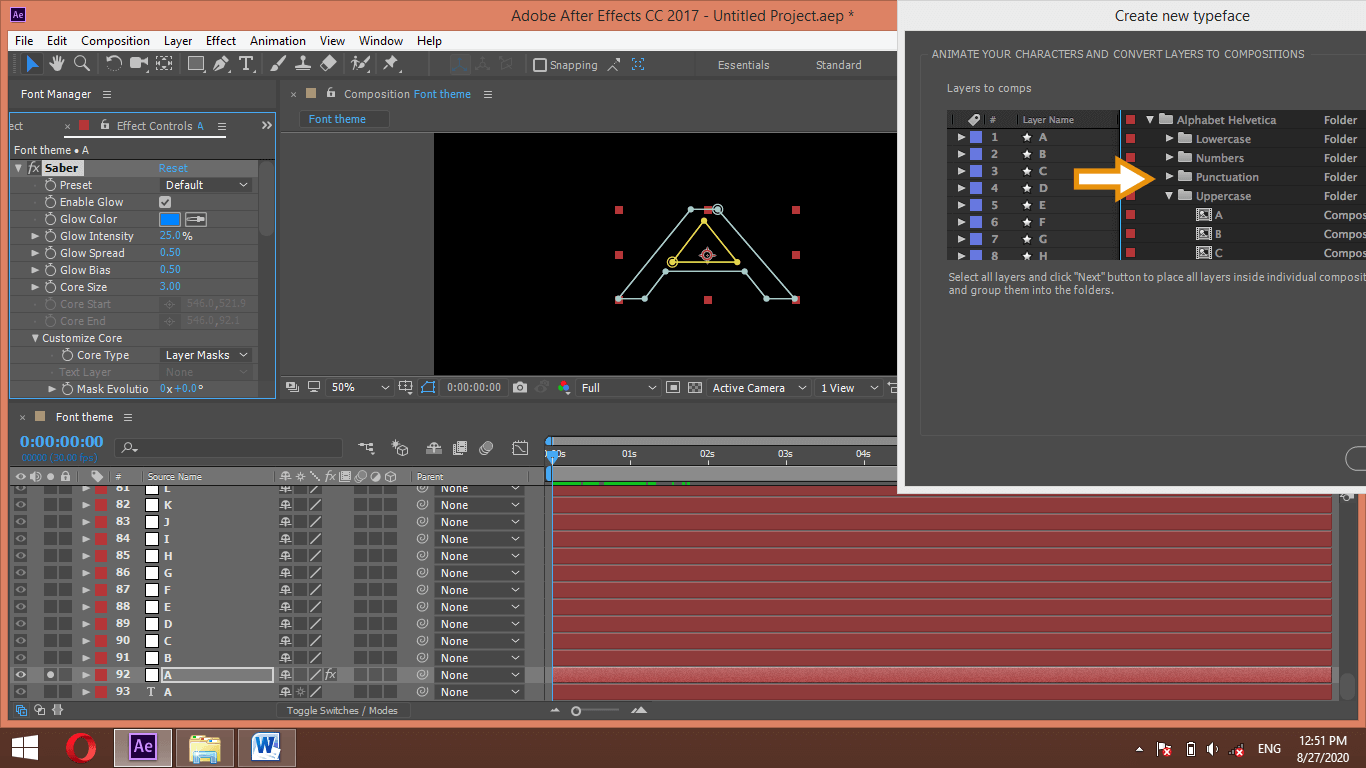
Go to the Effect Controls panel and click on the drop-down button of the Customize core option. Now choose the Layer Masks option in the core type.
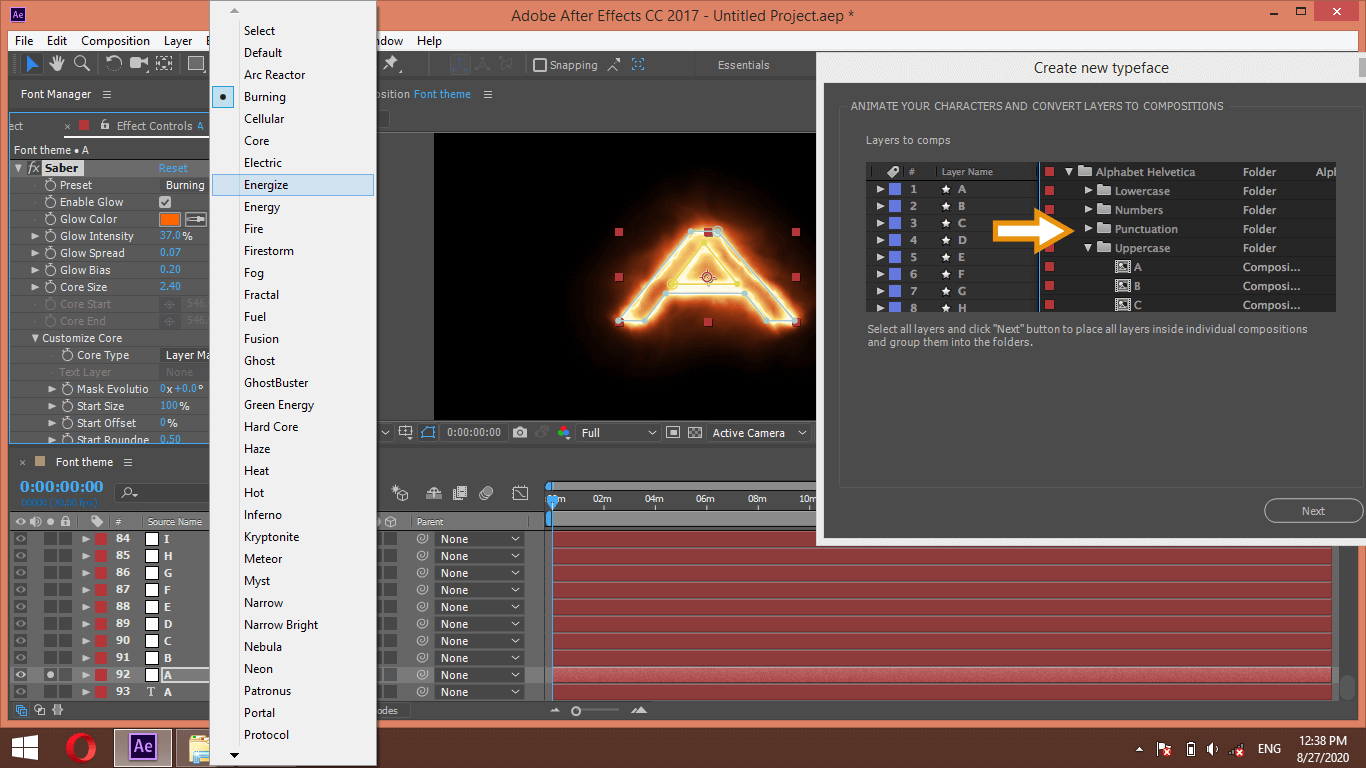
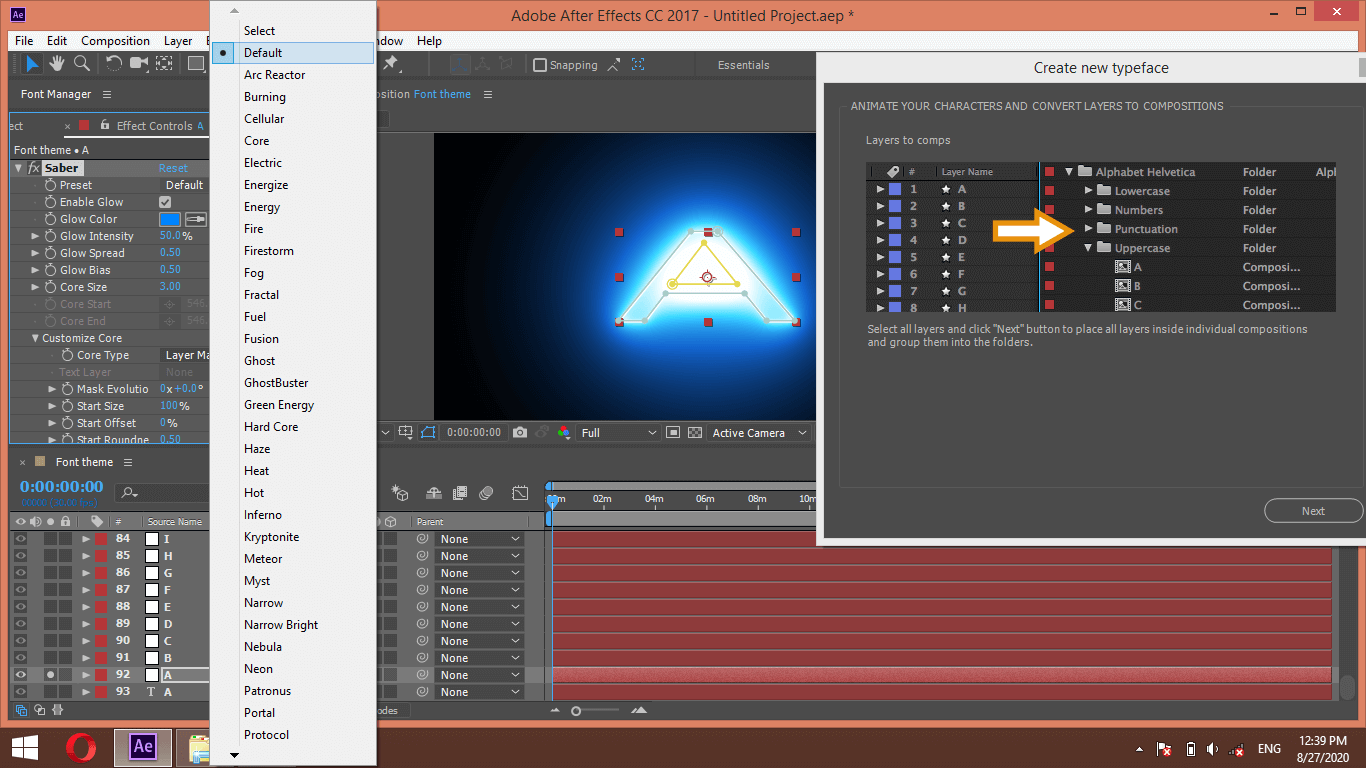
You can choose any style from the preset option of the Saber plugin.
We will proceed with the Default option.
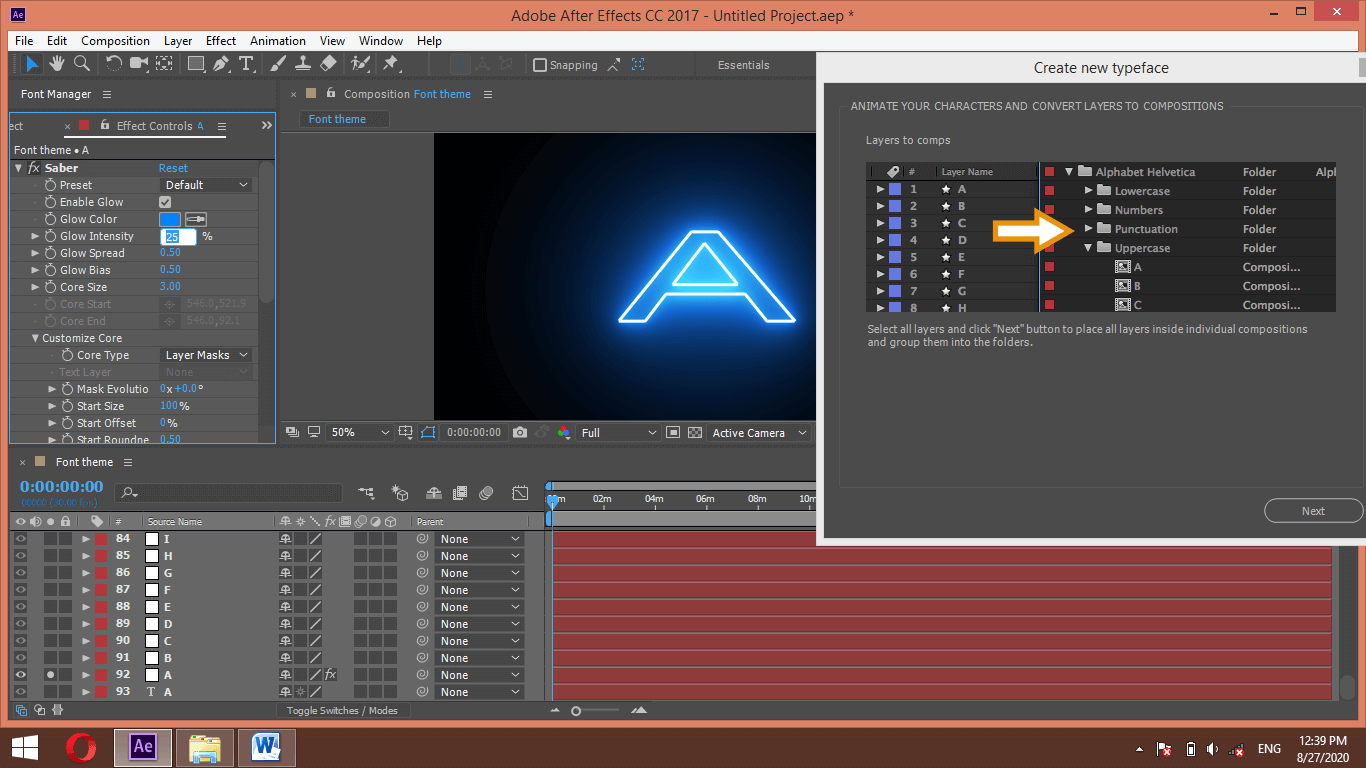
Set glow intensity as 25. You can take it according to you.
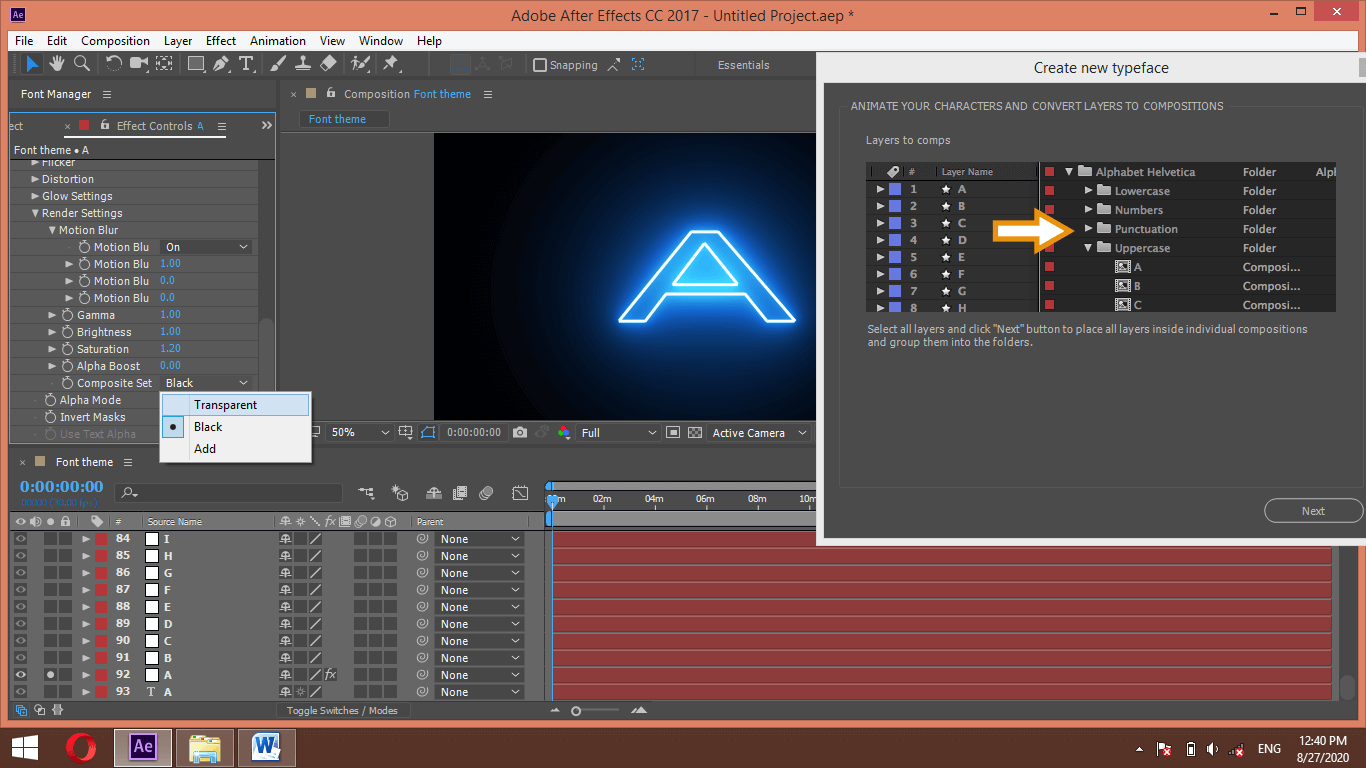
Now go to the render settings option and choose Transparent in the composite set option of the render settings option.
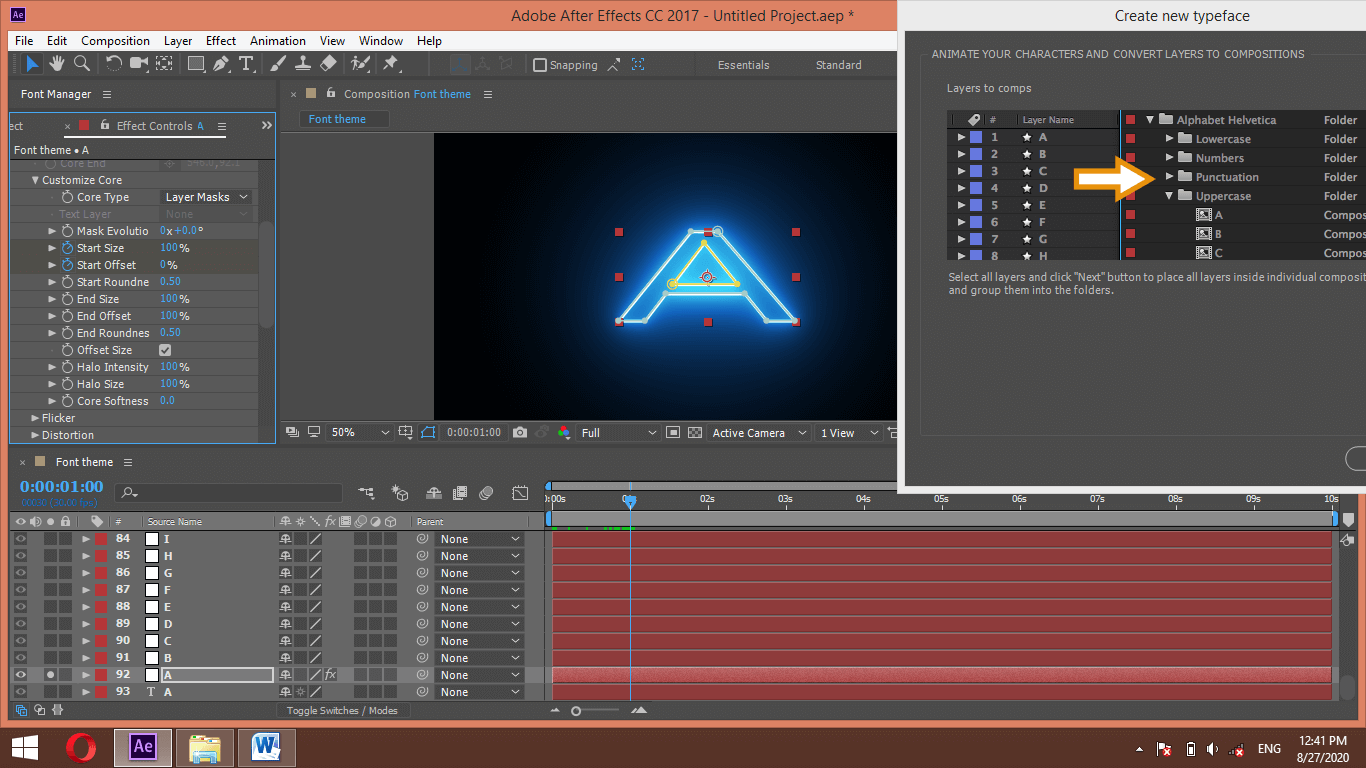
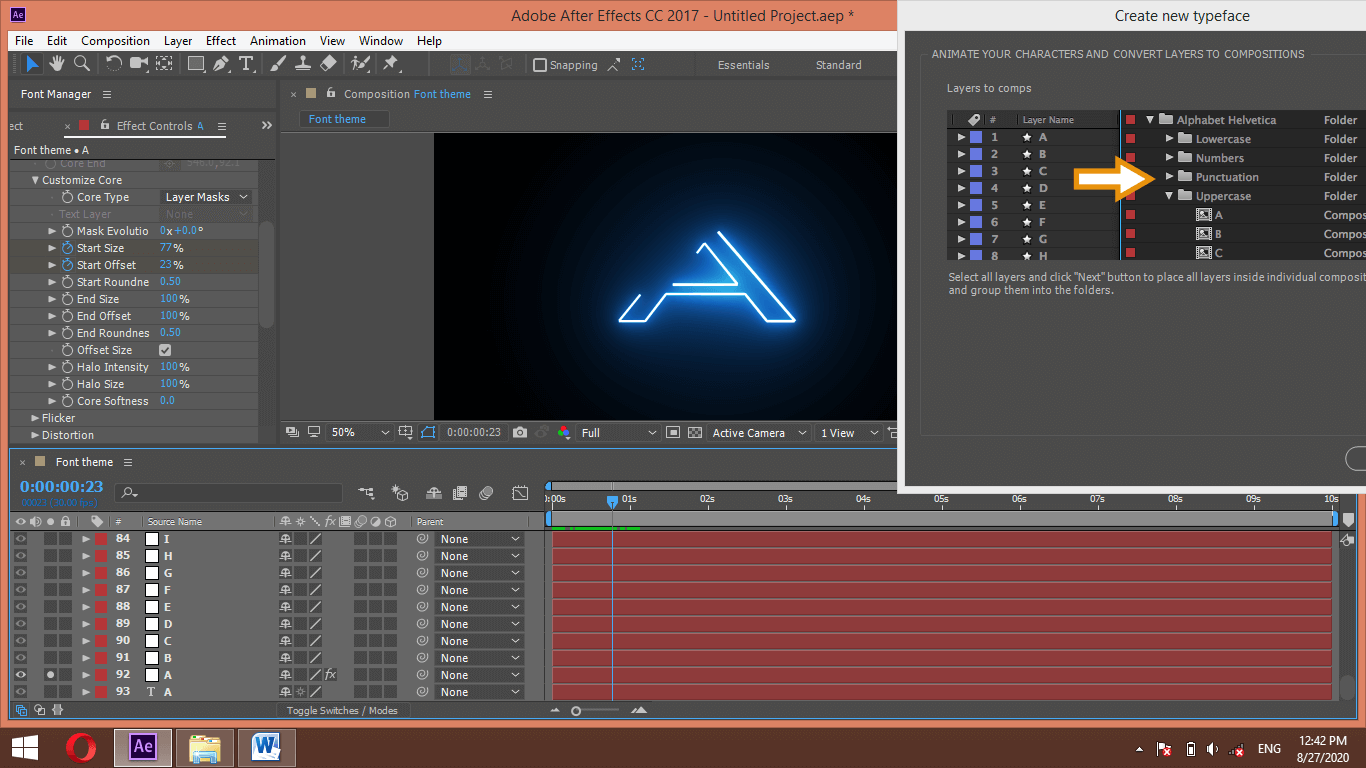
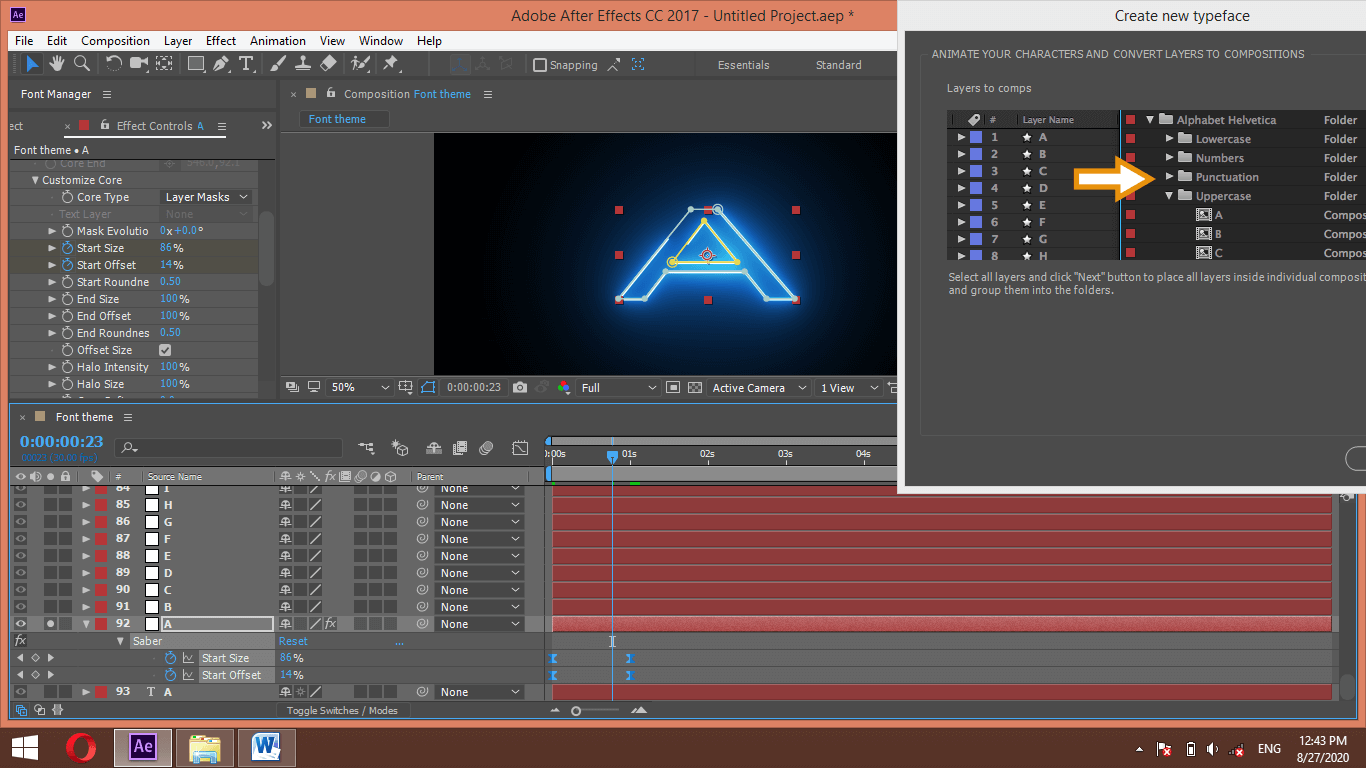
Now let us animate this font theme. For animating it, place the play head at 1 sec in the keyframe section and click on the stopwatch of Start size and Start Offset option.
Now place play head a 0 sec and set the value of Start size at 0% and Start Offset at 100%.
Now you can see the animation by playing it.
Select layer A and press the U button of the keyboard two times for seeing animation keys. Select animation keys and press F9 for making them easy.
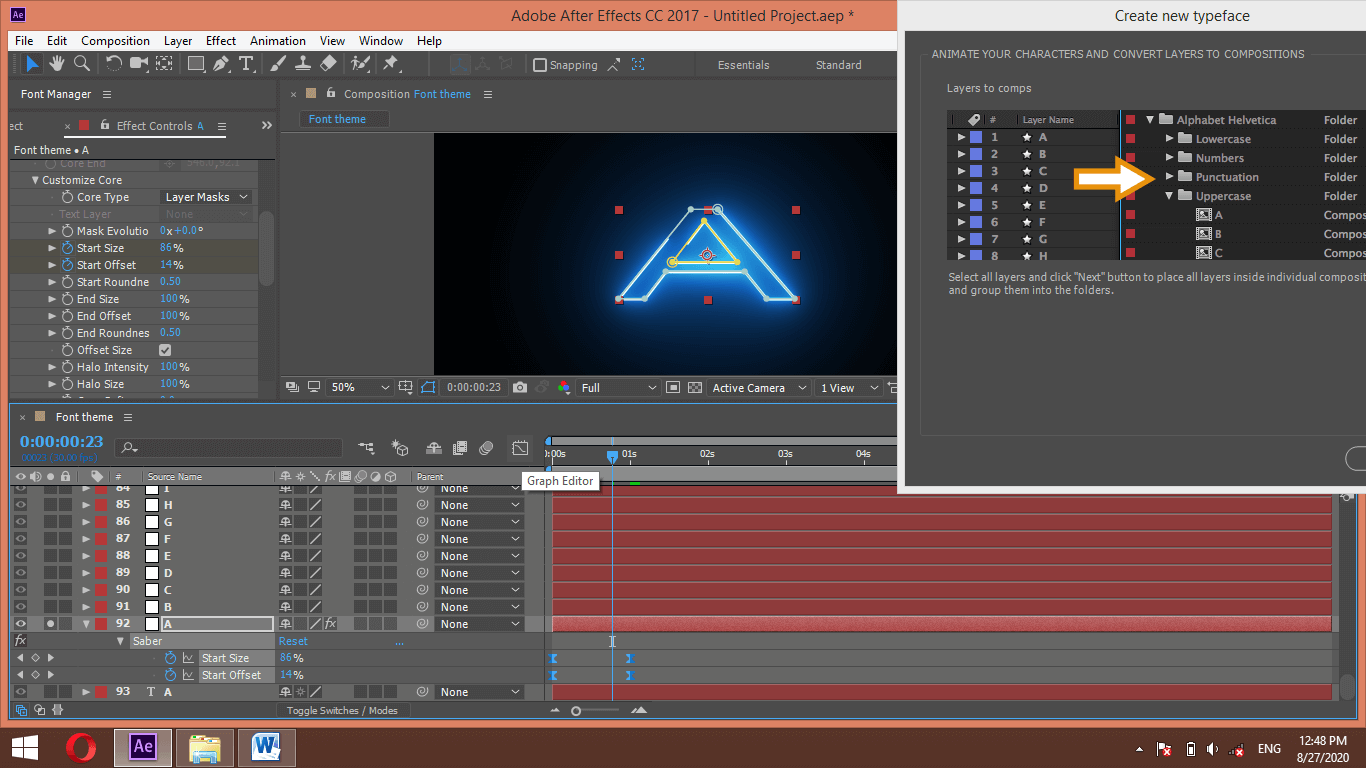
Make click on Graph Editor Icon for graph editor of this layer.
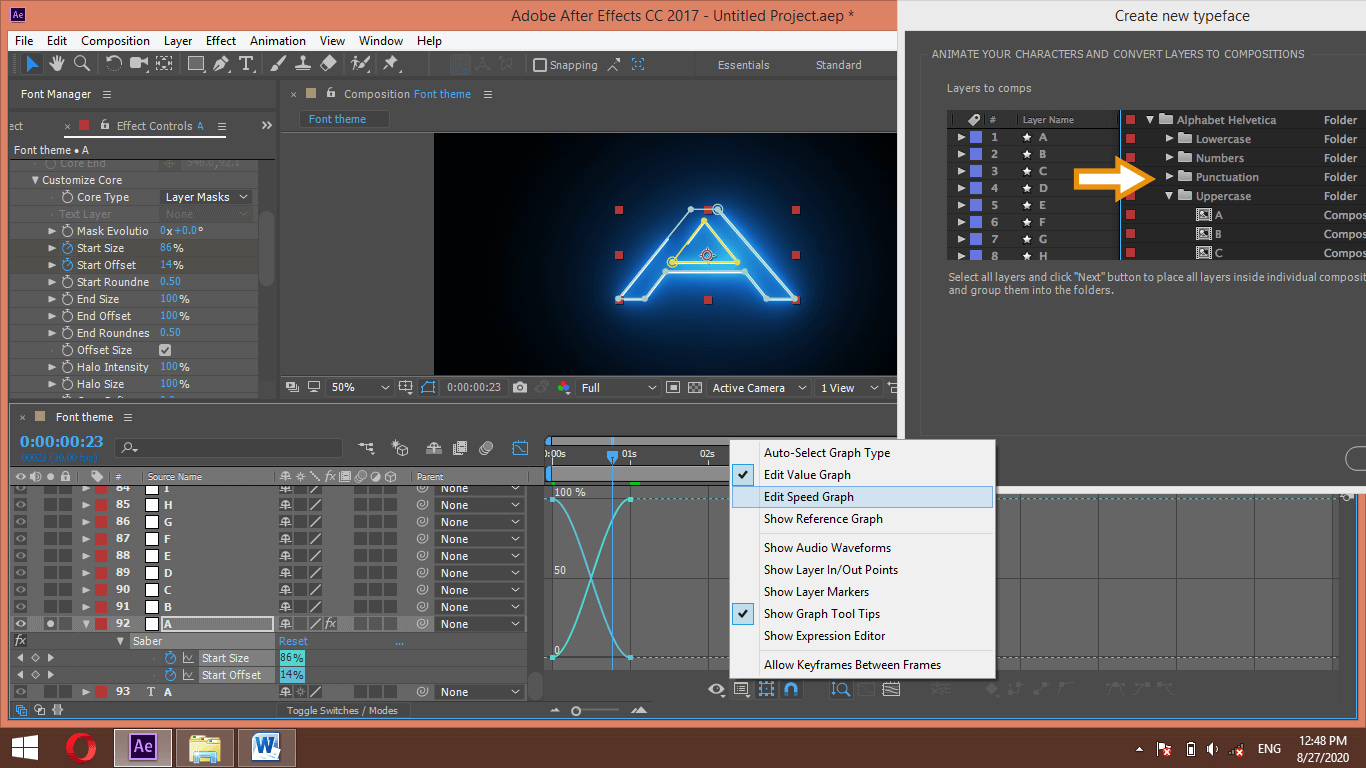
Choose the Speed graph from this list.
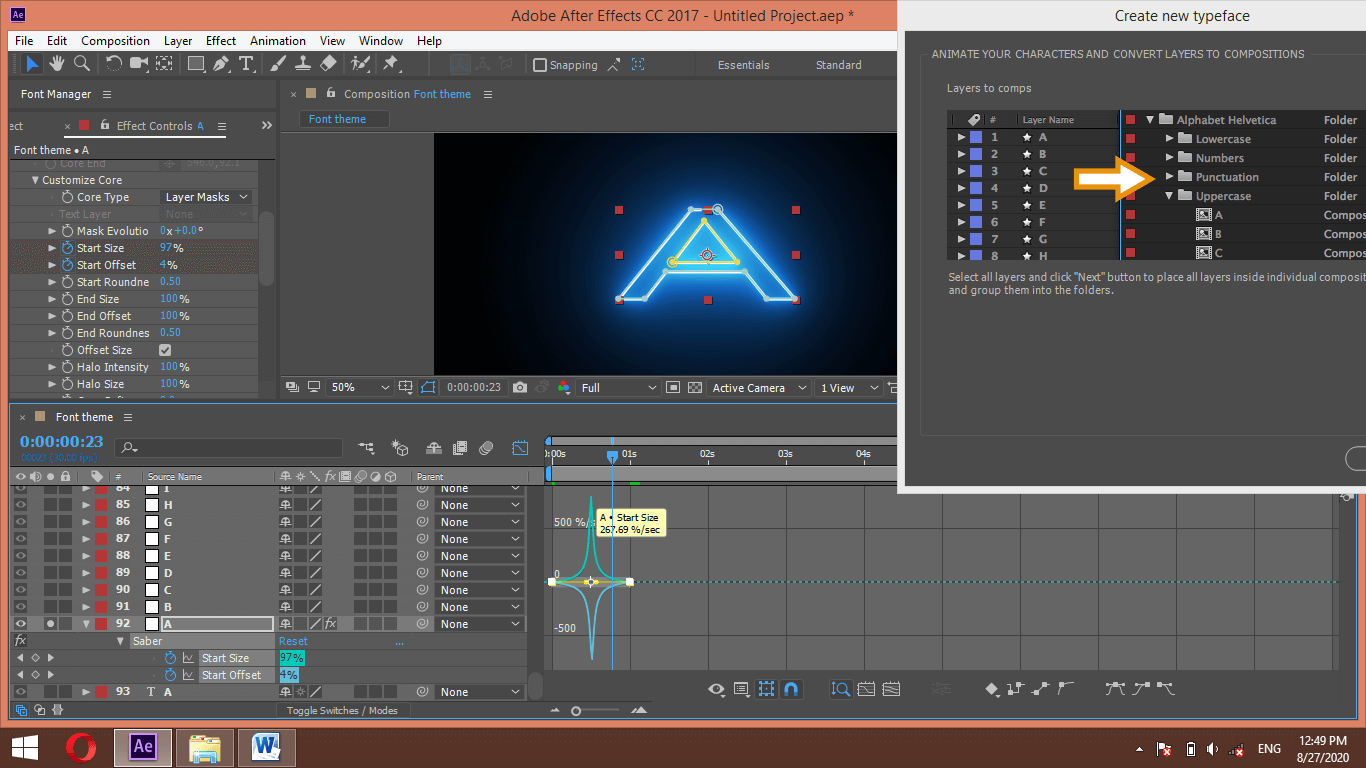
Now edit this graph like this.
Now go to the Effect Controls panel and copy the Saber effect by pressing Ctrl + C.
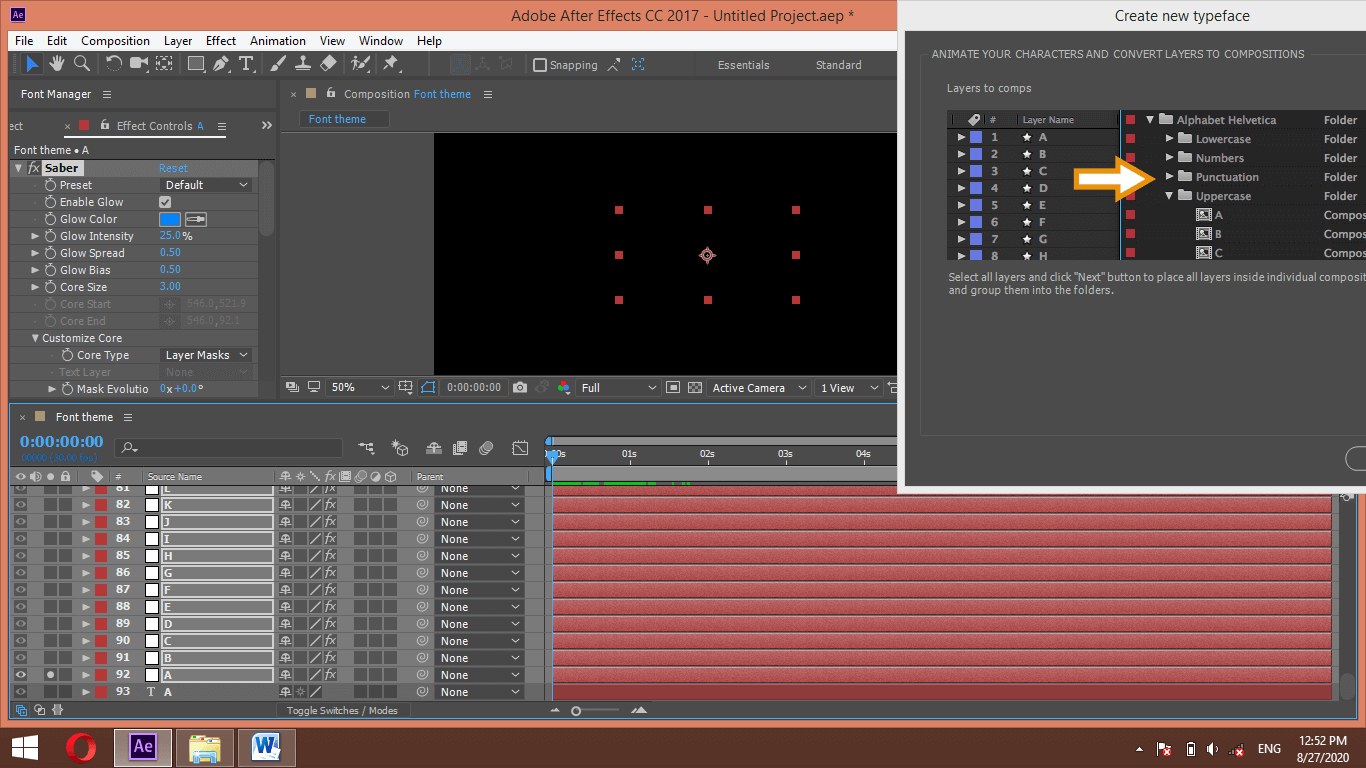
Now select all layers by holding the shift key, then press the Ctrl + V button for pasting this effect on all layers.
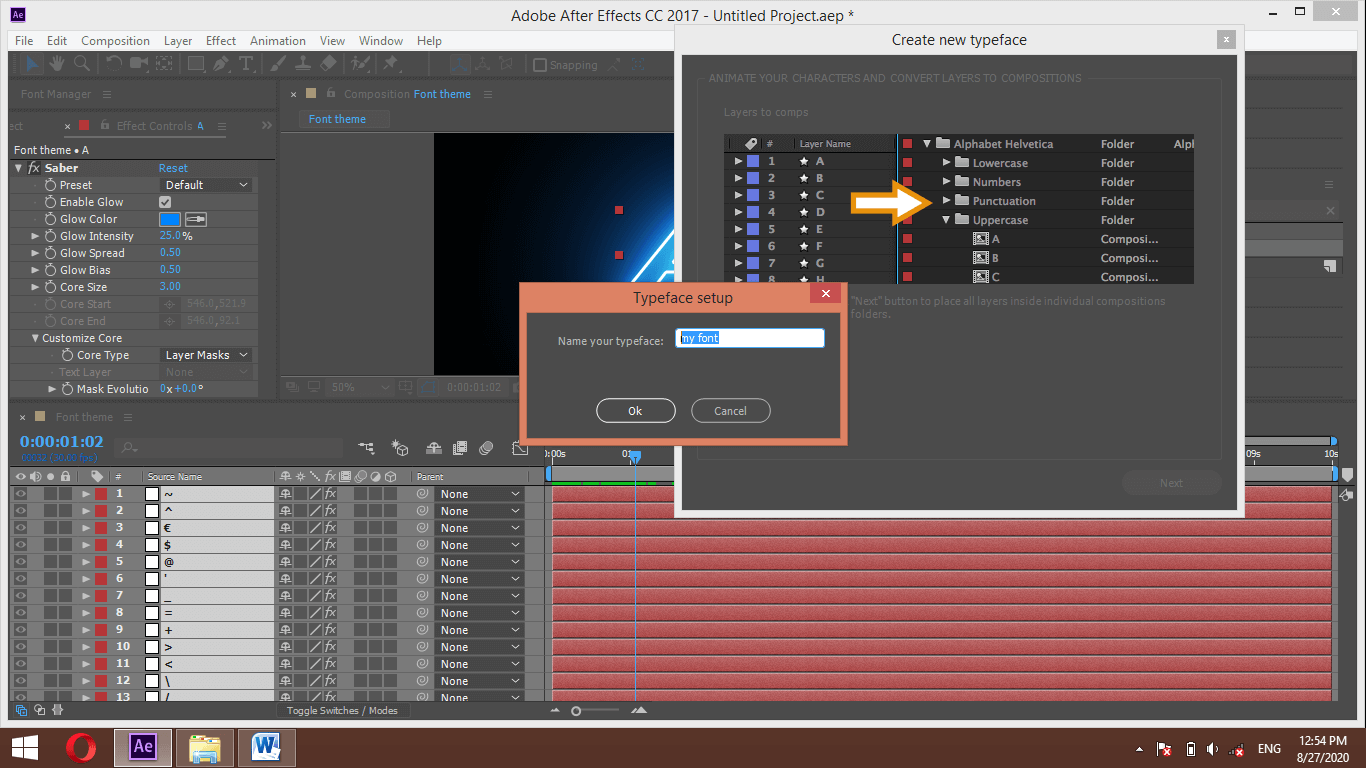
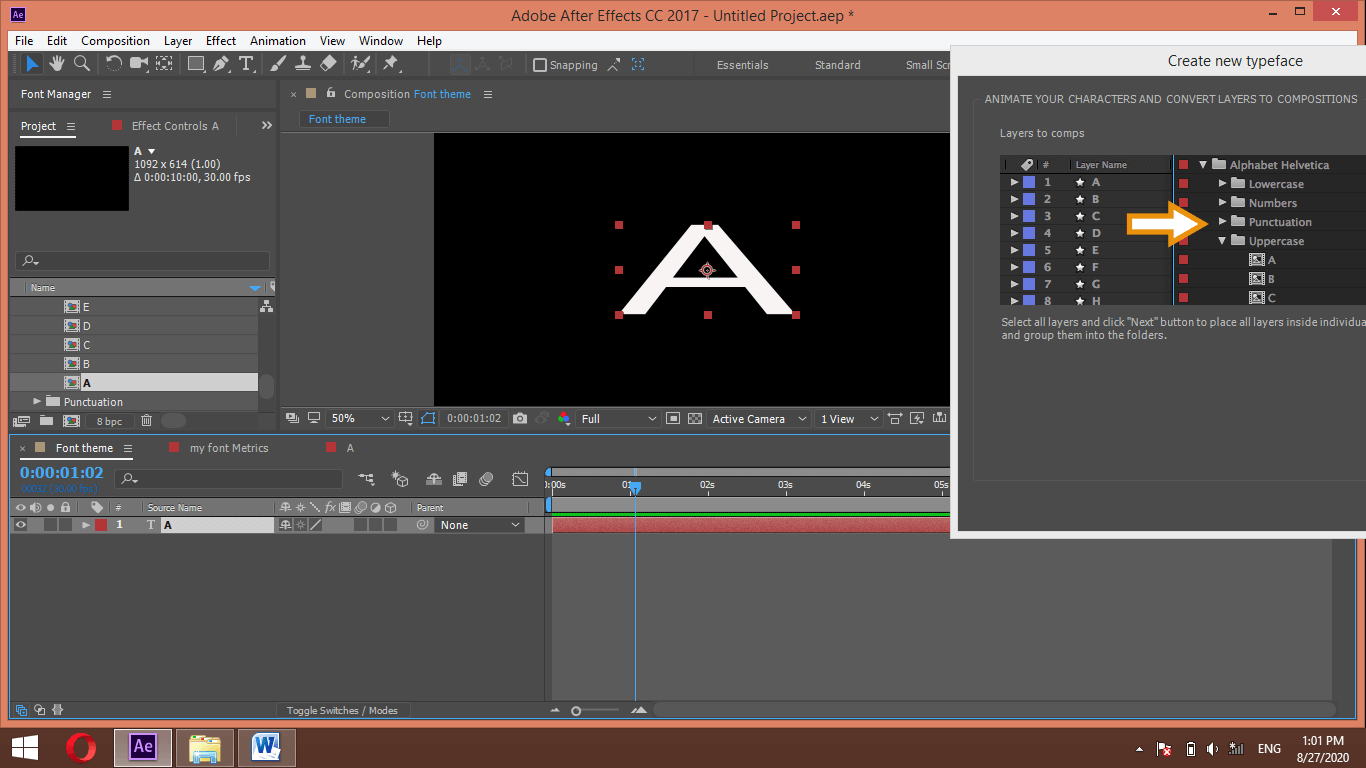
Being selected all layers, go to this dialog box and make click on the Next button of this box.
A dialog box will open for typing the name of the typeface setup. I will name it as my font.
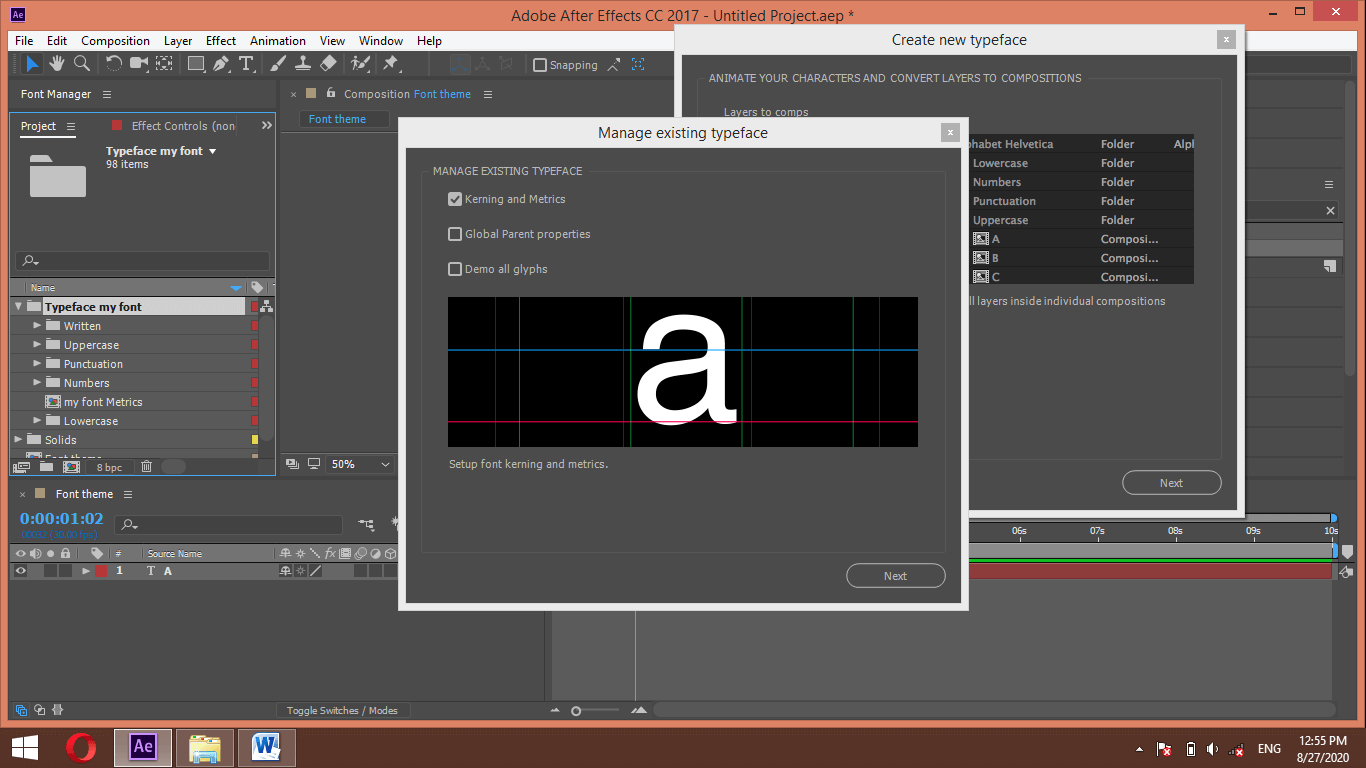
Once you click the Ok button of this box Typeface folder, create all cases of text in the Project panel section of this software.
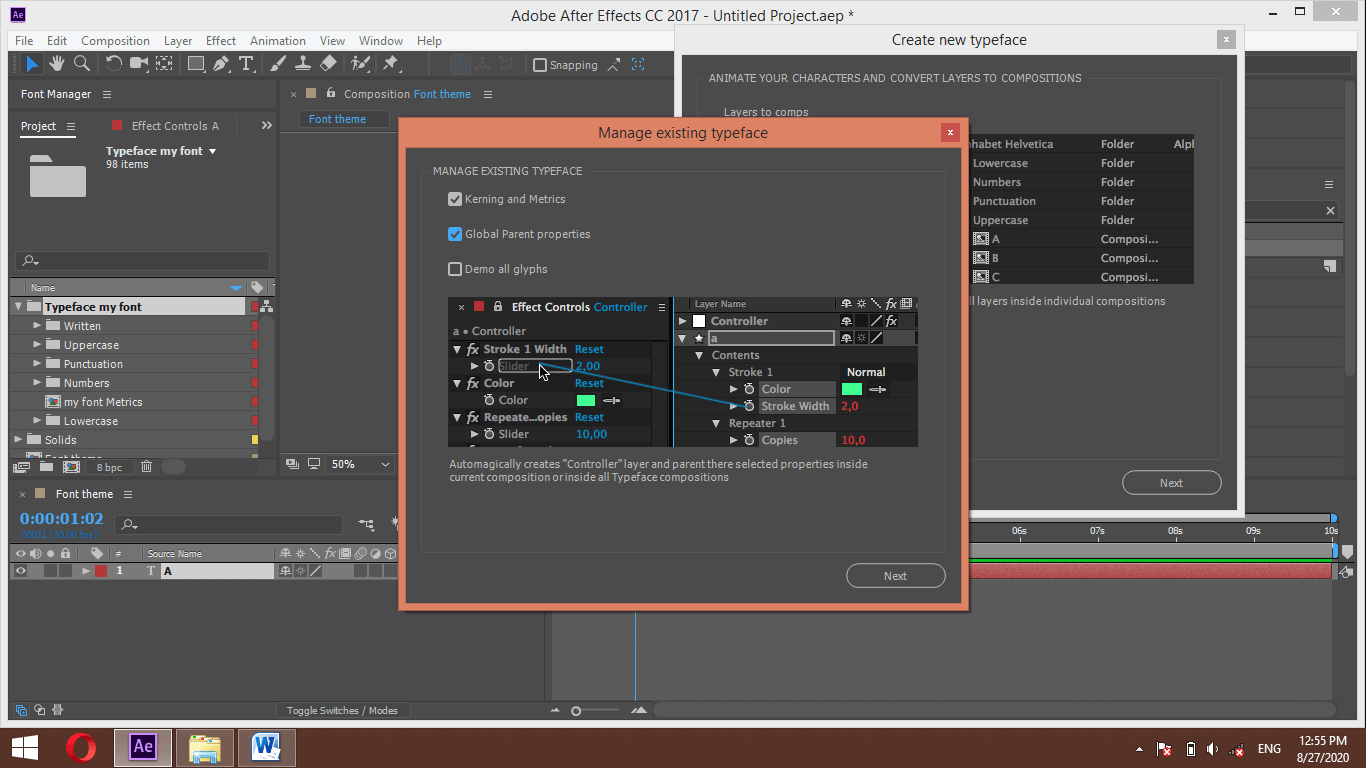
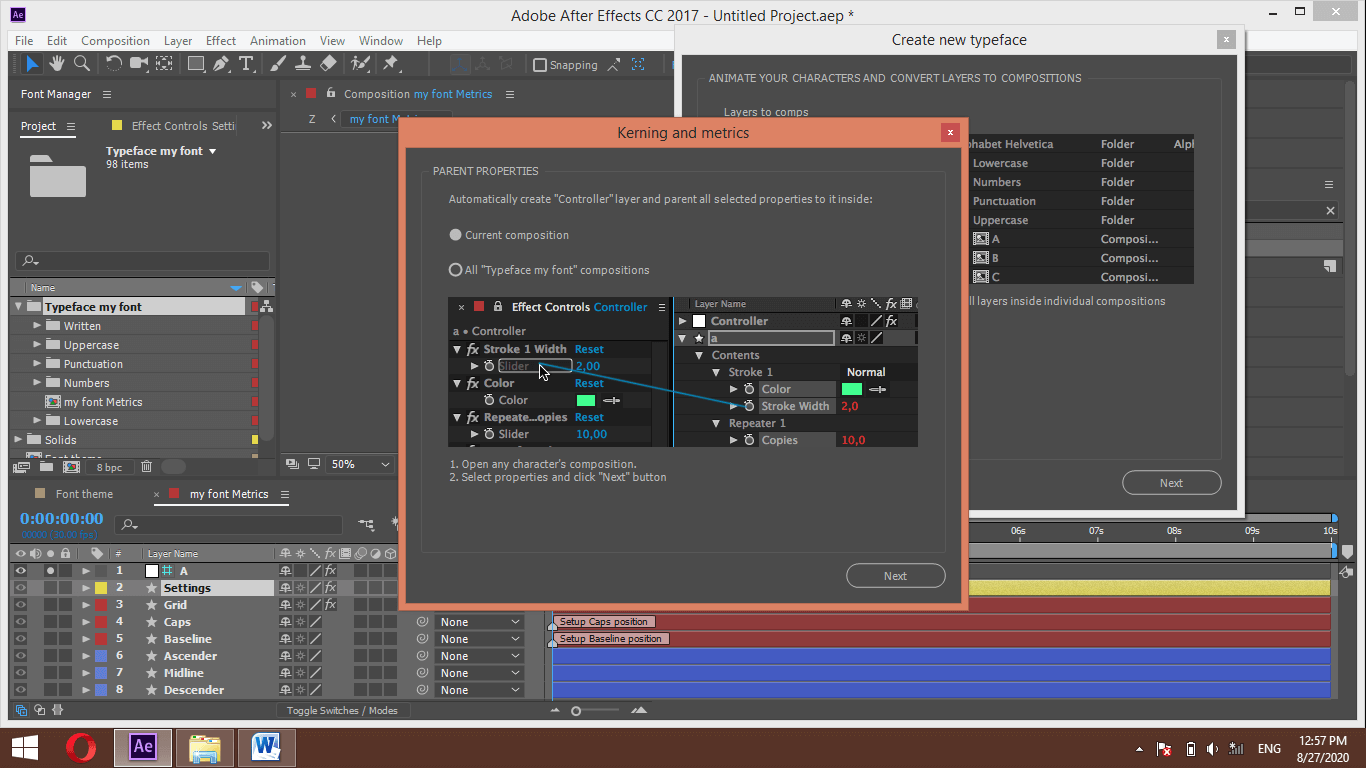
Now select the Global Parent properties option from this dialog box, then press the Next button.
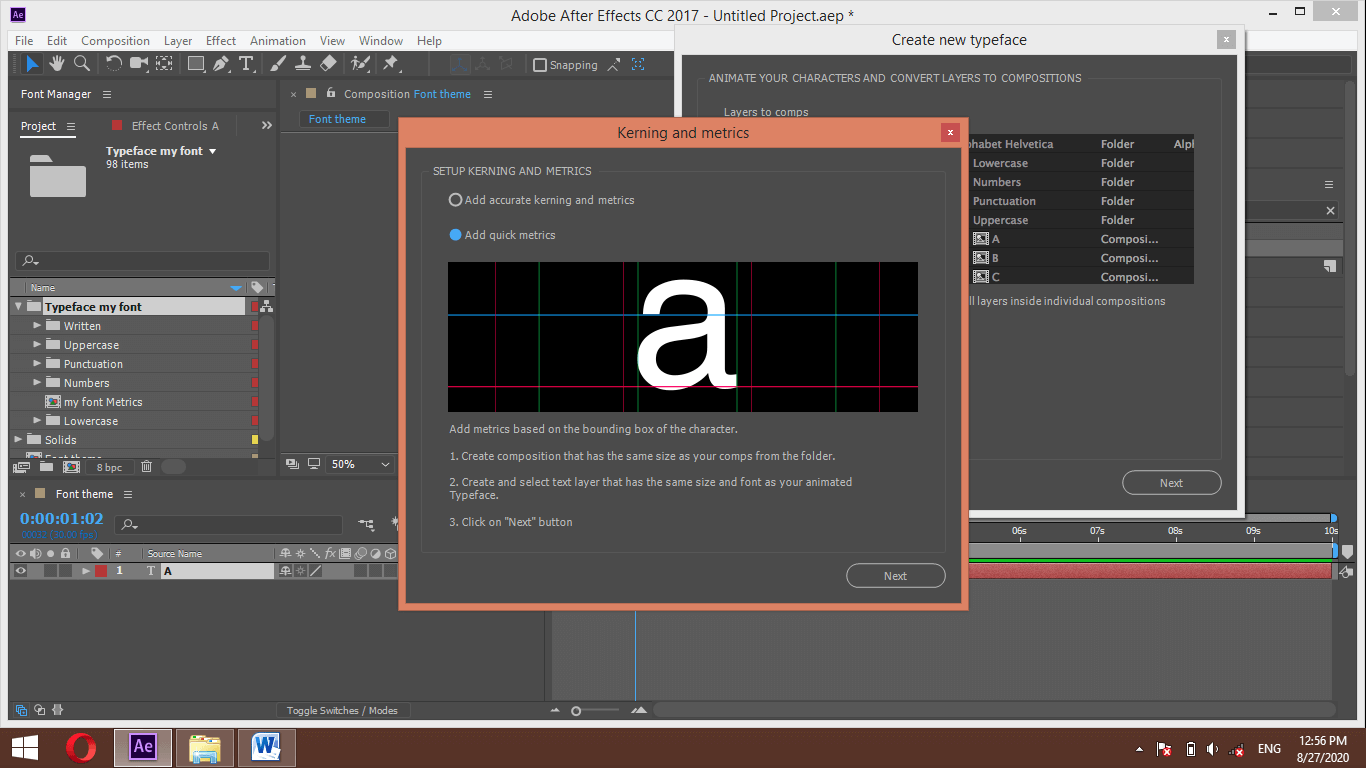
Choose the Add Quick Metrics option from the next box and again press the Next button.
It will take few seconds for pasting animation of your A layer on all layers, and once it is done, you will find this type of layer in layer sections.
Now go to the project panel section and choose any one composition from your created font of Typeface folder.
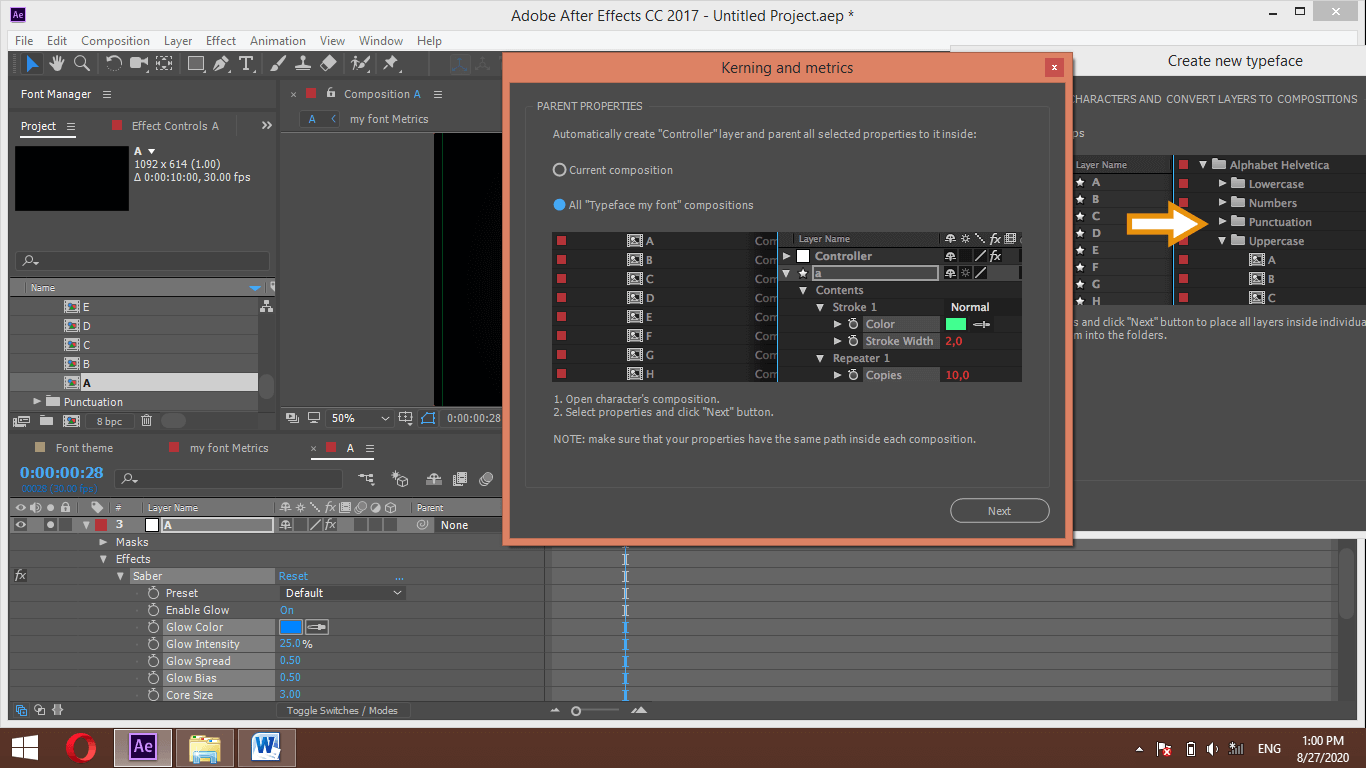
Choose properties from this layer that you want to manage globally for all layers of the Typeface folder. I will choose these 5 properties.
Now choose the ‘All Typeface my font compositions’ option from this dialog box, then press the next button.
Now go to the Font Theme composition tab, which is your initial text composition.
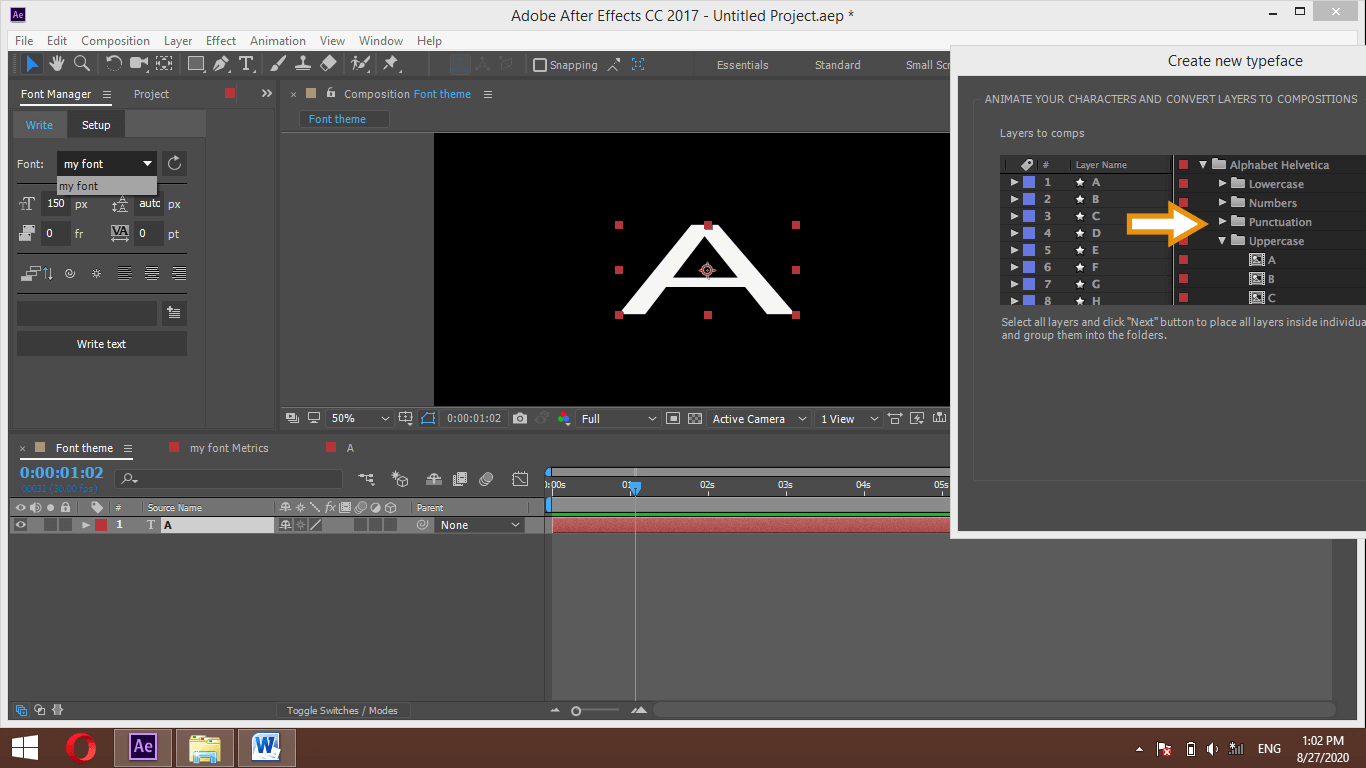
Go to the Font Manager Tab and click on the Write tab of this box, then select My Font in Font of this box.
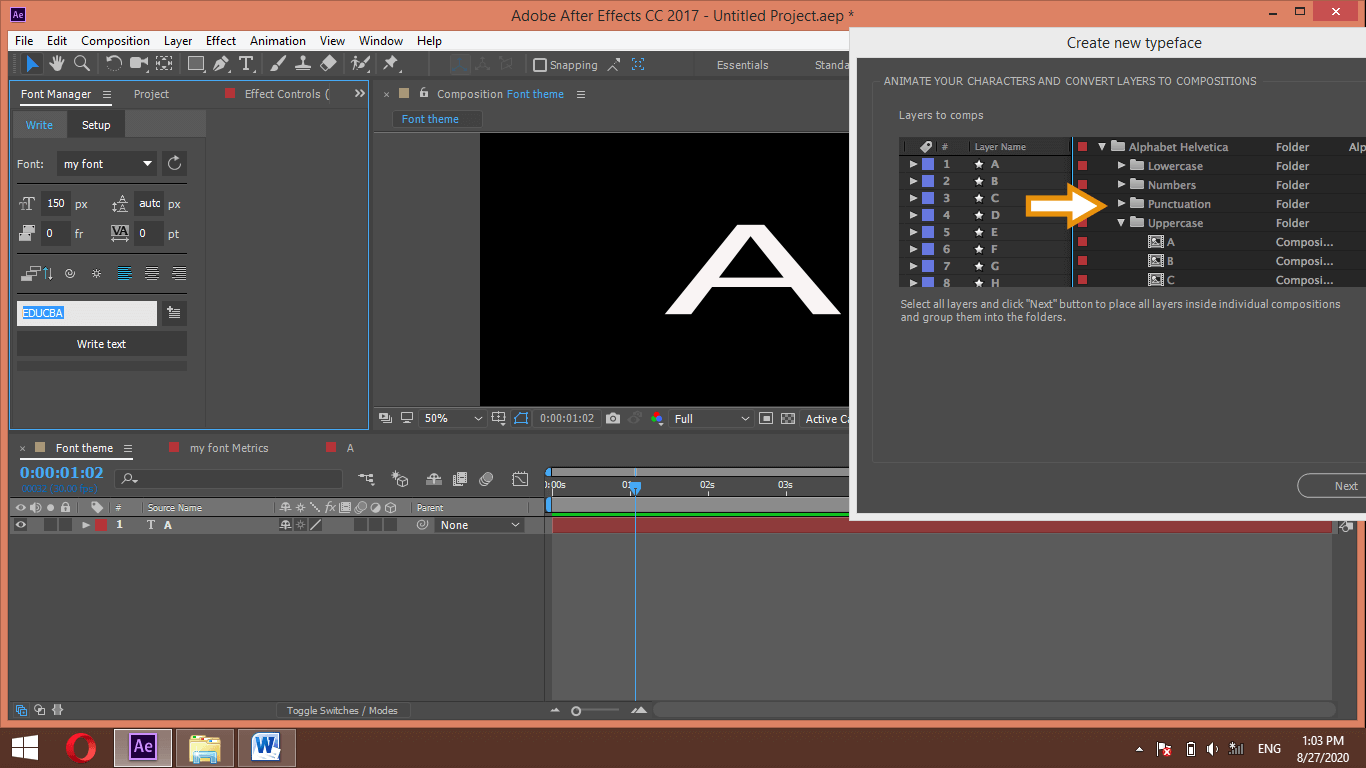
Type your desired text here, which you want to animate with your created font theme and hit on Write Text button of this box.
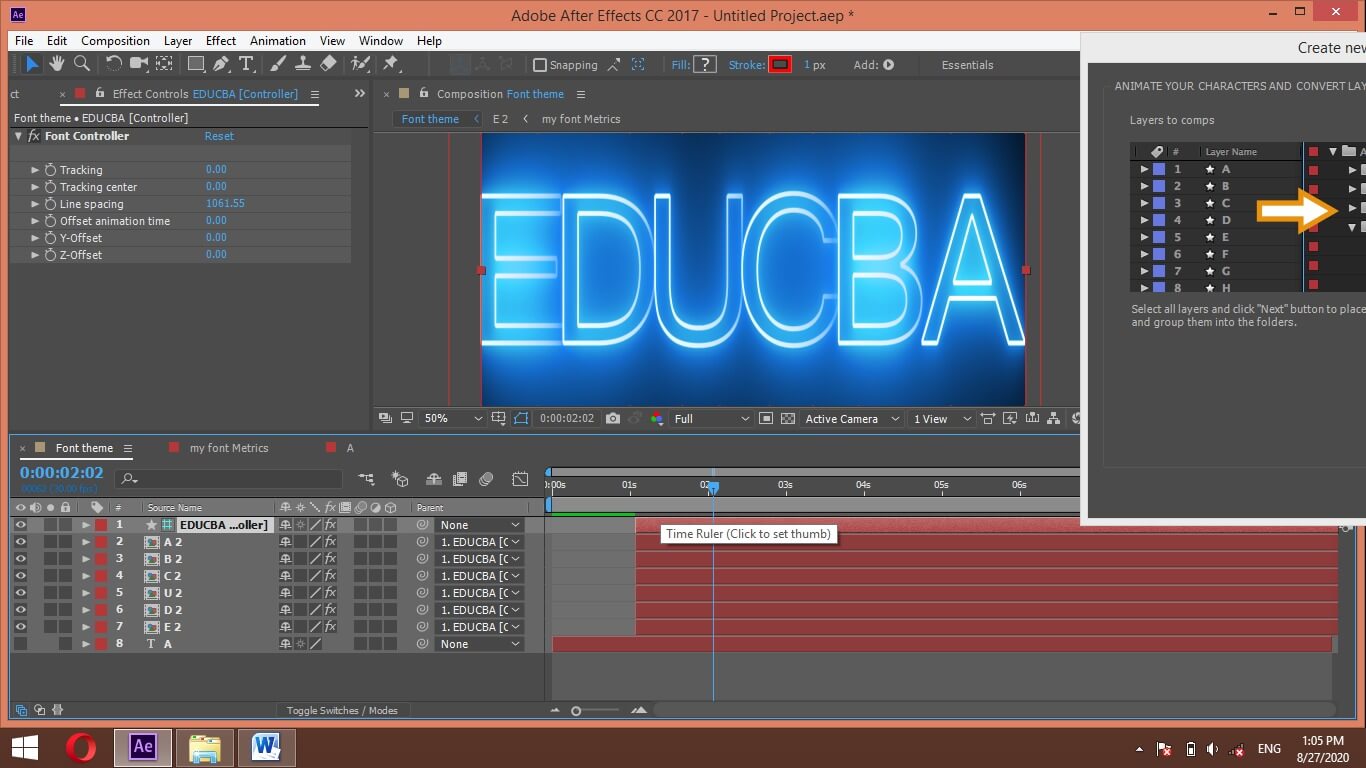
And your font theme will apply to your typed text like this.
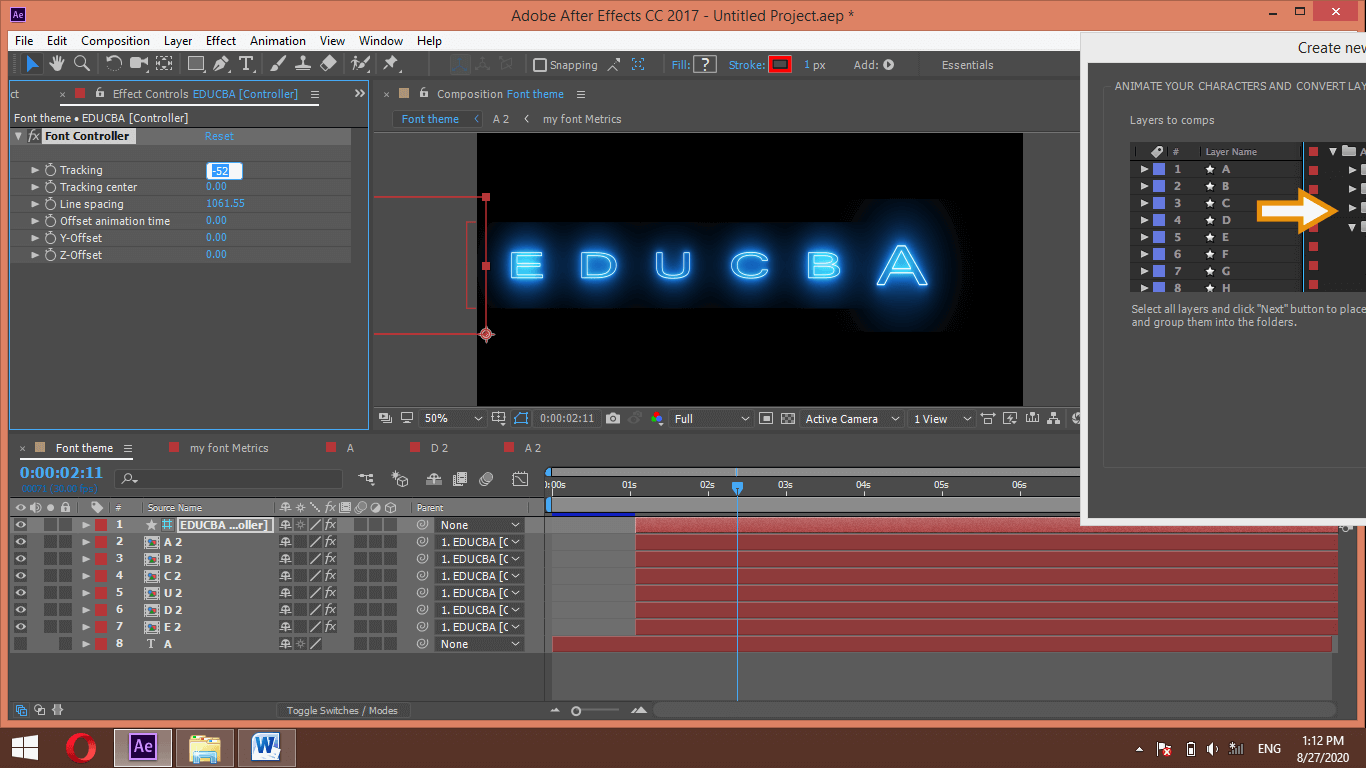
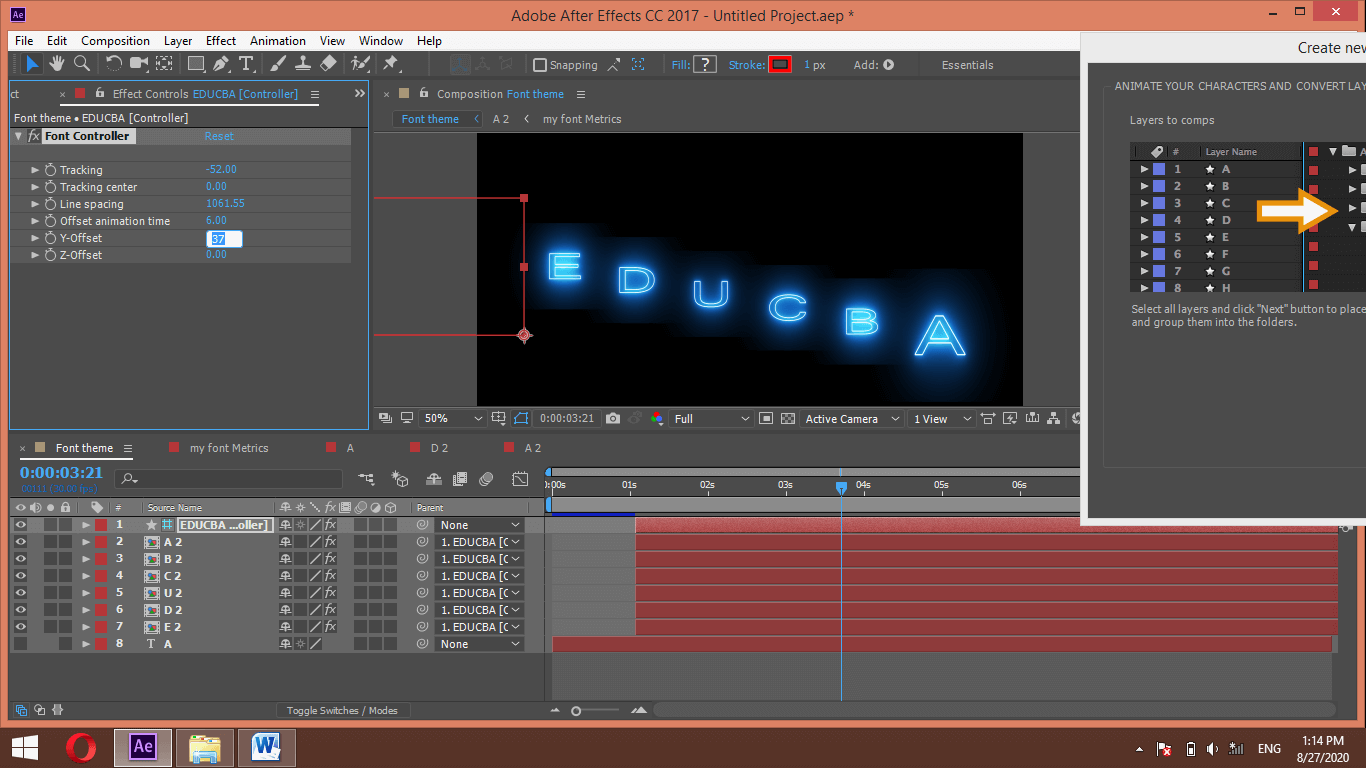
You can adjust the size, placing, and other parameters of your text from these options.
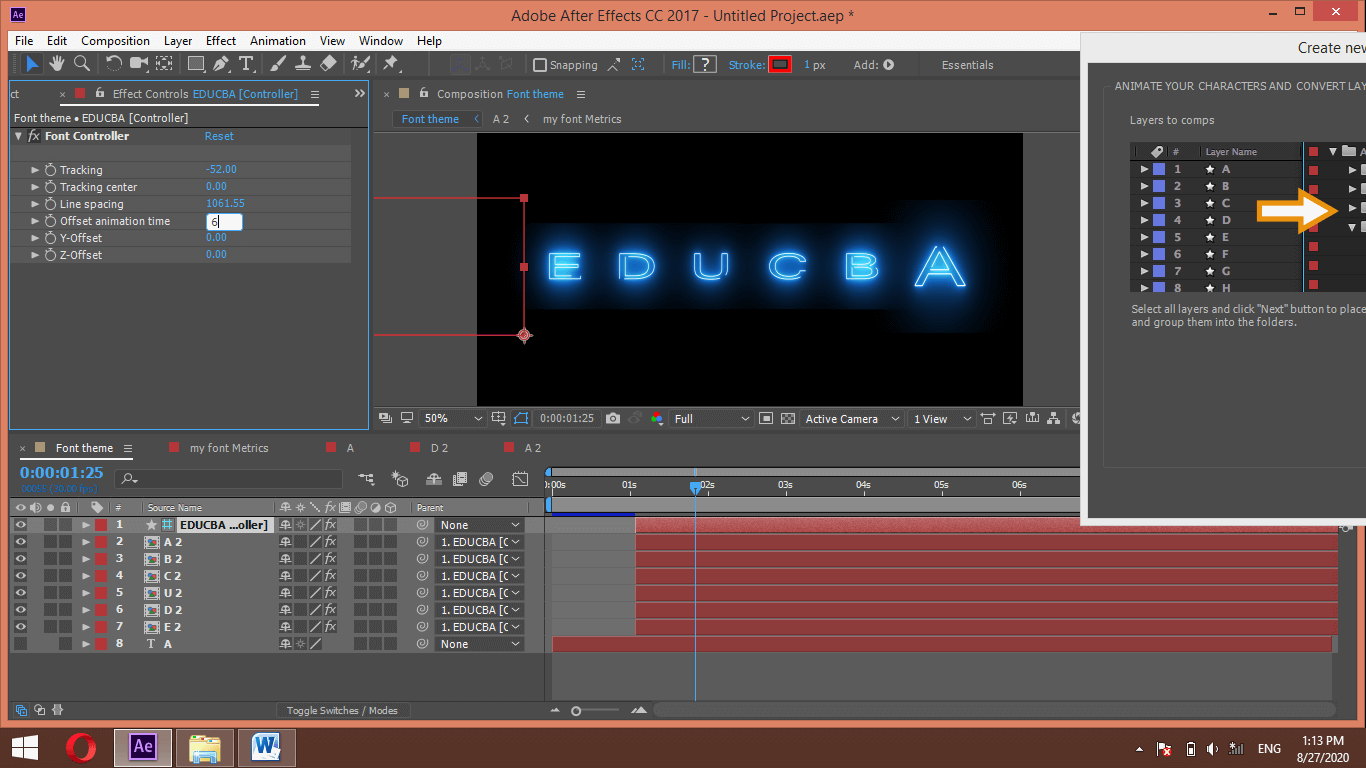
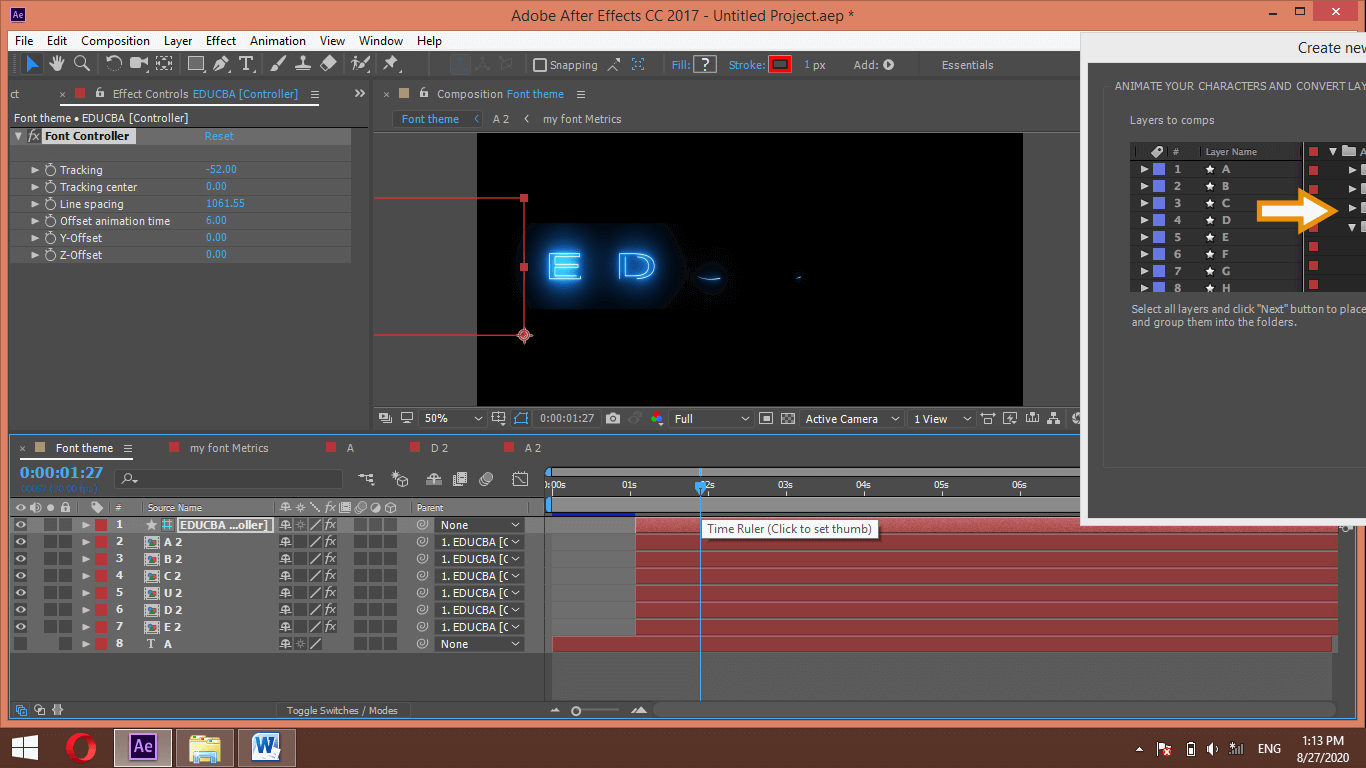
Set the value of ‘Offset animation time, like 6 frames, so that all letters of text will get animated one by one.
And it will animate like this.
You can also set the distance of letters in the y-direction from the Y Offset option.
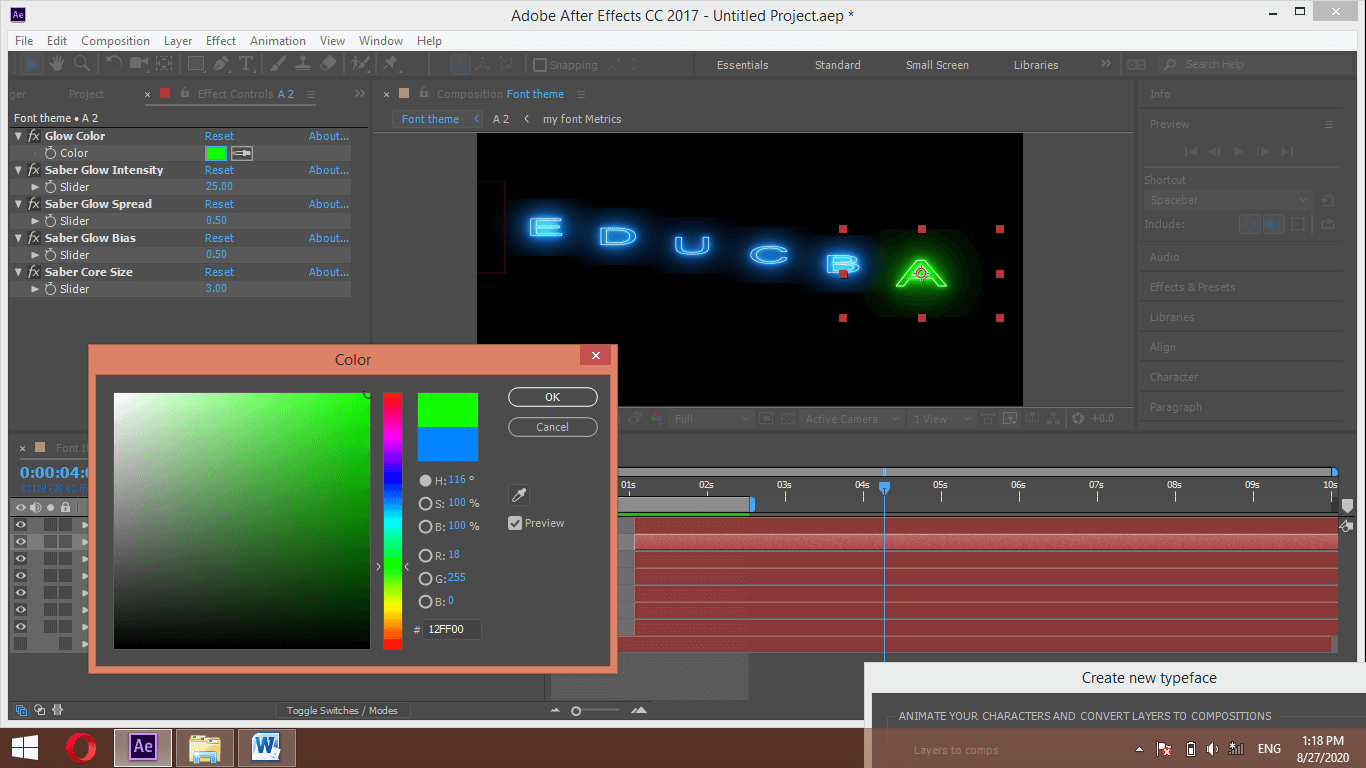
You can also change the color of letters from your chosen properties.
In this way, you can create a great font theme in After Effects.
Conclusion
After this article, you can understand what font theme is in after effect and how you can create different types of font themes for your project purpose as well as professional purposes. Moreover, you can have expertise in this feature of after effect by practicing on it.
Recommended Articles
This is a guide to After effect font. Here we discuss How to create different types of font themes for your project and use Font Theme in after effect. You may also have a look at the following articles to learn more –
