Introduction to After Effect Kinetic Typography
Kinetic Typography in After Effect is a type of typography through which you can arrange texts in a different layer of after effect in a very effective motion animation with your own audio or with any other audio file. For creating kinetic typography in this software we have to make some arrangements regarding text parameters, timeline parameters, layer parameters, and audio file parameters. So in this article, we will discuss different features of this software for getting knowledge about this topic. We will understand it through an example of the creation of different texts on different layers with some color management parameters of texts.
How to do Kinetic Typography in After Effect?
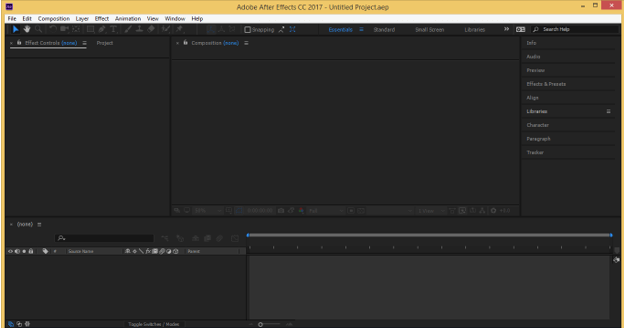
We can do kinetic typography in this software by following some important steps. But before starting you should get knowledge about the user screen of this software so that you can understand the different terms of this software which we will use during our learning about this topic. So let us have a look at the user screen of this software.
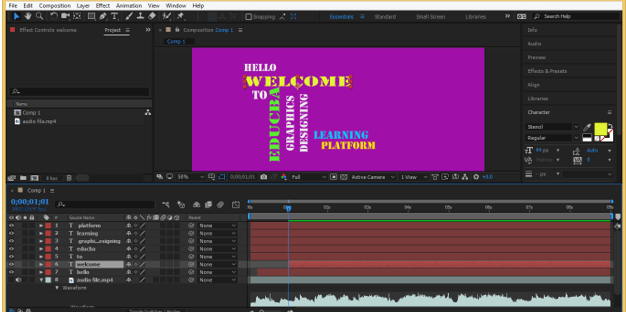
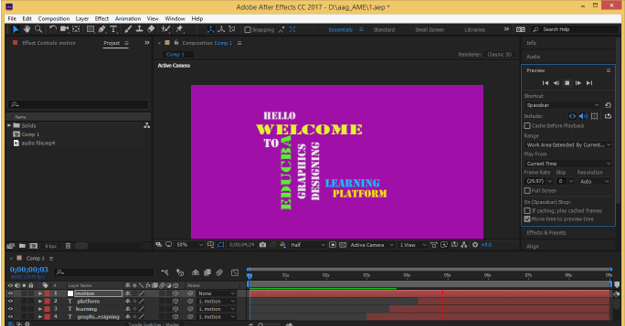
At the top of the working screen, there is a Menu bar which has different types of menus such as File menu, Edit menu, Composition menu, and some others. Below this menu bar, we have a toolbar with its property bar. Below this toolbar we have three sections that are on the left side we have a Project panel along with the Effect Controls panel, at the center, there is a display window in which we can see our current working, at the right side we have some parameters tabs for making some parameters’ arrangement. On the lower side of this screen, we have two sections that are layer panel at the left side and Timeline frame sections at the right side.
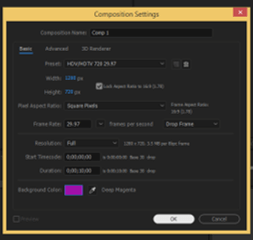
Now let us have a new composition for our learning about this topic. For new composition, go to the composition menu of the menu bar and click on it. Choose New composition option from the list.
Make your desired composition settings in the composition settings box.
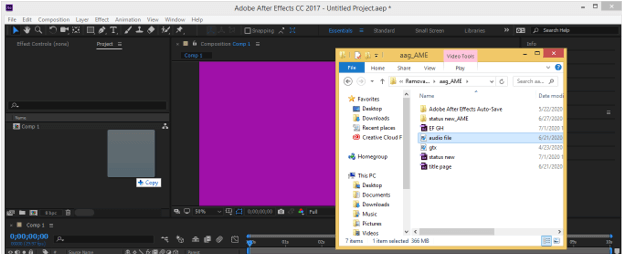
Now we need an audio file or video file of our desired sound or voice for this process. So go to the folder where you have saved it and drag it in the project panel area of this software for placing it in this software.
Drag this file in the layer panel area.
I will off display this file by click on the eye button of this layer because i need voice only of this file. Now press the L button twice for seeing the wave of the sound of your file.
Adjust the work area from starting at the frame of sound where you want to start the animation of your typography.
Now adjust the end of work area at the frame of sound where you want to stop the animation of your typography.
Now make right-click on the work area and choose the ‘Trim Comp to Work Area’ option of the list.
And now you can work on your selected area.
Now let us take the text tool for typing our text.
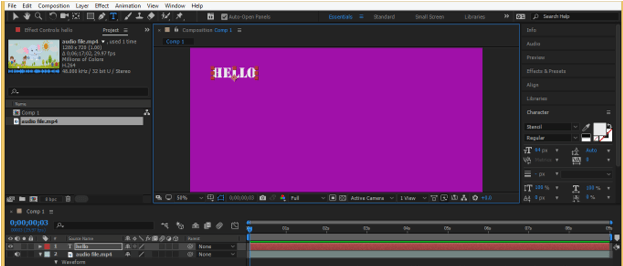
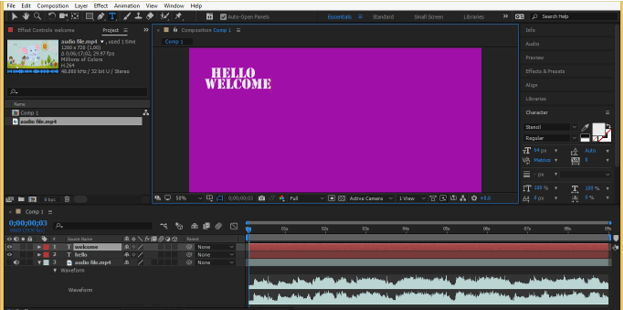
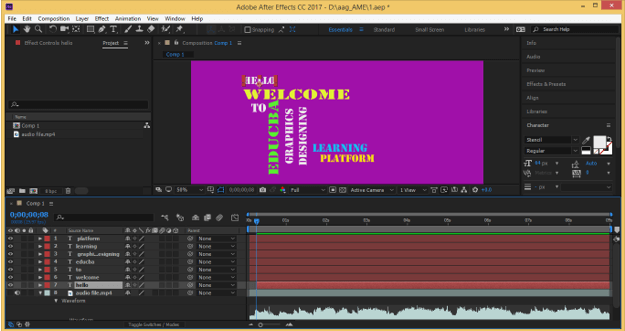
We will type words of our sentence in different layers so type the first word of your sentence and press the Ctrl + enter button of the keyboard for completing this word.
Now make click on the composition window area for typing the next word in a new layer.
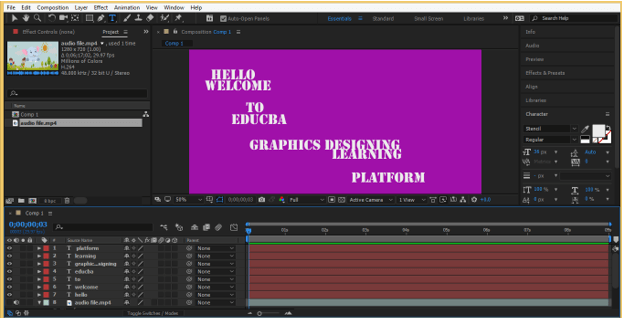
Repeat this for all words of your sentence.
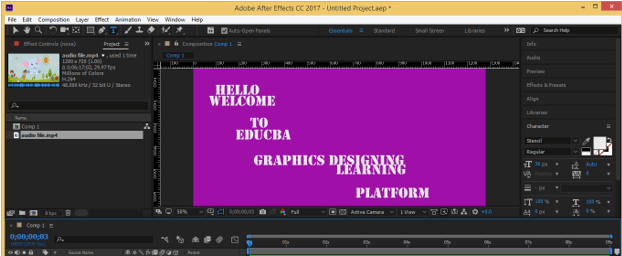
Now press Ctrl + R button for the ruler around the composition window area.
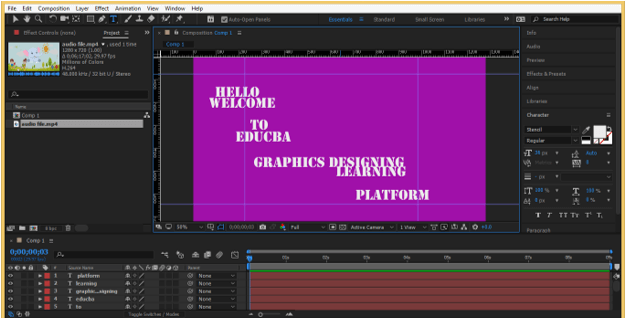
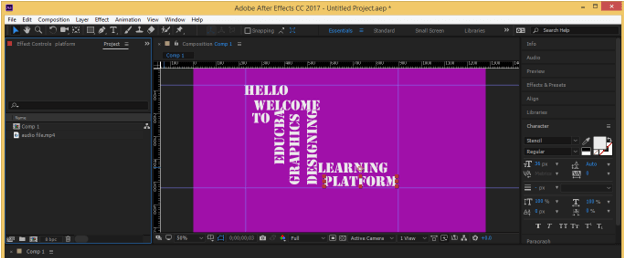
Now drag guidelines from the ruler in the vertical and horizontal direction for creating a box in which I will arrange my text for making good typography with this text.
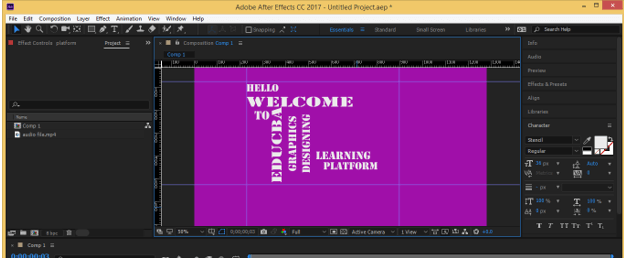
Adjust your texts in this box according to your idea. I will set it like this.
Now I will make some words small and some big for giving it an effective look.
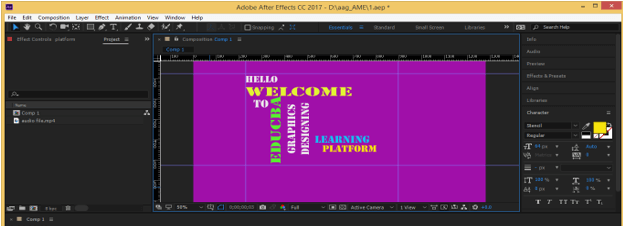
I will also change color of some text like this. You can do it according to your idea.
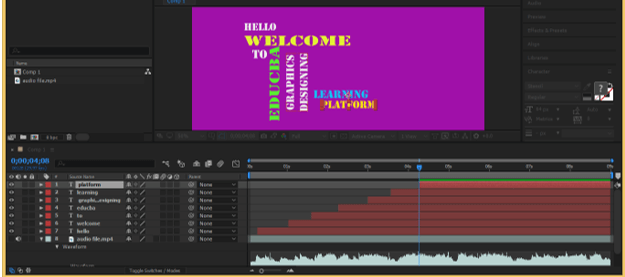
Now select the layer of first word and place play head at that frame of audio from where you want to start this word then press Alt + [ for start this layer from your selected frame.
Now place play head to next audio frame for next word and press Alt + [ for starting this layer from this frame.
Do the same for each word of this sentence.
Now we will animate these texts with a null object for adding motion in them. So for null object go to the Layer menu then go to the New option of the drop-down list. Now choose the Null option from the new drop-down list.
I will name this null object layer as Motion. You can name it according to you.
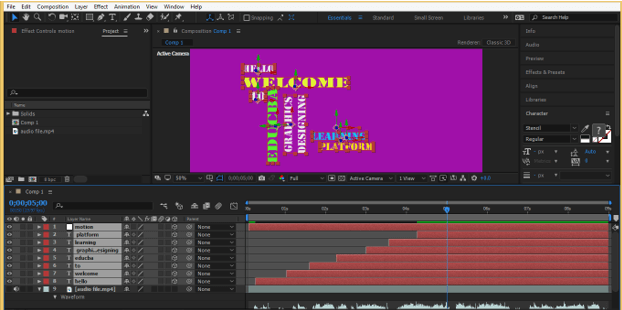
Now select all text layers along with null object layer then click on 3d option of any one of the layers for making them a 3d layer. By making them 3d layers we can add motion on these text in x y and z-direction.
And all layers become 3d like this.
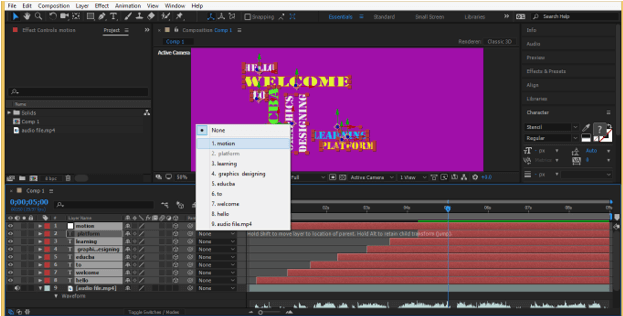
Now make parent this motion layer (null object layer) for all text layers.
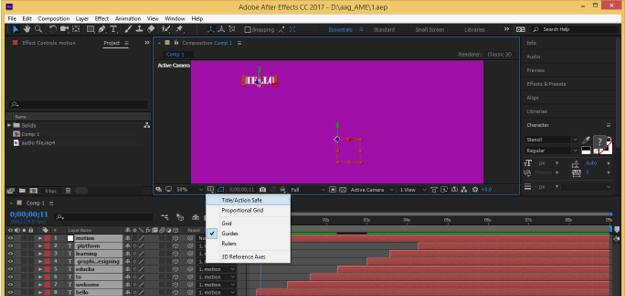
You can choose the Title/Action Safe option from this list for aligning your text during animating them with a null object.
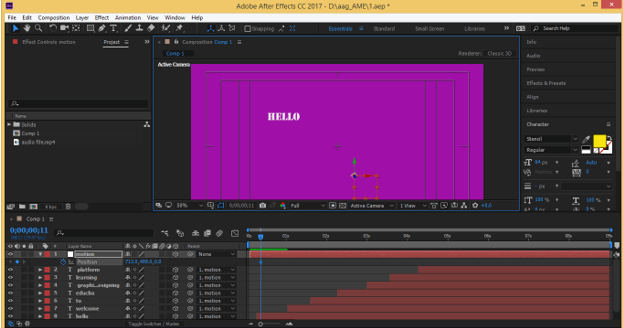
I will animate the position of this null object for animating my text. Move play head to the first word and add a key on the position of a null object then change its position according to which you want to move the first word. I will move it in an upward direction.
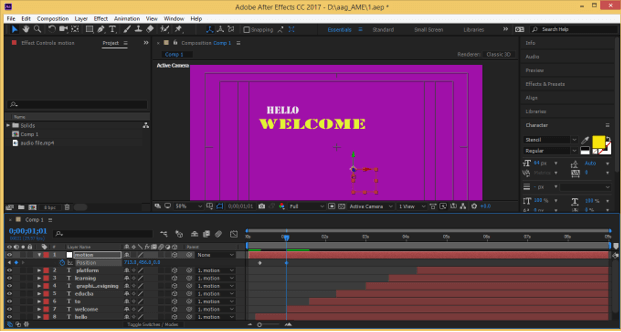
Go to next word layer and change position of the null object in an upward direction for moving this word in upward direction also
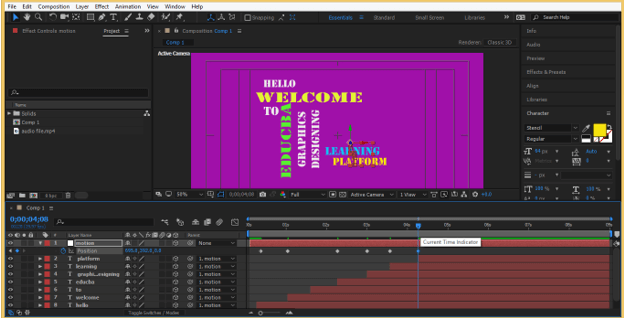
Make some variation in the position of a null object with each word. You can animate texts with scale property of null object also as per your choice.
Now you can see your kinetic typography by playing the animation.
Conclusion
Now after this article you can understand what Kinetic Typography is and how you can handle parameters of this software for creating good kinetic typography for your project work with your own idea. You can add a plus point to your graphics skill by practicing this type of typography.
Recommended Articles
This is a guide to After Effect Kinetic Typography. Here we discuss Introduction, How to do Kinetic Typography in After Effect?. You may also have a look at the following articles to learn more –
