Updated August 28, 2023
Introduction to After Effects Gradient
Gradient in After Effects is a combination of different colors in a super smooth blending mode system. So you can create a very effect animation of color combination for your project, which will work as a background of any particular work. To make this type of gradient effect in this software, we have to go through the management of some parameters’ of this software such as Effects & Presets, using different tools, making of pre-composition and some other important terms of manipulation for getting this effect in it. We will understand this effect in after effects through an exciting example of motion background of gradient color by using some features of this software. So let us have a look on it.
How to use Gradient in After Effect for Making Motion Background?
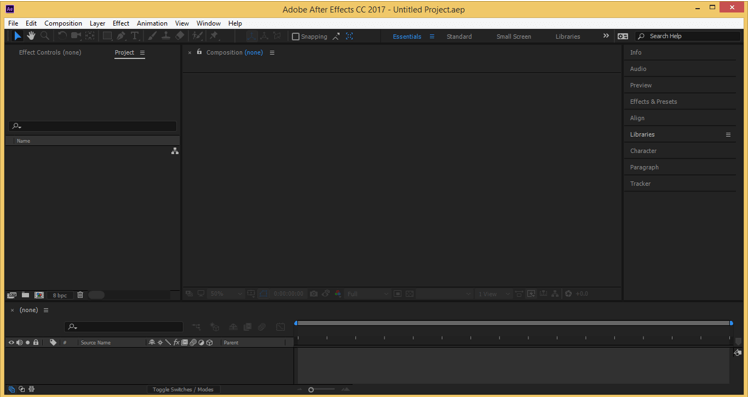
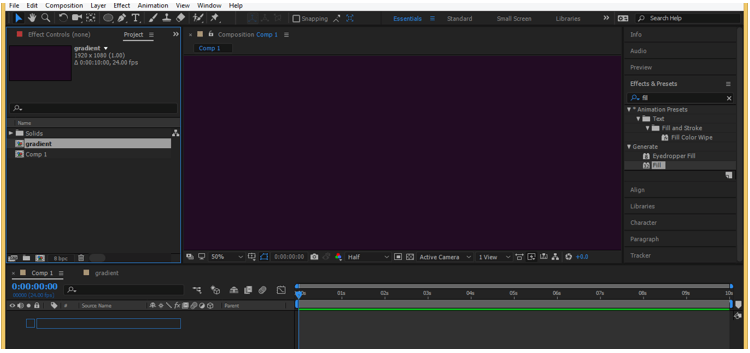
We can create a good background by using gradient features of after effect by following a few simple steps, but before starting, let us look on the working screen of this software so that we can easily understand different terms we will use during our learning about this topic.
At the top of the working screen, there is a bar which we will called Menu bar, which has a number of menus; below this, we have a toolbar along with its property bar at the right side of this bar, below this toolbar, we have three sections that are at left side we have Projects panel along with Effect Control panel, at the center we have display window in which we can see our current working, at the right side we have we have some parameters’ tabs such as Preview tab, Align tabs, Effects & Presets tab and some others. You can rearrange all these sections as per your choice at any other place on the working screen.
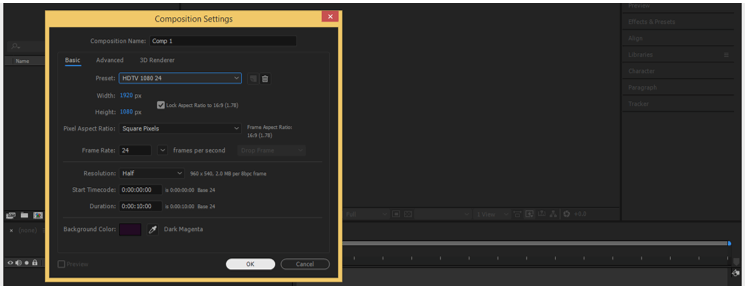
Now let us have a new composition for our learning. For new composition, go to the Composition menu of the menu bar and click on it. Then, click on the ‘New composition’ option of the drop-down list of composition menu for having new composition.
Make your desired settings in the composition settings box for this composition, then hit the Ok button of this dialog box. This will be our main composition.
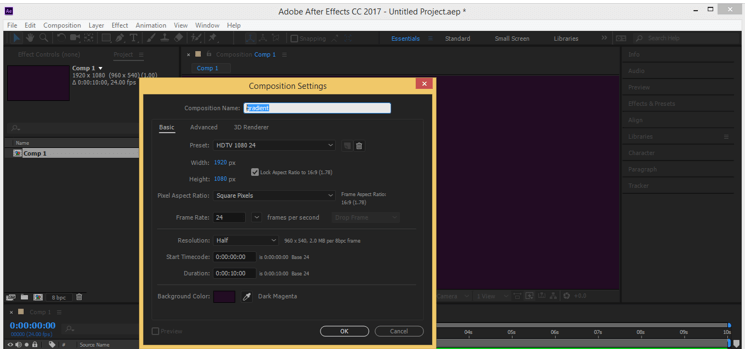
Again make another composition and name it as Gradient, then hit the Ok button of this composition box.
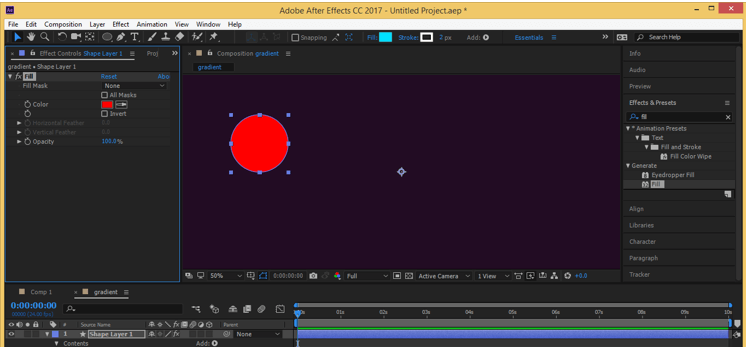
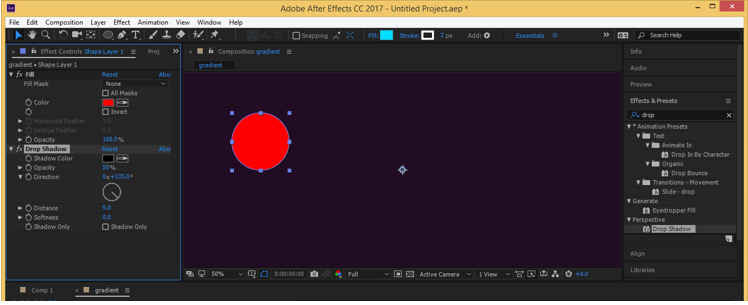
Select gradient composition and go to the tool bar of this software. Then take the ellipse tool from it by click on it.
Now make a circle with this tool of any size.
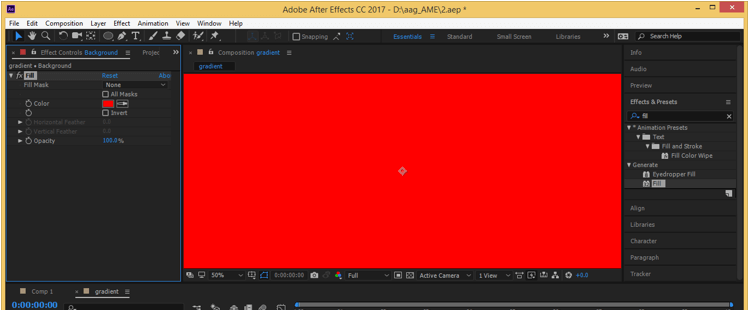
Go to the Effects & Presets option of the parameters section of this software, search for Fill effect, and double click on this effect.
Now search for the Drop Shadow effect in the Effects & presets option, double-click on it.
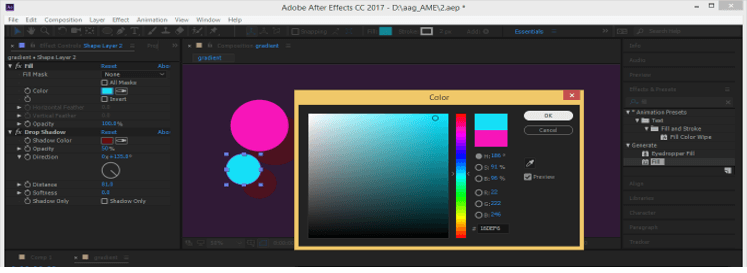
Change the color of fill from fill’s parameters which are in the Effect Controls tab.
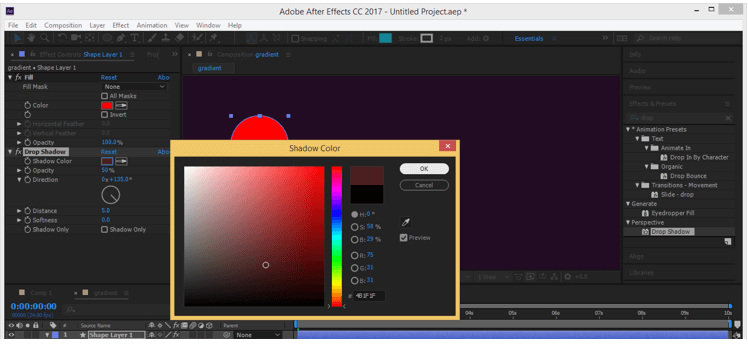
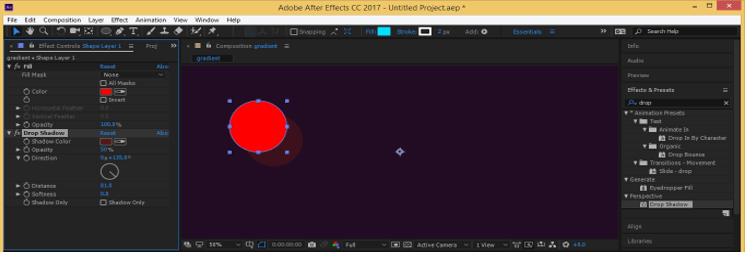
Please change the color of the drop shadow and increase its distance from the circle.
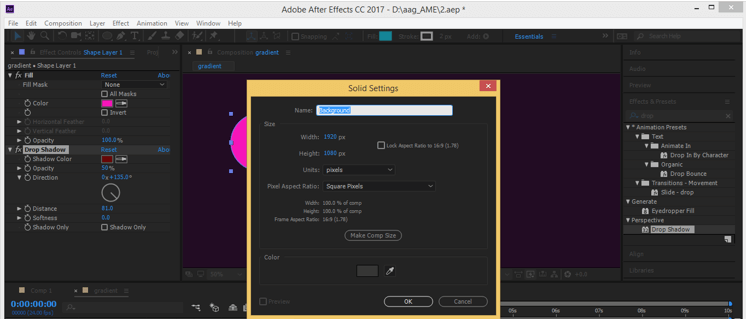
Now go to the Layer menu and click on the New option of the drop-down list. Then, choose the Solid option from the new drop-down list.
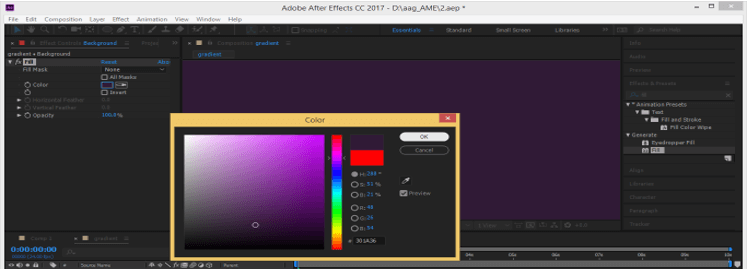
Name it as Background, then hit the Ok button of this dialog box.
Again add fill effect to this solid layer from the Effects & Presets option.
Choose fill color for solid layer. I will choose this color.
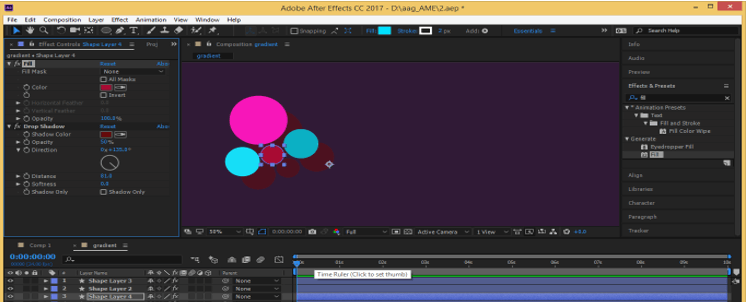
Now make a duplicate layer of this ellipse layer by pressing Ctrl + D button and changing the color of the new ellipse.
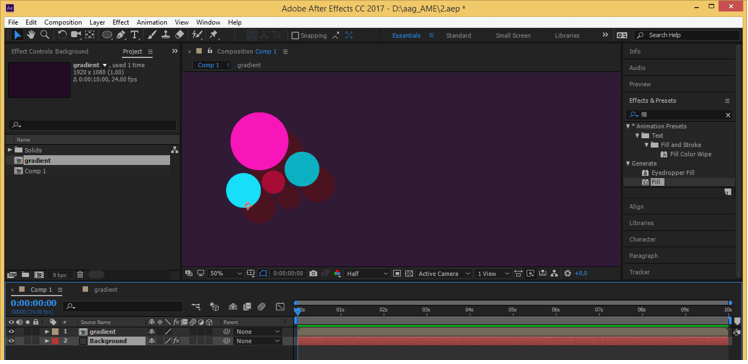
Make multiple copies of this layer with different color and size like this.
Place gradient composition in Comp 1, which is our main composition.
Cut background layer from gradient comp by pressing the Ctrl + X button of the keyboard.
And paste it into the main composition.
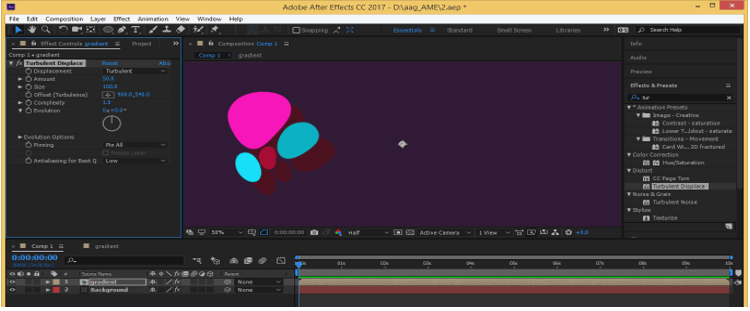
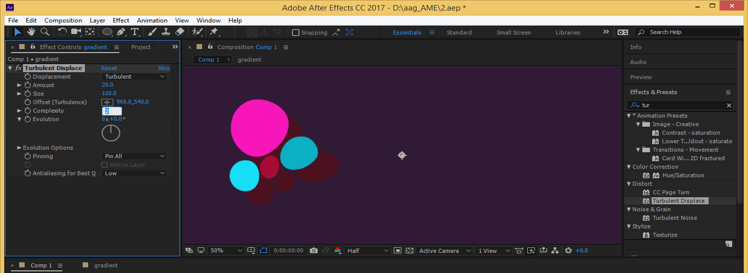
Now select gradient layer and search for Turbulence effect in Effects & Presets option and make double click on it then you will get this type of effect.
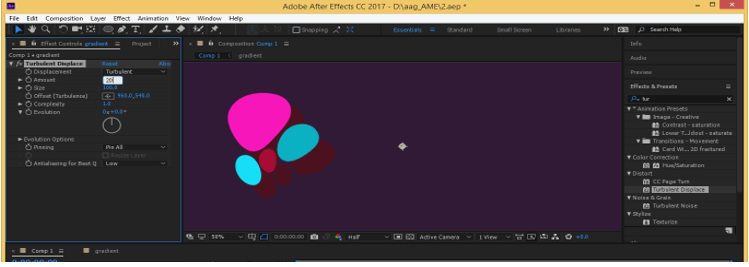
Set amount as 20.
And complexity as 2 for smoothness in this effect.
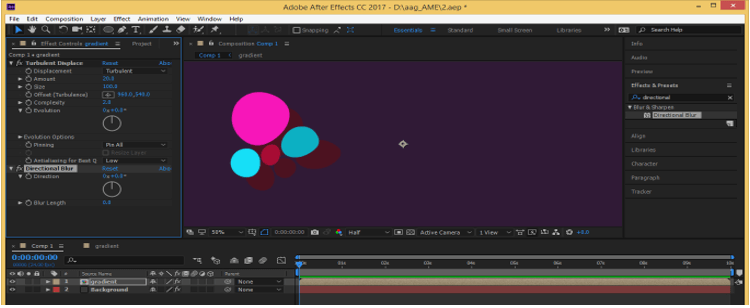
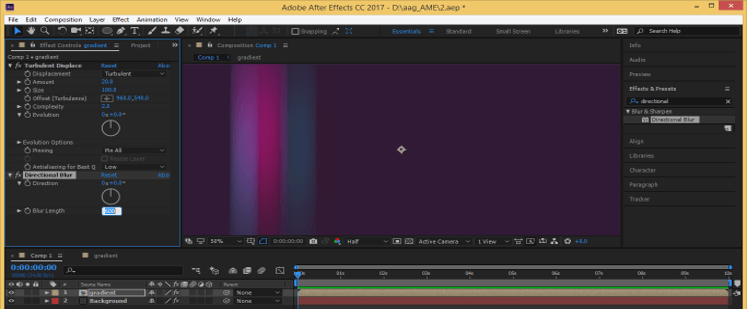
Now search for the Directional blur effect in the Effects & Presets option and make double click on it.
Set Blur length as 600.
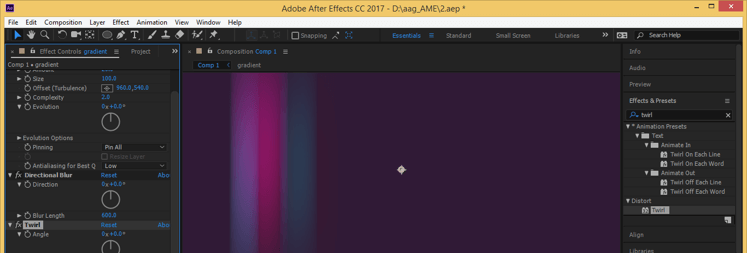
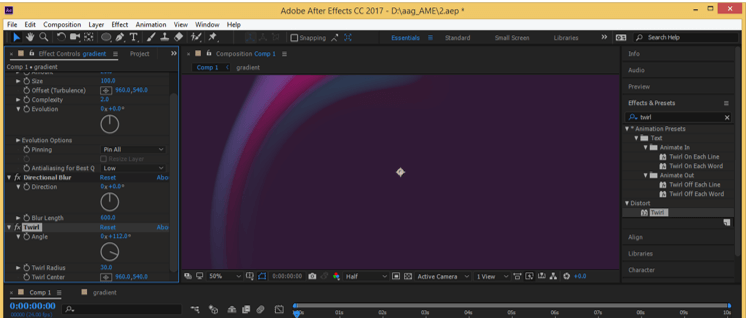
Now search Twirl effect in the Effects & Presets option and make double click on it.
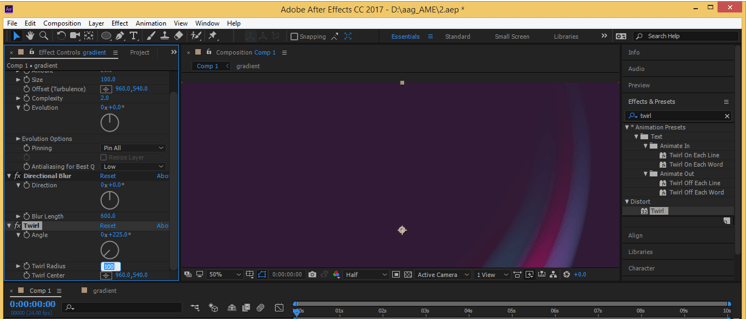
Change the angle of the Twirl option from its parameters as per your choice.
Set twirl radius as 100.
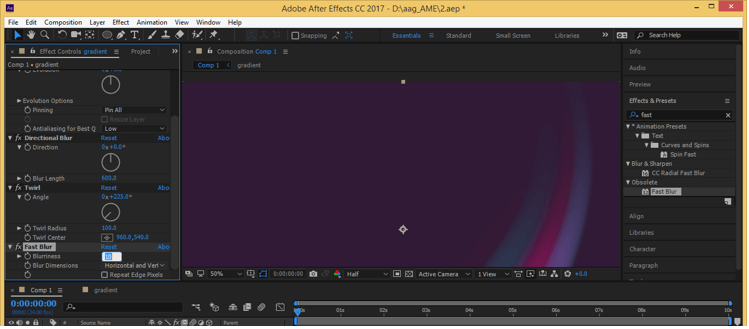
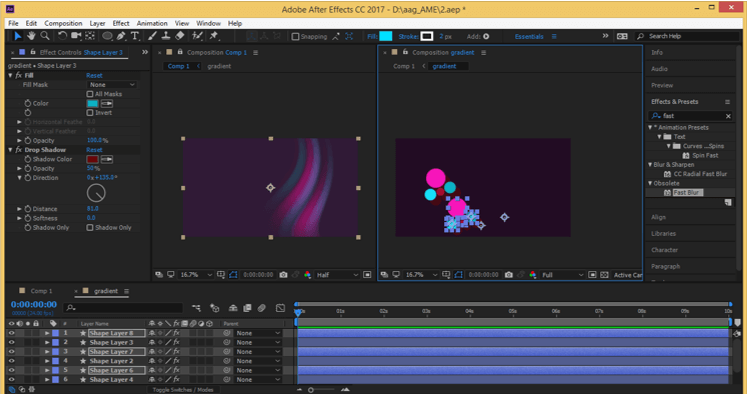
Search Fast Blur effect in Effects & Presets option and make double click on it.
Set Blurriness as 10 for smoothing out blending of all color with each other.
Now make a click on the lock button of this composition for locking it.
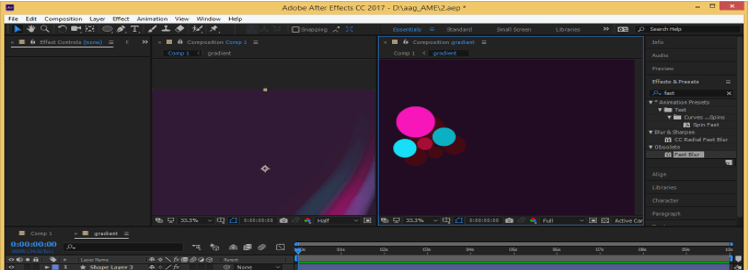
Now go to the View menu and click the New Viewer option.
Your composition window screen will split into two windows like this for each composition.
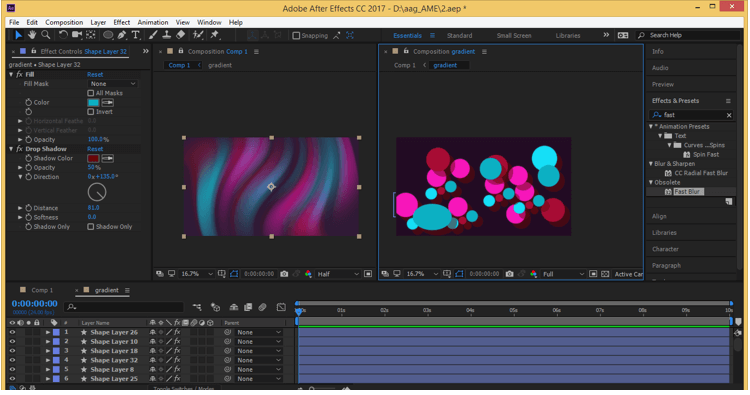
Now make a copy of these circles by pressing the Ctrl + D button of the keyboard and place them at a different place, and you will see more lines will add in the main composition.
Please do it again and again, then spread all circles according to you for making a good twirl gradient effect in the main composition.
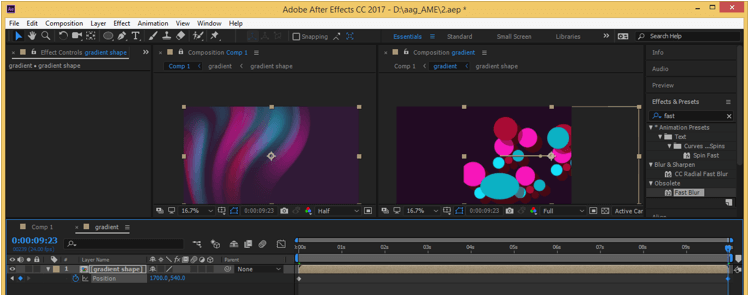
Now select all layers of shapes by pressing Ctrl + A button, then make a right-click and choose the Pre Composition option for making a pre composition.
Name it as Gradient Shape, then hit the Ok button.
Now hit the P button for position property of gradient shapes layer. We will animate it. Make a click on the stop watch icon of this property, then place key frame play head as the 10 sec and change position of this layer like this.
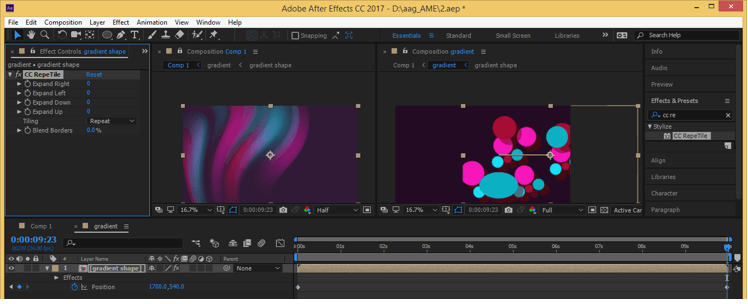
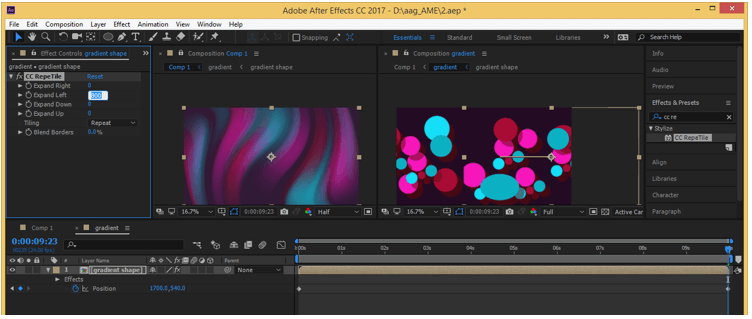
Now search CC RepeTile effect in the Effects & Presets option and make double click on it.
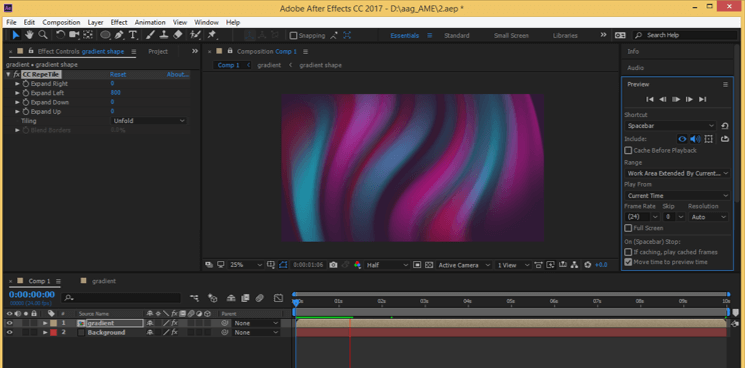
For the filling left side of the shape, an area set Expand left value as 800.
Set Unfold in Tiling option for smooth connection of all shapes.
Now you can see the animation by playing it.
In this way, you can use the gradient effect in this software.
Conclusion – After Effects Gradient
After this article, you can now understand what gradient effect is in after effect and how you can handle its parameters for getting a good gradient effect with your own idea. You can increase your expertise in this effect by practicing on it.
Recommended Articles
This is a guide to After Effects Gradient. Here we discuss How to use Gradient in after Effect for making motion background. You may also have a look at the following articles to learn more –
