Introduction to After Effects Optical Flares
An optical flare is a plugin software that creates an effect of spreading of the light source through a lens and gives you the illusion of scattering of light for making your object illuminative during any animation in your project work. You can create a very beautiful light effect such as headlight of a car, lamplight, any light source, and any other this type of object by using optical flare in this software. As we know optical flare is plugin software of after effect so you have to download and install it from its official website for using it in your project work. So here in this article, we will discuss all major things about using optical flare through an example.
How to Use Optical flare in Photoshop?
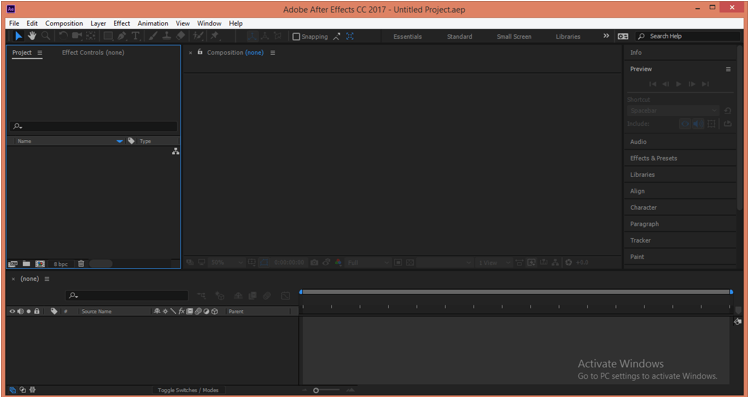
Optical flare is plugin software so before using it we have to install it and place its folder in the plugin folder of after effect. Once you install it you can use it and I will tell you here how you can use it but before we start discussing it let us have a look on the working screen of this software for our better understanding of this.
The topmost bar of the user screen of this software is Menu bar with several menus. Below this, there is a Tool Panel which has some important tools for helping us during our work in this software. Below this bar we have three sections in user screen such as at left side there is Project panel along with Effects controls panel, at the center we have Composition window which works as a display window of this software, at the right side we have some important parameters’ tabs such as Preview, Libraries, Effects & Presets and some other important tabs. Below this section, at the lower part of the user screen, we have a Layer panel at the left side and Timeline at the right side.
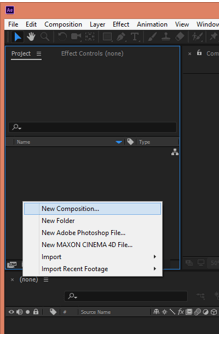
Now let us start our learning with the creation of the new composition. For new composition make the right click in the Project panel area of this software. A drop-down list will be open, choose the New Composition option from here.
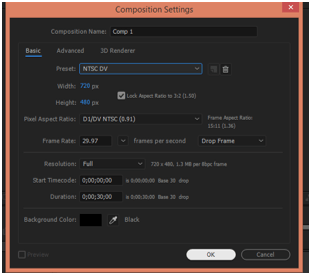
A composition settings box will be open once you click on the above option. Make your desired settings here for your composition and click on the Ok button of this box.
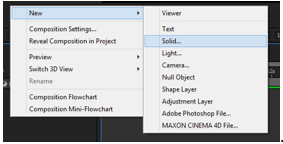
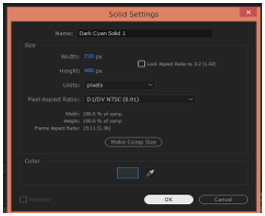
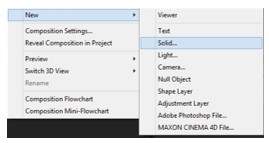
Now go to the layer panel and make the right click. A drop-down list will open, go to the ‘New’ option of the list then choose Solid option from a new drop-down list. We are making a solid layer because you have to apply an optical flare on a solid layer for using it.
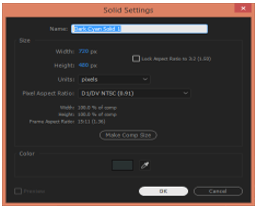
Make your desired settings for the solid layer and click Ok button. Make the sure size of the solid layer is equal to the size of the chosen composition.
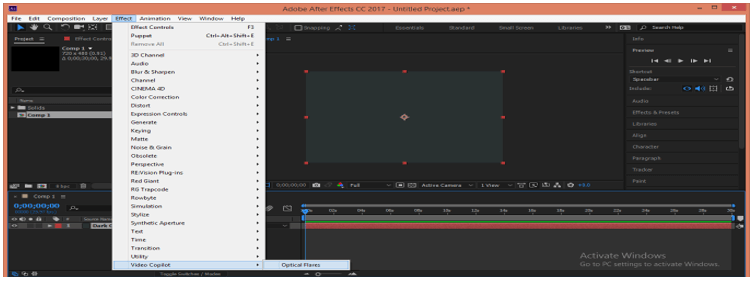
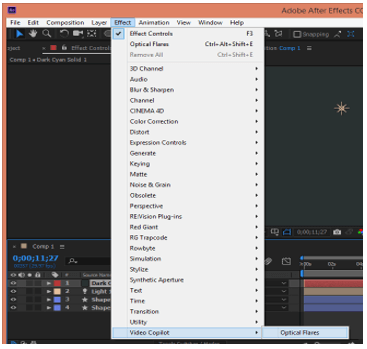
Go to Effect Menu of the menu bar and click on it. Go to the Video Copilot option of the list and click on the Optical Flares option of a new drop-down list.
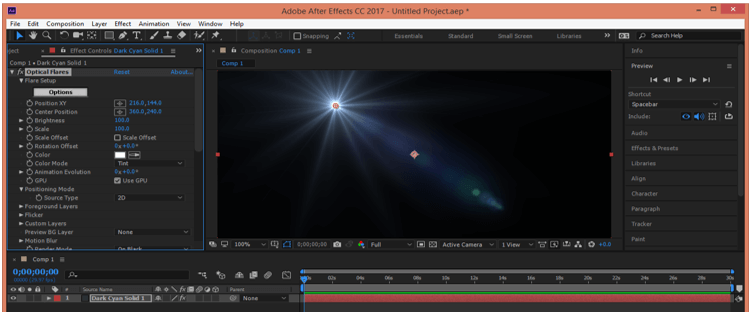
And optical flare effect will open on a solid layer like this. Once you open it you will find different parameters of it at the Effect Control panel section of this software.
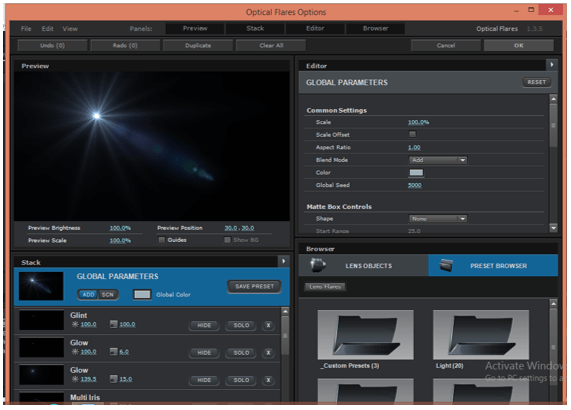
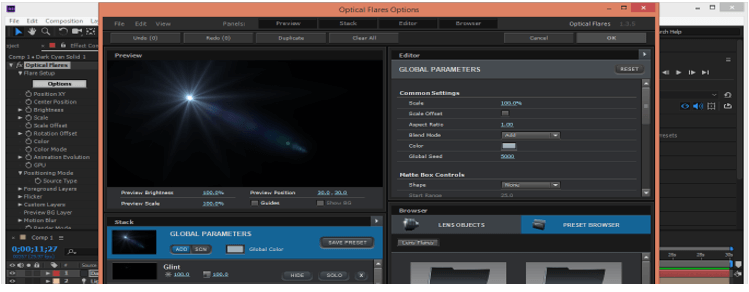
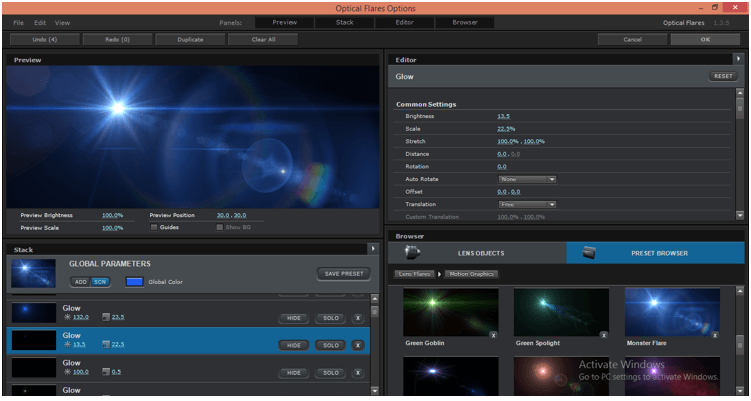
Click on the Options tab of Parameters of optical flare and you will find this type of window which has some presets of optical flare. You can manage some other parameters of optical flare here also. You can open this preset window only when you have access to the full version of this plugin.
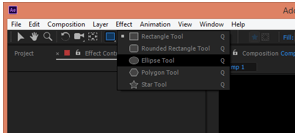
Now let us understand it with an example. Take the ellipse tool from the tool panel.
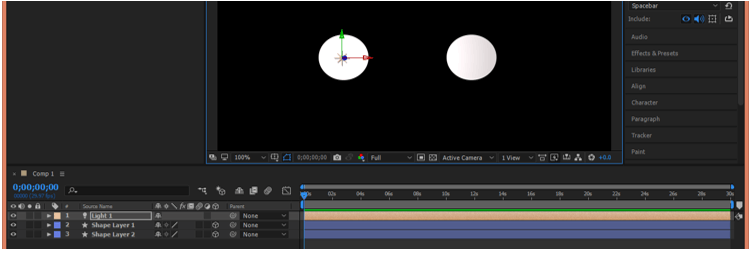
Make two ellipses on different layers like this.
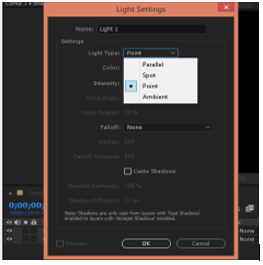
Now choose Light option from this list by clicking right click in the layer panel.
Take Point light then press the Ok button.
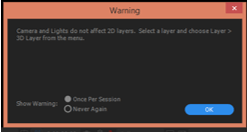
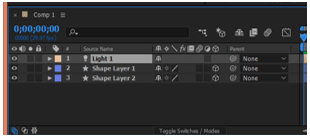
Light works on the 3d layer so make both shapes layer as 3d layer.
Now adjust this light source at the center of the first circle.
Now take the Solid layer by the same method as we did in previous and make settings of this box according to you.
Go to the Effect menu and click on it. Go to Video Copilot option of the drop-down list and choose the Optical flare option of new drop-down lsit.
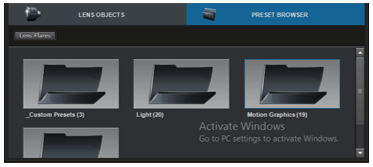
When optical flare opens, click on the Options tab of parameters of it. This window will be open. You can choose your desired presets from here.
I will click on the Motion Graphics folder of this dialog box.
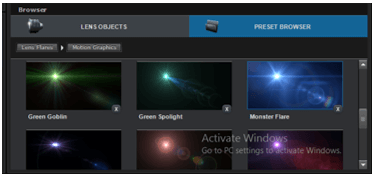
And choose Monster Flare presets from this folder.
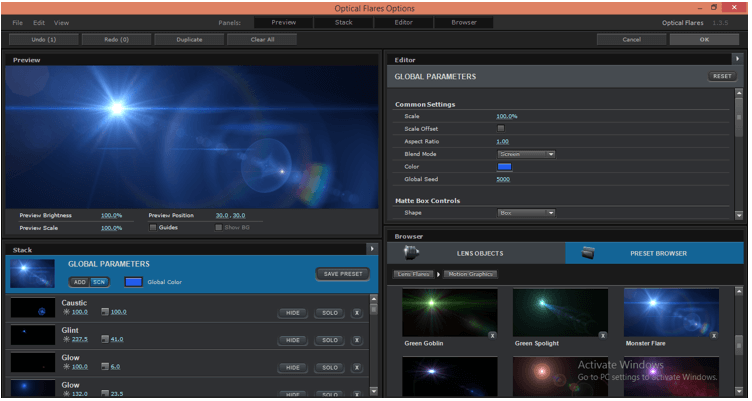
You will have your chosen preset on this window.
You can decrease the glow of it by decreasing the value of the glow option of it and once you are done click on the Ok button.
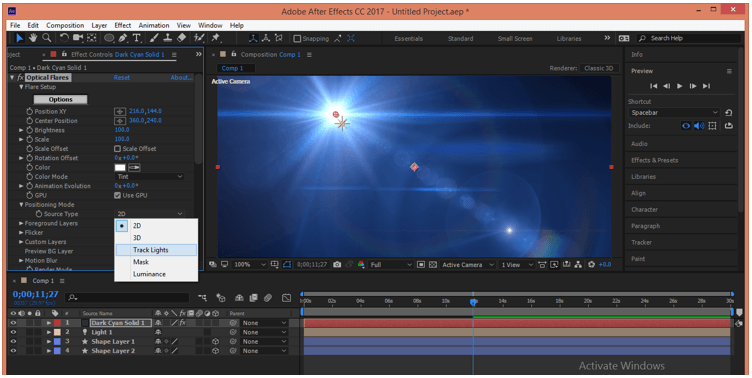
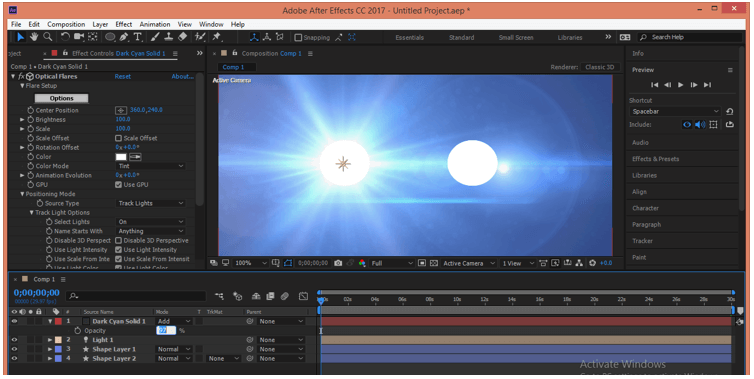
Now go to Effects Control tab and click on the drop-down arrow button of Source type option then choose Track Lights option for attaching this flare effect with the light layer.
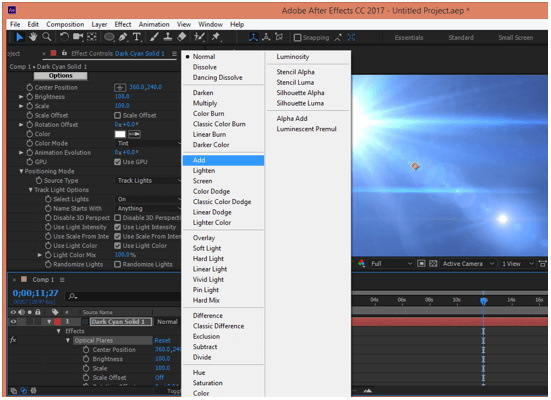
Now click on the drop-down arrow button of the solid layer and choose to Add option from the list for adding this flare effect with your composition.
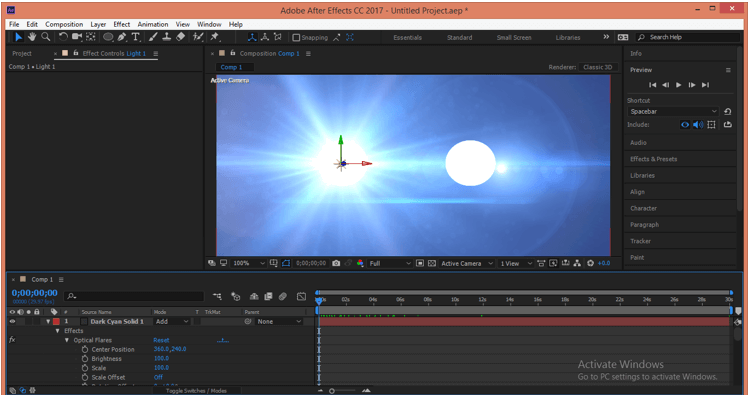
And optical flare will add like this. This is a very nice light source effect. You can use it as the headlight of any car animation, any light source, and for many other purposes.
You can decrease the opacity of optical flare by decreasing the opacity of a solid layer for minimizing the glow of light effect.
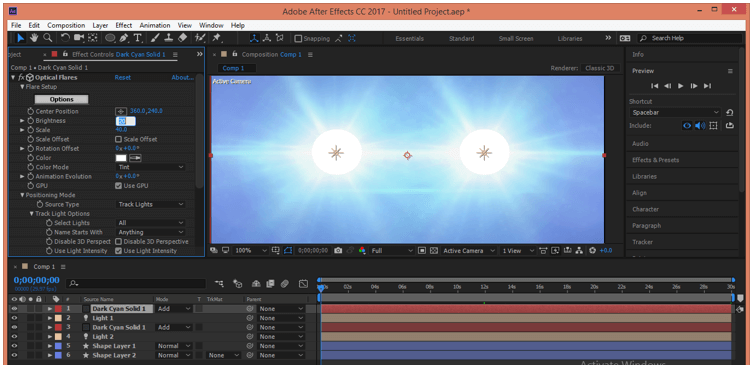
Make a copy of the solid layer and light layer both then drag them to the second circle. You will have two headlights effect light this. You can decrease their brightness from the Brightness option of optical flare parameters as per your choice.
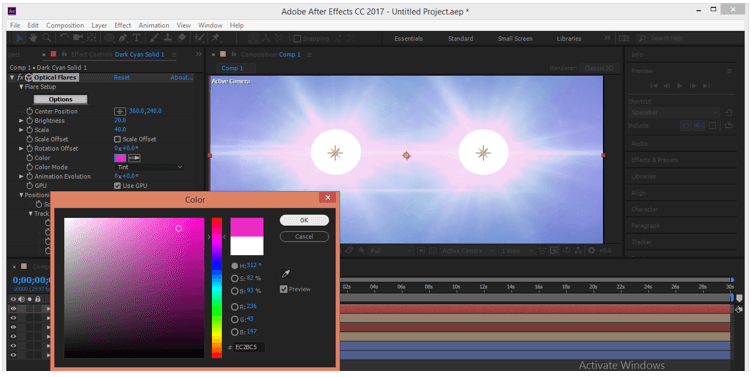
You can change the color of light from the color option of flare parameters.
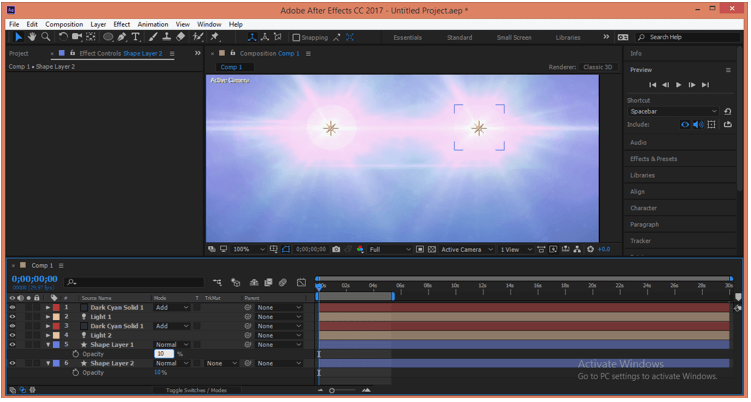
Decrease the opacity of both shape layers forgives real light source look. I will decrease it by up to 10%.
You can animate this light source according to you and this way you can use optical flare in after effects.
Conclusion
Now after this article you can understand what optical flare is in after effects and how you can handle its parameters for creating a nice light source effect. You can apply your idea for making good effects with this feature of after effect by getting ideas from this article.
Recommended Articles
This is a guide to After Effects Optical Flares. Here we discuss How to Use Optical flare in Photoshop and all major things about using optical flare through an example. You may also look at the following articles to learn more –
