Updated August 28, 2023
Introduction to After effects QuickTime
Adobe After Effects is an animation and video editing software. This article will learn how the QuickTime format works and the different options to export the video in this Apple format and various codecs. We will also see various presets in QuickTime format and also compare the file size of it.
Steps of After effects Quicktime
Here are the following steps mention below
Step #1
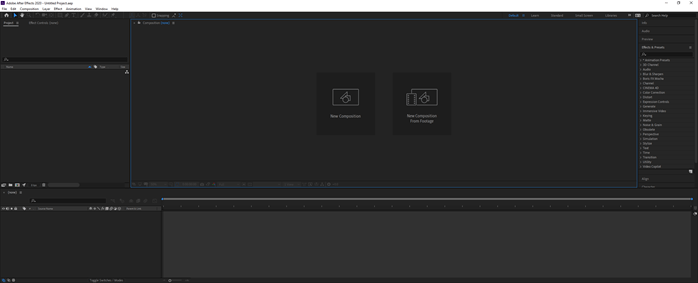
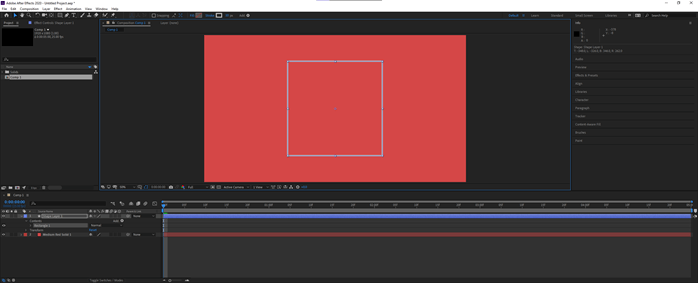
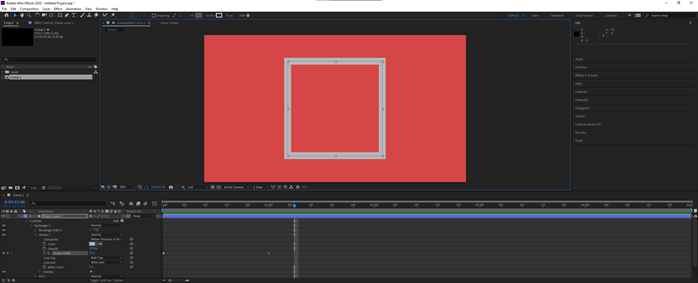
Let us first familiarize ourselves with the interface before starting to get a better understanding. At the top is the menu bar like File, Edit, etc., and each has its own submenu. Next, just below it, we have a tool panel and their properties. On the left side, a project panel consists of the project files and an effects control panel, which shows the effects applied on a particular layer. Then there is the composition panel which shows the preview of the animation or video. At the top right, we have various layout presets, which will arrange according to the type of work. We can even create our own custom layout. At the right, there are various sections used to edit the video. Finally, at the bottom, there are layers and a timeline panel used to add media and add animation keyframes.
Step #2
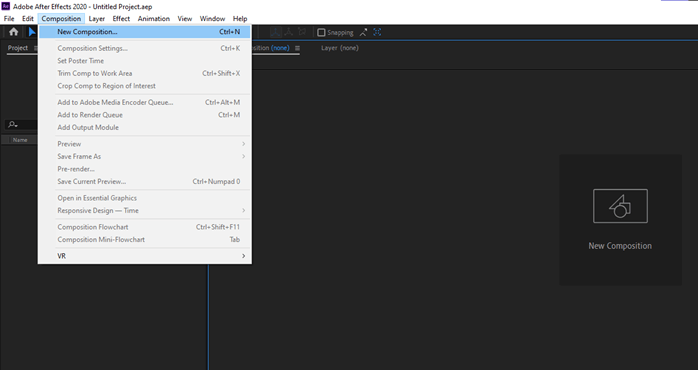
Let’s create a new composition from the menu or press Ctrl + N
Step #3
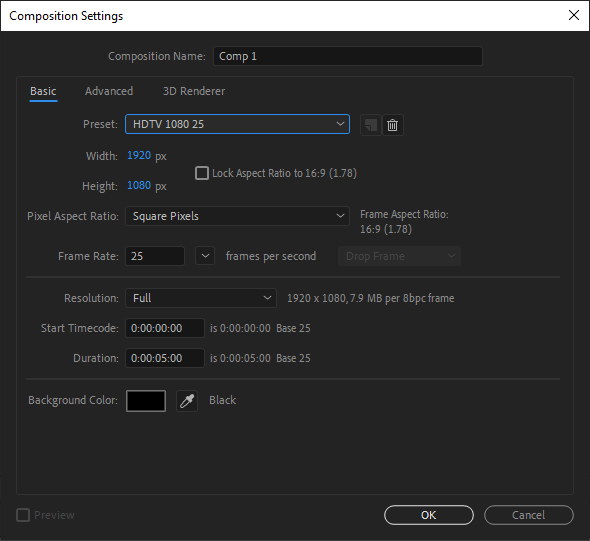
Keep the same settings a click OK.
Step #4
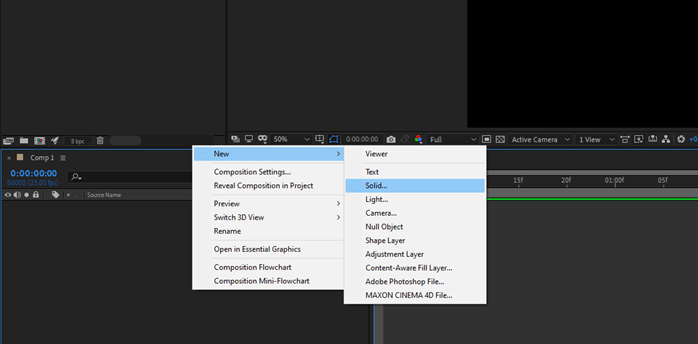
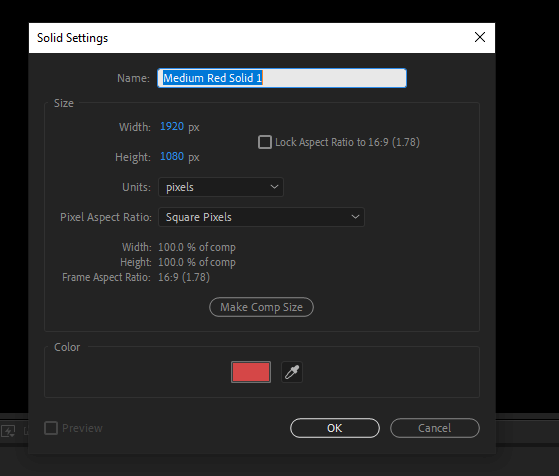
Create a Solid in the layers panel or create it from the menu
Step #5
Keep the settings the same and click OK.
Step #6
Use the rectangle tool or press Q, and then draw a square. Hold shift to make a perfect square.
Step #7
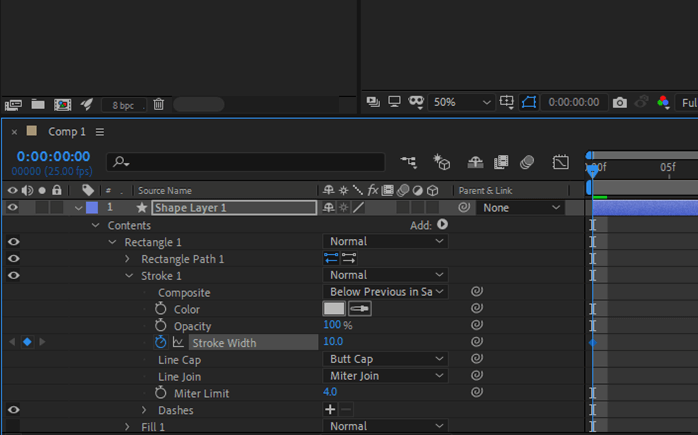
In the layers panel, set the keyframe on the stroke width property.
Step #8
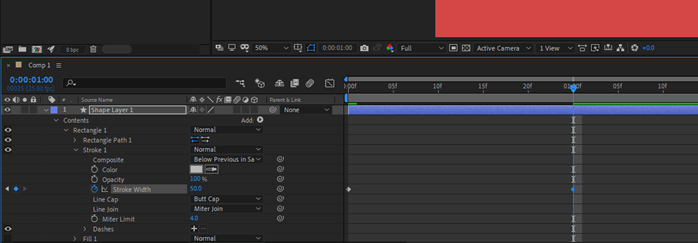
Then move the current-time indicator to around 1 second and set another keyframe, and change the stroke width to 50.0
Step #9
Now we have created a simple animation which we will see how to export in the QuickTime format.
Step #10
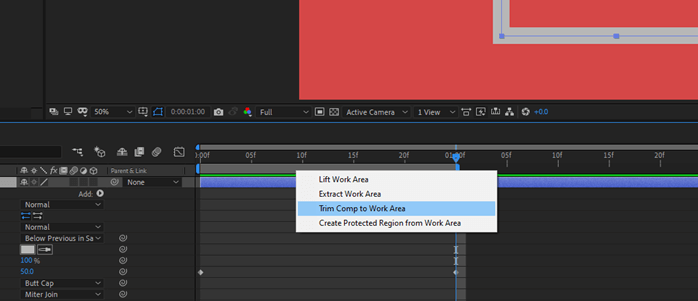
Before we export, we will change the size of the comp and Trim the comp to Work Area by making the work area to the location of the current-time indicator.
Step #11
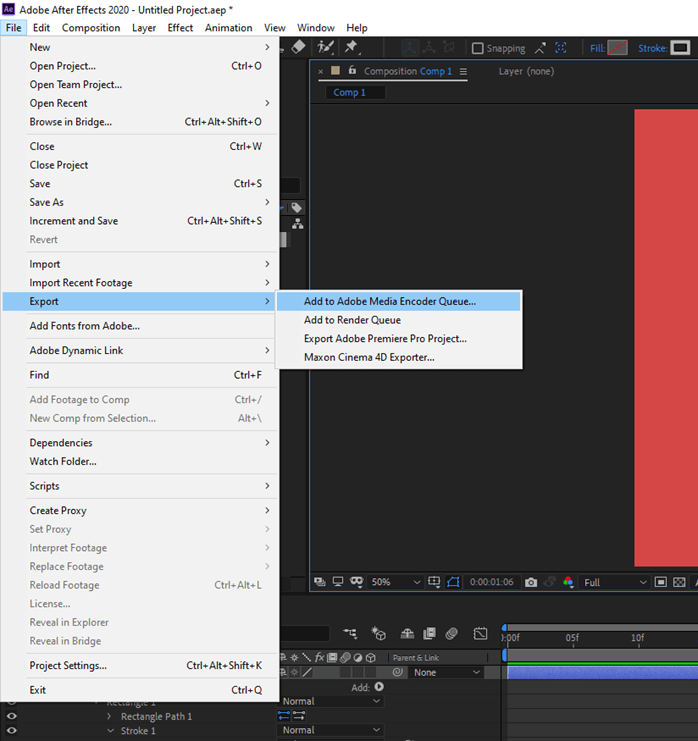
While Exportin, we can export to the render queue or add to the media encoder queue. The difference is that if you export in render queue you will export right from adobe after effects and if you choose to export from media encoder queue then you have to install adobe media encoder, which can not only export media from after effects but also from various other adobe products like adobe premiere pro and more. Other options are to export as a Premiere Pro project which will be opened directly in premiere pro. The last option is to export it in Maxon cinema 4D explorer which requires a cinema 4D plugin for after effects to export in that format. In this article, we will export using Adobe media encoder and specifically for the QuickTime format.
Step #12
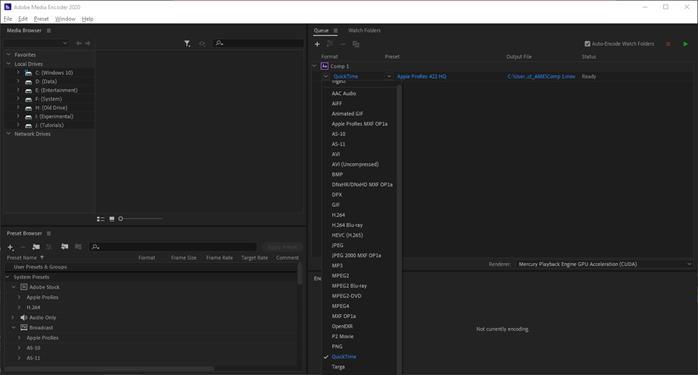
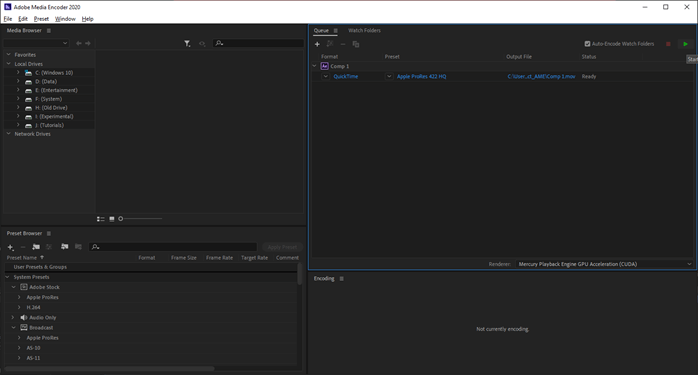
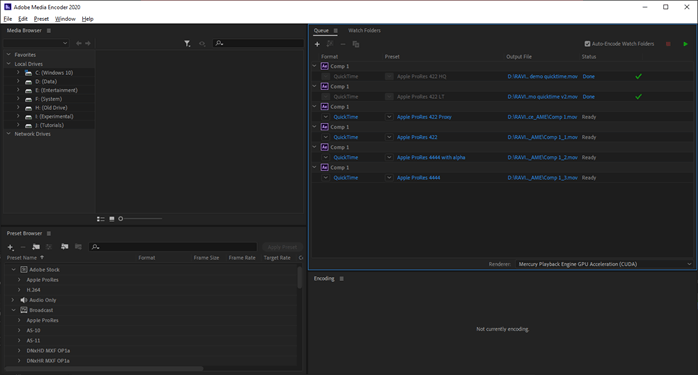
As we can se, the clip is added in the media encoder render queue, and from here, we can select the format, preset, output file and see the current status. For example, in format, select QuickTime and click on it.
Step #13
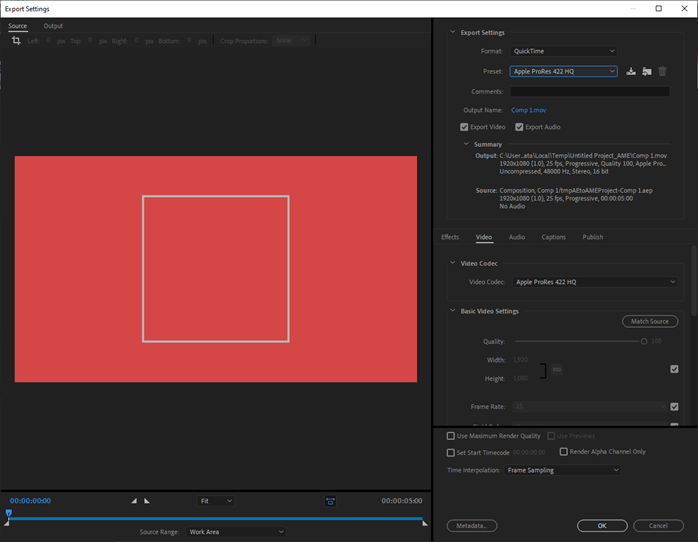
You will get a dialog with the options for QuickTime format in the export settings. Along with that, you will also see a preview of the video where you can set the in and out markers if you want to trim a certain part of the video. By default, the source range is set to the work area. At first, set the preset to Apple ProRes 422 HQ and keep all the settings the same and also make sure export video and audio are checked if there is any audio and click OK.
Step #14
Click the green play button to start the queue rendering or press enter. You can also select the renderer, mercury playback engine GPU Acceleration (CUDA) with uses the graphics card, or Mercury playback engine software only, which do not use GPU.
Step #15
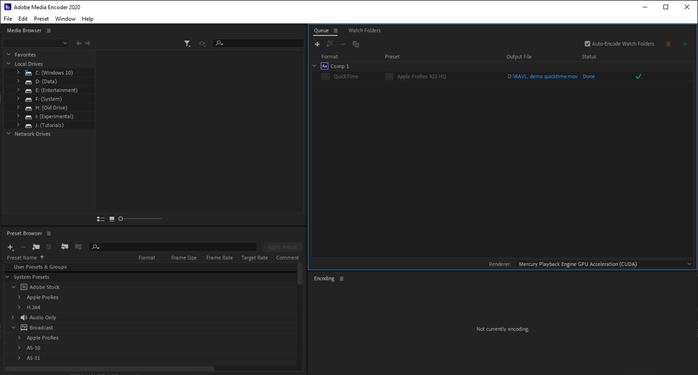
Once you have completed the rendering in this preset, a green checkmark will be seen next to the status, and the status will be done. For longer clips, you can see the progress in the encoding panel.
Step #16
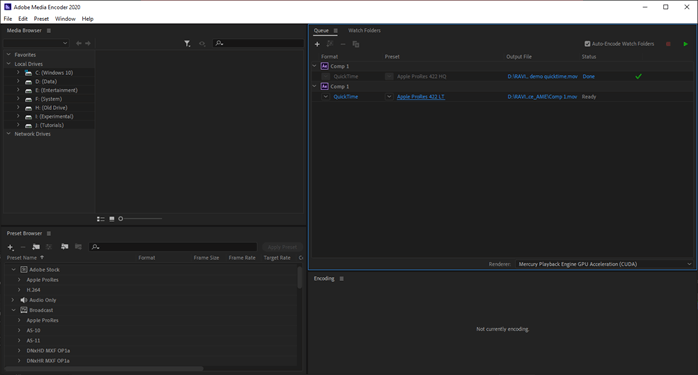
Change the preset to Apple ProRes 422 LT and also change the output file location and then render. We can now compare the file size of various presets.
Step #17
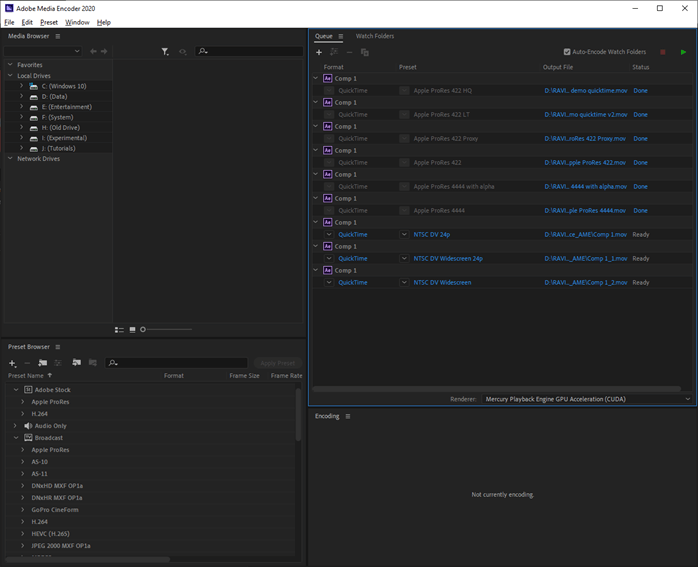
Next, we have added the same video to export 4 times with different preset Apple ProRes 422 Proxy, Apple ProRes 422, Apple ProRes 4444 with alpha, and Apple ProRes 4444
Step #18
As we can see in terms of file size, Apple ProRes 4444 with alpha has the maximum file size, and Apple ProRes 422 Proxy has the lowest file size, which also affects the quality of the output.
Step #19
Now let’s look at some NTSC Presets, namely NTSC DV 24p, NTSC DV Widescreen 24p, NTSC DV Widescreen.
Step #20
Let’s compare the file size, and we can see that they are basically equivalent except for the widescreen one.
Step #21
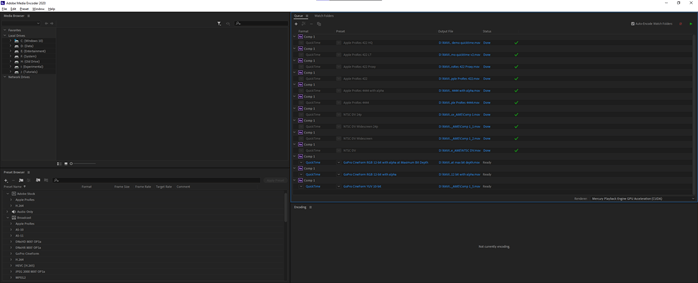
Now let’s look at some GoPro Presets, namely GoPro CineForm RGB 12-bit with alpha at Maximum Bit Depth, GoPro CineForm RBG 12-bit with alpha, and GoPro Cineform YUV 10-bit.
Step #22
As we can see that the 12-bit versions have more file size than the 10-bit versions of GoPro
Step #23
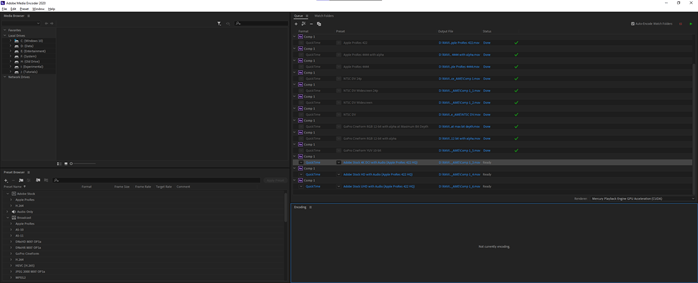
Now let’s look at the adobe stock 4k vs HD vs UHD variant of Apple ProRes 422 HQ with audio and compare those.
Step #24
As we can see, Adobe Stock 4K DCI has a max file size with UHD following it, and HD has the lowest file size, which is totally dependent on the output resolution.
Conclusion
In this article we have learned how to use the QuickTime format with is Apple’s proprietary format used to export videos from after-effects with .mov file extensions. We have also seen various output preset that affects the file size and the quality and also seen the use of an adobe media encoder to export the clips.
Recommended Articles
This is a guide to After effects Quicktime. Here we discuss using the QuickTime format with Apple’s proprietary format used to export videos from after-effects with .mov file extensions. You may also have a look at the following articles to learn more –

