Introduction to After Effects Render
Render is one of the features in After Effects. Render means a method through which we make ready our animation for using it anywhere on a digital platform, and it also gives you the final output of your animation. Here in this article, we will understand Render with an example and analyze its parameters and learn how to handle these parameters.
How to Use After Effect Render?
Let us look at a different type of sections of this software that makes the User screen of this software so that there will be no problem occurs during our learning throughout this article.
Step 1: First and foremost thing of the user screen of this software is Menu Bar and Tool Bar which are at the top of the working screen, below this we have three main sections in this software that are at left side we have Project Panel and Effect Controls, at the middle, we have Composition window which shows you the current composition of your project, at the right side we have Parameters sections which has some different parameters that are Preview tab, Effects & Presets tab, Align tab, etc., below this section we have two main sections that are Layer section which shows you a number of layers used in your composition, at the right side we have Timeline section for handling the parameters of animation.
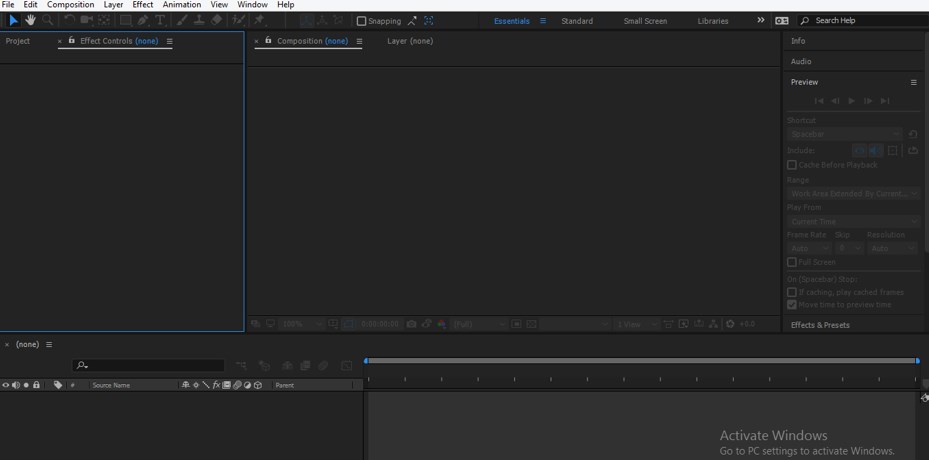
Step 2: No,w let us have a new composition for our learning. For new composition go to the Composition menu of the Menu bar and click on the ‘New Composition’ option of a drop-down list, or you can press Ctrl + N button from the keyboard for a new composition.

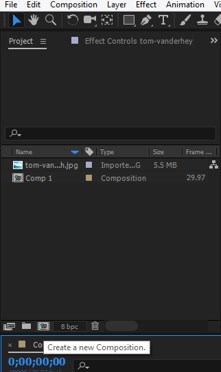
Step 3: Or you can click on this ‘Create a new composition’ button of the Project Panel for a new composition.
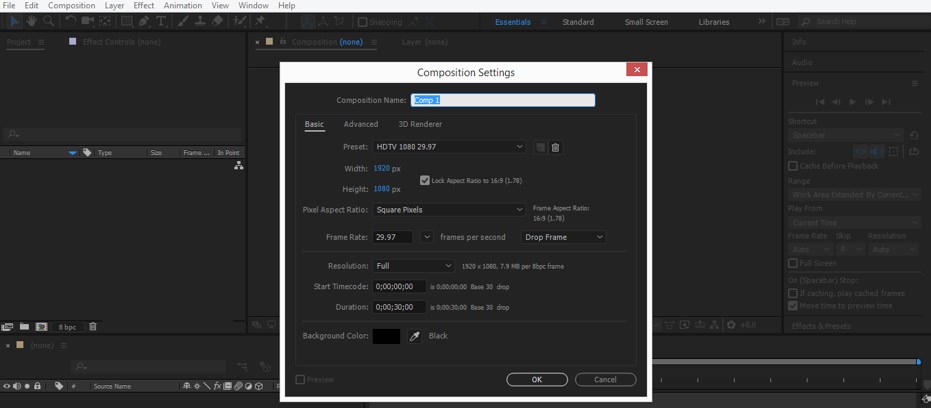
Step 4: Now, a setting dialog box for Composition will be open. Make your desired settings in this box for your desired composition.
Step 5: Now, let us take an image for our learning. For placing the image in this software, go to that folder where you have saved your image. Pick it from there and drop it in the Project panel section of this software.

Step 6: Now drag this image into the Layer section of this software which is at the bottom end of the working screen from the Project Panel section.
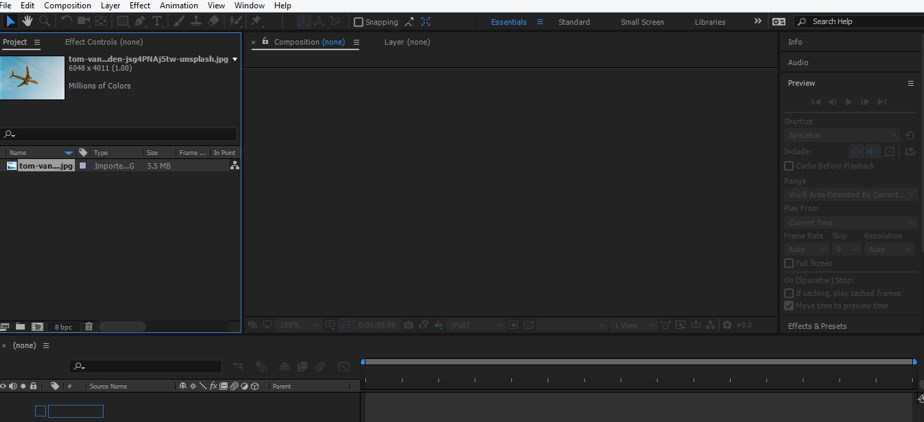
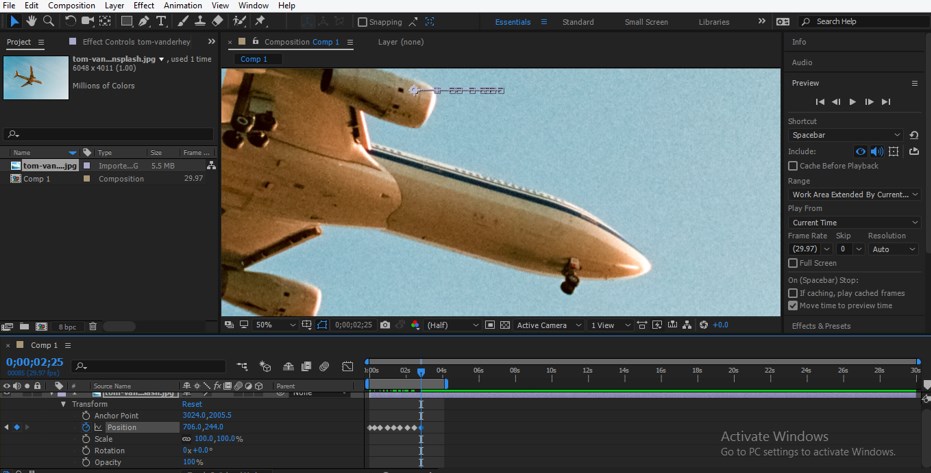
Step 7: Now click on the small arrow icon of this layer. A list of Transform properties of this layer will be open. I will animate the Position property of this layer. Click on a small stopwatch icon of Position property for adding keyframe in keyframe section of timeline and place keyframe play head at some seconds then add a new key at this point and change the value of the position. Repeat this according to you for animating this image.
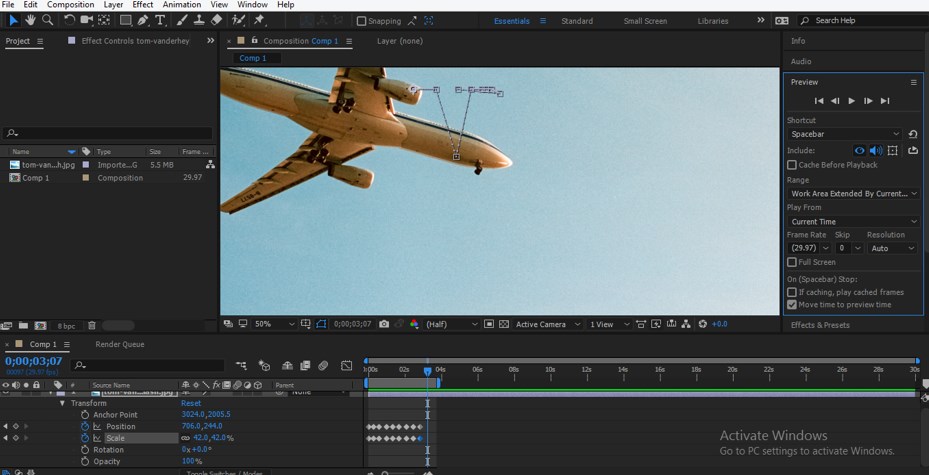
Step 8: You can animate more than one transform property of this image. I will also animate the Scale property of this image like this. You can animate it according to you or use any other animation to learn the Render feature of After Effect software.
Step 9: Now let us render this image so that we can use it anywhere else. For render, go to the Composition menu of the Menu bar at the top of the working screen and click on the ‘Add to Render Queue’ option of the drop-down list of the composition menu, or press Ctrl + M keys for opening the Render panel.

Step 10: Once you click on this option, a render panel will open at the bottom end of the working area.
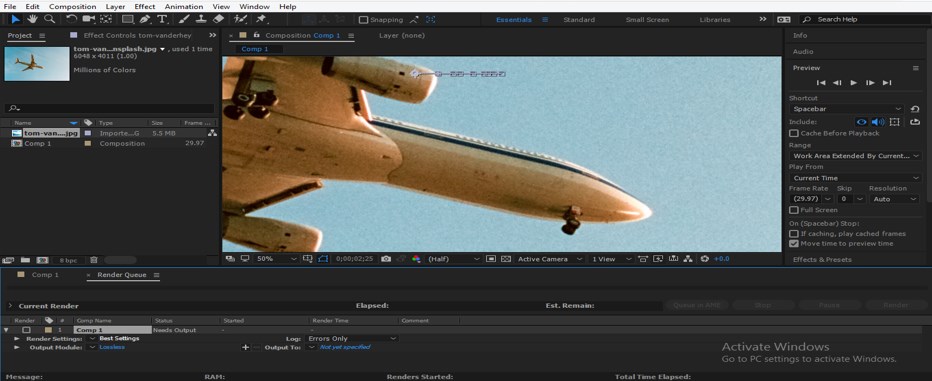
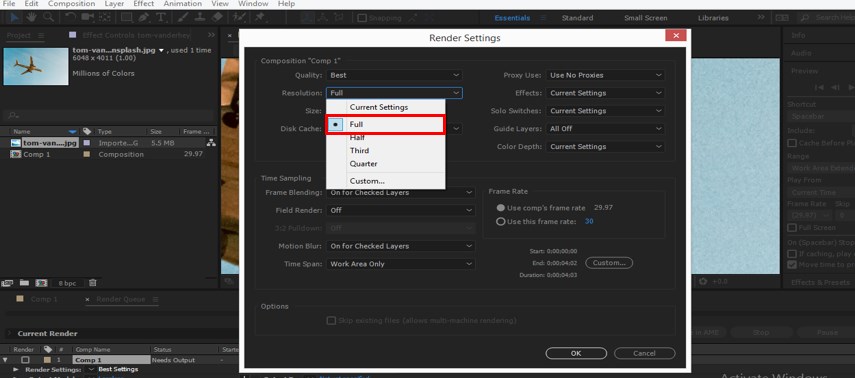
Step 11: Now click on the Best Setting option of Render settings of this panel. Once you click on this option, a Render setting box will be open. Make some settings in this box such as take Best in Quality tab and Resolution should be ‘Full’ for the best result of video quality and the press Ok button of this dialog box for applying the settings.
Step 12: Now click on the Lossless option of Output Method.

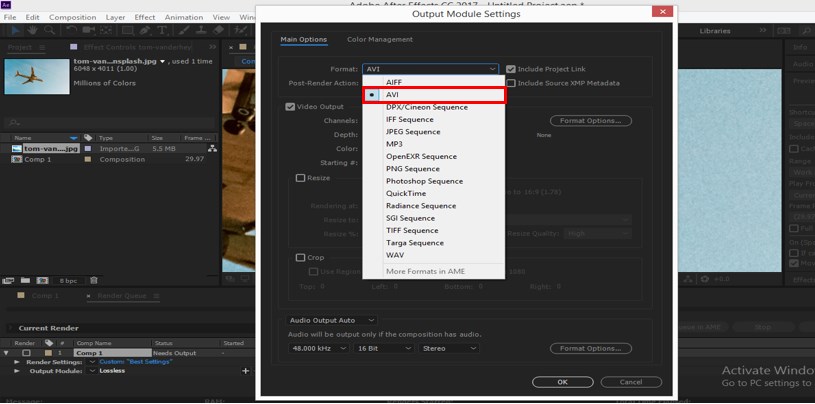
Step 13: An Output Method Settings box will be open. Choose your desired file format in which you want to save your animation video and press the Ok button of his dialog box for applying the settings.
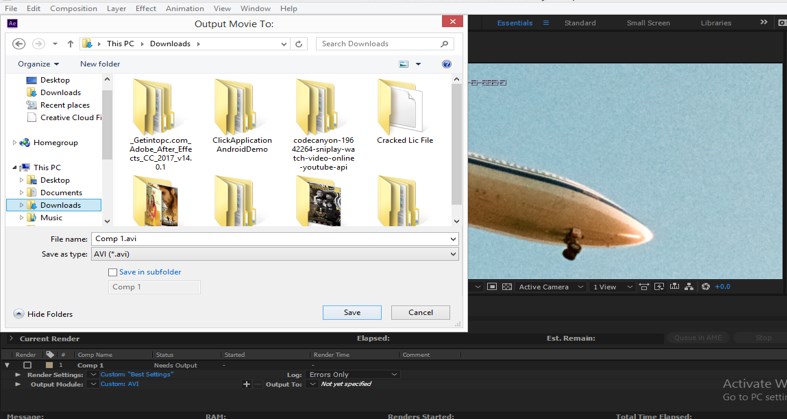
Step 14: Now click in front of the ‘Output to’ option for saving this file. A save dialog box will open. Select your desired location where you want to save your animation video and name it according to you.
Step 15: Now click on the Render button, which is on the right side of the Render panel.
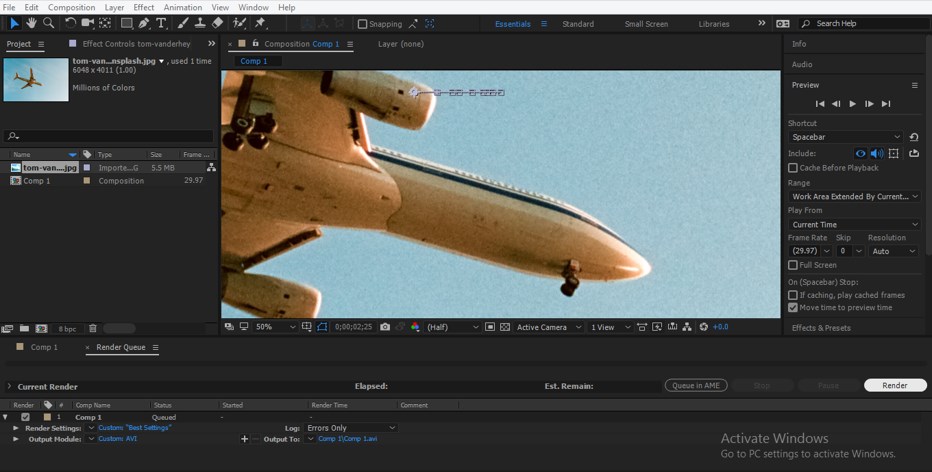
Step 16: The rendering of your animation will start once you click on the Render button. Rendering time will depend on the number of features used in the composition of that animation.

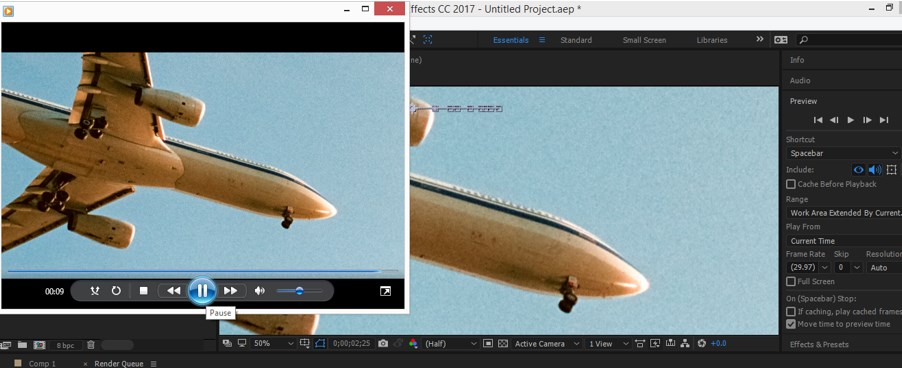
Step 17: Once the rendering of the animation becomes complete. You can play it on any video media player for seeing the result.
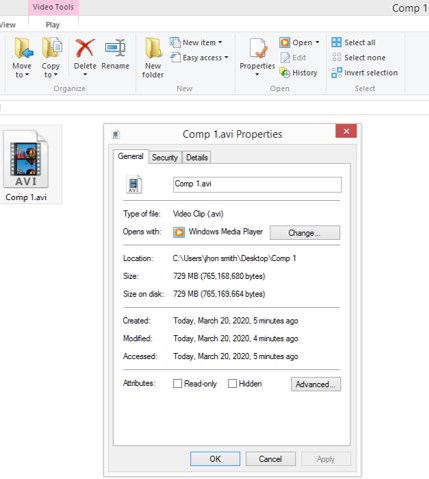
Step 18: You can check the size of the file. It is a very heavy file size for just a few second animations, which are not good.
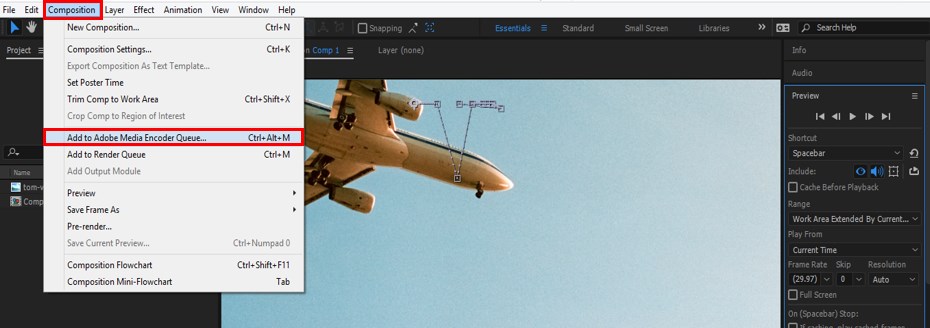
Step 19: So there is one thing you can do to compress this file size. Compressing the file size of this animation goes to the Composition menu of the Menu bar and clicks on the ‘Add to Adobe Media Encoder Queue’ option. Once you click on it, the Media Encoder software of Adobe systems will open if you have it on your computer, and then you can make settings in that software for getting compressed files of this animation.
In this way, you can use the Render feature in this software and make highly professional video footage for your project work.
Conclusion
After this article, you can easily understand the Render feature of After Effect software and can also handle different types of parameters of Render feature throughout the rendering of any animation video. You can get expertize in the rendering process by practicing on it.
Recommended Articles
This is a guide to After Effects Render. Here we discuss the Introduction, the Features of Render, and the different parameters. You can also go through our other related articles to learn more –


