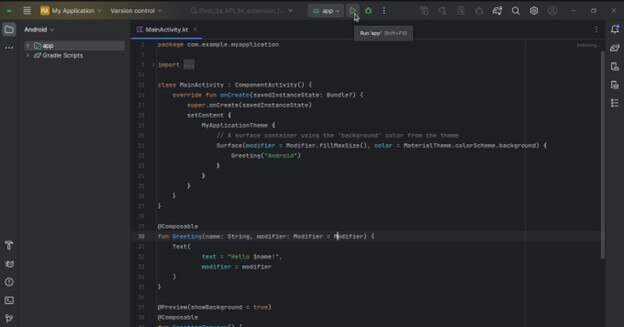
Introduction to Android Studio Ubuntu
Have you ever dreamt of creating the next big mobile app that revolutionizes the way we interact with technology? If you’re an aspiring developer interested in the Android platform, look no further than the powerful combination of Android Studio and Ubuntu. This guide will equip you with the knowledge to set up your development environment, build your first app, and embark on a rewarding journey into the world of Android app development.
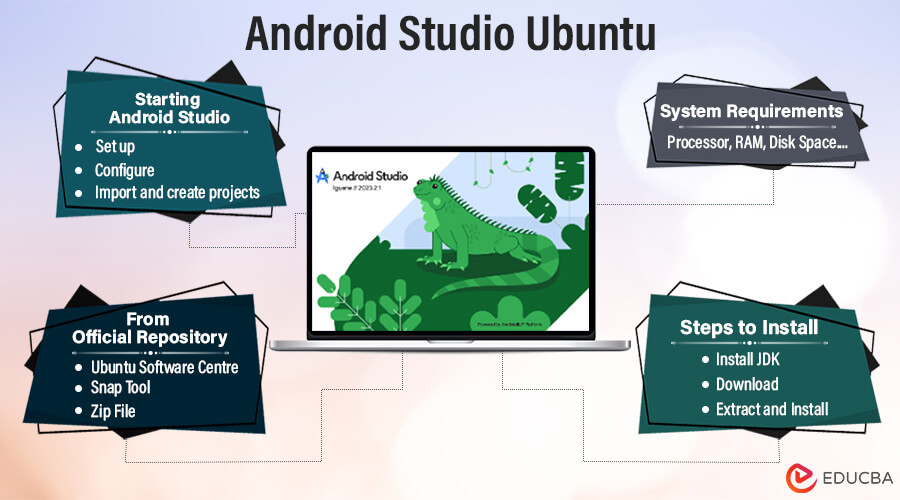
Table of Contents
What is Android Studio?
Android Studio is Google’s official Integrated Development Environment (IDE) for building Android apps. It offers a cornucopia of development tools meticulously designed to streamline the entire development process. From code editing and debugging to visual layout tools and app deployment, Android Studio provides everything you need to bring your app ideas to life.
Why Develop on Ubuntu with Android Studio?
Ubuntu is a popular Linux distribution known for its stability, open-source nature, and customizability. It offers a lightweight and efficient platform for development, making it an excellent choice for running Android Studio. Additionally, Ubuntu integrates seamlessly with Android Studio, providing access to the necessary development tools and libraries. Here are some key benefits of using Ubuntu with Android Studio:
- Free and Open-Source: Ubuntu and Android Studio are free to use and modify, making them accessible to developers of all backgrounds. This fosters inclusivity, particularly for fledgling developers who are embarking on their development journeys and may not have the budget for expensive software.
- Customizable Development Environment: Ubuntu allows you to tailor your development environment to your preferences. You can install additional tools and plugins, configure keyboard shortcuts, and personalize the look and feel of your workspace. This level of customization ensures a smooth and efficient workflow that suits your individual coding style.
- Strong Community Support: The vast Linux and Android development communities offer a wealth of resources, tutorials, and troubleshooting assistance. If you encounter any problems during development, you can leverage these communities to find solutions and connect with other developers for guidance. This strong support system is invaluable for both beginners and experienced developers alike.
System Requirements
Before installing and running Android Studio on your Ubuntu system, ensure that your computer meets the following minimum requirements:
- Operating System: Ubuntu 18.04 LTS or later (64-bit).
- Processor: 64-bit CPU with at least 2 cores.
- RAM: For optimal performance, it’s advisable to have a minimum of 8 GB of RAM.
- Disk Space: Android Studio and its SDK components require a minimum of 4 GB of disk space. We need additional space for project files and emulator system images.
- Screen Resolution: It must have a minimum resolution of 1280 x 800.
- Java Development Kit (JDK): Android Studio functionality relies on JDK 8, 11, or 16. You can install OpenJDK through the Ubuntu Software Center or via terminal commands.
How to Install Android Studio on Ubuntu?
Here’s a step-by-step guide to installing Android Studio on your Ubuntu system:
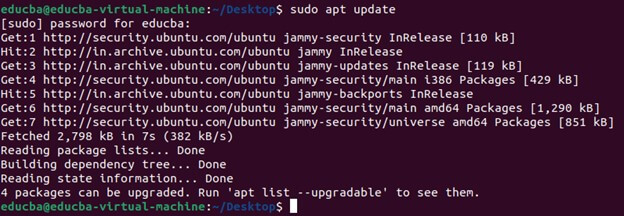
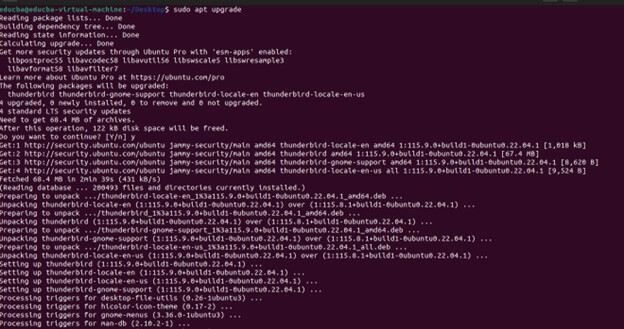
Step 1: Make sure your system is up to date.
Open a terminal and run:
sudo apt update
sudo apt upgrade
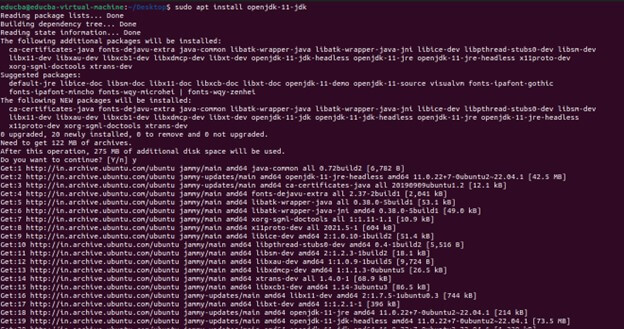
Step 2: Install Java Development Kit (JDK)
Android Studio requires the Java Development Kit (JDK) to run. You can install OpenJDK 11 or any latest version:
sudo apt install openjdk-11-jdk
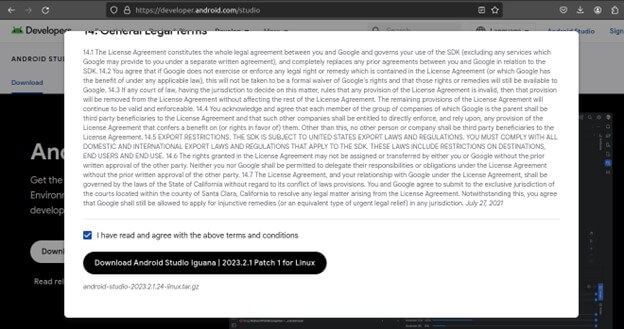
Step 3: Download Android Studio
- Visit the Android Studio download page in your web browser: https://developer.android.com/studio
- Click the “Download Android Studio” button.
- Choose the appropriate “Download Options” based on your Ubuntu version (e.g., 64-bit).
- Click the “Download” button to save the .tar.gz file.
Step 4: Extract and Install Android Studio
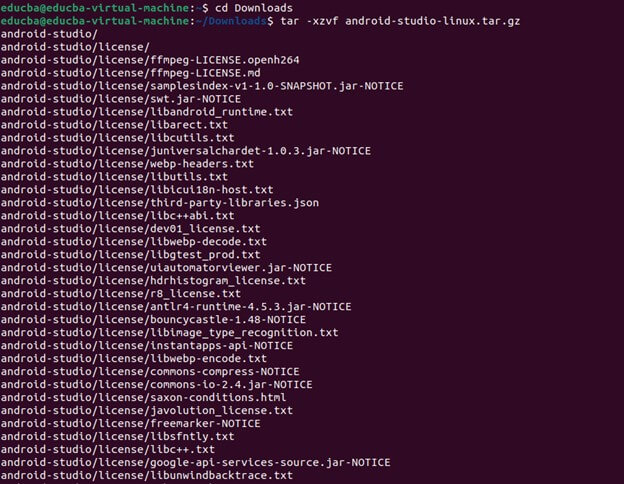
- Open the terminal and navigate to the directory where you downloaded Android Studio.
- Command to extract the downloaded file (replace [filename] with the real file name):
tar -xvzf [filename
- Move the extracted directory to a suitable location (e.g., /opt/ for system-wide installation):
sudo mv android-studio /opt/
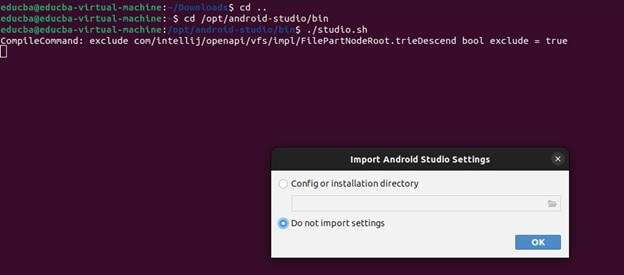
cd /opt/android-studio/bin
- Run Android Studio:
./studio.sh
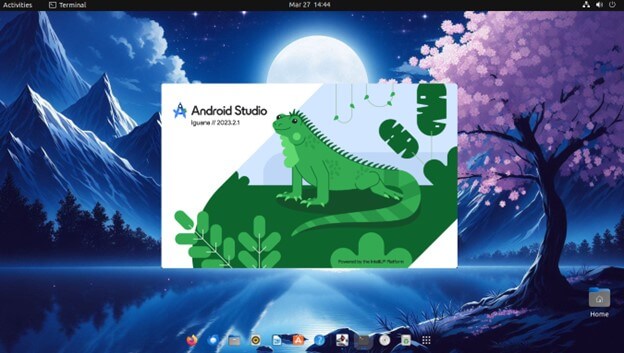
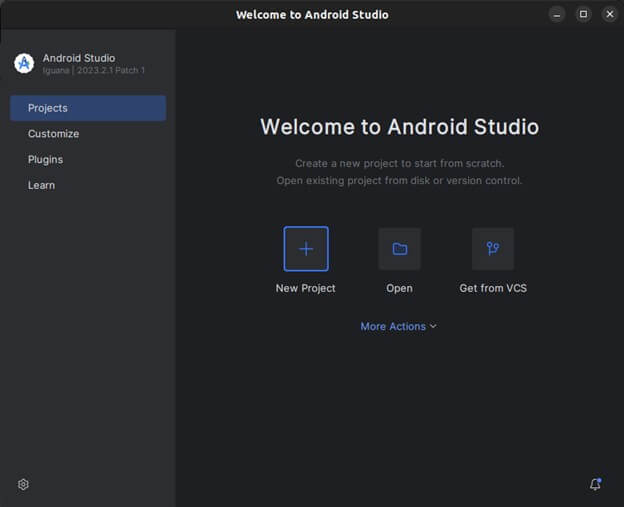
- Android Studio opens in Ubuntu
Install Android Studio from the Official Repository
Step 1: From The Ubuntu Software Centre (Recommended)
Consider this option since it automatically updates and integrates Android Studio with your system’s package management system.
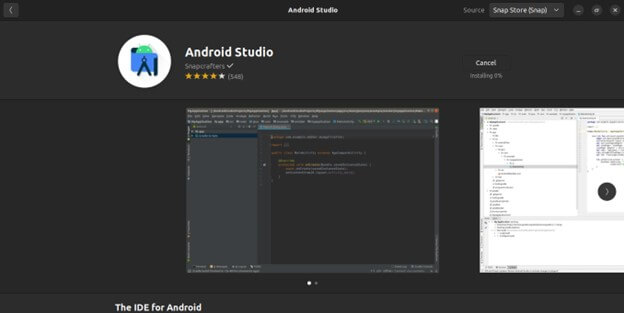
- Start by going to the Ubuntu Software Centre.
- To find “Android Studio,” use the search bar in the Software Centre.
- In the search results, find “Android Studio” and click on it.
- To download and install Android Studio, select the “Install” button.
- After installation, you can launch Android Studio from the application menu.
Step 2: Installing Android Studio Using the Snap Tool (Alternative)
The Snap package offers an alternative method of installing Android Studio.
- Open a terminal.
- To install Android Studio using Snap, run the following command:
sudo snap install android-studio –classic
- When the installation is finished, launch Android Studio by searching for it in your application menu.
Step 3: Using the Zip File (Manual Installation)
This method requires manual installation and is helpful if you want to handle Android Studio independently from the package manager.
- Installing Java OpenJDK:
Ensure you have Java Development Kit (JDK) installed on your machine before installing Android Studio. To install OpenJDK 11, a common option for Android development, open a terminal and enter the following command:
sudo apt install openjdk-11-jdk
- Installing Android Studio:
For downloading and installing Android Studio snap package, open terminal by Ctrl+Alt+T and enter the following command:
sudo snap install android-studio –classic
Android Studio is now installed on our Ubuntu desktop.
Starting Android Studio
Once you have installed Android Studio on your Ubuntu system, follow these steps to get started:
- Set Up Android Studio
After launching Android Studio, you will be greeted with a welcome screen. To complete the initial setup, follow on-screen directions.
- Configure Android SDK:
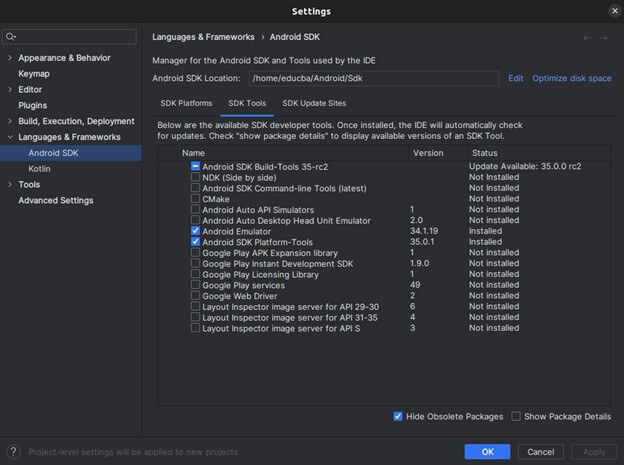
If you are using Android Studio for the first time, follow the prompts to configure the Android SDK components, ensuring the installation of all necessary SDK components.
- Import or Create a Project:
- Select “Import project (Gradle, Eclipse ADT, etc.)” from the welcome screen to import an existing Android project.
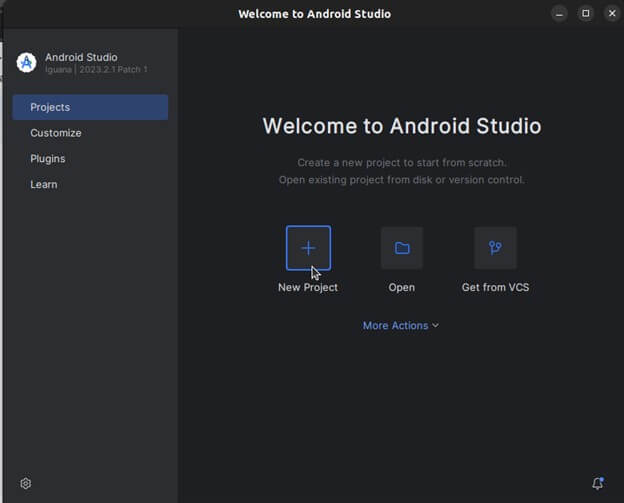
- Go to “Start a new Android Studio project” and follow the setup tutorial to create a new project. This includes selecting the type of app, defining the language (Java/Kotlin), and configuring the project structure.
- Familiarize Yourself with the Interface:
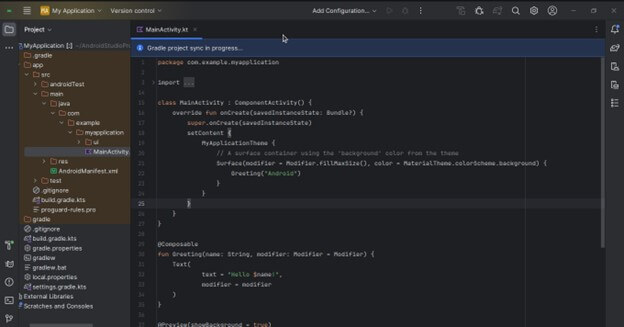
Familiarize yourself with the interface, which includes the editor window, project window, toolbar, logcat, and AVD manager.
- Run Your App
- You can use an emulator or an actual Android device to run your app after setting up your project.
- Click on the green play button from the toolbar, and Android Studio will build and run your app.
- As you progress, explore more features and refer to the official Android developer documentation for in-depth guides and tutorials.
Conclusion
Android Studio is an essential tool for developing Android applications on Ubuntu. By following the installation and setup steps, you can efficiently create, test, and deploy your Android apps. Android Studio provides a robust and user-friendly environment for beginners and experienced developers to bring their app ideas to life. So, explore and confidently build the next great Android app on your Ubuntu system.
Recommended Articles
We hope that this EDUCBA information on “Android Studio Ubuntu” was beneficial to you. You can view EDUCBA’s recommended articles for more information,
