Updated April 11, 2023
Definition to Angular 7 Form Validations
Forms are an important Component of any Application and at every important step, forms are used right from Registering a new User, Logging into an application, Collecting Feedback from User, and many more. Capturing and Validating User inputs on these forms and evaluating Data Accuracy and Completeness can all be done through Angular 7 Forms. Angular 7 comes with two types of Form Validations one for Reactive Forms and the other for template-driven forms. Based on Validation status UI can display appropriate User-Friendly messages.
Template Driven Form Validation in Angular 7
Template Driven Form Validation is similar to HTML 5 Form Validations which are used directly in HTML template. There are various different attributes that are used within Forms on input fields. Whenever the value inside the form is changed, then Angular Validators are triggered which in turn generate a list of Validation results for each input field inside the Form. The Validation Result can be a list of INVALID, VALID, or NULL statuses.
Reactive Form Validation in Angular 7
Reactive forms are useful through component class instead of using it in HTML template through attributes. Whenever the value of the control changes, Angular calls the functions inside the Component class to revalidate the fields.
The validator functions which are used in Form Control can be of two types either Synchronous or Asynchronous.
Synchronous – Synchronous Validators are always passed as the Second argument in Form Control. It takes the Form Control instance and immediately returns the validation results. This can be a List of Validators.
Asynchronous – Asynchronous Validators are always passed as the First argument in Form Control. It takes Form Control instance and returns a Promise or Observable which emits a set of validation results. This can be a List of Validators.
Steps to use Reactive Forms in Angular 7 Application
- The very first step is to create an Angular application from scratch by using Angular CLI
This command will install angular CLI on your system so that you can use it further to build Angular application from scratch
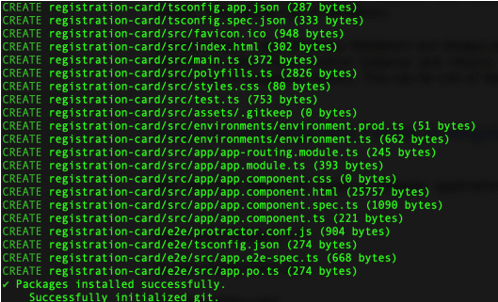
- The next command is shown below help developer to create an angular application from scratch where the name of the application is registration-card
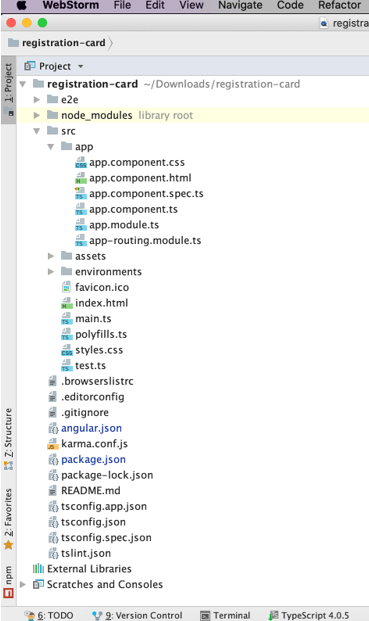
- Now we will navigate to the registration-card folder and below is the structure of the code on how it looks like
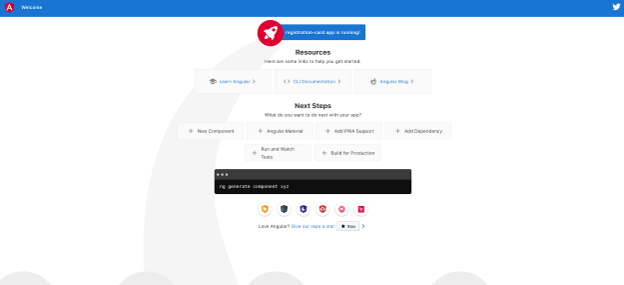
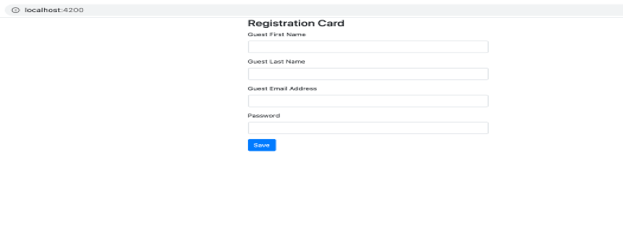
- To test if the basic setup is all good and the application is launching on localhost, let’s run the application locally
- Open any browser(Chrome/IE/firefox) and navigate the localhost url and check if the application is loading http://localhost:4200/
- To use the ReactiveFormsModule we need to import this Angular module in module.ts. This is the place where all modules should be injected otherwise application won’t be able to use the ReactiveFormsModule functionalities.
app.module.ts
import { BrowserModule } from '@angular/platform-browser';
import { NgModule } from '@angular/core';
import { AppRoutingModule } from './app-routing.module';
import { AppComponent } from './app.component';
import { ReactiveFormsModule } from '@angular/forms';
@NgModule({
declarations: [
AppComponent
],
imports: [
BrowserModule,
AppRoutingModule,
ReactiveFormsModule
],
providers: [],
bootstrap: [AppComponent]
})
export class AppModule { }
We have imported ReactiveFormsModule from @angular/forms module.
- The next step is to use form validators and form builder inside the app.component.ts file
FormBuilder – The FormBuilder Component from @angular/forms provides the developer able to create an instance of FormBuilder which allows us to group all fields that the Form needs inside it.
FormGroup – The FormGroup Component is provided by @angular/forms which is bounded with the template that is app.component.html using [formGroup] directive. This will be the name of the form which can be used in component.ts file.
Validators – Validators are provided by @angular/forms comes with a lot of validation property which can be specified in the app.component.ts file on each of the fields inside the form.
app.component.ts
import { Component, OnInit } from '@angular/core';
import { FormGroup, FormBuilder, Validators } from '@angular/forms';
@Component({
selector: 'app-root',
templateUrl: './app.component.html',
styleUrls: ['./app.component.css']
})
export class AppComponent implements OnInit{
title = 'registration-card';
registrationCard: FormGroup;
isFormSaved = false;
constructor(private formBuilder: FormBuilder) {}
ngOnInit() {
this.registrationCard = this.formBuilder.group({
guestFName: ['', Validators.required],
guestLName: ['', Validators.required],
emailAddress: ['', [Validators.required, Validators.email]],
password: ['', [Validators.required, Validators.minLength(6)]]
}, {
// Custom Validators can be added here
});
}
saveCardDetails() {
this.isFormSaved = true;
// If Registration Card encounters any erros in any of the input fields
if (this.registrationCard.invalid) {
return;
}
console.log(' Form has Been Saved Successfully');
}
get regCard() {
// Using getter to track the form object and use it directly in template with the alias name as regCard
return this.registrationCard.controls;
}
}
In the above example, we have created an instance of the FormBuilder component with the name as formbuilder. The formGroup directive is assigned to the registration card which can be further used in the template.
The next important line written in this app.component.ts is to group all the input fields of a form. This is done by calling formBuilder.group method which takes the first argument s the list of input fields with key-value pair where key is the input field name and the value is the list of validators that needs to be applied to that particular field.
For example
password: ['', [Validators.required, Validators.minLength(6)]]The second parameter to formBuilder.group is the list of custom validators that can be defined in the helper files.
- The Last step for using reactive forms in an angular 7 application is to modify the template file to use the appropriate directive and interact with the component.
app.component.html
<div class="container">
<div class="row">
<div class="col-md-6 offset-md-3">
<h3>Registration Card</h3>
<form [formGroup]="registrationCard" (ngSubmit)="saveCardDetails()">
<div class="form-group">
<label>Guest First Name</label>
<input type="text" formControlName="guestFName" class="form-control" [ngClass]="{ 'is-invalid': isFormSaved && regCard.guestFName.errors }" />
<div *ngIf="isFormSaved && regCard.guestFName.errors" class="invalid-feedback">
<div *ngIf="regCard.guestFName.errors.required">First Name is required</div>
</div>
</div>
<div class="form-group">
<label>Guest Last Name</label>
<input type="text" formControlName="guestLName" class="form-control" [ngClass]="{ 'is-invalid': isFormSaved && regCard.guestLName.errors }" />
<div *ngIf="isFormSaved && regCard.guestLName.errors" class="invalid-feedback">
<div *ngIf="regCard.guestLName.errors.required">Last Name is required</div>
</div>
</div>
<div class="form-group">
<label>Guest Email Address</label>
<input type="text" formControlName="emailAddress" class="form-control" [ngClass]="{ 'is-invalid': isFormSaved && regCard.emailAddress.errors }" />
<div *ngIf="isFormSaved && regCard.emailAddress.errors" class="invalid-feedback">
<div *ngIf="regCard.emailAddress.errors.required">Email is required</div>
<div *ngIf="regCard.emailAddress.errors.email">Email must be a valid email address</div>
</div>
</div>
<div class="form-group">
<label>Password</label>
<input type="password" formControlName="password" class="form-control" [ngClass]="{ 'is-invalid': isFormSaved && regCard.password.errors }" />
<div *ngIf="isFormSaved && regCard.password.errors" class="invalid-feedback">
<div *ngIf="regCard.password.errors.required">Password is required</div>
<div *ngIf="regCard.password.errors.minlength">Password must be at least 6 characters</div>
</div>
</div>
<div class="form-group">
<button class="btn btn-primary">Save</button>
</div>
</form>
</div>
</div>
</div>
In the above HTML file, we have used:
[formGroup]="registrationCard"This binds the forGroup with component
formControlName="emailAddress"This name is later used in component class to refer to validation
In addition to this if a developer needs to add any additional validators and writing custom logic for those is also possible here.
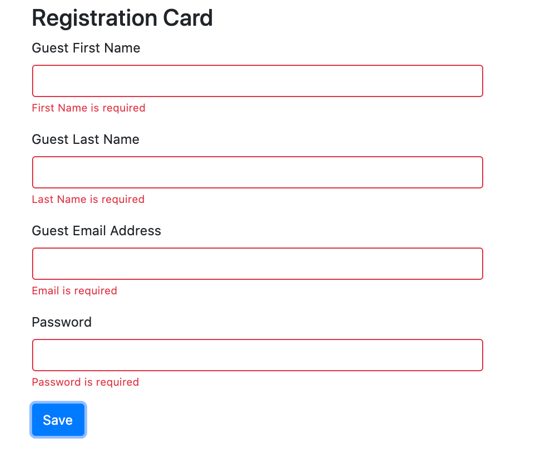
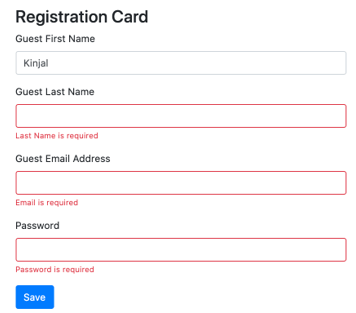
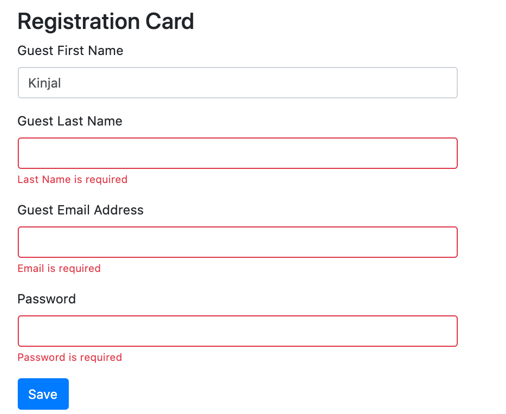
Output:
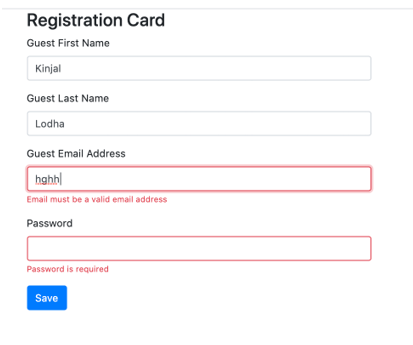
- None of the fields are filled and click on Save
2. Guest First name is added
3. Guest Email address is not added
4. Guest Email address is added but incorrect
5. Password is less than 6
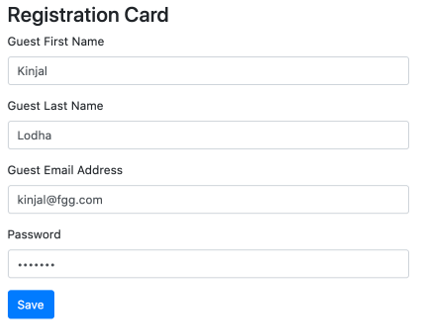
6. All fields are added correctly
7. Details Saved
Conclusion – Angular 7 Form Validations
Angular 7 Form Validations are very useful and used at every point while building a User Interactive Web application. The Angular 7 Forms validations come with the simplest HTML 5 validation approach by using template-driven validations and also by directly using Reactive Forms in Angular application and validating fields in the component class. Various In-Built, as well as Custom Validators, can be used for each input field based on the Requirement. Display appropriate User-Friendly message is also very easy and simple through Angular 7 Form.
Recommended Articles
This is a guide to the Angular 7 Form Validations. Here we discuss the definition, Steps to use Reactive Forms in Angular 7 Application. You may also have a look at the following articles to learn more –
