Updated July 4, 2023

Introduction to Animate in jQuery
Animate() in jQuery is a pre-defined function that uses the CSS properties for performing sequential or non-sequential animation customization with the help of the queue & toggle functionality. The syntax for this function is ‘$(selector).animate(properties, options)’, which contains many CSS properties and parameters. The commonly used parameters are duration, easing and function similar to other jQuery functions, and also other parameters like queue, complete, start, done, fail and step.
Syntax:
$(selector).animate(properties, options);Properties:
- It specifies the CSS properties to animate.
- It contains many parameters.
Parameters:
Below are the details of the Parameters:
- Duration: The duration can be a string or a number. It can be either a time in milliseconds or it can be preset. The default value of the duration is 400 milliseconds. It can take slow, fast or normal as a string parameter. This helps us to control the slide animation based on our requirements.
- Easing: The easing should be of string type. It is used for transition. The default value is swing.
- Function: An optional callback function will be executed when the animation is completed.
- Queue: The queue takes the Boolean value. If the Boolean value is true it indicates whether to place or not to place the animation. If the Boolean value is false the animation will take place immediately.
- Complete: This function is called once the animation is completed on an element.
- Start: This function is called when the animation on an element begins.
- Done: This function is called when the animation on an element is complete.
- Fail: This function specifies when the animation fails to complete.
- Step: For each step in the animation it specifies the function to be executed.
Examples of Animate in jQuery
Below given are some examples of animate in jQuery:
Example #1
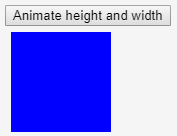
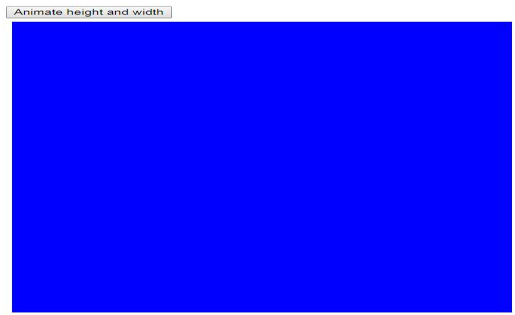
This is an example of the animate() method. we are animating the height and width of the box.
Code:
<!DOCTYPE html>
<html lang="en">
<head>
<meta charset="utf-8">
<title>Example of animate in jquery</title>
<script src="https://code.jquery.com/jquery-1.12.4.min.js"></script>
<script>
$(document).ready(function(){
$("#btn").click(function(){
$("#square").animate({height: "500px"}, "slow");
$("#square").animate({width: "500px"}, "slow");
});
});
</script>
</head>
<body>
<button id="btn">Animate height and width</button>
<div id="square" style="background:blue;height:100px;width:100px;margin:6px;"></div>
</body>
</html>
Output:
- Before clicking on the button animate height and width the height and width of the box are of default values as shown below.
- After clicking on the button animate height and width the height and width of the box are increased to 500px.
Example #2
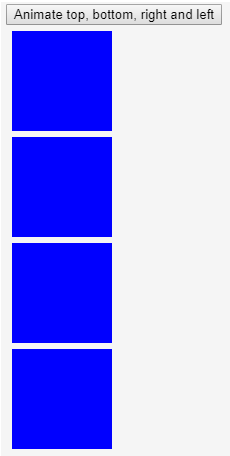
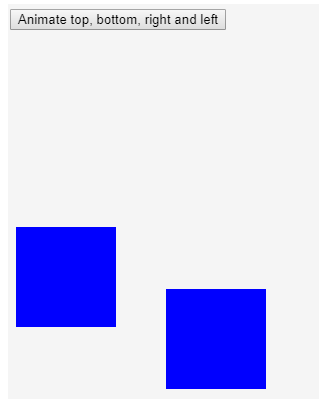
Animating the top, bottom, right and left by using the animate() method. In this, we need to provide the position. The position takes 3 values. They are absolute, fixed and relative we can assign the position values according to our requirement.
Code:
<!DOCTYPE html>
<html lang="en">
<head>
<meta charset="utf-8">
<title>Example of animate in jquery</title>
<script src="https://code.jquery.com/jquery-1.12.4.min.js"></script>
<script>
$(document).ready(function(){
$("#btn").click(function(){
$("#box1").animate({bottom: '150px'});
$("#box2").animate({top: '150px'});
$("#box3").animate({right: '150px'});
$("#box4").animate({left: '150px'});
});
});
</script>
</head>
<body>
<button id="btn">Animate top, bottom, right and left</button>
<div id="box1" style="background:blue;height:100px;width:100px;margin:6px;position:relative;"></div>
<div id="box2" style="background:blue;height:100px;width:100px;margin:6px;position:relative;"></div>
<div id="box3" style="background:blue;height:100px;width:100px;margin:6px;position:relative;"></div>
<div id="box4" style="background:blue;height:100px;width:100px;margin:6px;position:relative;"></div>
</body>
</html>
Output:
- In this example, we are changing the position of the box. Before clicking on the button animate top, bottom, right and left they are at the static positions.
- After clicking on the button animate top, bottom, right and left the position are affected as shown below. The position of the box is changed with respect to the pixels provided.
Example #3
The toggle effect by using the animate() method.
Code:
<!DOCTYPE html>
<html lang="en">
<head>
<meta charset="utf-8">
<title>Example of animate in jquery</title>
<script src="https://code.jquery.com/jquery-1.12.4.min.js"></script>
<script>
$(document).ready(function(){
$("#btn").click(function(){
$("#square").animate({width: 'toggle'});
});
});
</script>
</head>
<body>
<button id="btn">Animate width</button>
<div id="square" style="background:blue;height:100px;width:100px;margin:6px;"></div>
</body>
</html>
Output:
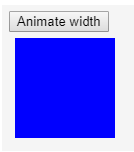
Before clicking on the button animate width.
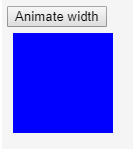
- As we know the toggle effect makes the image or content display or to hide. So after clicking on button Animate width because of the toggle effect the box is hidden as we can see it in the below image.
- And by again clicking on the button we can see the box is displayed.
Example #4
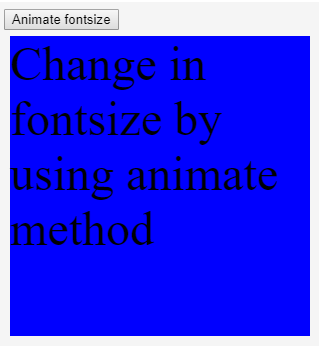
Change in the font size by using the animate() method. In this example initially, it will take the default font size. In the animate method, we can even increase the font size so we have increased the font size to 5em.
Code:
<!DOCTYPE html>
<html lang="en">
<head>
<meta charset="utf-8">
<title>Example of animate in jquery</title>
<script src="https://code.jquery.com/jquery-1.12.4.min.js"></script>
<script>
$(document).ready(function(){
$("#btn").click(function(){
$("#square").animate({fontSize: '3em'});
});
});
</script>
</head>
<body>
<button id="btn">Animate fontsize</button>
<div id="square" style="background:blue;height:300px;width:300px;margin:6px;">Change in fontsize by using animate method</div>
</body>
</html>
Output:
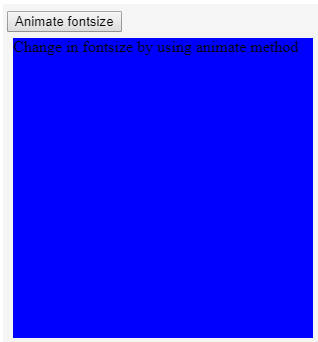
- Before clicking on the button animate font size we can see the font size is of the default value.
- After clicking on the button Animate font size we can see the font size is increased to 5em as we provided the font size in the animate() method.
Example #5
How to queue parameter is used in the animate method.
Code:
<html lang="en">
<body>
<script src="http://ajax.googleapis.com/ajax/libs/jquery/1.3.2/jquery.min.js"></script>
<script>
</script>
<style type="text/css">
div {
width: 150px;
height: 150px;
background-color: blue;
}
</style>
</head>
<body>
<div></div>
<br/>
<button id="animate">Click here</button>
<script type="text/javascript">
$("#animate").click(function() {
$("div").animate({
width: "250px",
height: "250px",
borderRadius: "50%",
marginLeft: "110px",
marginTop: "50px",
},
1000,
);
$("div").animate({width:'150px'},1000).animate({borderLeftWidth:'150px'},1000);
});
</script>
</body>
</html>
Output:
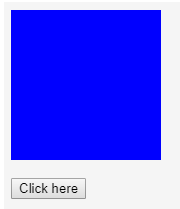
- Before clicking on the button click here we can observe the output as shown below.
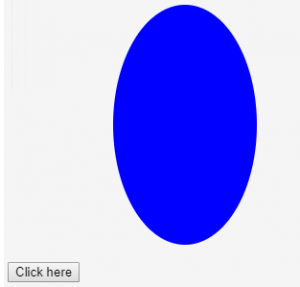
- After clicking on the button click here we can observe the output as shown below. The square will be converted into the oval. Every method is added to the queue and it occurred sequentially one after the other.
Recommended Articles
This has been a guide to Animate in jQuery. Here we discuss the various use of the animate methods which will make our web applications more attractive and helps us to create so many effects. You may also have a look at the following articles to learn more –
