Introduction to Animation in Adobe Flash
Adobe Flash is one of the software of Adobe which works for the production of different types of animation works by using its exciting features. The working and tools of this software are a little bit similar to Adobe Illustrator and Adobe Photoshop software. According to us, animation can define as adding motion to the object for moving or making changes in its property. Here in this software, we will understand animation through an example of 2d shape and understand the parameters of different sections of this software, including this topic. Making animation in this software is very easy. So let us start our learning.
How to Animate in Adobe Flash?
We can animate any object or any designed shape in this software by using some features and keyframe of this software. But before going through this topic, let us look at the working screen of this software so that there will be no problem for us throughout the article.
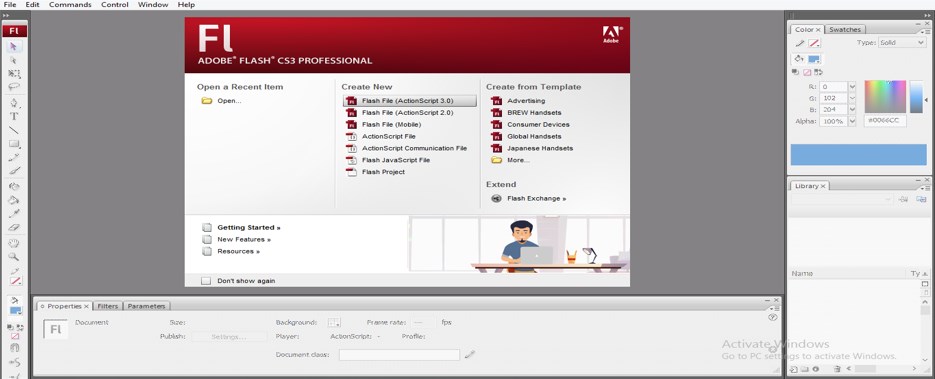
Step 1: Once you start this software, this screen will open on your personal computer with this pop-up window. Choose Flash File (ActionScript 3.0) option from this window.
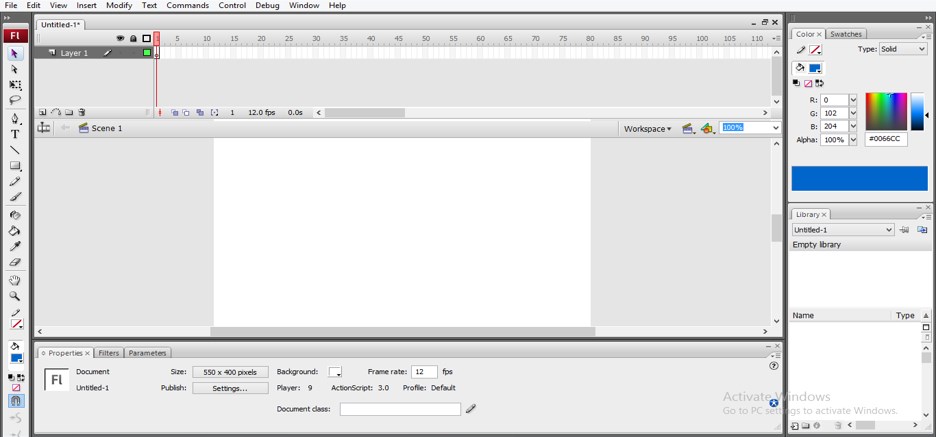
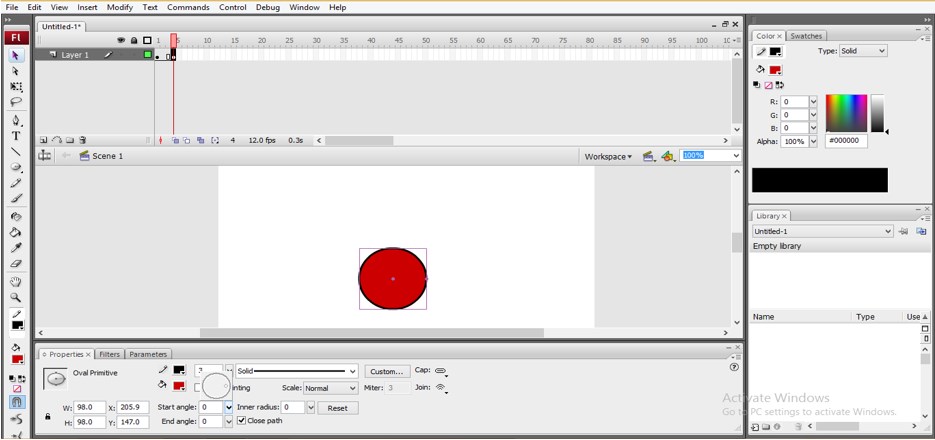
Step 2: Once you make click on this option, your working window will be activated like this.
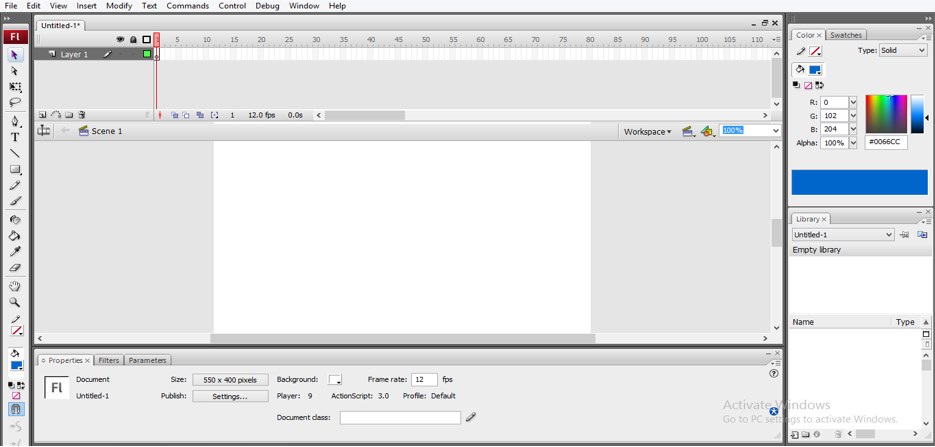
This working screen has many sections, such as at the top we Menu bar with different sub-menus for making a different adjustment in this software. Below to it, we have a Timeline section for handling the parameter of animation along with a layer section at the left which shows you the number of layers used in your current work; below this section, we have working windows which we call Scene in this window you can draw your object, at the left side of this window we have tool panel which has a number of tool for making our design in this software, below this we have a section which shows you properties and parameters of the selected object. You can make changes to it according to you; at the right side of the working window, we have the Color panel for the selected object.
Step 3: You can make changes in the working screen according to your requirement by changing each section’s place or adding a new tab of other used sections.
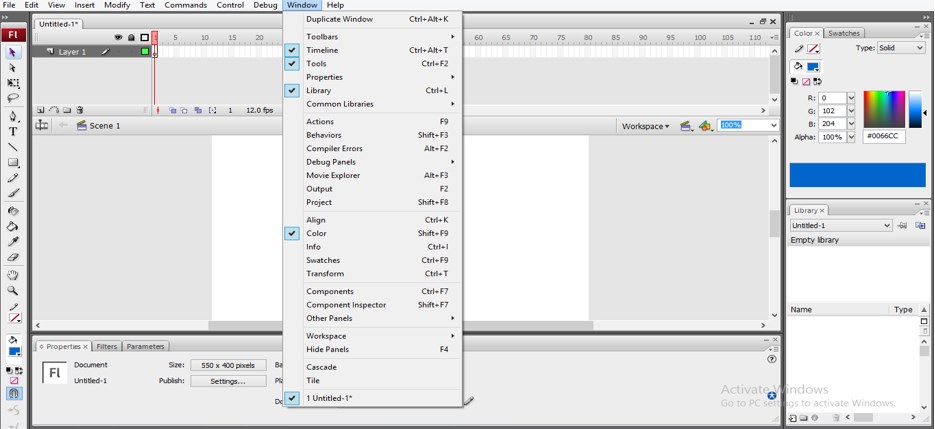
Step 4: You can add any section from the window menu of the Menu bar, which is at the top of the working screen. For adding any new sections, just make click on that option, and the tab of the selected section will be active on the working screen. You can place that tab anywhere on the working screen, according to you.
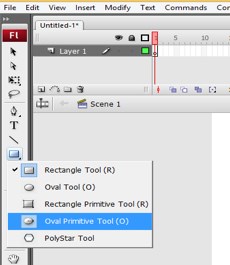
Step 5: Now to go to the Tool panel of this software, which is on the left side of the scene window, and take the Oval Primitive tool from here by click on the icon of the Oval Primitive tool, or you can simply press the O button from the keyboard for it.
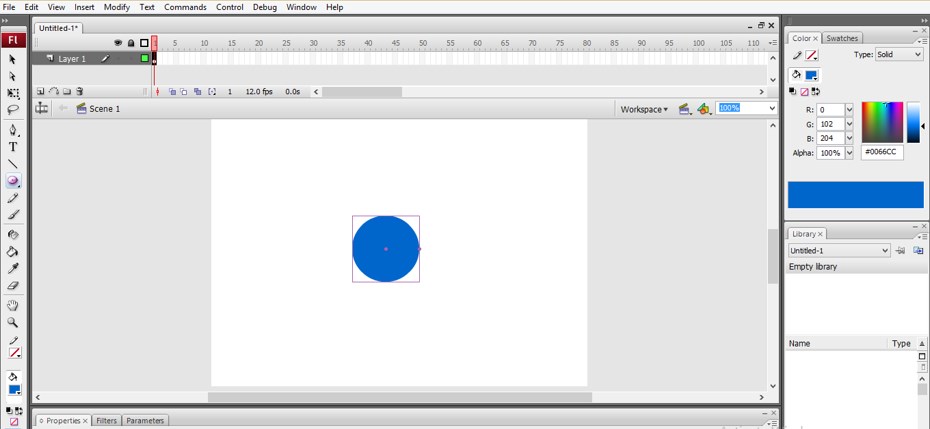
Step 6: Now draw an Oval by holding the keyboard’s shift keyboard for a circle shape like this.
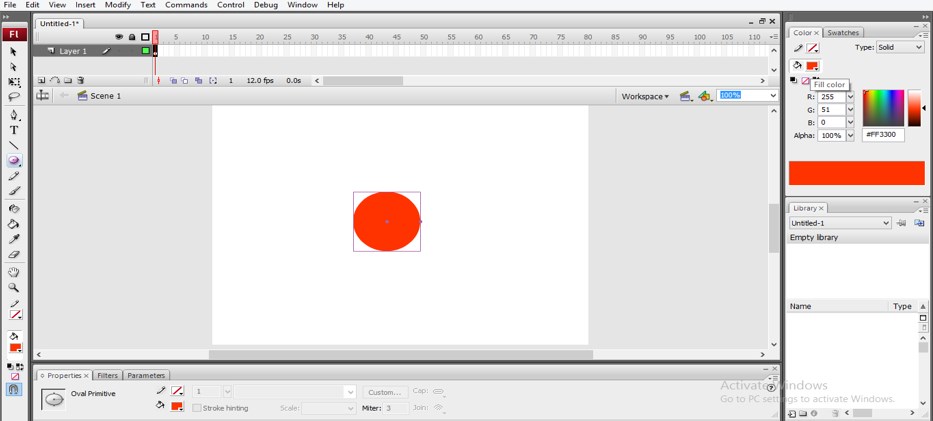
Step 7: We can change the color of this circle by click on the Fill option, which is at the Property bar at the bottom, or you can go to the right side of the scene window for the Fill option. Now choose your desired color from here by click on the small color box of fill option.
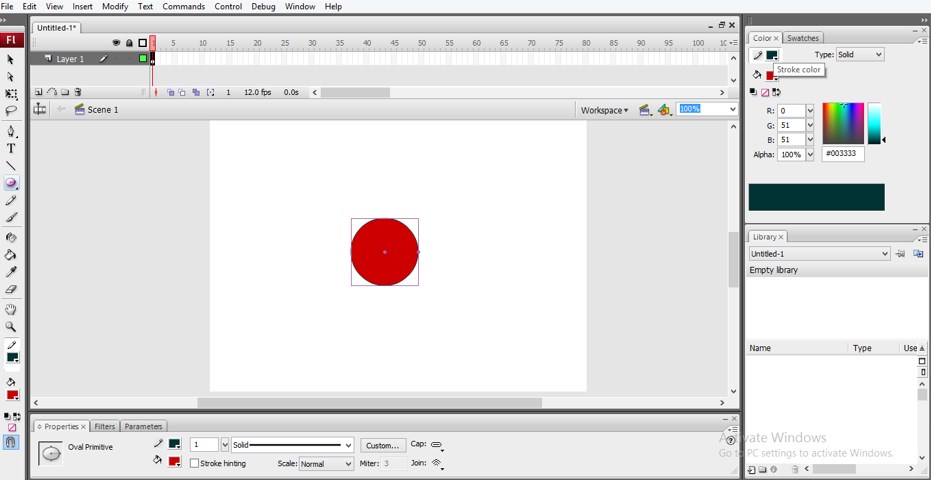
Step 8: Now click on the Stroke Color option for changing the stroke color. Go to the right side section option or go to the Property bar of this object for Stroke color and choose your desired color of stroke from here.
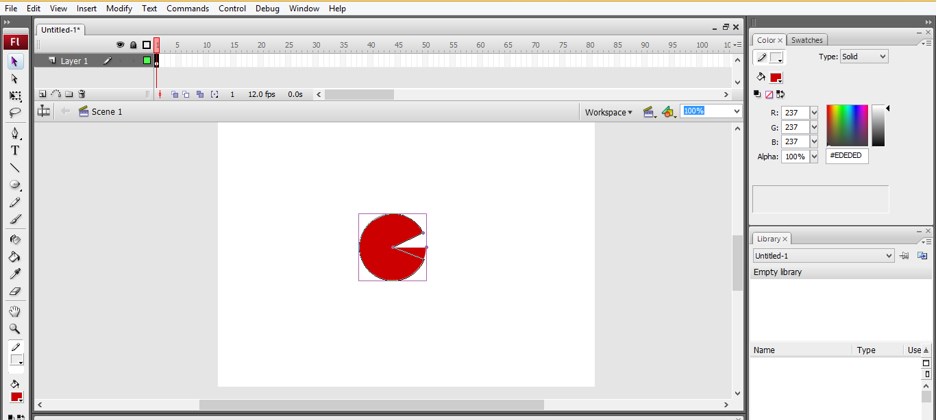
Step 9: Now, take the selection tool from the tool panel and move this point with the selection tool, which is on the circumference of this circle.
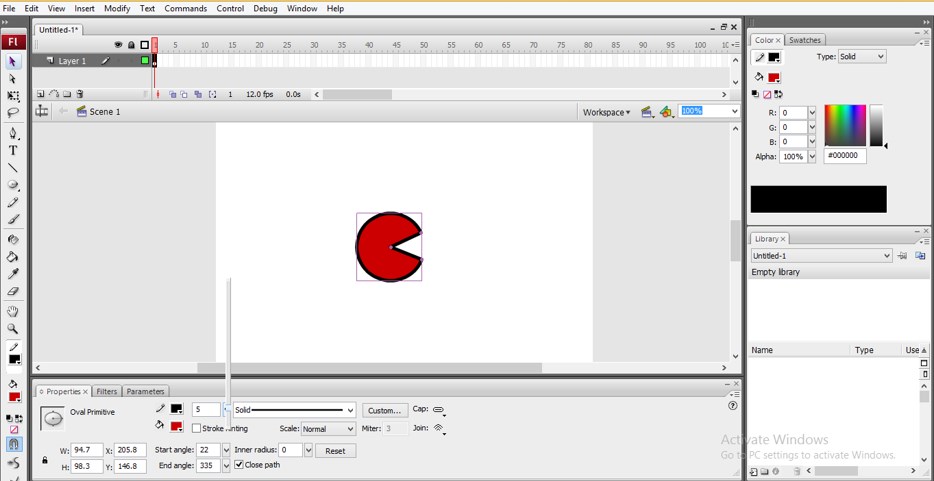
Step 10: You can increase stroke thickness from this option of the property bar of this object.
Step 11: You can set the opening angle of this oval shape from the Start angle option and End angle option of the properties bar of this object.
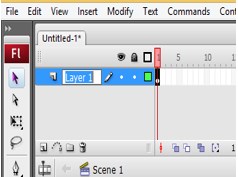
Step 12: Now, let us have a look at the layer panel of this object so that we can animate it easily. At the top, we have a layer section left to the Timeline section.
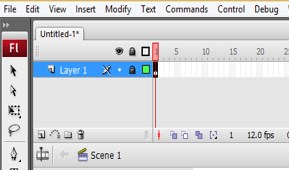
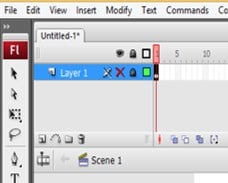
Step 13: We can lock the layer of this object by clicking on the lock icon of this layer, and by again pressing this lock icon, you can unlock it.
Step 14: We can hide this object by click on the cross icon of this object layer, and by again pressing this icon, you can unhide it.
Step 15: We can rename this layer for our suitability by click on the pen icon of this layer.
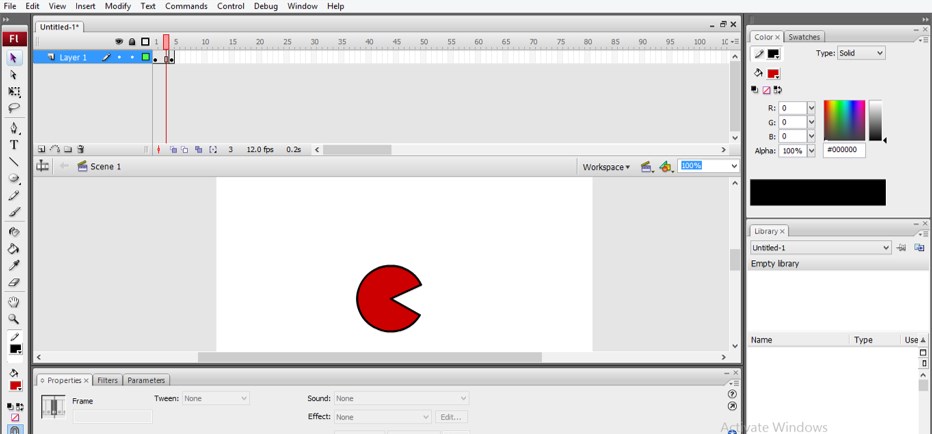
Step 16: Now, let us start the animation in this window. Make click on the keyframe section of the Timeline section at 5 frames and then make right-click with the mouse button. A drop-down list will be open; choose the ‘Insert Keyframe’ option from here for adding key on this frame.
Step 17: Now, make the value of starting angle and end angle as 0 for making this type of shape with this circle.
Step 18: Now our 5-sec animation is ready. We can add more key in this keyframe section for making more animation in this object. We can take more than one object for our animation.
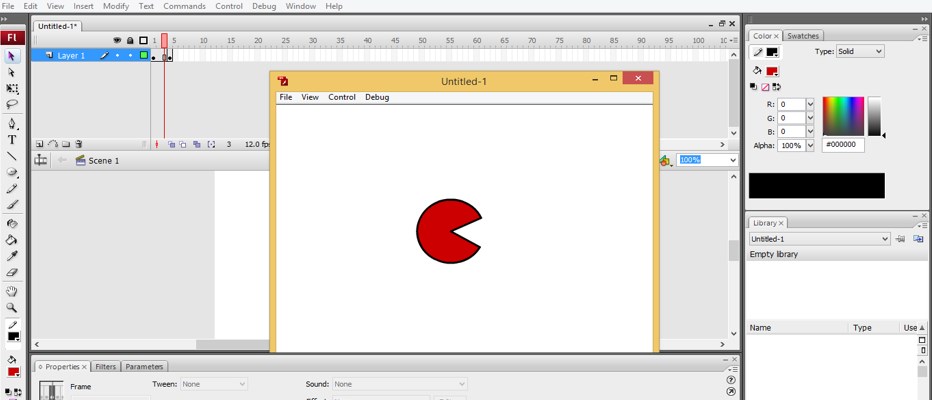
Step 19: Now, press the Ctrl + Enter button on the keyboard for seeing your animation. An animation playing window will be open like this, and you can see that the circle shape will open and close its mouth according to our animation.
In this way, you can make animation in Adobe Flash by using some tools and techniques for this software. You can use more object or object design in one animation and set a keyframe for each object on different layers for getting the best animation.
Conclusion
Now, after this ‘Animation in Adobe Flash’ article, you can understand ‘what is the animation in adobe flash’ and how you can do animation in adobe flash’ by using some simple tools and features of this software. You can make highly professional animation in this software by having a command of the different features of this software. I must say to you that handle of these features is not difficult, and you can easily command them.
Recommended Articles
This is a guide to Animation in Adobe Flash. Here we discuss the introduction, how to do animation in Adobe Flash in a step by step manner. You can also go through our other related articles to learn more –
