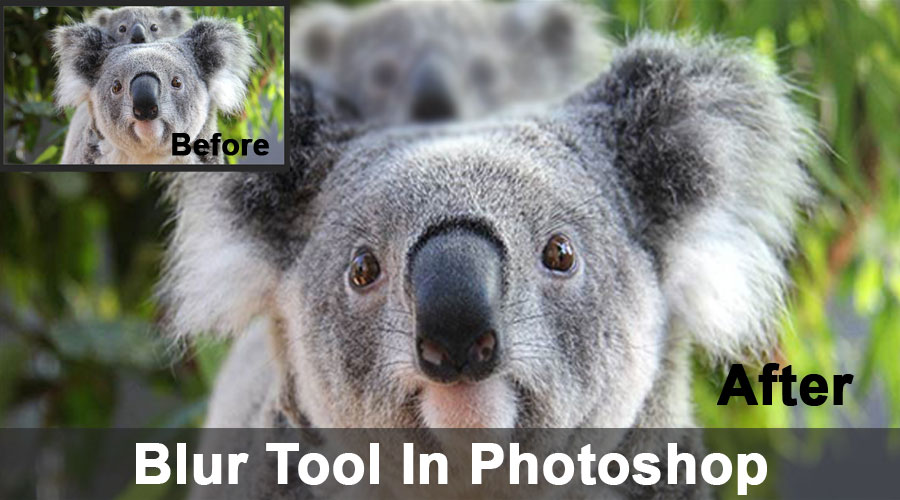
Introduction to Blur Tool In Photoshop
Blur tool, as the name suggests, is primarily used in Photoshop to create blur effect for pictures by manipulating the pixel values, contrast and sharpness, which helps refine an image at a final stage, rectifying minor imperfections and for creating a contrasting appearance to objects and it is evident that the blur tool is employed to highlight or contract subjects in Photoshop by providing a sharp feel with depth or to mask specific parts of an image.
How To Use Blur Tool in Photoshop?
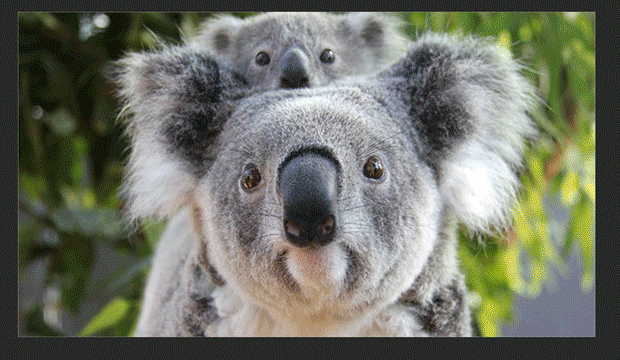
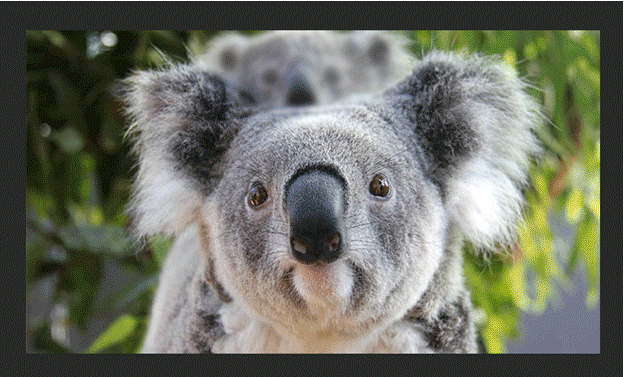
- First, you choose the image you wish to work on. In the below image, we will blur the baby koala which is behind the mother:
Original Image
Then select the blur tool from the toolbar as shown below:
Blur Tool Selection
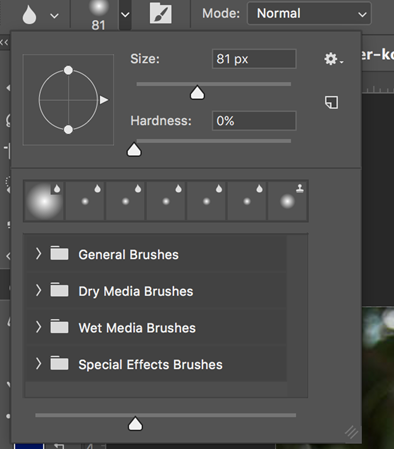
- Next, you can select different types of brushes, brush sizes, strokes, settings, etc. When using the blur tool, it is advisable to avoid using large brush sizes combined with long brush strokes since the blur action is processor exhaustive, the effect will lag behind the brush stroke.
Blur Tool Options in The Top Menu
A blur effect is painted with the Blur Tool. Each stroke made using the Blur Tool will reduce the contrast between the affected pixels.
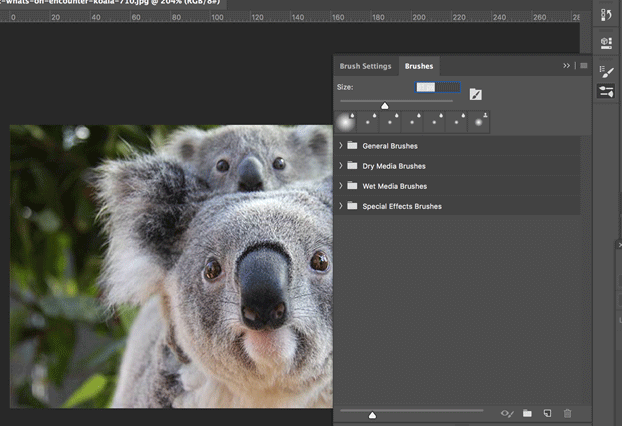
Size And Types of Brushes
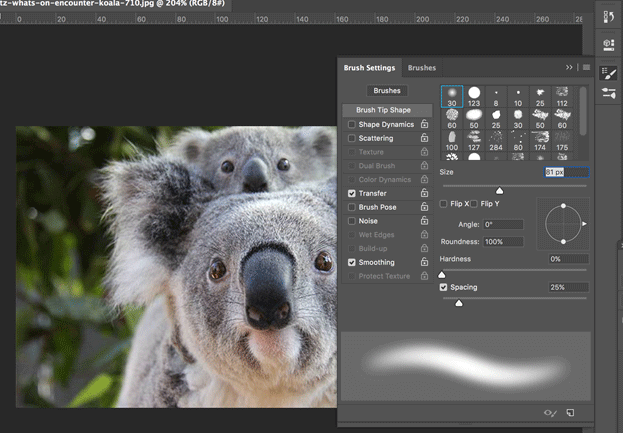
Let’s observe the various size and types of brushes available to apply Blur effects.
Brush Settings
- Now you can choose your blur strength. You can choose to be very subtle, which will give you more control, or you can go for a strong blur. The tool will be more subtle if the strength is lower.
- So the next step is to blur. Hold down your mouse over the parts of the element you would like to blur. You can move the brush in circular motions to blur out the part.
Blurred Baby Koala
Types of Brushes
- General Brushes
- Dry Media Brushes
- Wet Media Brushes
- Special Effects Brushes
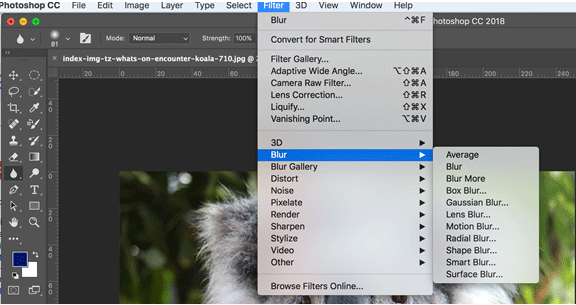
Blur Filters
Blur Filter is a widely used graphics software effect; typically, it is used to reduce detail and image noise. Let’s discuss these filters in detail.
1. Average: It is a one-step filter that helps in calculating the average value of the picture and covers the area with that value. It is very beneficial to even out the values of areas that carry a substantial amount of sound.
2. Blur: It is also a one-step filter which delivers the general blurring of a picture.
3. Blur More: It produces a remarkably expanded quantity of blurring than the methodical blur filter.
4. Box Blur: If you want to blur your image in the form of a square or box, then box-blur can be used.
5. Gaussian Blur: It helps you in adjusting the quantity of blurring more definitely by offering radius control over the image. The Gaussian blur filter is considered to be an excellent tool because it offers you a considerable amount of control over the type and the amount of blurring you obtain. Now, this is particularly true when compared to the single-step blur and blur more filters, which registers an established amount of blur. These latter two filters can be used when you merely want to de-sharpen an image to a certain extent and switch to gaussian blur when you are going for a specific effect. To get a uniform blurring over a large area with the blur tool is difficult. So to blur a large area, you can make a slack selection of the area, feather the selection and apply the Gaussian blur filter.
6. Lens Blur: It imitates the blurring that can materialize when you take a picture with a camera. Sometimes you might need definite aspects of the background to remain in focus and others to be blurred. This filter will help you in achieving the kind of depth of field that you are searching for. It comes with three choices – faster, blur focal distance and invert. You can use faster to adjust the pixel depths for faster previews, choose blur focal distance, and invert the alpha channels of your depth map source; you can select invert.
7. Motion Blur: When you want to simulate the blur in objects that are moving, you can use this filter. This filter allows you to balance the direction and the strength of the background image.
8. Radial Blur: If you want to produce a blur when photographing a revolving automobile tire, then radial blur is the filter that helps you produce the same.
9. Shape Blur: It essentially helps in blurring your image in accordance with the shape you select from the board. You will see that the choices of the shape you discover will be the same as those with the custom shape tool. You can move The radius slider can be moved to the right for a larger blur.
10. Surface Blur: If you want to blur the surface or the interior of the image rather than edges, then this is the filter for you. If you choose to conserve the details of the edge and yet blur everything else, then you can use this filter.
11. Smart Blur: If you want to control how Photoshop applies blur to the edges and other details of the image, then you can use this filter.
Conclusion
Blur tool can essentially be considered a tool for hiding content or creating a field in Photoshop. Blurring an image gives it a nice look and enhances it by providing a shallow depth of field that is pleasing to the eye. The blur tool helps you to keep the key subject of your image to be in focus and other elements which are not required to be in focus to be blurred.
Blur can be used to hide details such as a number plate or censoring a part of an image or the complete image. The blur tool allows you to convert your image to a smart object so that you can add effects without permanently changing your original image. In short, the blur tool allows you to do something creative with your image.
Recommended Articles
This has been a guide to the Blur tool in photoshop. Here we discuss how to use the Blur tool in photoshop; its Steps with Screenshots for better understanding. You can also go through our other suggested articles to learn more –
