Introduction to Color Replacement Tool in Photoshop
In this article, we will learn about Color Replacement Tool in Photoshop. Each and every graphics professional is very familiar with Photoshop because this software makes their work very easy and takes the accuracy of their work to the next level of perfection. Photoshop is the part of Adobe family and maintained by them. They provide their users with an updated version of this software from time to time for avoiding its draw bags. We can do many editing works in this software with the help of this software’s very effective tools. Color Replacement is one of its finest tools. With the Color Replacement tool, we can change the color of any selected object of an image.
How to Use Color Replacement Tool in Photoshop?
Here in this article, we will see all of this tool’s aspects very interestingly. Let us start our learning about this tool:
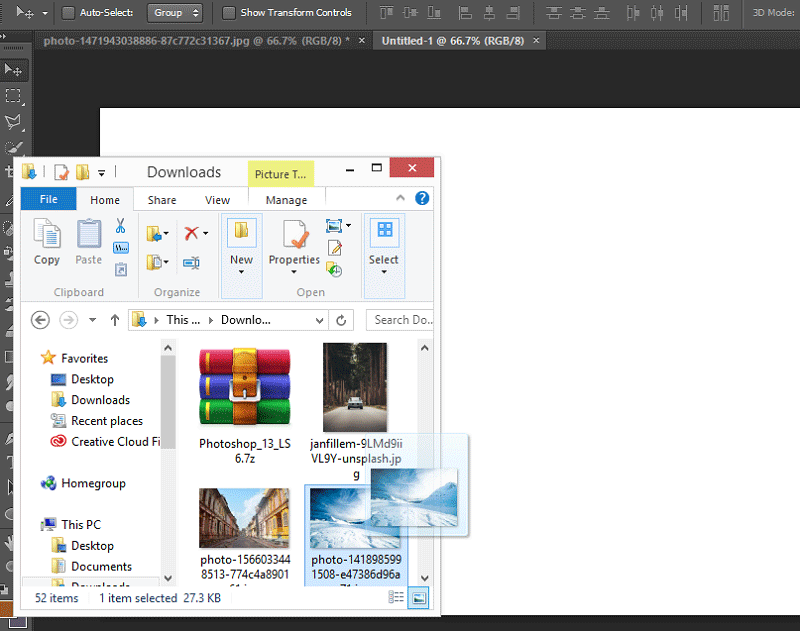
Step 1: Go to the internet browser and download a high-resolution image for better results, or you can take your own high-resolution image. OR Go to the saved image folder and drag this image into Photoshop and drop it in the software.
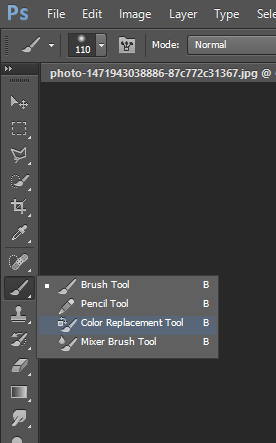
Step 2: Go to the tool panel section and click on the brush tool icon. Choose Color Replacement Tool from here, or you can press the Shift+B key on the keyboard three times to activate this tool.
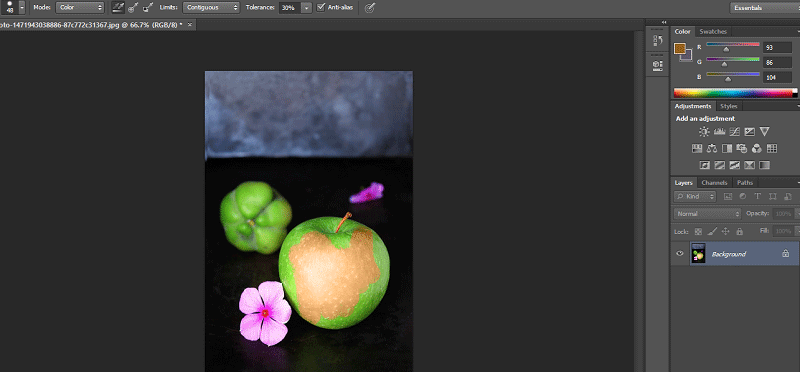
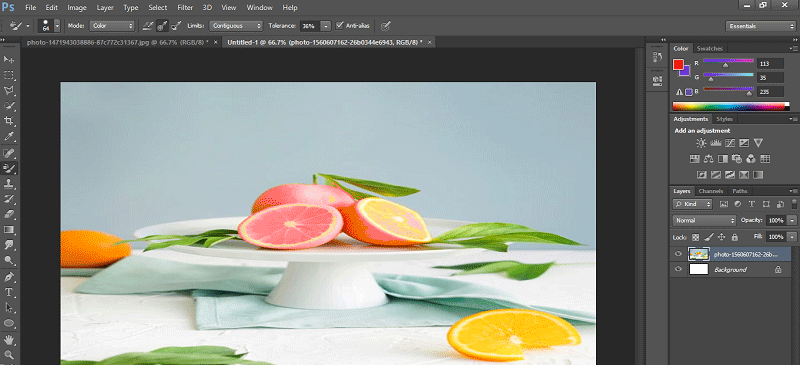
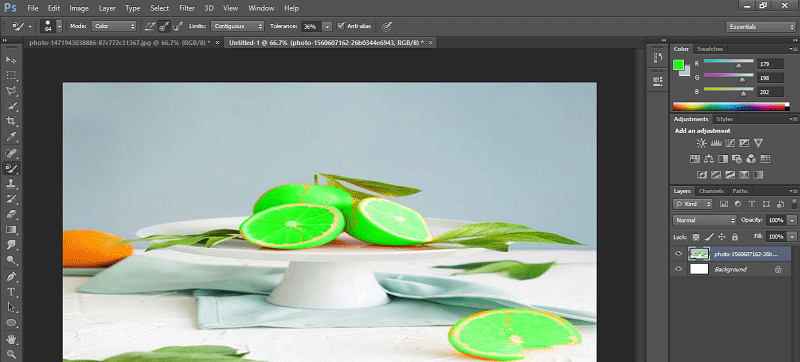
Step 3: After taking this tool, just click on the area with the plus sign of this tool. Once you click on any particular area, it will capture the color of that area and change the color of that area with the foreground color of your color panel. For example, I have brown color in my foreground color of the color panel, and then it will change the green color of apple in brown color when I click on the apple with a plus sign of this tool as shown in the image.
Step 4: We have a property bar of this tool at the top of the working area. We will see all the properties of this tool one by one and use them.
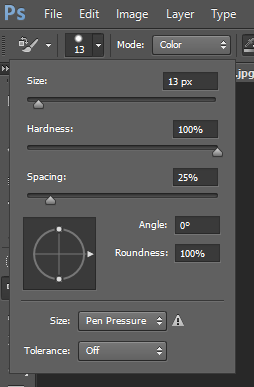
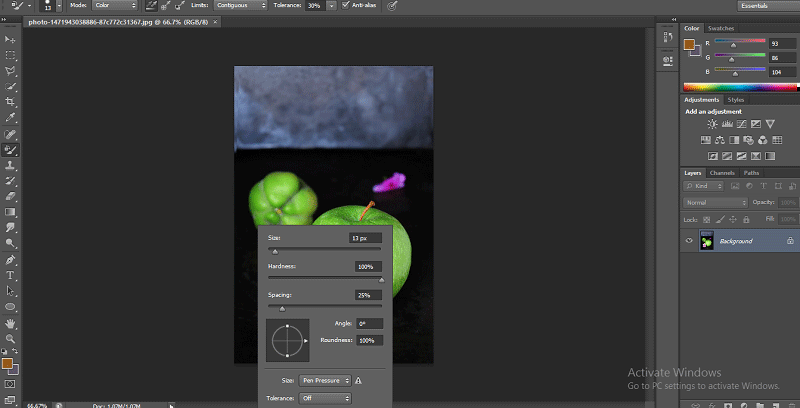
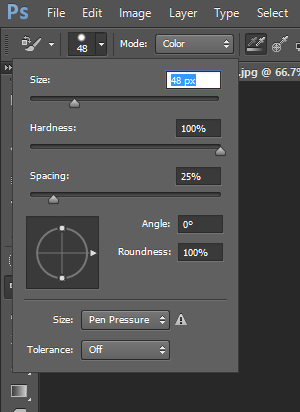
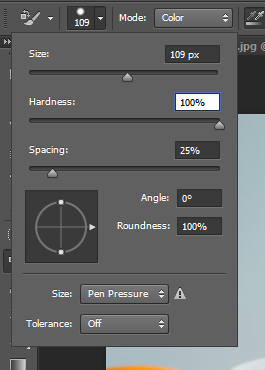
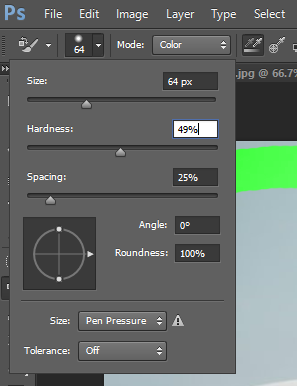
Step 5: For the first property, click on the brush size icon. A drop-down box will open. In this box, we have the value of the Size of the brush, the Hardness of the brush, the value of the Spacing of the brush, the value of the Angle and Roundness of the brush tip and some other properties.
Step 6: You can also open this property box by right-clicking anywhere in the working area.
Step 7: For changing the size of the brush tip, just move the slider of the Size value or feed any number manually by the keyboard in the value box of this property. We can change the size of the brush tip according to the image’s selection area; that is, we decrease the size of the brush for fine work and increase the size of the brush for coarse works.
Step 8: For the next property, I will take another image by the same method of placing the image in this software.
Step 9: Next is Hardness. Increase the value of hardness up to 100% for seeing its effect.
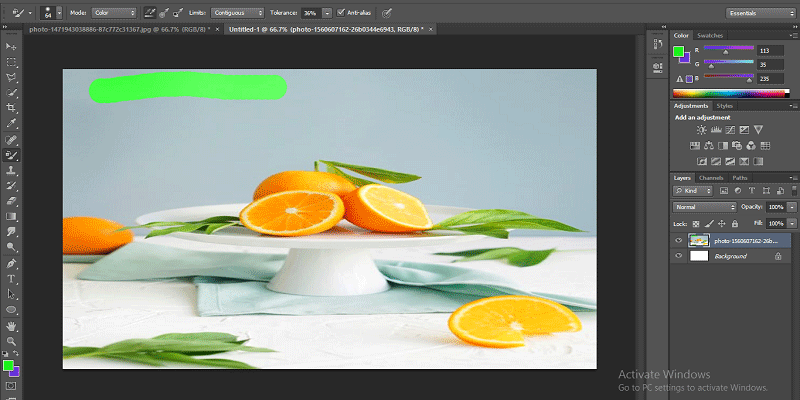
Step 10: Now, I will draw a simple line on the image.
Step 11: Again, decrease the value of Hardness up to 50%.
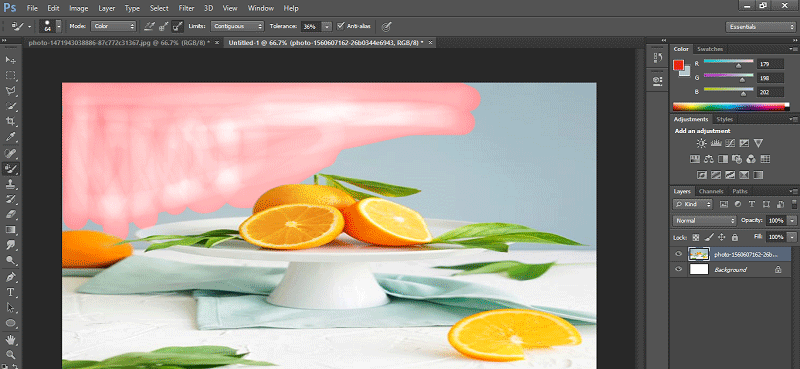
Step 12: And again, draw a simple line near the previous line. You can see the difference in the changing of the value of hardness. When you increase the value, the color gives a sharp edge, and when you decrease the value of the hardness, it will give you smooth color.
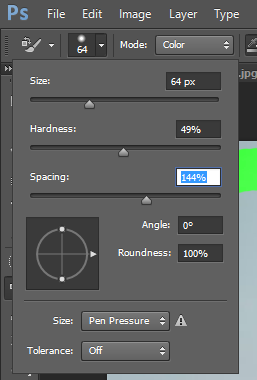
Step 13: The next one is Spacing.
Step 14: When you increase the value of spacing, the result will be like this
Step 15: Spacing must be up to 10% so that the speed of coloring will not affect due to less Ram of your personal computer.
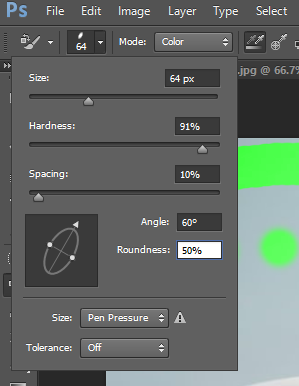
Step 16: Next are the Angle and Roundness of the brush tip. You can change it according to your purpose of use.
Step 17: Next is Mode. In mode, we will generally work on the Color option because when we choose any color to replace the color with this Color option, this tool will replace the color with the chosen color.
Step 18: Hue, Saturation and Luminosity mode will give some different results with the chosen colors. You will understand this change when you expertise in this work.
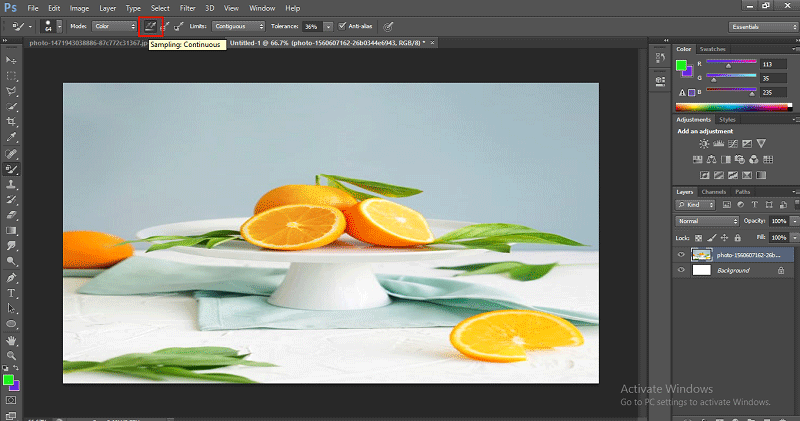
Step 19: Next is Sampling. We will choose ‘How this tool will take the sample from image’ in this property. The first method is Continuous Sampling.
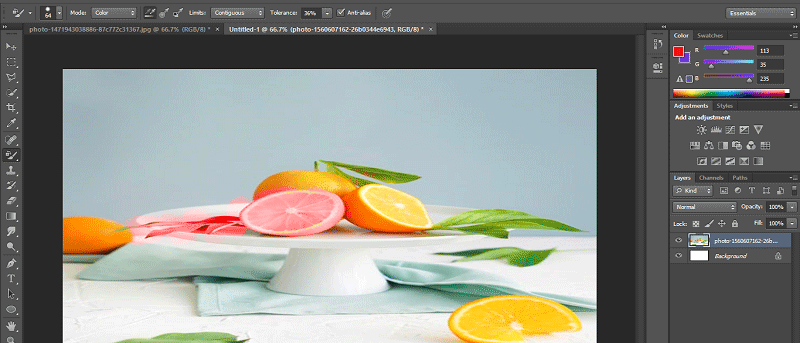
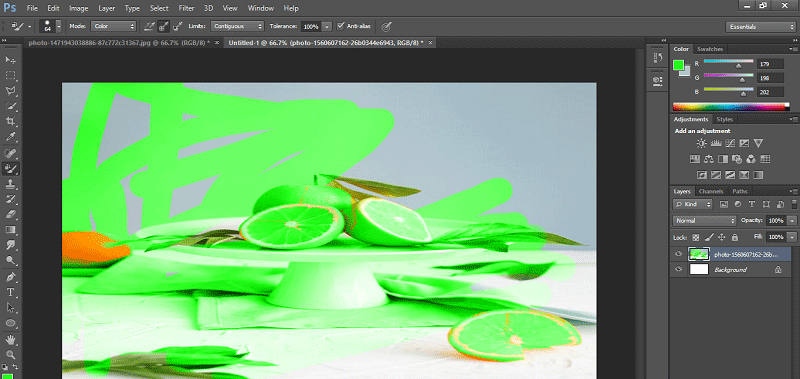
Step 20: In this method, the tool will change the sample color with the changing position of this tool’s plus sign. For example, when we click on the half orange area, the tool will change the color of this orange, and when we move the tool in a forwarding direction, and it reaches the leaf area, it will pick leaf color as a sample and change the color of the leaf too with the same color of orange as shown in the below image.
Step 21: Next is the ‘Once Sampling method.’
Step 22: In it, the tool will change the color of only that color, which is picking by the first click as a sample color.
Step 23: Another one is Background Swatch Sampling.
Step 24: This tool will take that color as a sample, which is in the background color of the color panel section.
Step 25: In the Limit option, we generally use Contiguous for a better result. Contiguous makes selection easy.
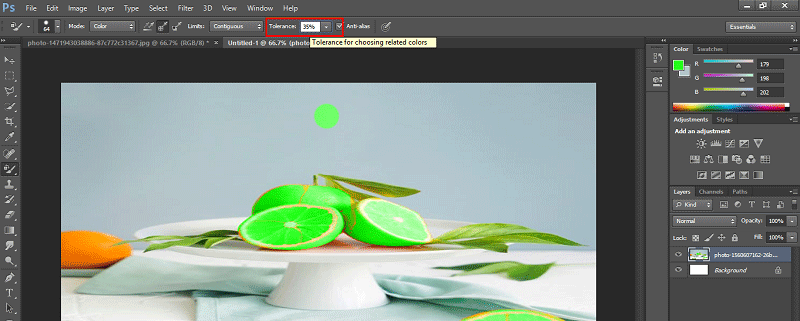
Step 26: Next is Tolerance. When you increase the value of tolerance, the tool will consider all colors as sample colors matching your chosen color.
Step 27: Must take tolerance between 30 to 40 percent for better results.
Step 28: Next is Anti-alias.
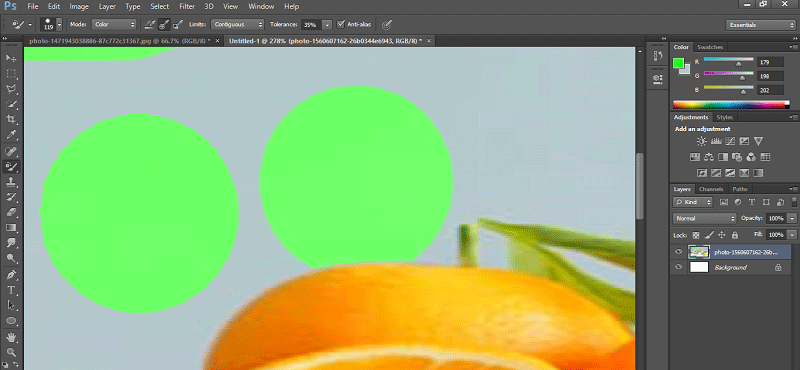
Step 29: Here are two shapes of brush given in this image. You can easily find the difference between these two. When you make the On Anti-alias option, the color will change with smooth edges, and when you make Off the Anti-alias option, the change color will have distorted edges, as shown in the image. The left one is without Anti-alias, and the right one is with Anti-alias.
Conclusion – Color Replacement Tool Photoshop
After this article, you can easily understand all the features of the Color Replacement tool of Photoshop. You can now use this tool for improving the quality of your project and get more and more benefits in your work with the help of this Color Replacement tool.
Recommended Articles
This is a guide to Color Replacement Tool in Photoshop. Here we discuss the Uses of Color Replacement Tool Photoshop in easy and simple basic. You can also go through our other related articles to learn more –


