Updated June 22, 2023

Introduction to CSS Transition Effects
We have seen that Cascading Style Sheets are very dynamic in nature. On one end, there are features as plain as text color, and then there are features like hover, using which one can customize how the hovering will work separately for each element. One other similar dynamic feature is the Transition Effect. Using this property of CSS, a developer can animate the objects on the page to transition into anything required. The transition is a property that is the shorthand for transition-property, transition-duration, transition-timing-function, and transition-delay if we group all of them, a smooth transition can be programmed.
Syntax:
The property transition is a shorthand property.
transition: transition-property transition-duration transition-timing-duration transition-delayThese values being passed parameters for the shorthand property transition can also be used as individual and separate properties where respective values can be passed to attain the required transition effect.
Examples of CSS Transition Effects
Given below are the examples of CSS Transition Effects:
Example #1
I am using separate transition properties through external CSS.
a. Since we use external CSS for this example, we will start by creating the CSS page first.
b. We will create two ids with a set of properties. However, the IDs will have different transition-property so that we can demonstrate the types of transitions possible. Along with the ID, we will create a pseudo ID for defining the Hover effect, capturing what transformation should happen. The Set of ID and pseudo ID will look like this.
Code:
#div1{
height: 100px;
width: 100px;
background-color: violet;
transition-property: background-color;
transition-duration: 2s;
transition-timing-function: linear;
transition-delay: 1s;
}
#div1:hover{
background-color: blue;
}c. The final CSS code should look like this.
Code:
#div1{
height: 100px;
width: 100px;
background-color: violet;
transition-property: background-color;
transition-duration: 2s;
transition-timing-function: linear;
transition-delay: 1s;
}
#div1:hover{
background-color: blue;
}
#div2{
height: 100px;
width: 100px;
background-color: yellow;
transition-property: width;
transition-duration: 2s;
transition-timing-function: linear;
transition-delay: 1s;
}
#div2:hover{
width: 300px;
}d. Next, we will code for the HTML page.
e. The coding should be such that the header section should call for the external CSS page, and the body section should have elements using the IDs created on the CSS page.
f. The final HTML page code should look like the below code snippet.
Code:
<html>
<head>
<title>Transition demo</title>
<link rel = "stylesheet" href = "transition.css">
</head>
<body>
<h2>Transition Effect Demo</h2>
<p>This example will demonstrate transition effect for background</p>
<div id="div1"></div>
<div id="div2"></div>
</body>
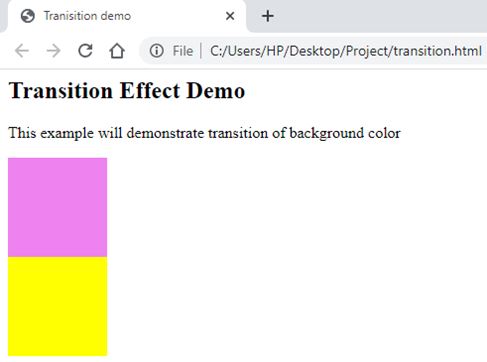
</html>g. The outlook for the above page will look like this.
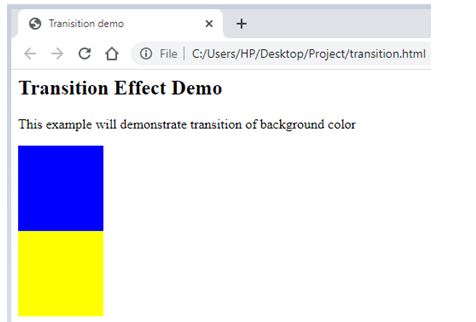
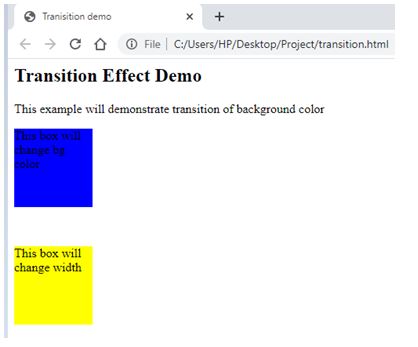
h. Hovering over the violet box will change color like this.
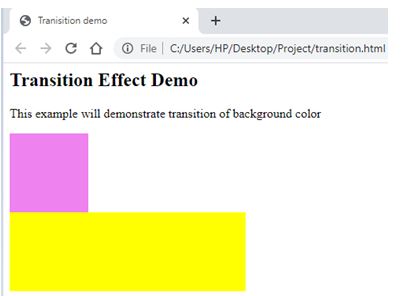
i. On hovering over the yellow box, it will expand in width like this.
Example #2
I was using shorthand transition property through external CSS.
a. In the CSS code, we will create the IDs similar to the previous example. However, we will use the shorthand transition property instead of using separate properties for transition. The ID and pseudo ID with the hover feature should look like this.
Code:
#div1{
height: 100px;
width: 100px;
background-color: violet;
transition: background-color 2s linear 1s;
}
#div1:hover{
background-color: blue;
}b. The final CSS code can be similar to the code below.
Code:
#div1{
height: 100px;
width: 100px;
background-color: violet;
transition: background-color 2s linear 1s;
}
#div1:hover{
background-color: blue;
}
#div2{
height: 100px;
width: 100px;
background-color: yellow;
transition: width 2s linear 1s;
}
#div2:hover{
width: 300px;
}c. We will code for the HTML part. We can use other elements instead of <div> but ensure the IDs are called properly. We will use paragraph element <p> to demonstrate the transition for this example.
d. The HTML code should look similar to the following code.
Code:
<html>
<head>
<title>Transition demo</title>
<link rel = "stylesheet" href = "transition.css">
</head>
<body>
<h2>Transition Effect Demo</h2>
<p>This example will demonstrate transition of backgroundcolor</p>
<p id="div1">This box will change bgcolor</p>
<br>
<p id="div2">This box will change width</p>
</body>
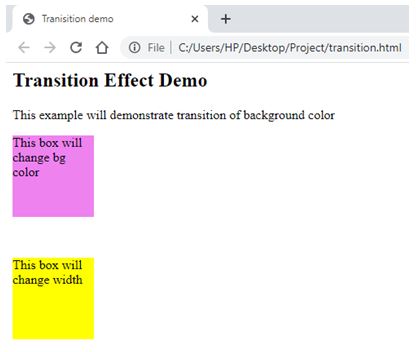
</html>e. The outlook for the above page will look like this.
f. Hovering over the violet box will change color like this.
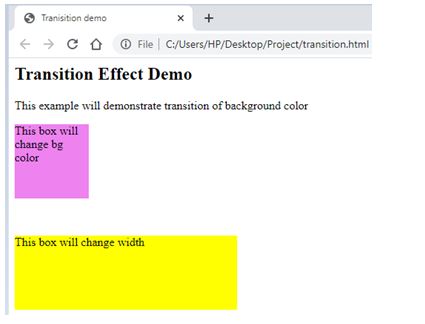
g. On hovering over the yellow box, it will expand in width like this.
Example #3
I was using shorthand transition property through internal CSS.
a. Since we use internal CSS for this example, we will directly code for the HTML page.
b. We will define the style in the head section. This will be done for the <style /> tag.
c. The IDs with transition effects will be coded here. The code for the style tag should look similar to this.
Code:
<style>
#cl1{
height: 100px;
width: 100px;
background-color: violet;
transition: height 2s linear 1s;
}
#cl1:hover{
height: 200px;
}
#cl2{
height: 100px;
width: 100px;
background-color: yellow;
transition: width 2s linear 1s;
}
#cl2:hover{
width: 300px;
</style>d. Now, in the body section, we will call for these IDs with various elements to demonstrate the transition. The code for the entire HTML page should be as follows.
Code:
<html>
<head>
<title>Transition through internal CSS</title>
<style>
#cl1{
height: 100px;
width: 100px;
background-color: violet;
transition: height 2s linear 1s;
}
#cl1:hover{
height: 200px;
}
#cl2{
height: 100px;
width: 100px;
background-color: yellow;
transition: width 2s linear 1s;
}
#cl2:hover{
width: 300px;
}
</style>
</head>
<body>
<h2>Transition Effect Demo</h2>
<p>This example will demonstrate transition of background color</p>
<p id="cl1">This box will change height</p>
<br>
<p id="cl2">This box will change width</p>
</body>
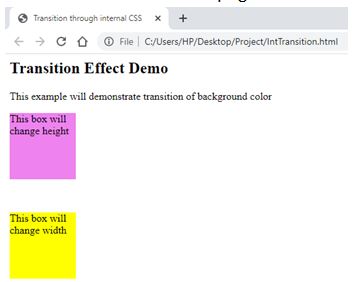
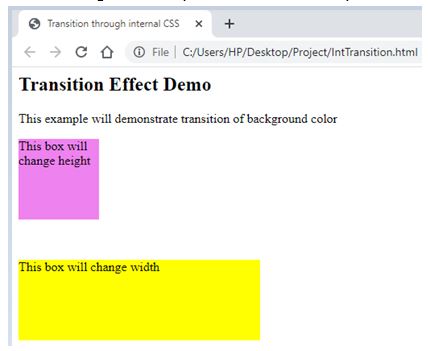
</html>e. The outlook for the above page will look like this.
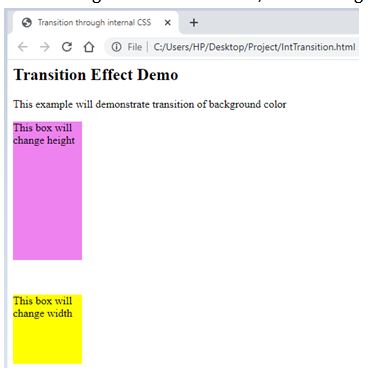
f. On hovering over the violet box, it will change height like this.
g. On hovering over the yellow box, it will expand in width like this.
Conclusion
So, in the above examples, we went through some of the basic uses of transition properties in CSS. The developers can explore the separate properties or the short-hand property, whichever is preferred, to see how effectively this feature can be used.
Recommended Articles
We hope that this EDUCBA information on “CSS Transition Effects” was beneficial to you. You can view EDUCBA’s recommended articles for more information.
