Introduction to Cut Clips in After Effects
Adobe After Effects is an animation and video editing software and, in this article, we are going to learn how to cut clips. For this purpose, we will first see how to work with the timeline area then we will look at multiple ways to cut the clips along with some handy shortcuts to make an easy workflow.
Steps for Cut Clips in After Effects
Here are the following steps as mentioned below.
Step #1
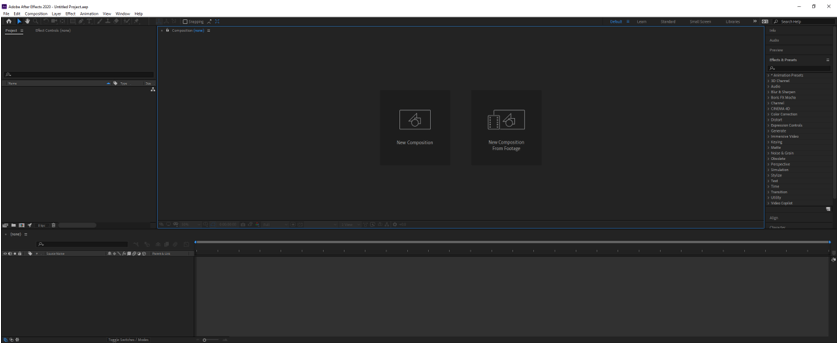
Let us first familiarize ourselves with the interface before starting to get a better understanding. At the top is the menu bar like File, Edit, etc. and each has its own submenu. Next, just below it, we have tool panel and their properties. On the left side, there is a project panel that consists of the project files and an effects control panel which shows the effects applied on a particular layer. Then there is the composition panel which shows the preview of the animation or video. At the top right, we have various layout presets which will arrange according to the type of work. We can even create our own custom layout. At the right, there are various sections used to edit the video. At the bottom, there is layers and a timeline panel which is used to add media and add animation keyframes.
Step #2
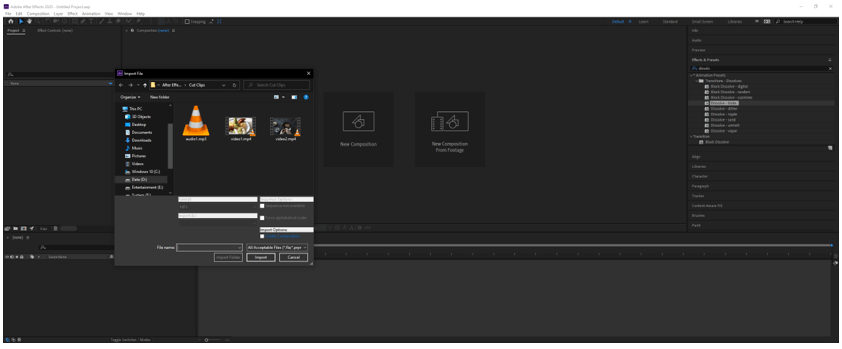
Let us start by first importing a video file. You can double click in the Project panel or press Ctrl + I or go to File -> Import -> File…
Step #3
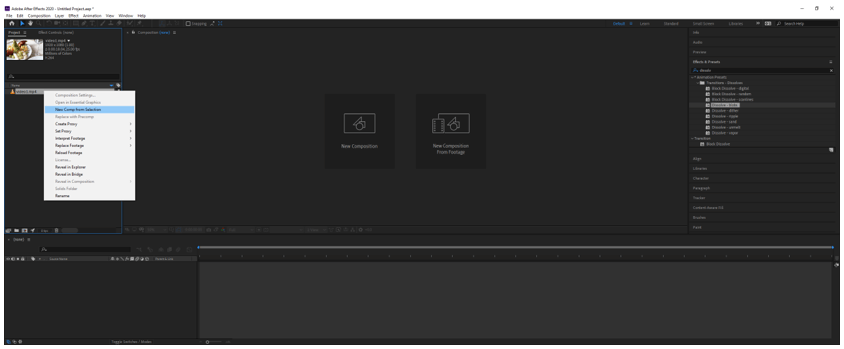
Now to create a comp from the video right-click and select New Comp from selection or drag the video into the layers panel.
Step #4
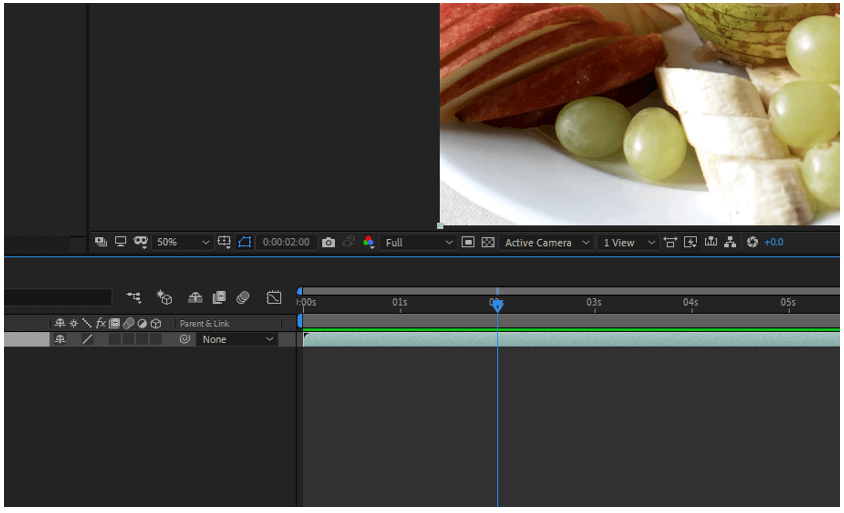
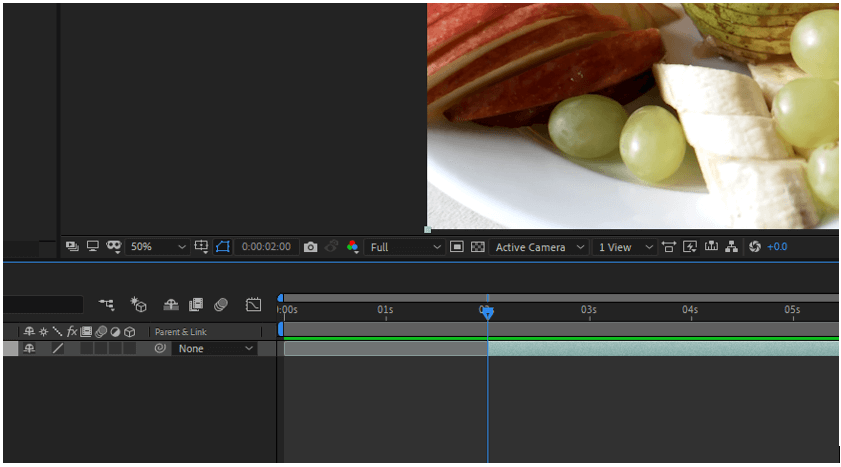
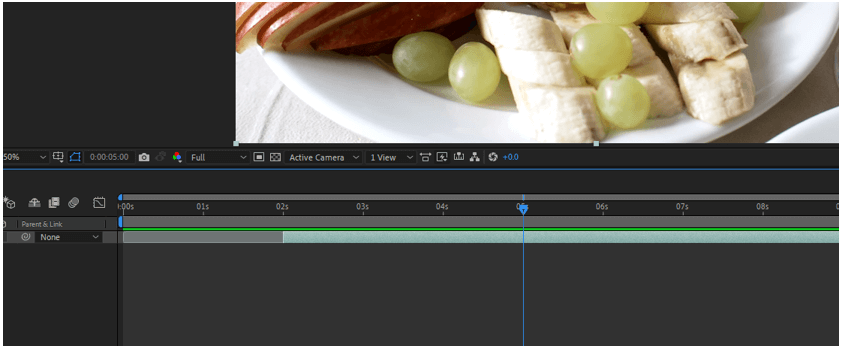
There are multiple ways to cut the video lets start by bringing the current-time indicator on the 2-second mark and first we want to start our video at 2 seconds to we will take our mouse pointer to the start of the video clip which is indicated by the notch on the top of the layer. If the mouse pointer changes to double-headed horizontal arrows then it means that we can clip the video. So, click and drag till the current-time indicator.
Step #5
To make this easy rather than eyeballing the position of the current time indicator you can hold shift while dragging which will snap the clip start to the current-time indicator.
Step #6
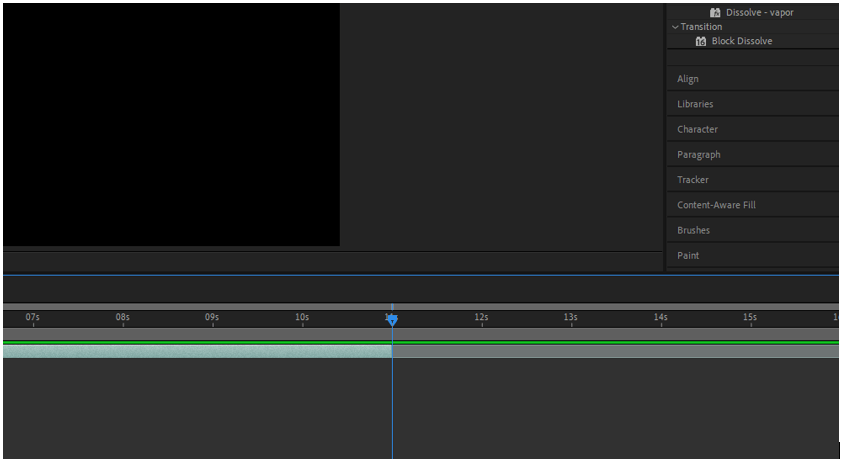
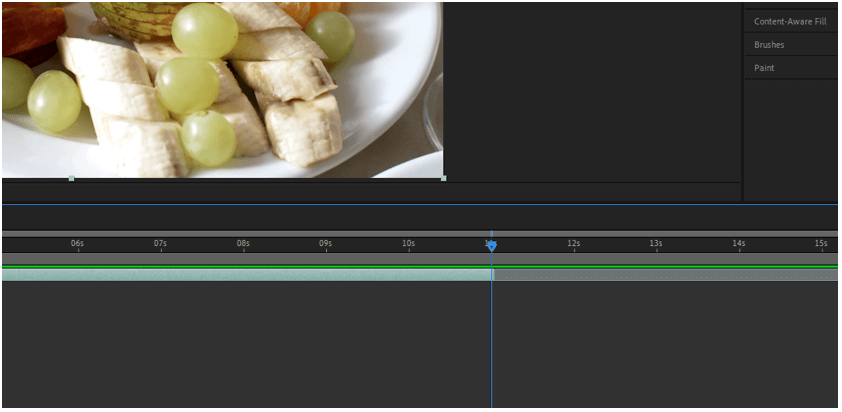
In a similar manner, we can clip the video from the end by dragging the handle up until 11 seconds. Notice that now the notch does not appear in the start and the end of the layer indicates that the layer has been clipped.
Step #7
Let’s undo those steps a couple of times till you get the original video. For this, you can press Ctrl + Z or if you have taken so many steps then you can go to History which mass undo many steps.
Step #8
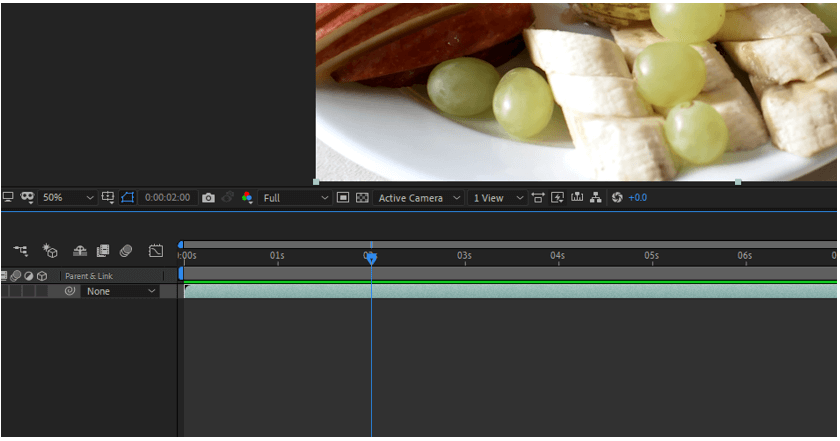
Again, we will do the same thing but this time we will use shortcuts which will make the workflow lot faster. To start the clip from the 2 seconds mark we press Alt + [ which will snap clip start to the current-time indicator.
Step #9
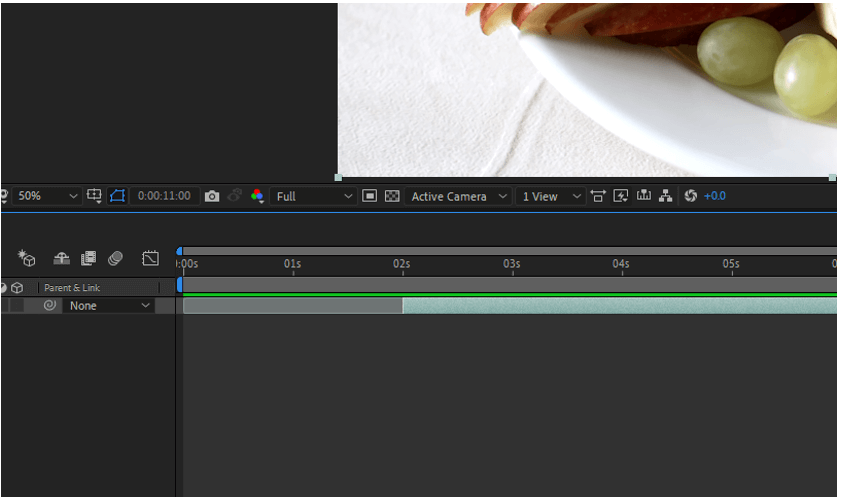
To end the clip at the 11 seconds mark we press Alt + ] which will snap the clip end to the current time indicator.
Step #10
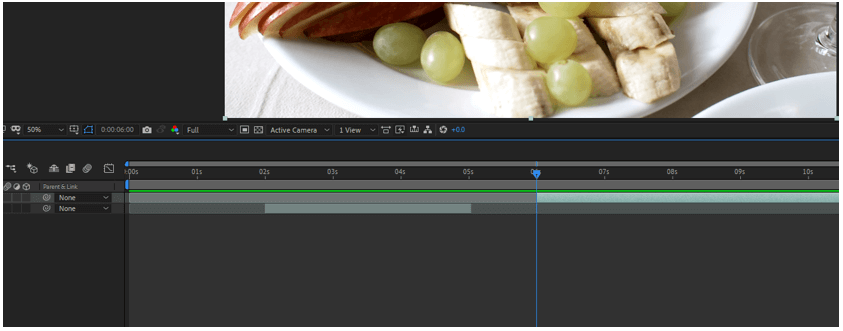
This was about clipping the ends now what if we want to remove the parts from the middle of the clip, let say we want to remove the part between 5 and 6 seconds, for this there a 2 methods let us start with the first for which bring the current-time indicator to the 5 seconds mark.
Step #11
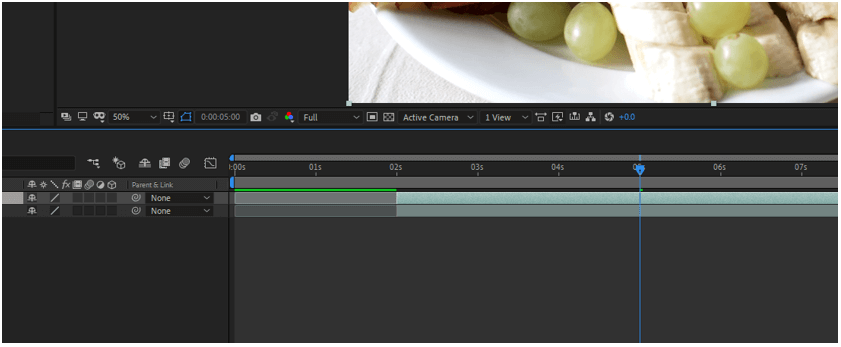
Now duplicate the current layer by pressing Ctrl + D or go to Edit -> Duplicate
Step #12
Since we now know the shortcuts we can use it to our advantage so press Alt + ] on the bottom layer to cut the right part of the clip and make sure that the current time indicator is on 5 seconds mark. Then select the top layer. One handy tip to move layers is by pressing Ctrl + ] to bring layer up and Ctrl + [ to bring layer down.
Step #13
Then press Alt + [ to remove the portion from the left side of the clip and make sure that the current time indicator is on 6 seconds mark.
Step #14
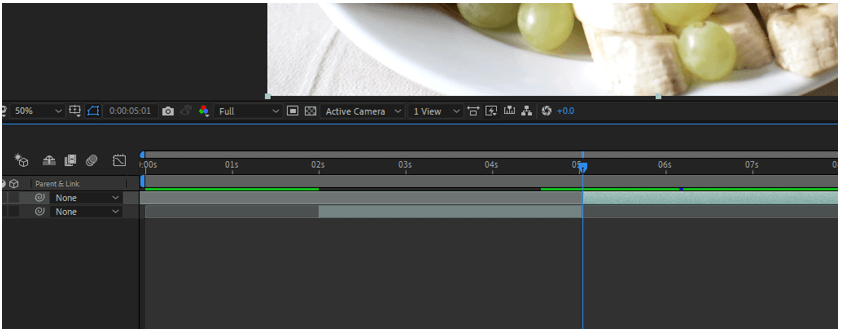
Bring the top layer so that it meets the bottom layer and when you play you can notice an abrupt transition which we can change by adding a transition from the adjustment layer.
Step #15
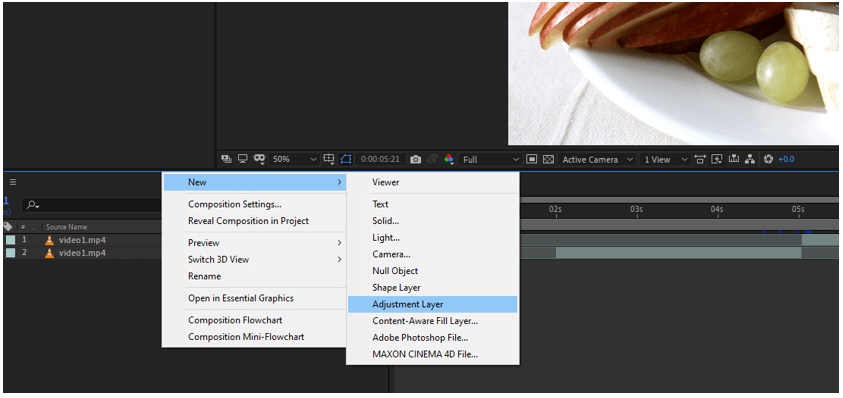
Right-click on the layers panel to add an adjustment layer.
Step #16
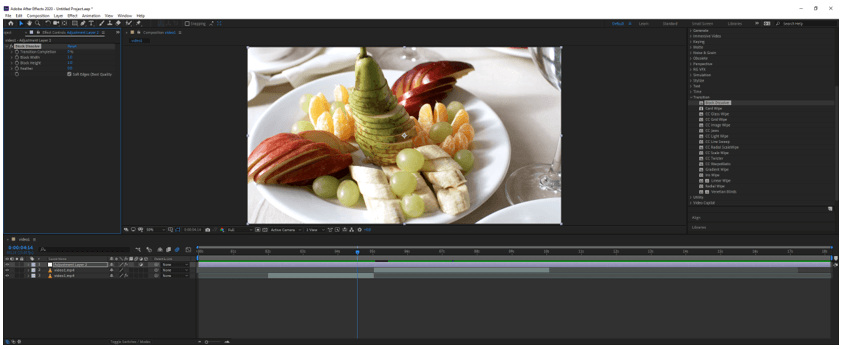
Drag a Block Dissolve transition on the adjustment layer.
Step #17
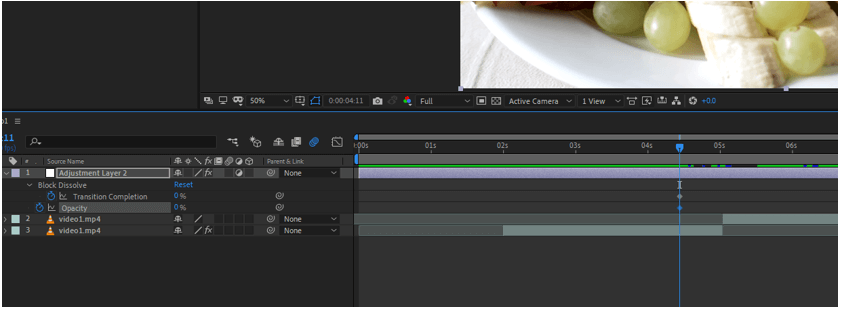
Bring the time indicator between 4 and 5 seconds and add a keyframe to the Block dissolve for transition completion and also set the opacity keyframe and set it to 0 by pressing T.
Step #18
Press U to see the properties with keyframes. At 5 seconds set the transition complete to 100 and opacity to 100.
Step #19
Bring the current-time indicator between 5 and 6 seconds and set the transition completion and opacity to 0.
Step #20
Drag select all keyframes and press F9 which will add some easing.
Step #21
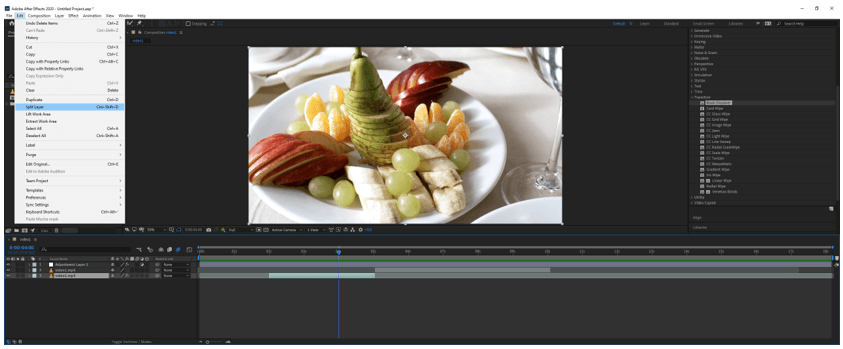
Another method to cut the clips is to split layer, suppose we do not want the clip of the bottom layer from 4 to 5 seconds then we can bring the current-time indicator at the 4 seconds mark then we can go to Edit -> Split Layer or press Ctrl + Shift + D.
Step #22
We get a new layer from 4 to 5 seconds which we can delete.
Step #23
Then drag the bottom layer to line up with the top video layer and this will also preserve the transitions.
Conclusion
In this article, we have learned not only how to cut the clips in After Effects in multiple ways be also learned how to do transitions by using adjustment layers to hide some weird cuts. Along with that, we have also learned a few shortcuts to make a better workflow.
Recommended Articles
This is a guide to Cut Clips in After Effects. Here we discuss how to cut the clips in After Effects in multiple ways through the following steps. You may also have a look at the following articles to learn more –
