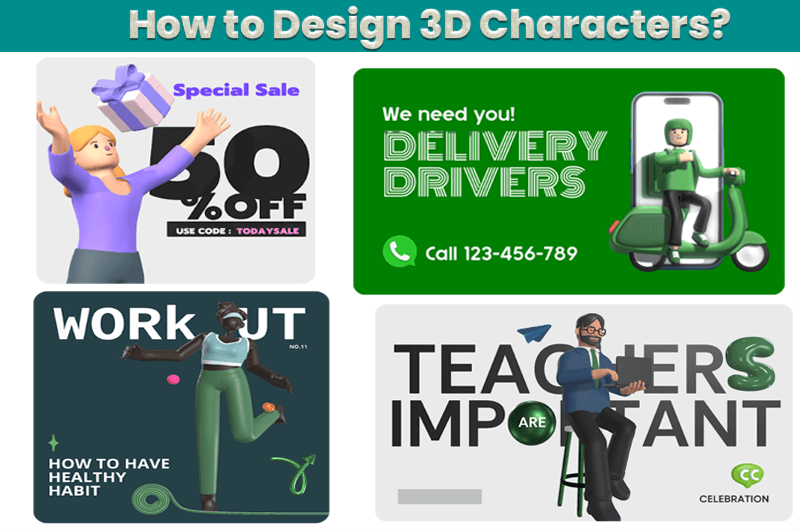
How Can I Design 3D Characters?
Adding realistic 3D characters to your designs is like upgrading from a black-and-white photo to full-color HD. Whether you are designing for ads, games, or movies, 3D characters add depth and personality to your work. They help express your ideas and emotions more realistically, which can help you attract a wider audience. So, if you want to take your graphic design to the next level, you must learn to design 3D characters.
In this blog, we will discuss the different ways in which you can design 3D characters.
3 Ways You Can Design 3D Characters
1. Using Pre-Made 3D Characters
Pre-made 3D characters involve selecting elements from various sources, such as online websites or built-in libraries within 3D software packages. Using pre-made characters can save time and effort, especially for projects with deadlines or limited resources. Websites like Pixcap.com offer a wide variety of characters for any project. For instance, you can enhance your designs with 3D characters by following the below steps.
- Sign in to Pixcap.com
- Click on ‘Create Design’.
- Choose an element section from the Left Side of the panel.
- Search the element according to your requirements. For example, if you need to create a 3D model of a Sales Dashboard, then:
- In the search element, search for a pie chart, sales design, graph, and profile.
- Customize it by adjusting poses, angles, and colors to match your vision.
- Use the 2D view feature to see your character’s appearance as you make changes.
- Download once it gets ready.
Result:
Note: Pixcap usually provides controls for rotating your character along the X, Y, and Z axis. Here’s how these rotations work:
- Pitch (X-axis Rotation): This controls the forward or backward tilt of the character.
- Yaw (Y-axis Rotation): Yawing rotates the character left or right.
- Roll (Z-axis Rotation): Rolling the character spins it like a wheel.
Additional Feature:
AI 3D model generator is another great option for generating 3D characters in seconds. Just describe the character you need, and it creates it in seconds. It’s a handy feature for designers who want customized characters without the technical skills to create them.
2. Creating 3D graphics in Adobe Illustrator
Adobe Illustrator, a powerhouse in vector drawing and design, also offers tools for 3D creation, allowing designers to add depth and volume to their flat illustrations.
Here’s a concise guide to using Adobe Illustrator’s 3D tools for basic 3D modeling:
- Start with Creating Basic Shapes: Your 3D design begins with basic shapes — rectangles, circles, stars, etc., which you can easily draw using Illustrator’s shape tools. Consider these shapes as the building blocks of your 3D design.
- Group Shapes Together: If your design is complex and consists of multiple shapes, group them by selecting all the relevant shapes and using the `Ctrl + G` (Windows) or `Cmd + G` (Mac) shortcut. This will make it easier to apply 3D effects to them as a single unit.
- Apply 3D Effects: With your shapes ready and grouped, head over to the `Effect’ menu, select `3D`, and select an effect to add three-dimensionality to your design. You will see a submenu of 3D options, such as:
- Extrude & Bevel: This effect adds depth to an object, making it appear as if it’s coming out of the canvas. You can control the depth, direction, and lighting to achieve the desired 3D look.
- Rotate: This effect allows you to spin your object around in 3D space, giving you a 360-degree view of the object.
- Adjust the Perspective: For a more realistic 3D effect, you might want to adjust the perspective of your 3D objects. You can do this within the 3D effect dialog boxes, where you can tweak the perspective angle to make your object appear more distant or closer.
- Finalize the Design: After applying and adjusting your 3D effects, you can further enhance your design with gradients, shadows, or other Illustrator effects for more realism or stylization.
3. Using 3D Modeling Softwares
While Illustrator’s 3D features offer a quick and easy way to add dimension to your designs, it may not provide the same level of complexity and control as full 3D modeling software. Software like Blender, Maya, or Cinema 4D designs intricate 3D models and animations, making them essential tools for any 3D animation studio aiming to produce high-quality content.
These softwares provide various tools and features for creating and manipulating 3D objects, including advanced lighting and texturing options. Industries like film, gaming, and architecture use it for their high level of detail and realism.
While the learning curve for these softwares may be steeper than Illustrator’s 3D features, they provide a more advanced and professional approach to 3D design. With intensive practice and dedication, you can create stunning 3D models and animations using these software programs.
Final Thoughts
Using 3D characters in branding and marketing is becoming increasingly popular. Tools like Pixcap make it easier than ever to add 3D elements to your designs. As virtual reality advances, 3D designers will create immersive experiences for entertainment, education, and beyond. This evolution will improve how we share ideas. 3D design will play a huge role in shaping the future of tech and creativity, showing just how much it can do.
Recommended Articles
We hope this guide on ways to design 3D characters helped you understand how to create 3D characters. For similar guides, visit the below recommendations.

