Updated April 20, 2023
Introduction to Docker Toolbox
Docker Toolbox is the Docker solution for the older version of Windows or Mac OS. We can install Docker Toolbox on older Windows or Mac operating systems that do not meet the system requirements of ‘Docker Desktop for Windows’ and ‘Docker Desktop for Mac’. Docker Toolbox includes Docker tools and those are Docker Machine for running ‘docker-machine’ commands, Docker Engine for running the ‘docker’ commands, Docker Compose for running the ‘docker-compose’ commands, Kitematic, the Docker GUI, a shell preconfigured for a Docker command-line environment and Oracle VirtualBox. Docker Toolbox also has some system requirements to install such as the host must have 64-bit OS running Windows 7 or higher and virtualization must be enabled on the system.
How to Install Docker Toolbox?
Given below are the steps to install Docker Toolbox on Windows operating system and it pretty easy:
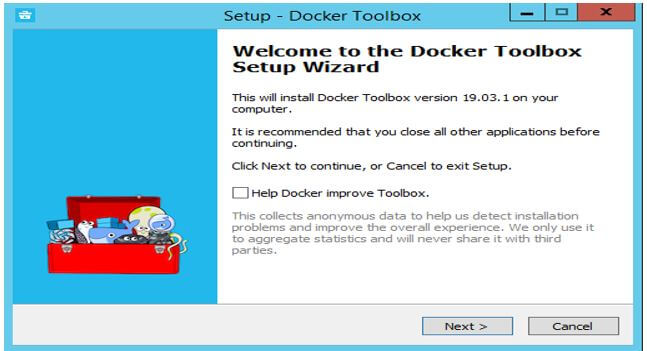
Step 1: First of all, we need to download the latest .exe file from GitHub. Once downloaded the setup file, just double click on it to run the installer and we will get below window:
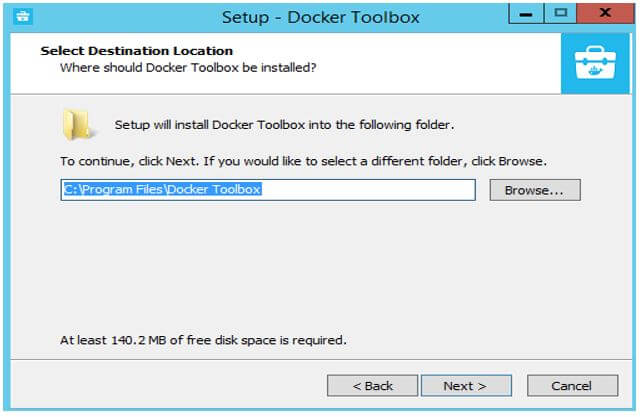
Step 2: Click on next and will get the below window to enter the folder location where we want to install Docker Toolbox, we can keep the default or change it as per our requirement and click on next:
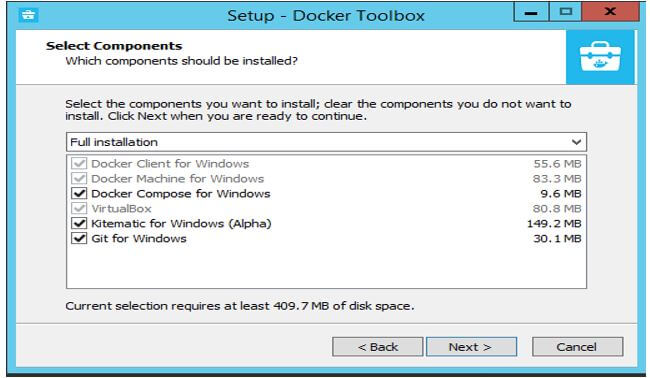
Step 3: We get the below window where we have options to select however some checkboxes are greyed-out as those are mandatory ones like if we already have VirtualBox installed on our system then we get the option to uncheck VirtualBox. Now, select the checkboxes as per our requirement and click on the Next button:
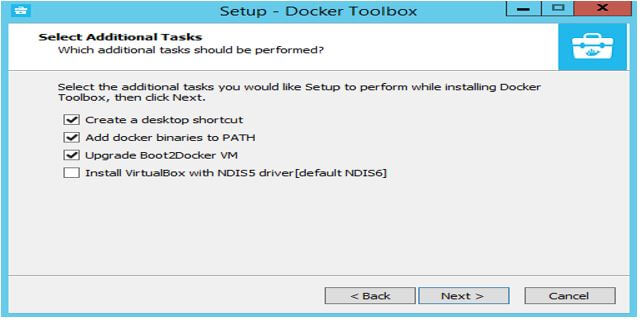
Step 4: Now, we get the window to select additional tasks and we can keep it default and click on next:
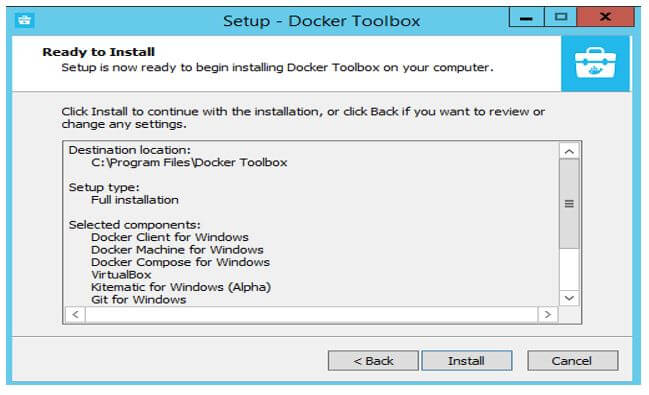
Step 5: Finally, we get the ‘Ready to Install’ window to install the Docker Toolbox, simply click on the Install button:
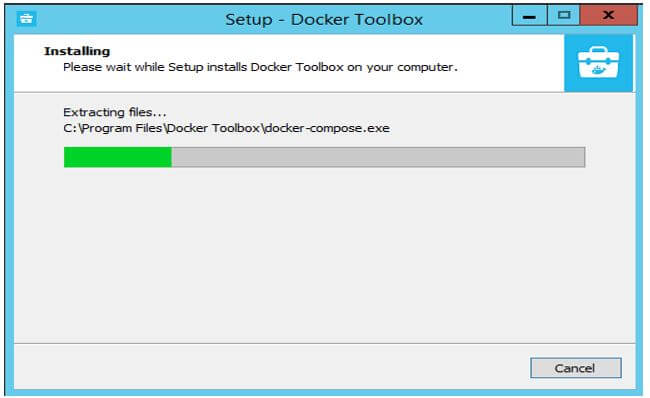
Step 6: It will start the installation and we get progress bar as below:
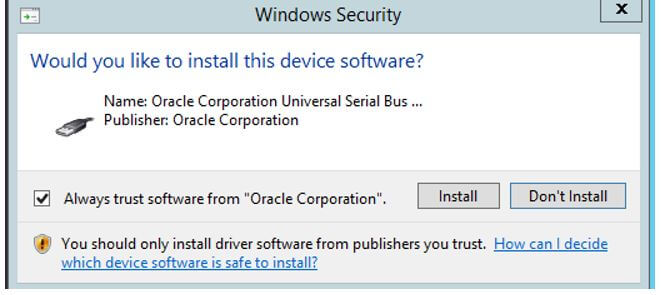
Step 7: If we get the below window, just click on Install:
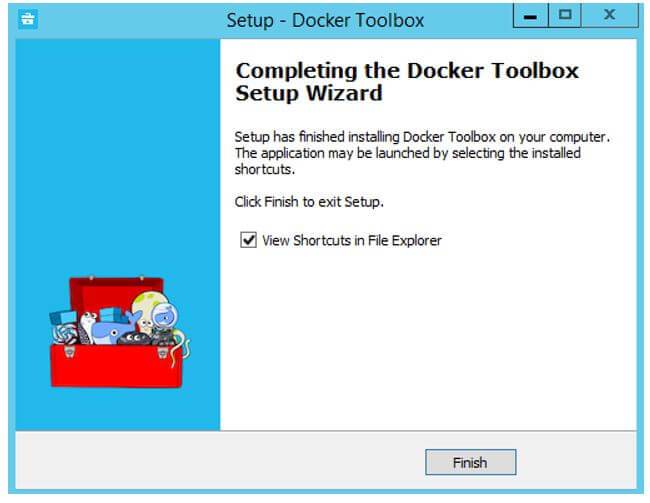
Step 8: Then, it will install VirtualBox and that’s it. Docker Toolbox is installed on our machine. Here is the final window of the installation as below:
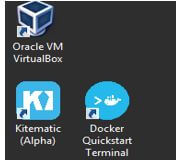
Step 9: Click on Finis and it will open a Windows Explorer, close that window and check the Desktop. Here, we have 3 new Desktop shortcuts as below:
How does Docker Toolbox work?
We cannot run Docker Engine natively on Windows because the Docker Engine daemon uses Linux-specific kernel features to run. So, we need to create and attach a small Linux VM on our host using the Docker Machine command. This VM is going to use to host Docker Engine on our Windows system. It uses Oracle VirtualBox which is included in the package to run that Linux VM in a virtual environment. If VirtualBox is already installed on our computer, we must uncheck the checkbox of VirtualBox while running the Docker Toolbox setup and VirtualBox must be closed before the installation. However, in the newer ‘Docker Desktop for Windows’ desktop solution removed this requirement as it uses native virtualization instead of VirtualBox to run Docker.
Also, Docker Toolbox has only access to the ‘c:\users’ directory by default, and it is mounted into VM at ‘/c/Users’ and it is case sensitive. If we want to allow access to other folders, for example, our project files might be somewhere else so we need to configure ‘Shared Folders’ in the VirtualBox.
Docker Toolbox Overview:
Let’s start the Docker and test it to confirm that the installation is successful and Docker is working as expected.
Follow the below steps to test our newly installed Docker Toolbox:
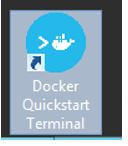
Step 1: Search for the ‘Docker QuickStart Terminal’ icon on the Desktop.
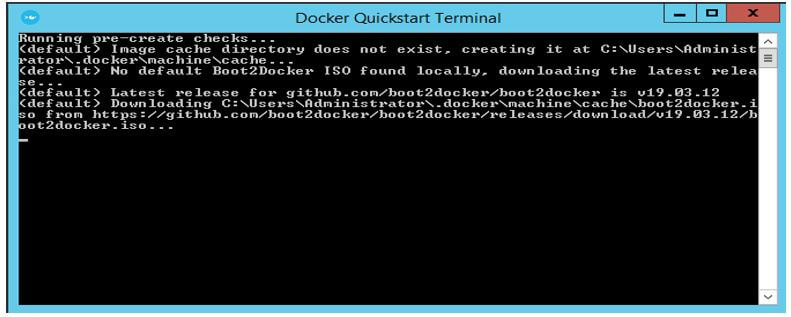
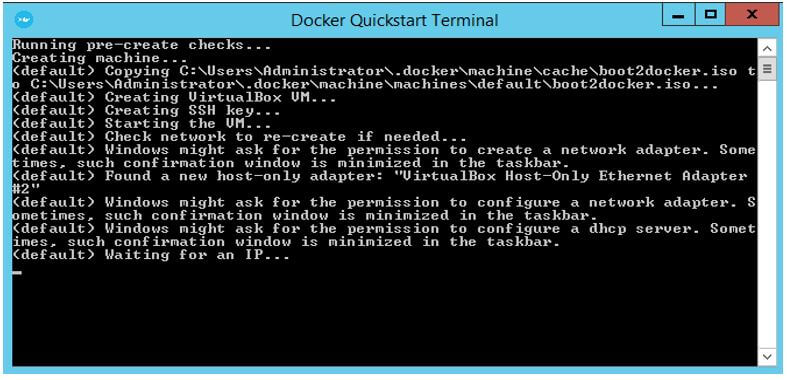
Step 2: Double click on the icon to launch a pre-configured Docker Toolbox terminal. It does several things to prepare the Docker Toolbox for use as shown below:
Here, we can see that pre-create checks are complete and it is downloading ‘Boot2Docker’ ISO image to create VM as it was not found locally.
Step 3: If encountered any problem, just restart the terminal and see if the issue is resolved or getting the same issue continuously:
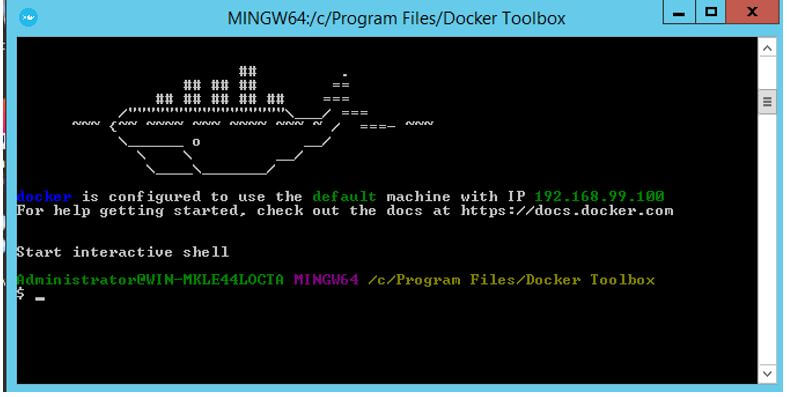
Step 4: Here, we go, Docker is configured and ready to use now and gives us the ‘$’ prompt to run the Docker commands, we can make it active by clicking our mouse next to the ‘$’ prompt.
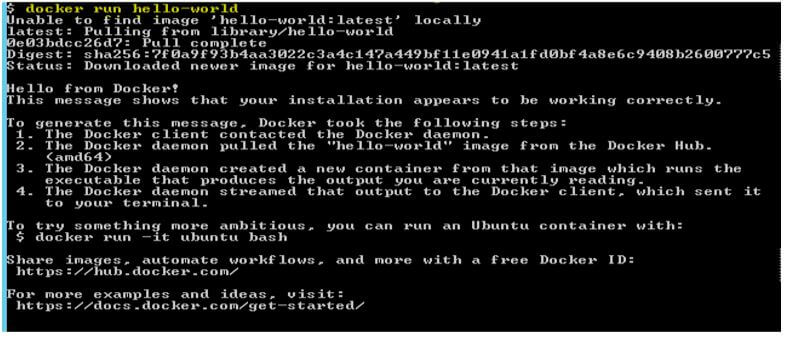
Step 5: We can now test the installation by running any container on it. We can run the ‘docker run hello-world’ command to run ‘hello-world’ container and if everything is good, we get below output after running the above command:
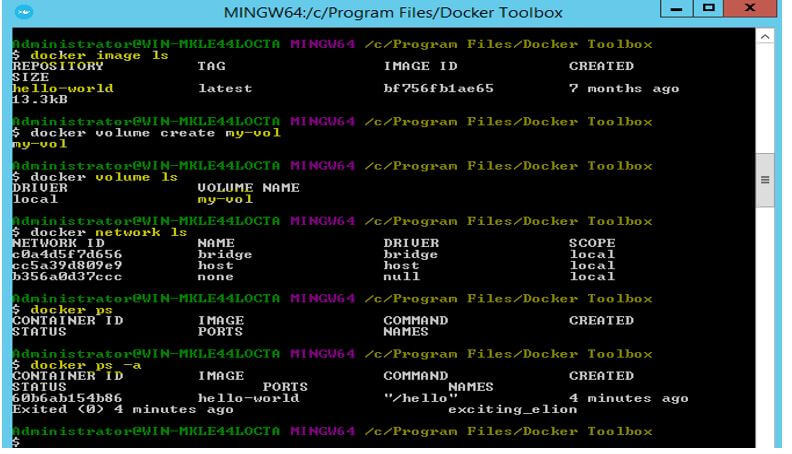
Step 6: We can run other Docker commands as well now. Let’s start by checking images and creating volumes etc. by using below commands:
Code:
$docker image ls

$docker volume create my-vol

$docker volume ls

$docker network ls

$docker ps

$docker ps -a
Output:
Explanation:
- In the above snapshot, we can see that we are able to list Docker images, volumes, networks, and containers without any errors.
Step 7: Let’s run an nginx container and access the default web page from our browser.
So, here is the command to test it:
Code:
$docker run -d -p 80:80 nginx:alpine
Output:
Now, to access the default web page from the browser, check the IP address of the VM that is populated when started the VM as bash command will not work here and put the IP address in the browser as shown below:
Conclusion
Docker Toolbox is an official tool from Docker to run Docker on a different operating system other than Linux if we have old Windows or Mac OS. This tool is very easy to install and use. We can create multiple machines using the ‘docker-machine’ command. We can uninstall the Docker Toolbox from the control panel as we uninstall other applications, however, it does not uninstall VirtualBox, it needs to be uninstalled separately.
Recommended Articles
This is a guide to Docker Toolbox. Here we discuss the introduction to Docker Toolbox, how to install this toolbox, and the working of the toolbox. You may also have a look at the following articles to learn more –
