Updated August 16, 2023
Introduction to Drawing a Line in Excel
To draw a line, we have a command in Excel with the name Shapes in the Insert menu tab. If we go into Shapes drop-down list, see Lines. Line in Excel is used to connect any two cells, boxes, or shapes or show to give directions as well. To Drawing a line in Excel, select LINE from the Lines section in Shapes and then draw it anywhere on a sheet by holding the left click of the touchpad or mouse, then moving it along any direction we want, then leave the buttons to drop endpoint of the line.
How to use Drawing a Line in Excel?
Before the drawing, the first thing to know is where to find the line. Below are the generic steps that will lead your way:
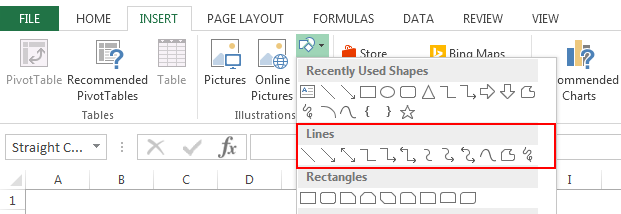
Step 1: Click on the “INSERT” Tab as highlighted below image:
Step 2: Under the “Insert” tab, you will find “Shapes”, which is a part of the “Illustrations” group
Step 3: In “Shapes”, you will find a wide variety of lines from line to scribble that we will be used according to our requirements:
Purpose of Drawing a Line in Excel
Below are a few scenarios that you may come across.
Example #1 – Draw a Simple Line
Step 1: Select “Line” from the “Lines” menu.
Step 2: Click anywhere in the document or the point from where you want to start, hold and drag your mouse pointer to a different location or where you want to end, and then release.
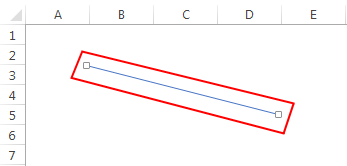
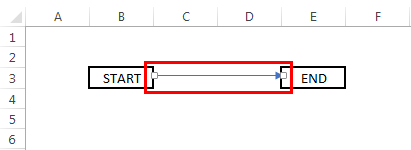
Step 3: If you release the mouse cursor in between, you need not worry. Select the line, and you will see two dots at each end of the line, as shown below image:
Step 4: Select the dot from any end to resize the line or to change its direction, and you will get the output as shown below:
Example #2 – Draw Multiple Lines without selecting “line shape” again
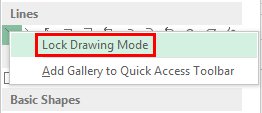
After the first line, if you need to create another line of the same type, you have to select the line again from the “Shapes” menu. What if we must draw multiple lines without selecting them from the “Shapes” menu To overcome this situation, Excel has an inbuilt functionality, i.e., “Lock Drawing Mode”. Below are the steps you need to follow to draw multiple lines repeatedly.
Step 1: While selecting the type of line, right-click on the required type and select “Lock Drawing Mode” as shown below:
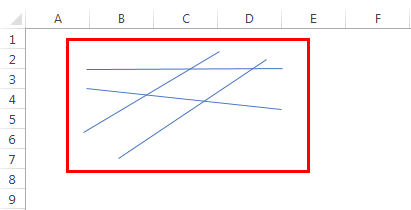
Step 2: Click anywhere in the document or the point from where you want to start, hold and drag your mouse pointer to a different location or the point where you want to end and then release the mouse cursor.
Step 3: Repeat “Step 2” for every line you need to draw. After drawing the number of required lines, Press the “Esc” button.
Example #3 – Draw an Arrow in a Flow Diagram
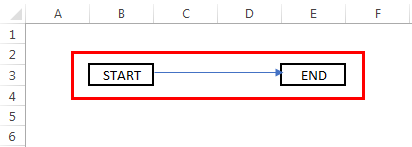
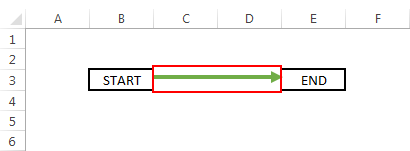
Imagine you need to create a flow diagram to explain the process or steps you follow for a certain project. In this situation, a simple line might not be useful as you need to specify the direction of the flow. We typically use a “Line arrow” for such situations.
Below are the steps you need to take to draw it:
Step 1: Select “Line Arrow” from the “Lines” menu.
Step 2: Click anywhere in the document or the point from where you want to start, hold and drag your mouse pointer to a different location or the point where you want to end and then release the mouse cursor.
Example #4 – Format the line to make it more presentable
Sometimes we need to present our work to others in both the professional and personal world. One thing we should keep in mind is that we might have to make it look visually appealing according to the situation, and all you need to do is follow the below set of steps:
Step 1: Select the line which you want to format.
Note: You can also select multiple lines to format them in the same manner in one go and avoid repeating the steps.
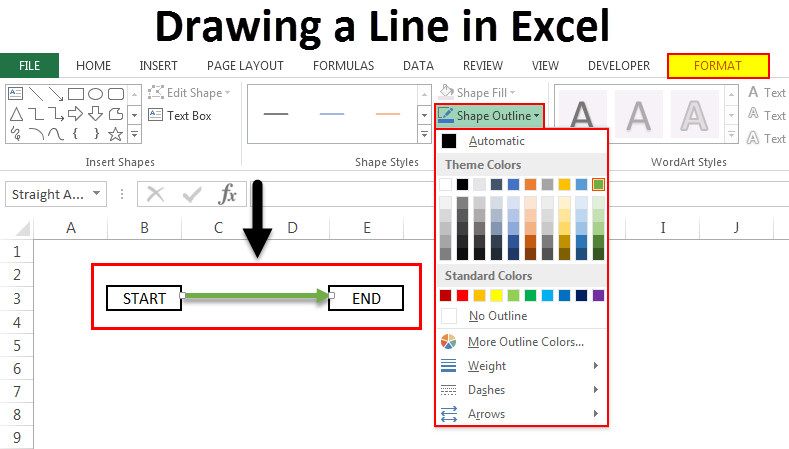
Step 2: Select the “Format” tab under the “Drawing Tools” as highlighted below:
Under the “Format tab”, you can access many different options. You can change the color of the line or its width/thickness. You can even add some visual effects to make it more visually appealing.
To format Color:
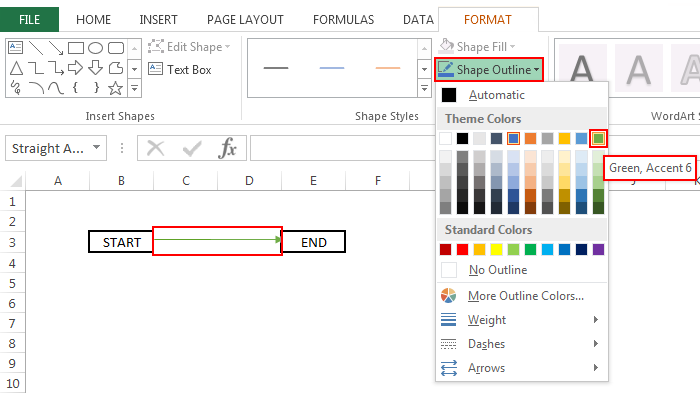
Step 3: Now, select “Shape Outline” from the “Format tab” and choose the desired color for your line.
To format Size:
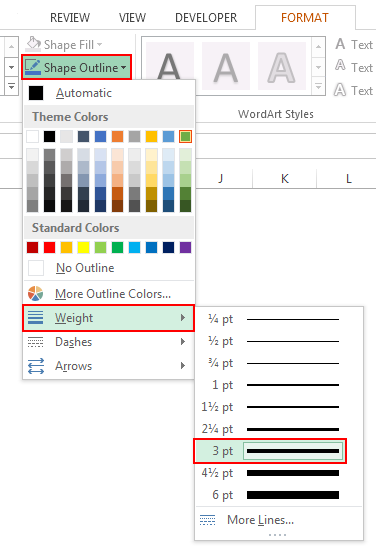
Step 3: Now, select “Shape Outline” from the “Format tab,” choose “Weight,” and then the required width.
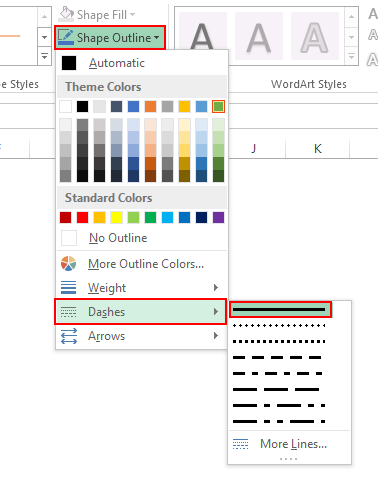
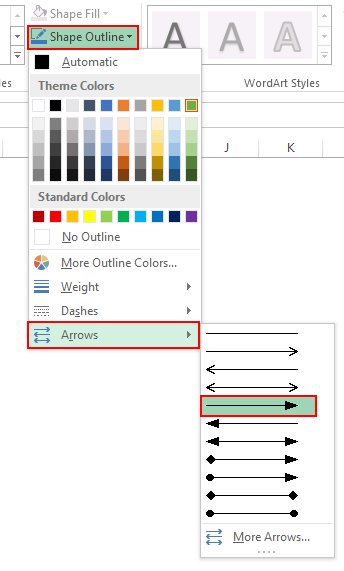
Similarly, under the “Shapes Outline”, you will find “Dashes” and “Arrows”, which can be used to make the line dotted or to change the direction or type of arrows.
You can also use some pre-defined styles for a quick turnaround. They are available under the header “Shape Styles”, as shown below:
To format Shape effects:
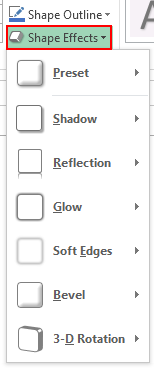
Step 3: To add shape effects, select “Shape Effects” from the “Format tab”, and you will see a wide variety of effects that can be used.
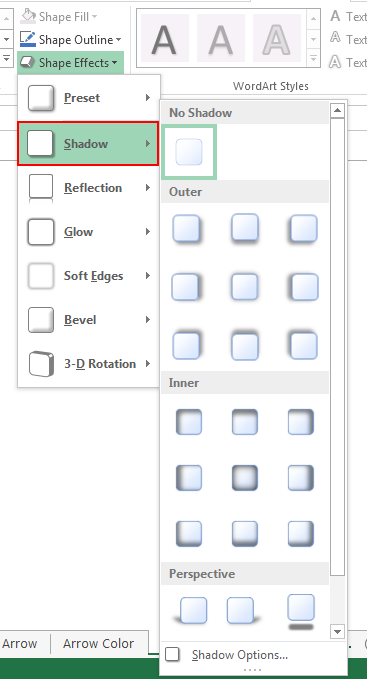
Let us take an example of adding shadow to the line and see what it looks like:
Step 4: Select “Shadow” from the “Shape Effects” menu as shown below:
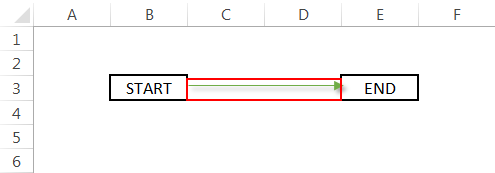
Step 5: Select the required effect from the “Shadow” menu, and you will see an output similar to the one shown below:
Things to Remember
This was an overview of drawing a line in Excel and some of its applications. To draw and format other shapes, you only need to select the required shape from the “Shapes” menu and follow the steps we used above to draw a line in Excel. You make things look simple; drawing a line in Excel will be more helpful.
Some popular types of lines.
- Line
- Line Arrow
- Line Arrow: Double
- Connector: Elbow Arrow
- Connector: Elbow Double-Arrow
Some other applications.
- Used in charts to mark threshold values or as stat markers
- Used as dividers to segregate the spreadsheet into two or multiple regions.
Recommended Articles
This has been a guide to Drawing a line in Excel. Here we discuss Drawing a Line in Excel and how to use Drawing a Line in Excel, along with practical examples and a downloadable Excel template. You can also go through our other suggested articles –
