Updated August 22, 2023
Database Template in Excel (Table of Contents)
What is Database Template?
We will first understand the definition of a database template before we learn how to create one.
Database: A database can collect raw data that is organized properly to give the required information. E.g., Sales database, Employee database, etc…
Template: A template can be defined as a file prepared in a particular format for maintaining our data or inputting the data. It helps the user understand what data fields need input into the database.
How to Create a Database Template?
We covered what a database is and what a template is now; we will see how to create a Database template in Excel. Let’s look at a few illustrations to create a database template in Excel.
Illustration #1 – Customer Database
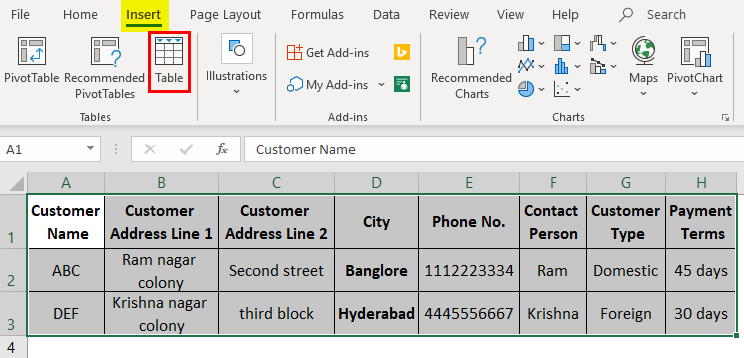
Consider we are preparing our customer database. For the customer database, we need information like customer name, phone number, address, customer type, payment terms of the customer and contact person, etc. First, create a template format in which way we want to maintain our customer data. Below is the screenshot, for example.
If you feel all the required columns are added, start inputting your customers’ data under each heading column. Find the screenshot below; I entered a few records for your reference.
Try not to leave any blanks in the cells. You can format the cells in your required format, like if you want to show any of your data cells in Bold, then apply the Bold format to the cells.
If a date is available in your data, apply the required format for your date. After applying all the formats, save the table. Now it’s time to convert the data into the database table. Select the entire data and click the insert button in the top left corner.
Click on the table option under the “Insert” menu tab.
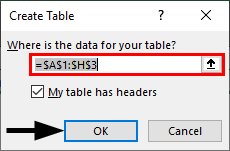
A pop-up box will appear asking for the table address; it took that range as the data is already selected. Untick the checkbox “My table has headers” option if you do not select your data’s headers. Here we selected the headers also; hence I leave it as checked. Click on “Ok”.
Now your database table looks like the one below.
Illustration #2 – Change the Database Format
You can change the database design by clicking on the option “Design” highlighted with the red color box in the screenshot.
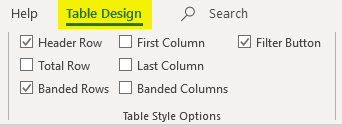
Remember the “Design” option will enable only if you select any of the cells in your database; once you select the Design option, the following options are available for your database.
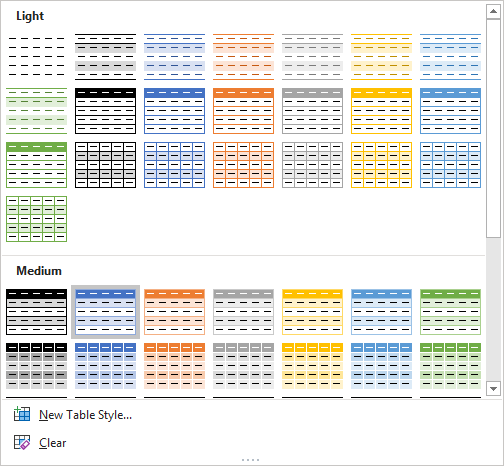
If you want to change the style of your database, select the required style format in the “Table Style “section on the right.
You can use the below options as per your requirement. The below options are quite understandable; if you check and uncheck the checkboxes, you can find the difference in your database table.
Illustration #3 – Giving a Name to Database
We can give the name to the database using the option “Table name” on the left-hand corner of the design menu.
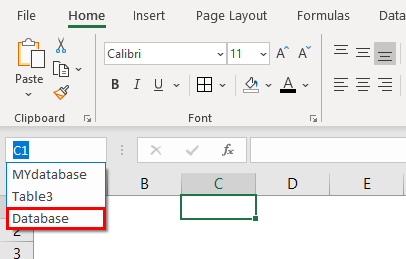
I give the name “Database”, as shown in the below screenshot.
You may think about the use of giving the name to the Database. Go to any other sheet in your workbook. Click on the drop-down of the name box; it will show our database name. When you select the database name, it will take us to our database.
Illustration #4 – Tools for Database
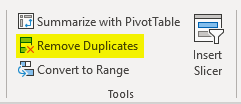
You can convert the database into normal data using the option “Convert to range”. If you want to remove duplicates in any of the columns, use “Remove duplicates”.
You can create a pivot table also using “Summarize with Pivotable”.
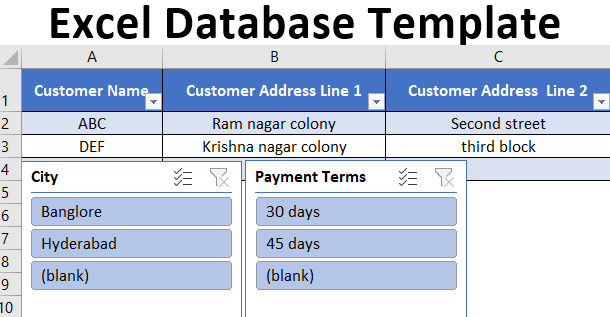
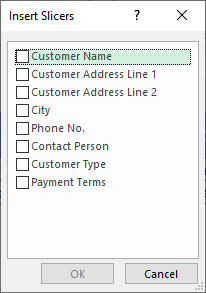
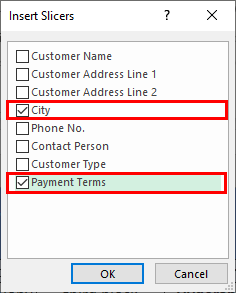
We can create a slicer also as per requirement. A slicer is like a kind of filter. Click on the slicer option then the slicer menu will appear as below.
Tick the checkboxes for which you want the slicers. I tick the checkboxes City and payment terms.
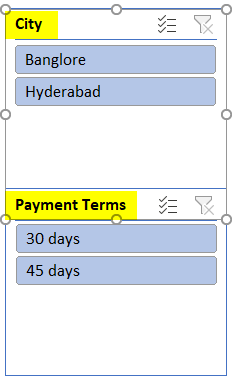
Two slicers are available in our spreadsheet.
If you click on “Banglore”, it will filter the data related to Banglore.
After setup all these settings, you can add your data whenever a new customer joins the business. Whenever a new data line is input to your database, it will add that line to the database table and apply the formats according to your previous data formats.
The database table will automatically increase when you enter the new line. I hope this helps you understand how to create a database template in Excel.
Things to Remember About Excel Database Template
- Do not leave blank lines between the data line because if you leave a line blank and start input from the other line, it will not consider that line in your database.
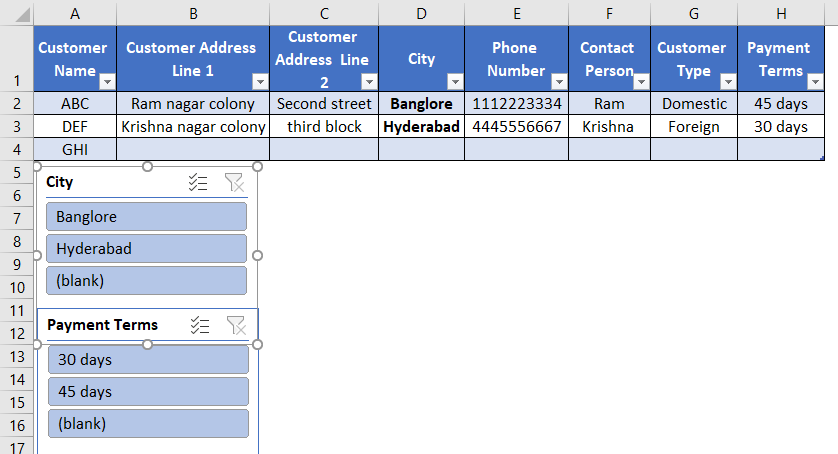
- Once you input the data, even if you delete it, it will also be part of your database table. You can observe line 5 in the above picture; there is no data, but it is still part of a database table. If you want to remove that empty line, click the “Resize Table” option in the top left corner, highlighted with a red box. The same point will be applicable when we want to add the new column because you may require adding any additional data header item to the existing database.
- When giving a name to the database, always use a unique name because the system will not allow duplication.
- Remember, the “Design” menu will enable only when your cursor is on the database; it will not be visible if it is out of the database.
Recommended Articles
This is a guide to Excel Database Template. Here we discuss how to create an Excel Database Template, practical examples, and a downloadable Excel template. You can also go through our other suggested articles –
