Introduction to Eyedropper Tool in Illustrator
Eyedropper Tool in Illustrator is one of the most helpful and significant tools. It helps the user to pick any color from the images or objects that are already present or created within the program. The eyedropper tool will help the user to fill the images with the same referred color picked with the help of the eyedropper tool. Eyedropper tool is mostly present in every graphic design program and contains a lot of usage and benefit to the users. Sometimes the users don’t remember the exact code of the color they want to fill. So, they use this eyedropper tool to pick and fill the image with the exact color they have chosen.
How to Use the Eyedropper Tool in Illustrator?
Let us continue our article with the introduction of the interface of this software.
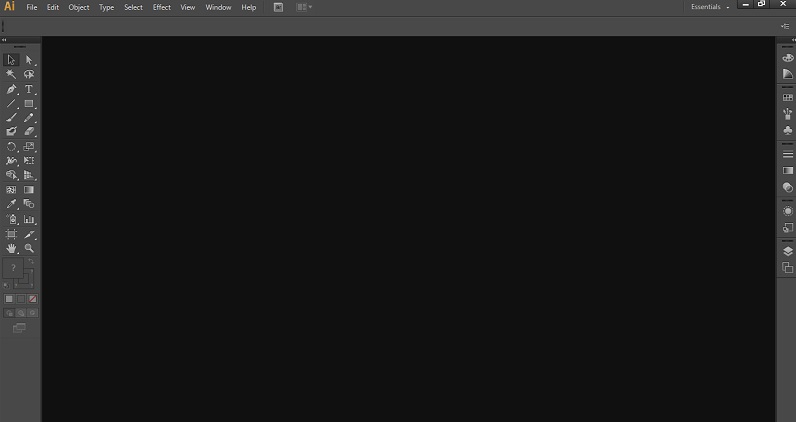
Step 1: In the interface of this software, we have a tool panel on the left side of the document area, a Menu bar at the top of the document area, and On the right side, we can use the most frequently used tool from the Windows menu bar.
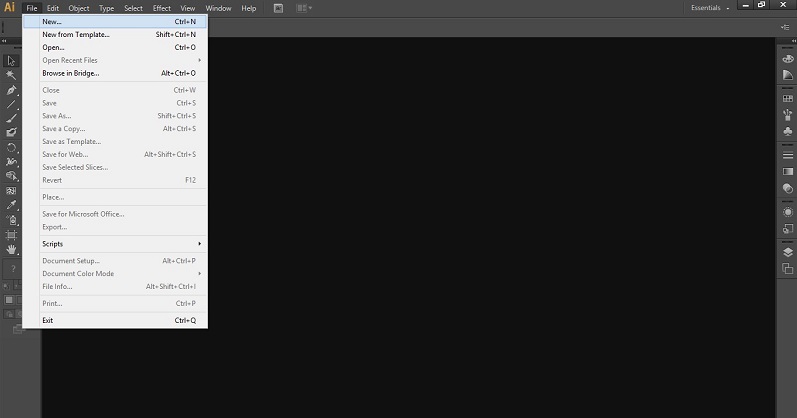
Step 2: Now, let’s take a new document to learn about the Eyedropper tool of this software. For a New document, Go to the File menu in the Menu bar and click on it. The drop-down list will be opened; click the ‘New’ option in the drop-down list.
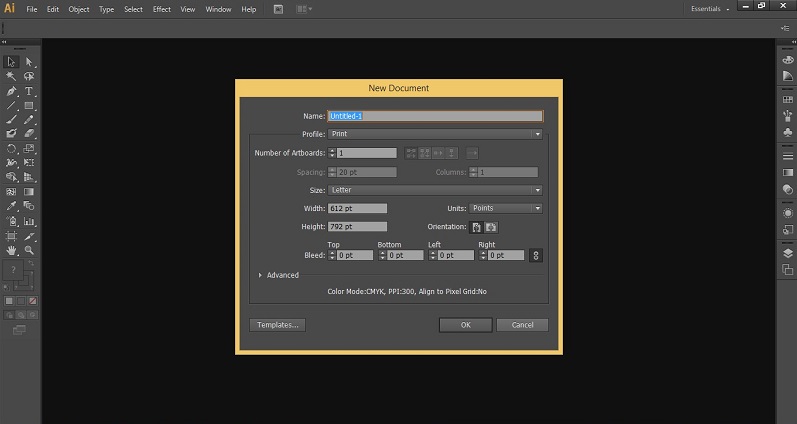
Step 3: The ‘New Document’ dialog box will be open. Set the parameters for your document from here and press the Ok button of this dialog box to apply the settings.
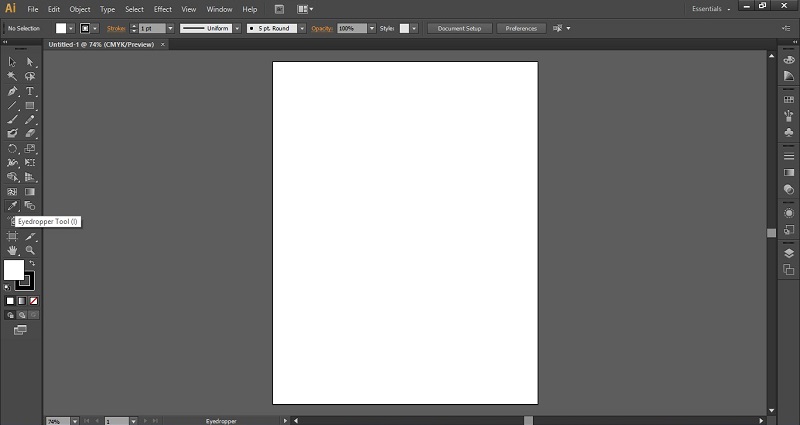
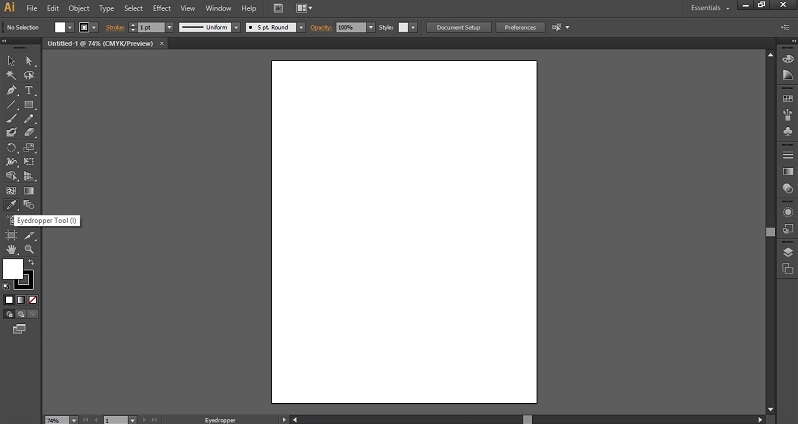
Step 4: This is the Eyedropper tool of Adobe Illustrator software.
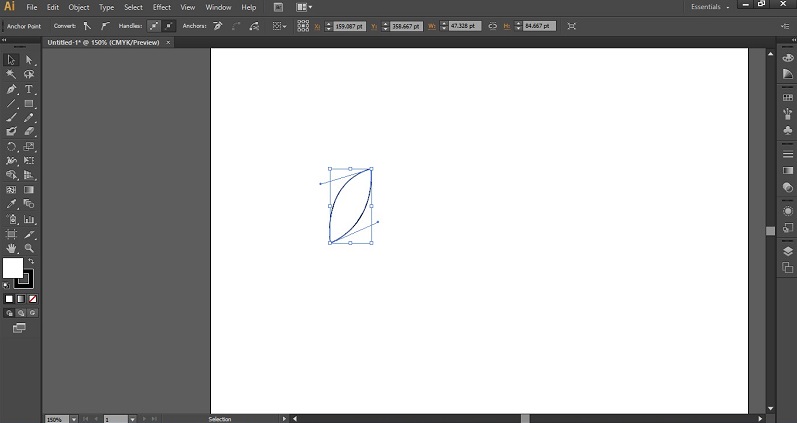
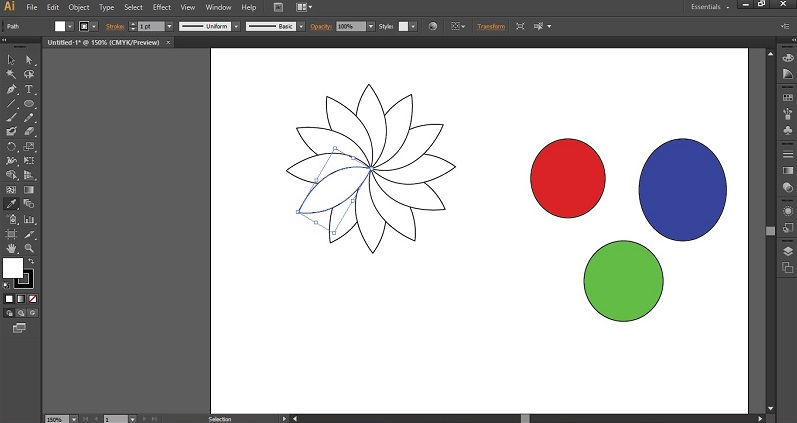
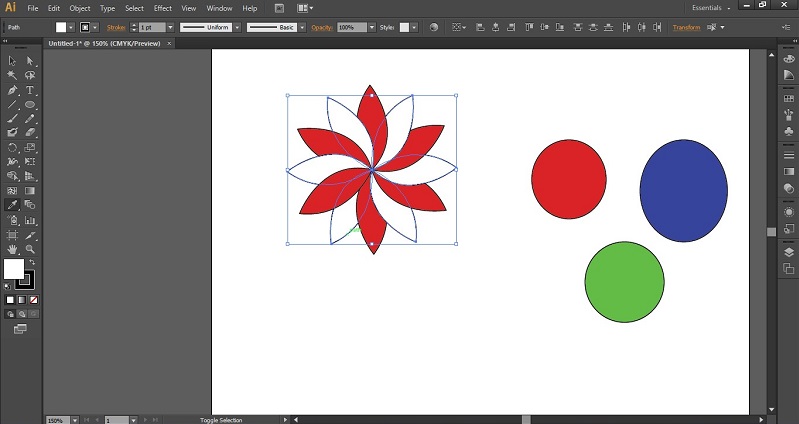
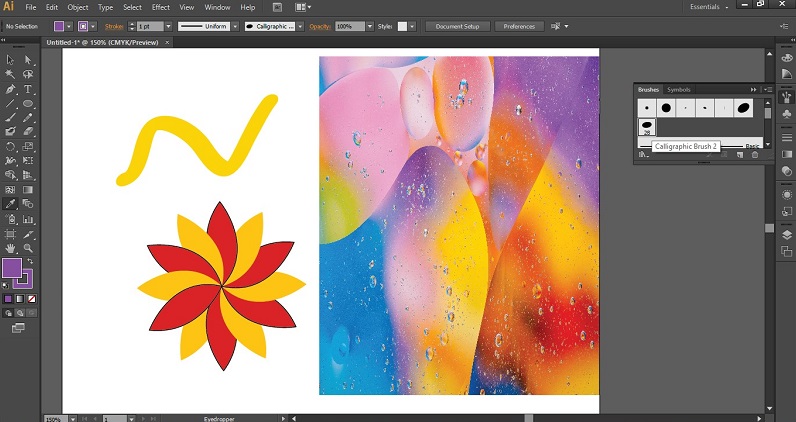
Step 5: Let us make a flower for our learning. Just make a leaf with the help of the Pen Tool to make a flower.
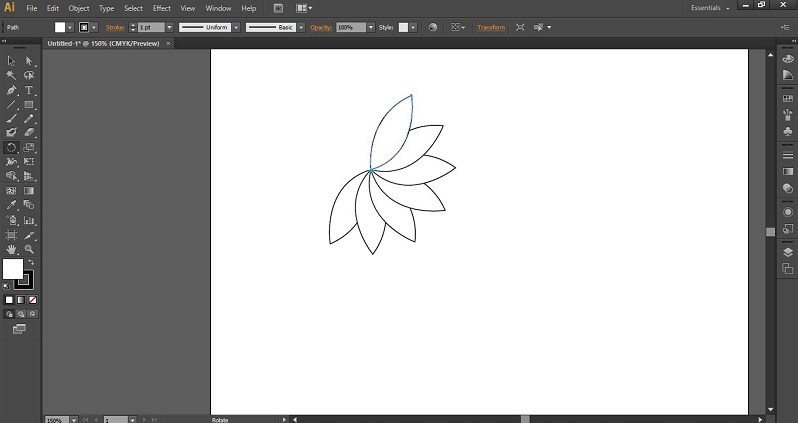
Step 6: Now take the Rotate tool from the tool panel of this software, copy the leaf at a 30-degree angle, and then press the Ctrl+D key on the keyboard to draw a flower.
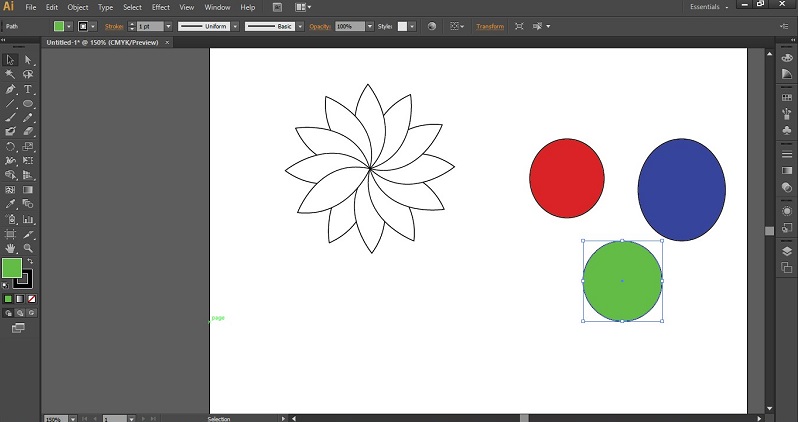
Step 7: Now, draw some circles and in these circles, take different colors from the color panel.
Step 8: Now, take the Eyedropper tool from this software tool panel.
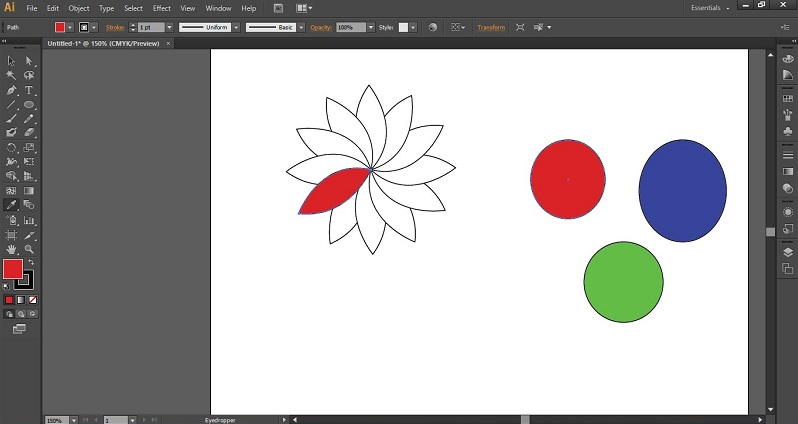
Step 9: Now press the Ctrl key on the keyboard to activate the selection tool and select the flower leaf in which you want to color any of the circles in the same color.
Step 10: Now release the Ctrl key on the keyboard, the Eyedropper tool will be activated again. Now click on the color of the circle which you want to color as a leaf.
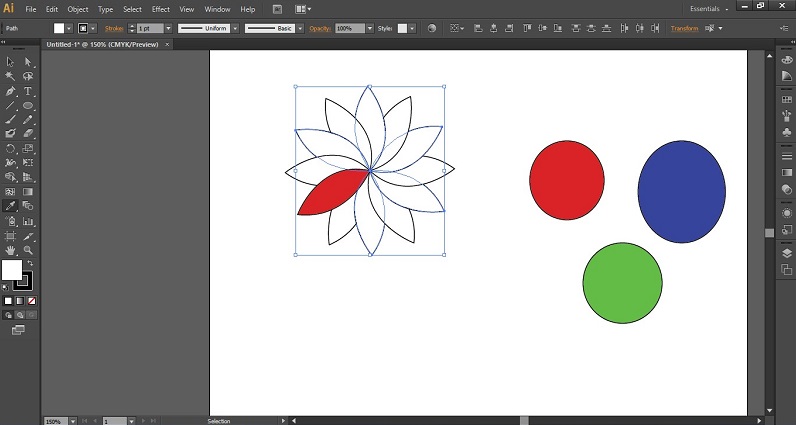
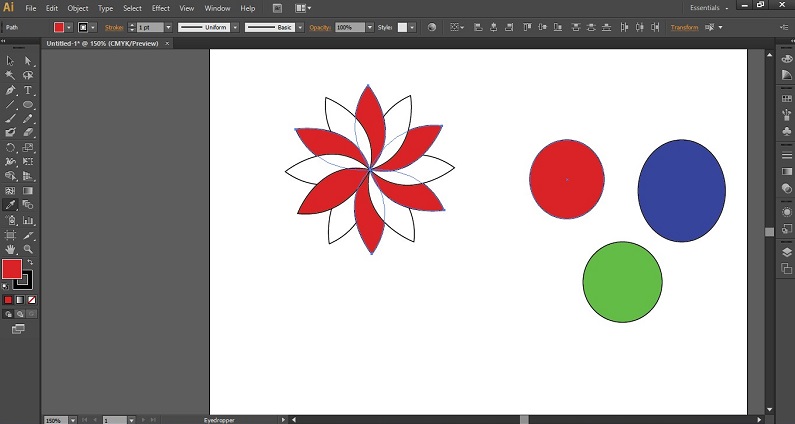
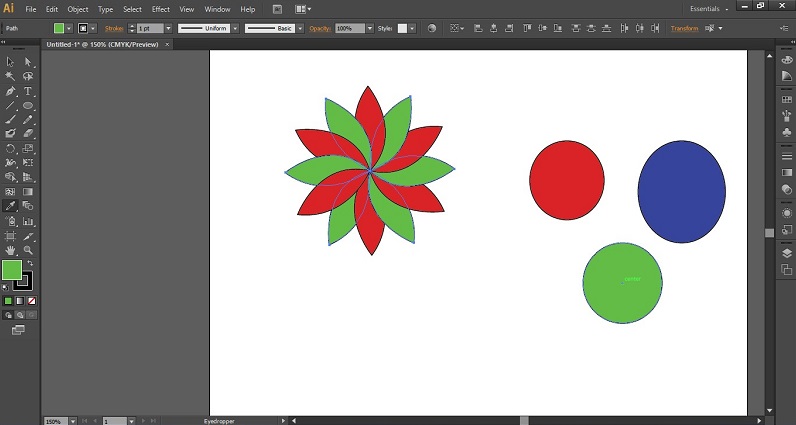
Step 11: You can change the color of more than one leaf at a time with the Eyedropper tool. To change the color of more than one leaf, select the leaf one by one with the selection tool by holding down the shift key during the selection process.
Step 12: And then click on the color with the Eyedropper tool that you want to give as the color of the leaves, as shown in the below image.
Step 13: Again, I will select alternate leaves with the same method.
Step 14: And give them the green color of a green circle with the help of the Eyedropper tool.
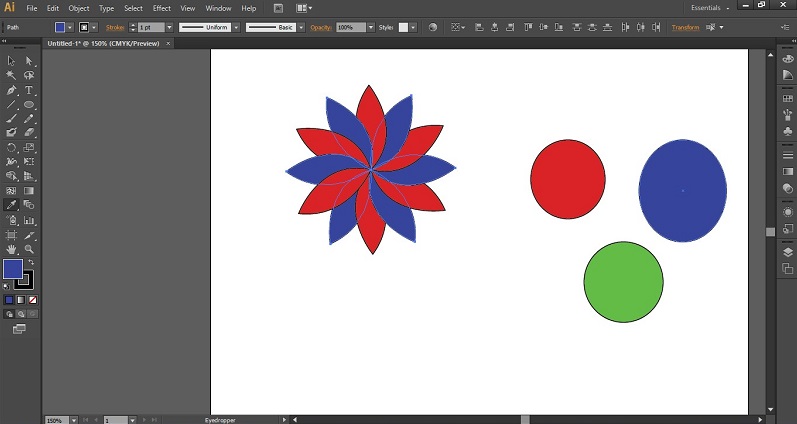
Step 15: You can change the color of the leaf or any object at any time. For example, I want to change the color of the green leaf to the blue color, So I’m going to select it and then click on the blue circle with the help of the Eyedropper tool.
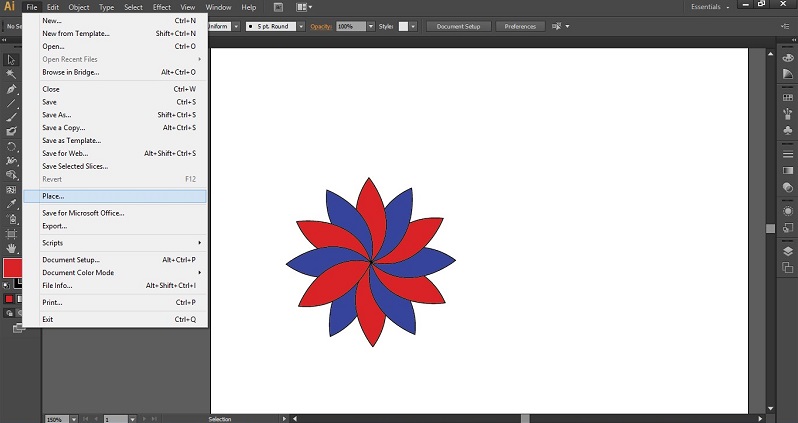
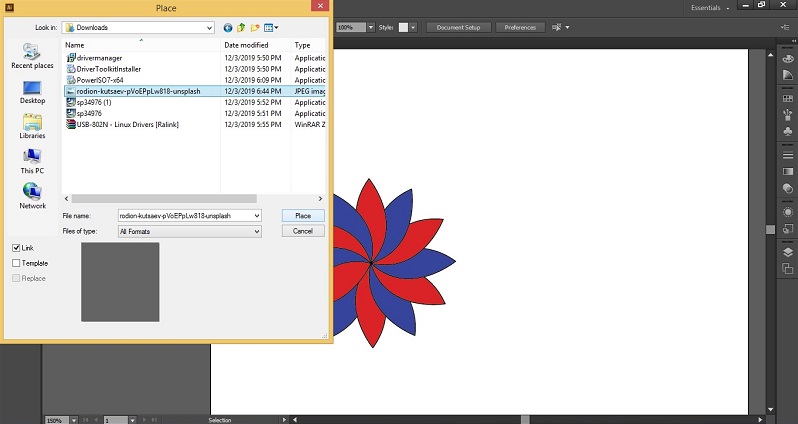
Step 16: You can also pick a color from any image with the Eyedropper tool. Let us take an image of our illustrator software for taking an image in illustrator from your Personal computer or Laptop. Go to the File menu of the Menu bar and click on it. A drop-down list will be open; click on the ‘Place’ option of the drop-down list.
Step 17: Again, a dialog box will open for selecting an image. Go to your desired folder and click on the image you want to see.
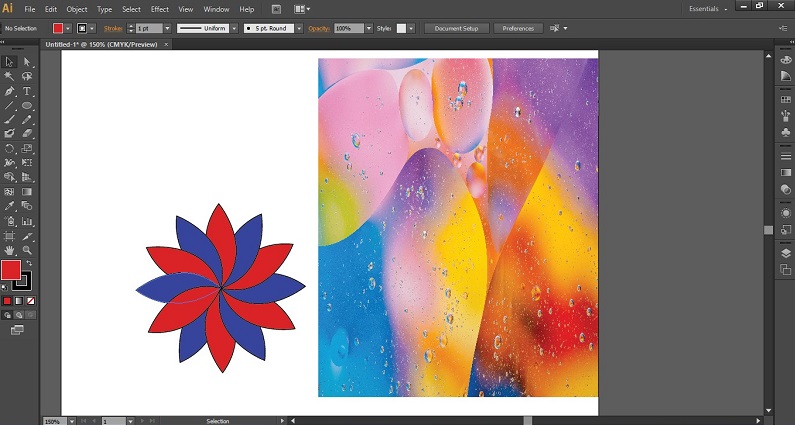
Step 18: To place an image in the illustrator, Click on the ‘Place’ option in this dialog box.
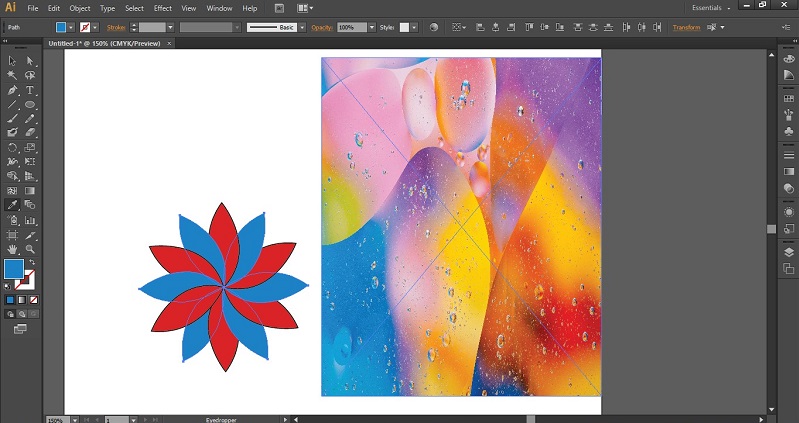
Step 19: Now, I will select the blue color leaf with a selection tool.
Step 20: Now select the Eyedropper tool from the tool panel and click on that color in the image you want to replace with that blue color. I’m going to click on the image color as shown in the below image.
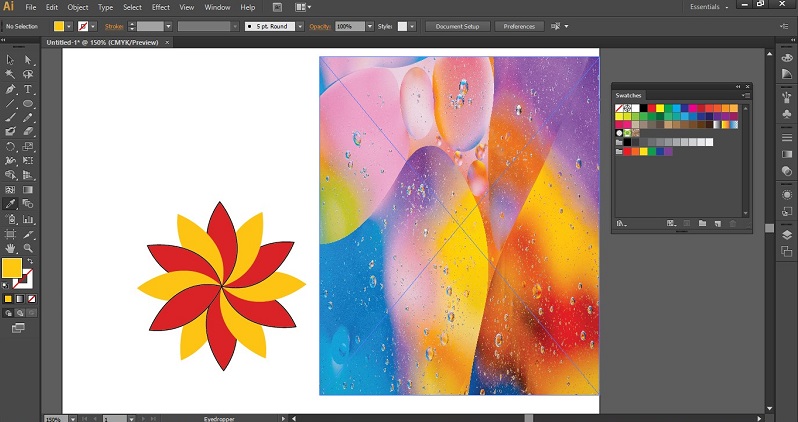
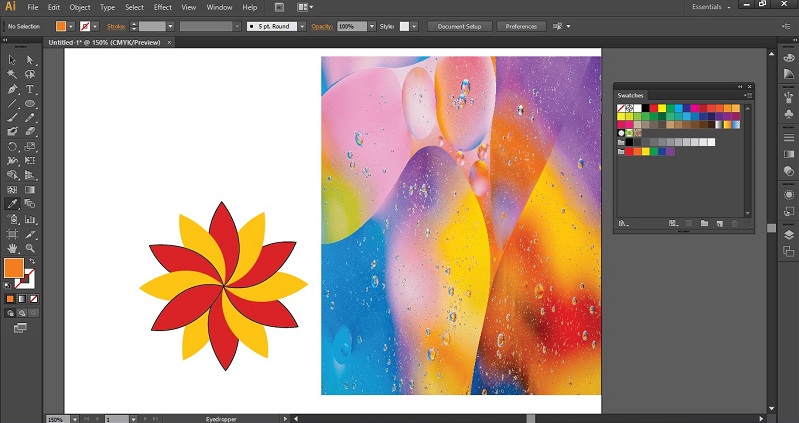
Step 21: You can use the Eyedropper tool for making New Swatches of any color. For making New Swatch, pick a color from an image with the help of the Eyedropper tool. You can see your selected color in the color box of the tool panel.
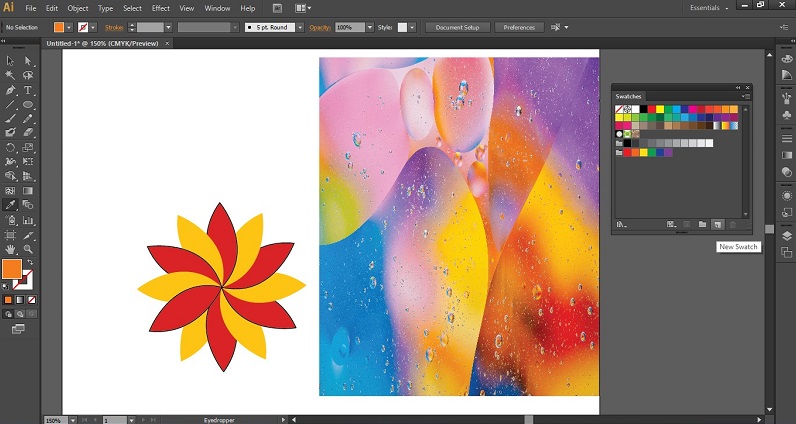
Step 22: Now open the Swatches box and click on the New Swatch button of this box.
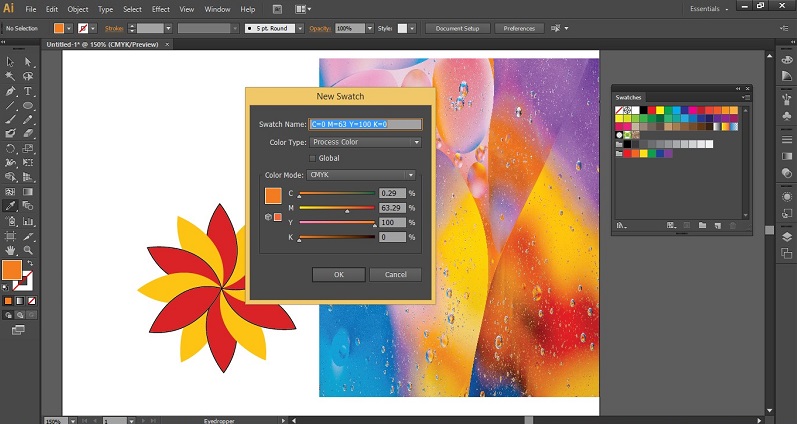
Step 23: A dialog box of New Swatch will be open. You can name the new swatch and also make some variation in the selected color with the help of CMYK color mode sliders and then press the Ok button of this dialog box.
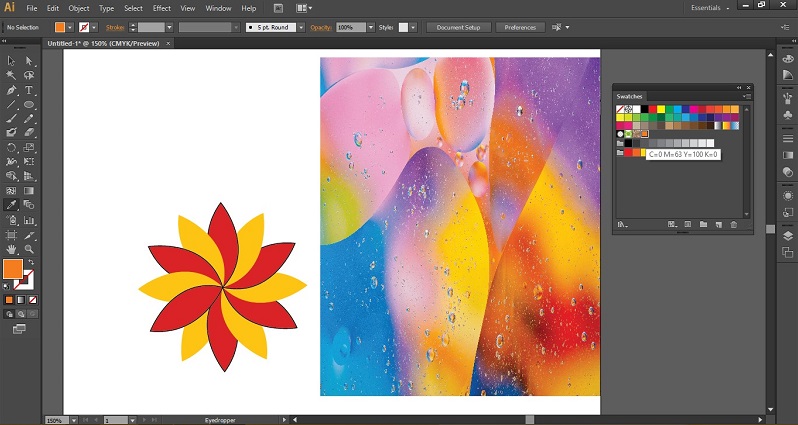
Step 24: New Swatch will be generated in this Swatch toolbox with the same color that we are using the Eyedropper tool. You can see that in the below image.
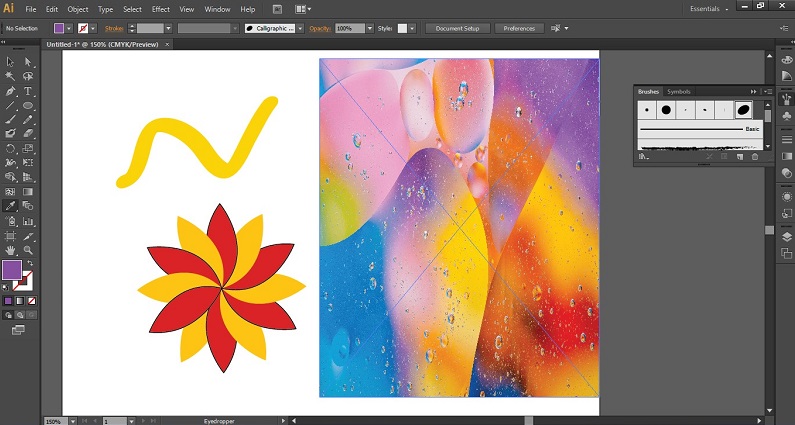
Step 25: Another use of the Eyedropper tool is to make a New Brush also. For making a new brush. Pick a color from the image with the help of the Eyedropper tool.
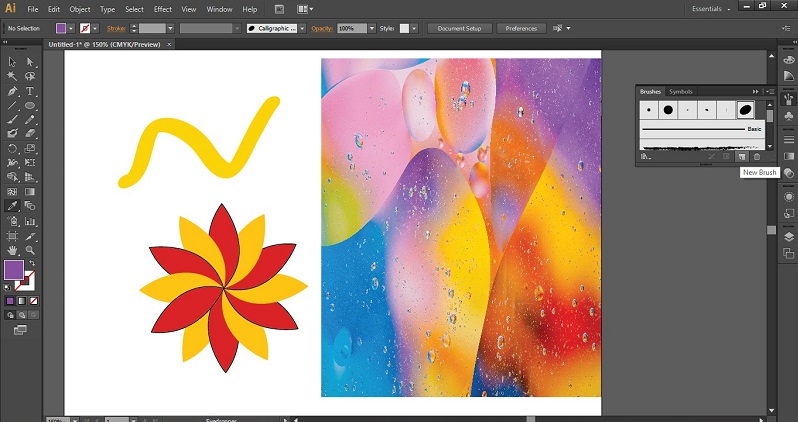
Step 26: Now open the box of Brush tool from the right side tool panel of the working area and click on the New Brush button of Brushes Box.
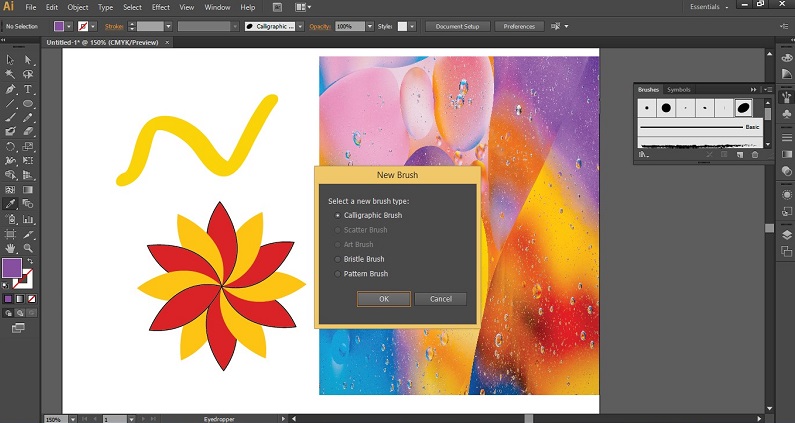
Step 27: A dialog box will be open for creating ‘New Brush’. It will ask you, types of brush. Choose your desired type of brush from here and press the OK option in this dialog box.
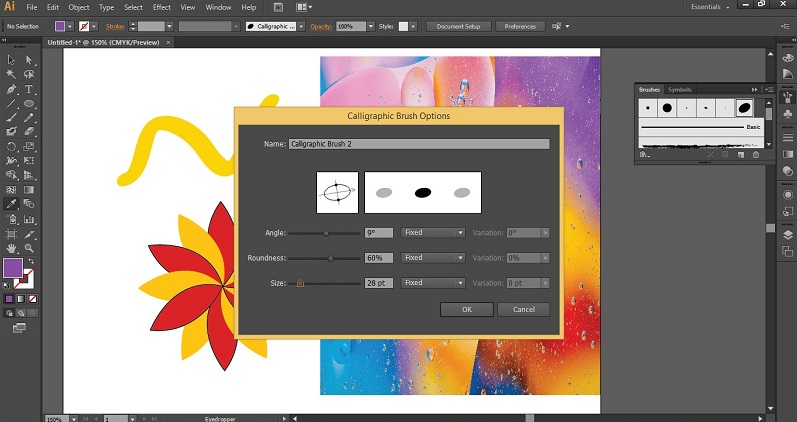
Step 28: Again, a new dialog box will be open for setting parameters of the brush. You can make changes in the parameter of the brush according to you and then press the OK option to apply the settings.
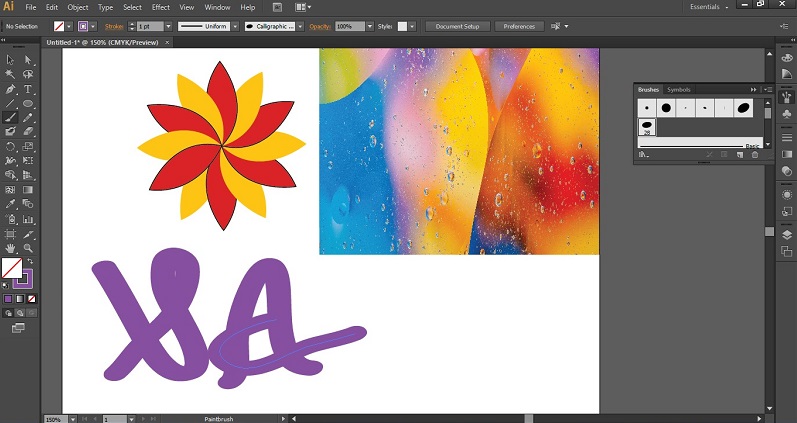
Step 29: New brush will be generated in the box of Brush Tool.
Step 30: Now, take the brush tool from the tool panel, and you can draw anything with the help of your new designed brush.
Conclusion
This is all about the Eyedropper tool of the Adobe Illustrator software, and now you can understand the working of the Eyedropper tool of Illustrator very well. Eyedropper tool helps you in managing color correction in your graphics designing work and enhance the accuracy of your project work.
Recommended Articles
This is a guide to Eyedropper Tool in Illustrator. Here we discuss the Introduction and steps to use the eyedropper tool in illustrator. You may also look at the following articles to learn more –

