What is a Facebook Screen Recorder?
Facebook screen recorder tools are apps that capture and record video calls and screen activity on Facebook Messenger.
Facebook Messenger is a common social media platform that most millennials use. So, recording Messenger video calls can benefit personal and business purposes.
Users can create reels and highlights from their video call clips, while businesses can use these recordings to improve customer support and train new team members.
But how to record Messenger video calls?
That’s what we will talk about in this article. You will discover three go-to Facebook screen recorder tools that you can try.
Top Facebook Screen Recorder Tools + How to Use Them?
Recording video calls on Facebook Messenger is easy with the right tools. Here are three go-to screen recorder tools you can try.
#1. Clipify
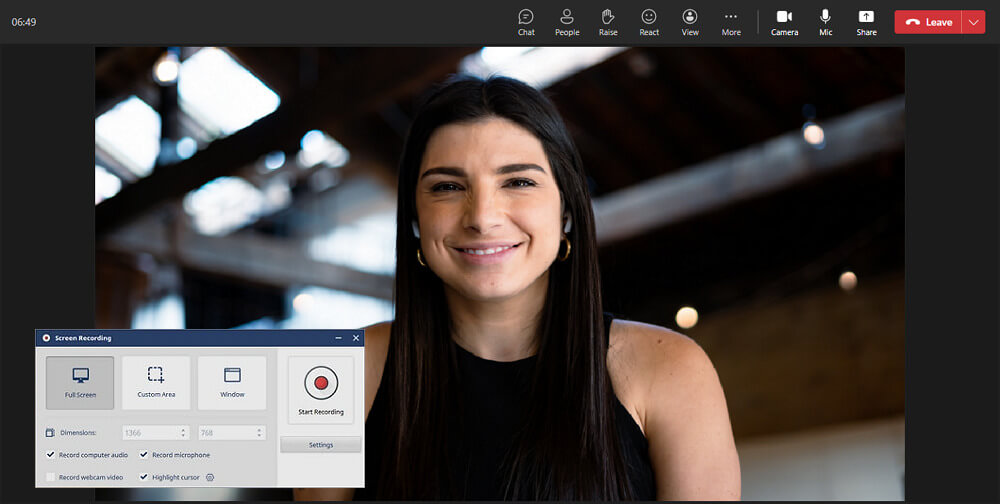
If you want to record Messenger calls without time limitations, you can use Clipify. It is an intuitive video editor with a built-in audio and screen recorder. It lets you capture high-quality videos and customize the recording session. For instance, you can turn your microphone and webcam on or off, adjust the cursor, etc.
Clipify offers several modes, such as Full Screen, Custom Area, and Window. After recording your online meeting, you can enhance the quality, cut out unwanted parts, mute segments of your video, add text captions, and save your file in popular formats for easy sharing.
Follow these simple steps to use Clipify’s screen recorder:
Step #1: Click the “Capture Screen Video” button.
Step #2: Choose your desired recording mode and adjust other settings.
Step #3: Click “Start Recording” to begin, and use the “Pause” and “Stop” buttons to control the session.
#2. AnyMP4
AnyMP4 Screen Recorder is a flexible software that lets you capture screen activities, record videos, and take screenshots on your computer. It has a user-friendly interface that makes it easy to record calls on Facebook Messenger. Additionally, it enables you to export your files in various formats, such as MP4, WMV, VOB, AVI, FLV, and more.
(Image Credit: AnyMP4)
If you want to use this screen recorder, follow these instructions:
Step #1: Open the screen recording program.
Step #2: Click on “Video Recorder,” select the desired mode, and adjust the audio recording settings.
Step #3: Press the “REC” button to start the recording. When the call ends, click the “Stop” button.
#3. VideoProc
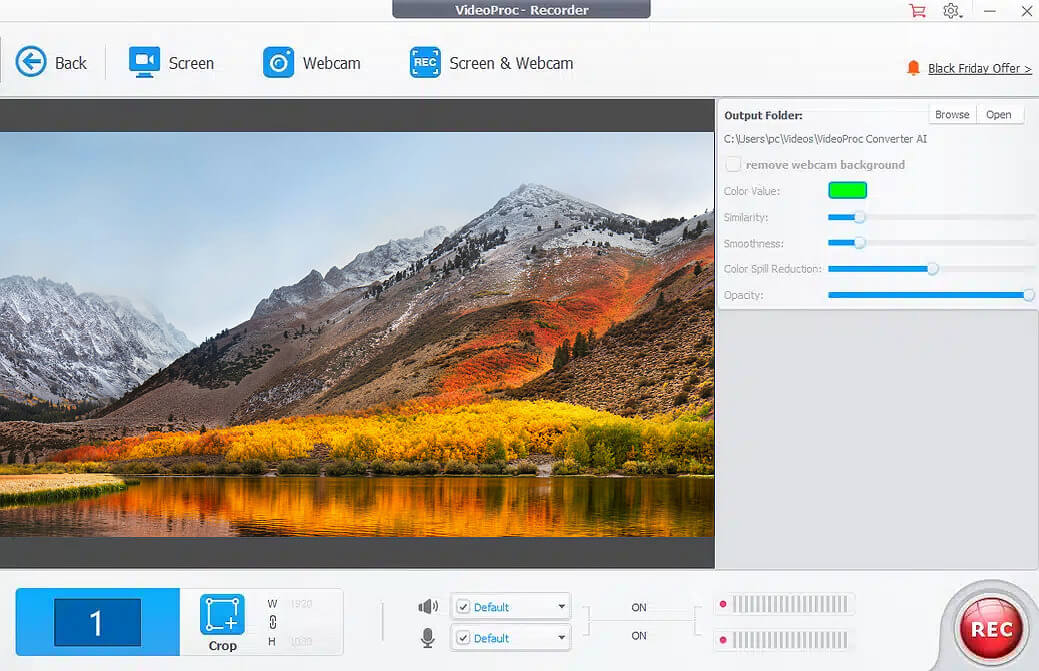
VideoProc Converter AI is a software for processing video, audio, and DVD files. It also allows users to capture online meetings. The program offers customizable recording options that allow users to capture specific regions of the screen, application windows, or the entire screen during video calls. Additionally, VideoProc can trim, merge, and add effects to recorded video calls, remove unwanted sections, add captions or subtitles, and apply filters to enhance the overall quality of the recordings.
To record Facebook Messenger calls with VideoProc Converter AI, follow these steps:
Step #1: Click on “Recorder.”
Step #2: Customize the settings, video and audio formats, and output quality.
Step #3: Click “Rec” to start recording. After you end the video call, stop the recording.
Final Thoughts
Now you know how to record a video call on Facebook Messenger. To sum up, recording your calls can boost your sales, as you can use these videos for various purposes. However, before choosing a Facebook screen recorder tool, ensure it lets you save high-quality videos and edit your clips with standard and advanced editing tools, such as trimming and muting. So, choose the software you like and try it out today.
Recommended Articles
We hope this article helps you learn how to use Facebook screen recorder tools to record your video calls.


