Introduction to Figma Shortcuts
In this article, we will see about the most useful shortcuts that are regularly required now; imagine if you are using the same command repeatedly, then using the shortcut is the way to go as it will definitely save your time. Shortcuts of Figma are intuitive, and if you have used programs like photoshop, then this should feel like right at home as many of the shortcuts are the same, like, for example, Pen tool.
Steps of Figma Shortcuts
Given below are the steps of Figma Shortcuts:
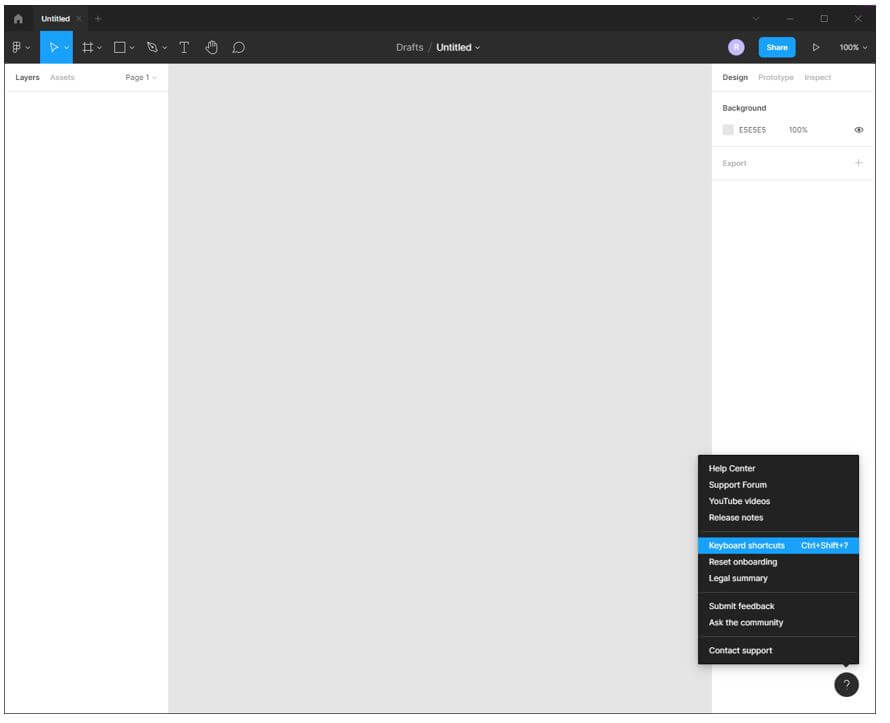
Step 1: We can either use Figma on the web, or you can download the application. In this article, we are doing on application. First, we will start finding where to view all keyboard shortcuts. So you can either press? On the bottom left corner or press Ctrl + Shift + ? to view all the shortcuts.
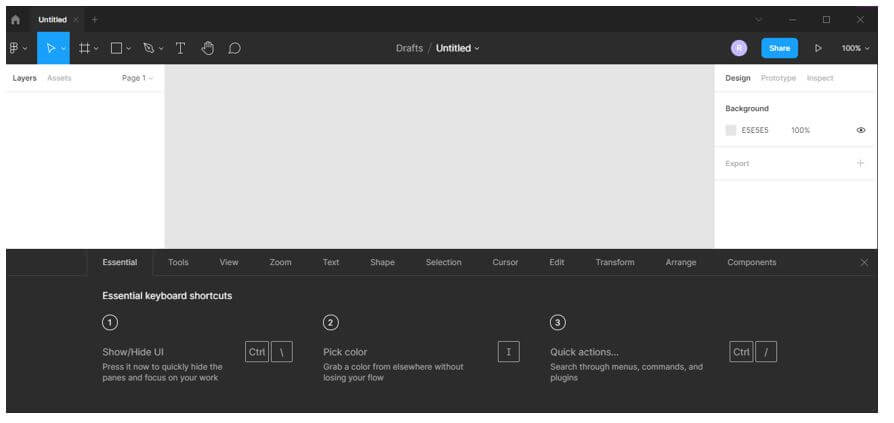
Step 2: As you can first see, the essential keyboard shortcuts for UI and color, along with quick actions and other shortcuts, are divided according to their functions.
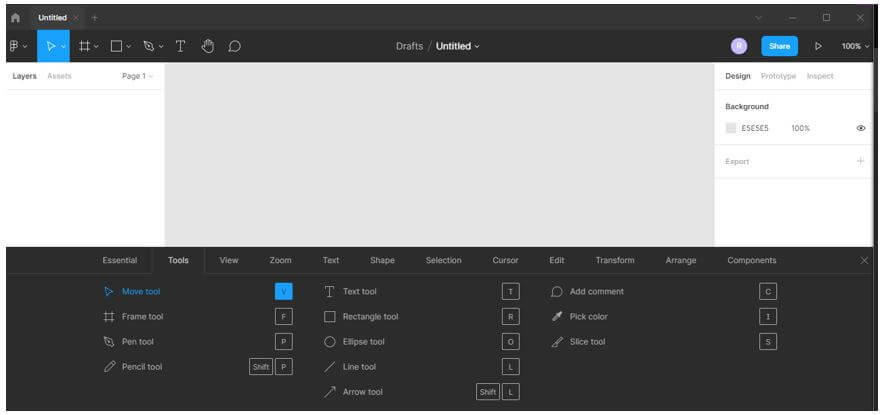
Step 3: When you use a shortcut, it turns into the blue to indicate that it is used.
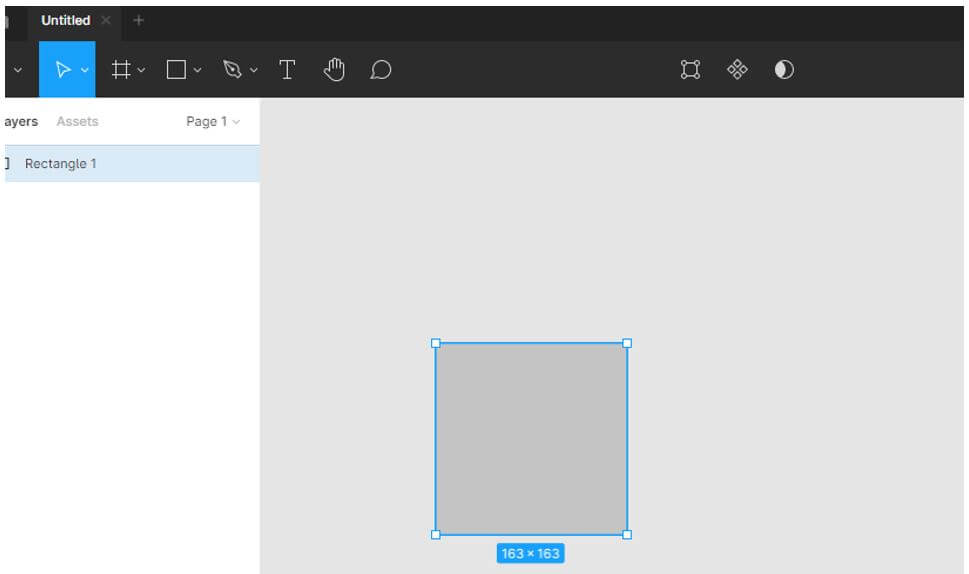
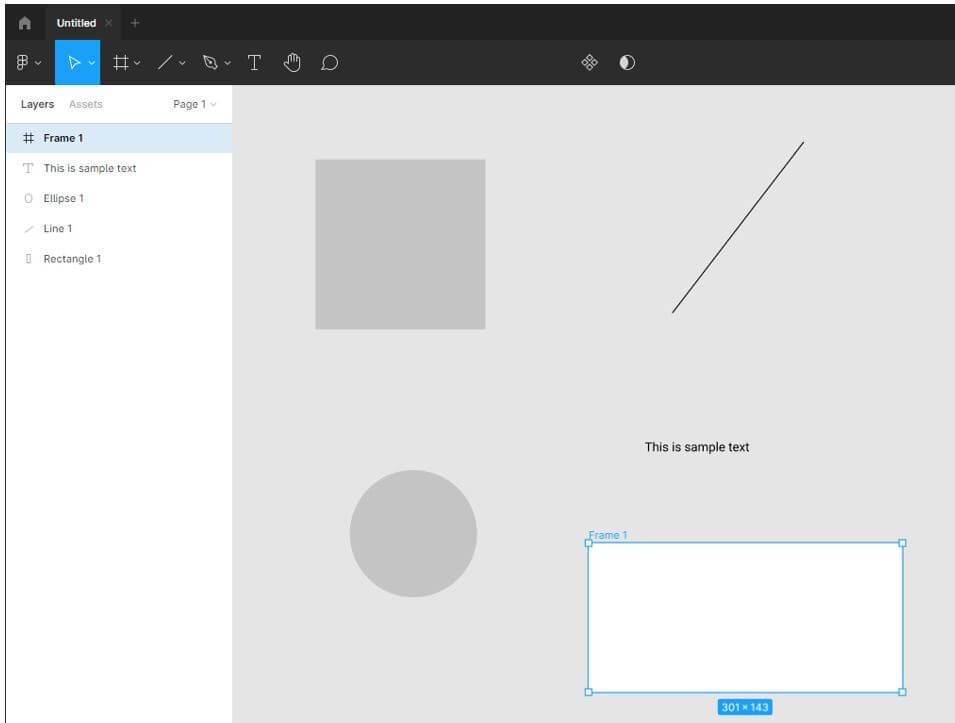
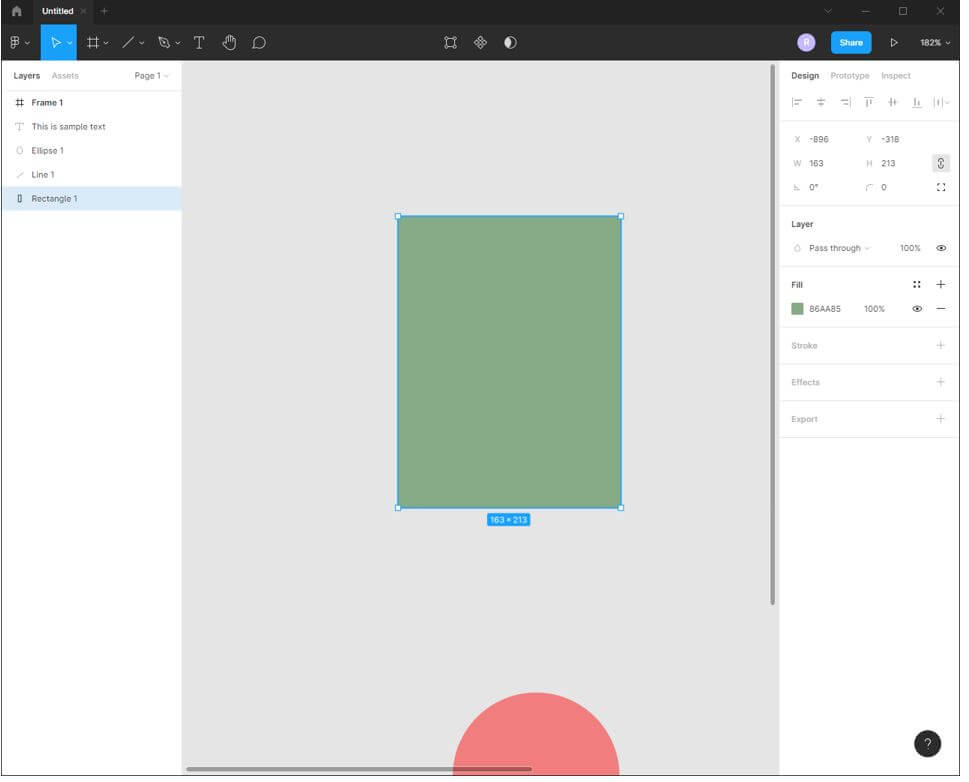
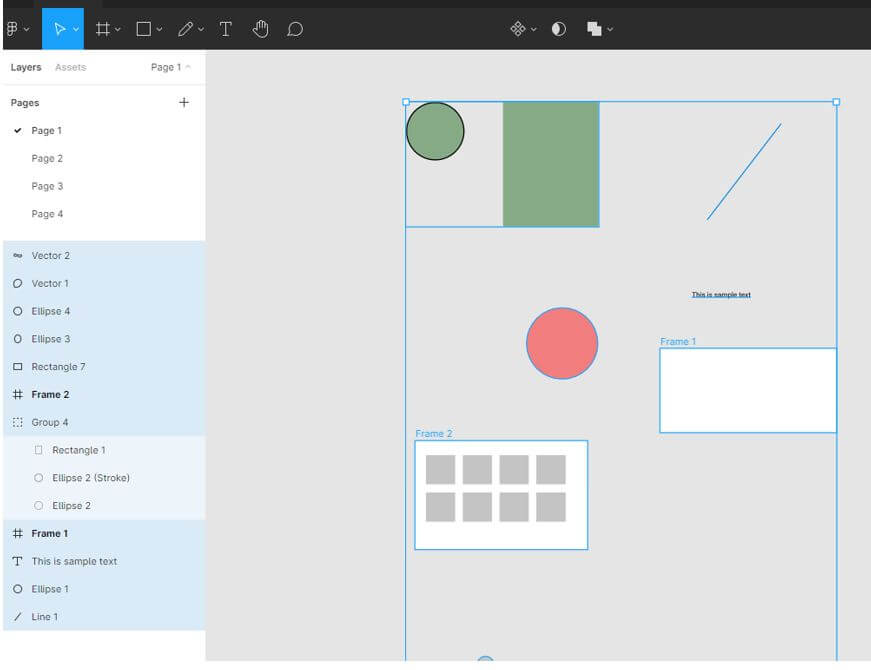
Step 4: Let’s start with a rectangle using the keyboard shortcut R.
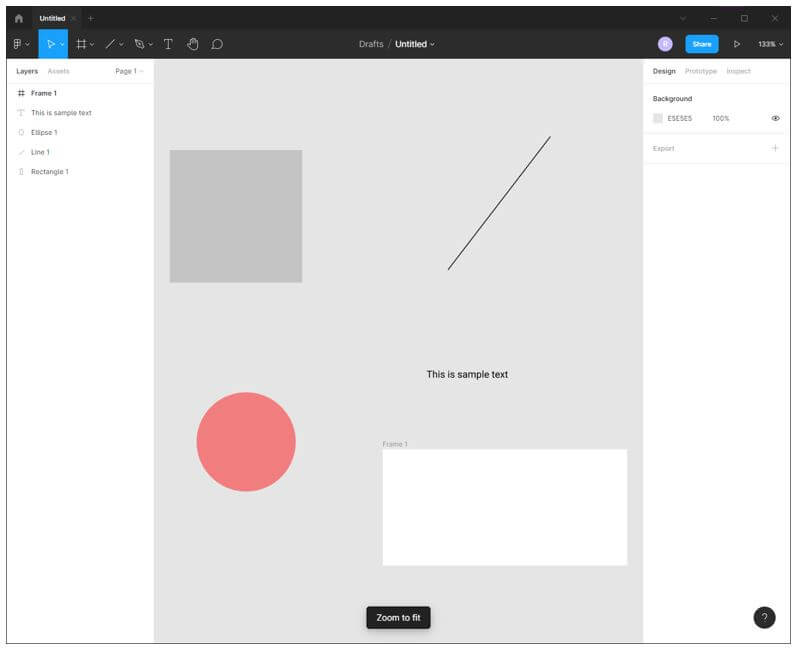
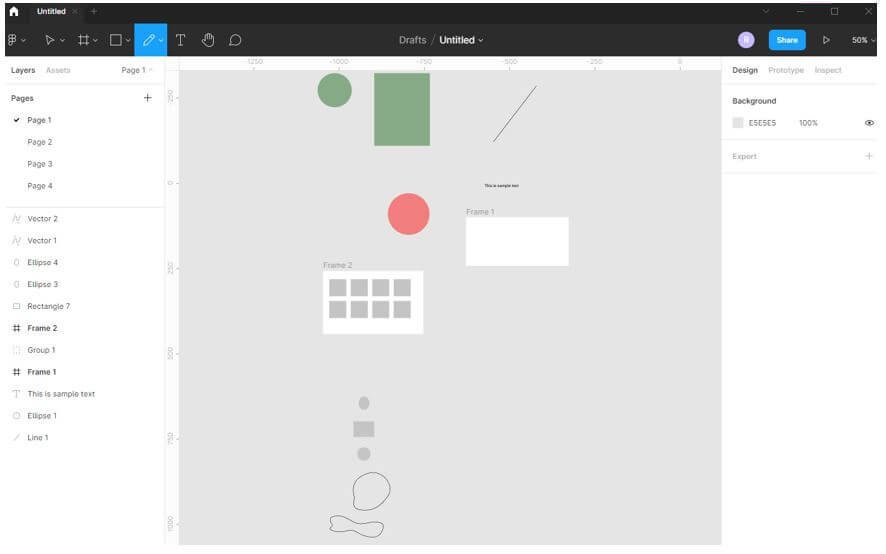
Step 5: Similarly, we have L for line, O for Ellipse, T for Text and F for Frame.
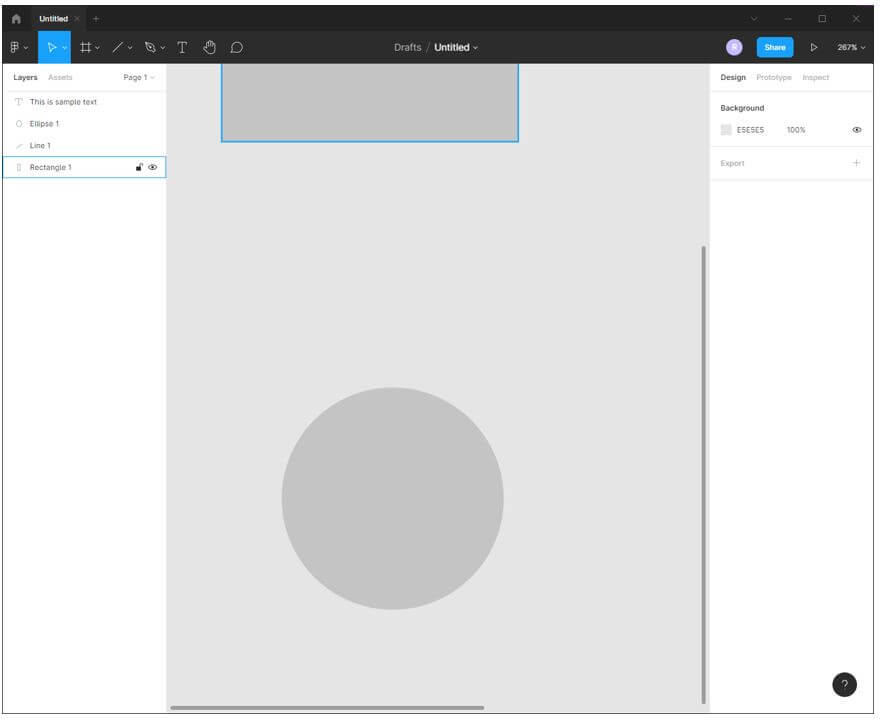
Step 6: Suppose we are zoomed in, which can be done using Ctrl and mouse wheel, and we need to pan, so we can either use Hand tool by H, or you can use the space key and click to pan and release the space key to get back to the previous command.
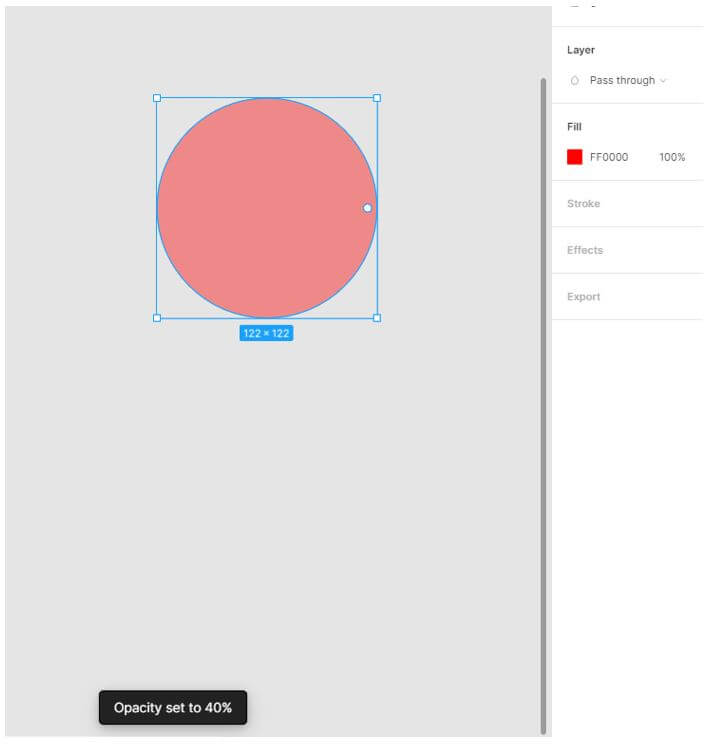
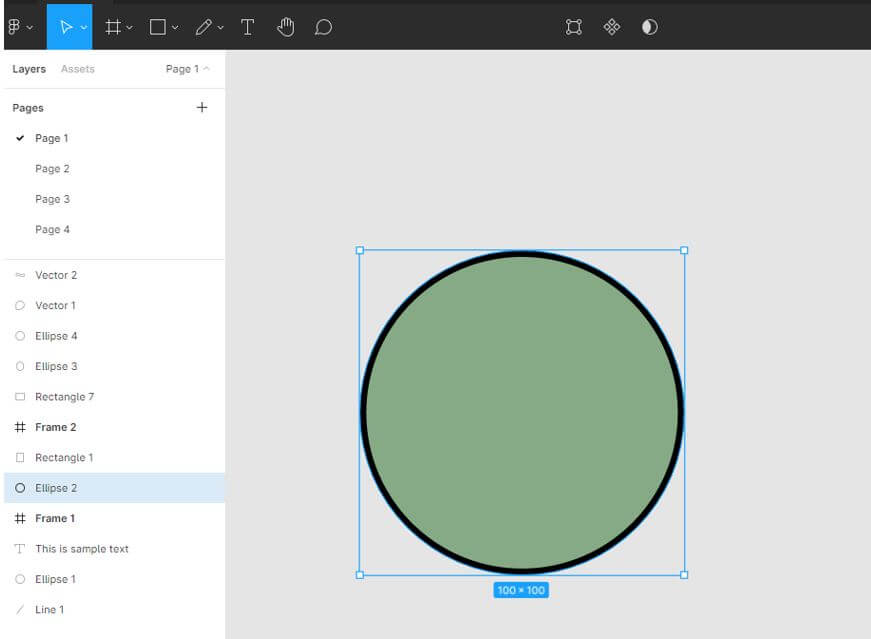
Step 7: Let’s fill the circle with Red, and if you want to change the opacity, then press the number; for e.g. Pressing 4 will change it to 40% opacity of color Red.
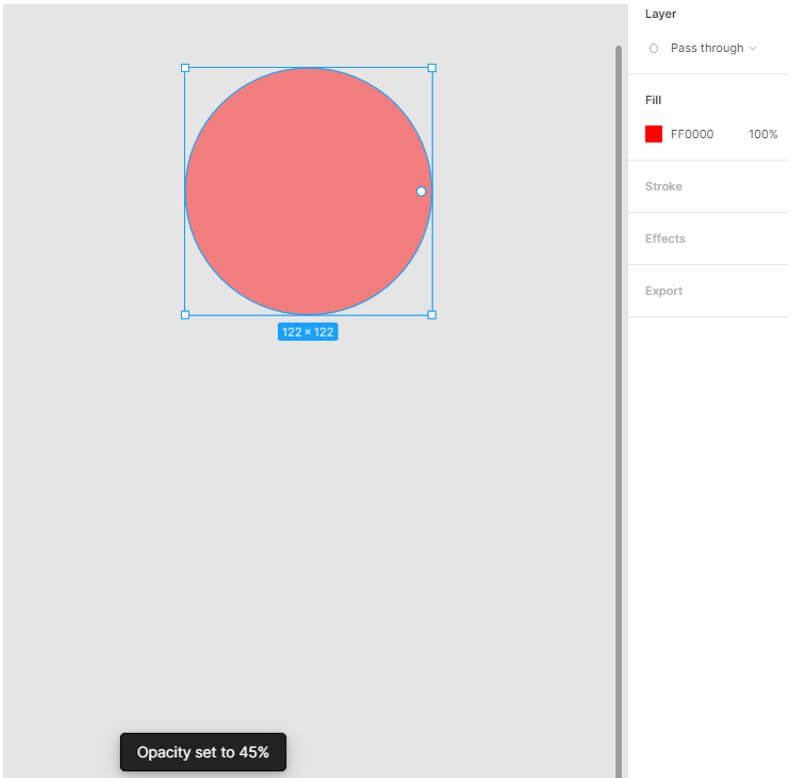
Step 8: If you press 2 numbers rapidly, like 45, the opacity will be 45%.
Step 9: You can press Shift + 1 to zoom to fit.
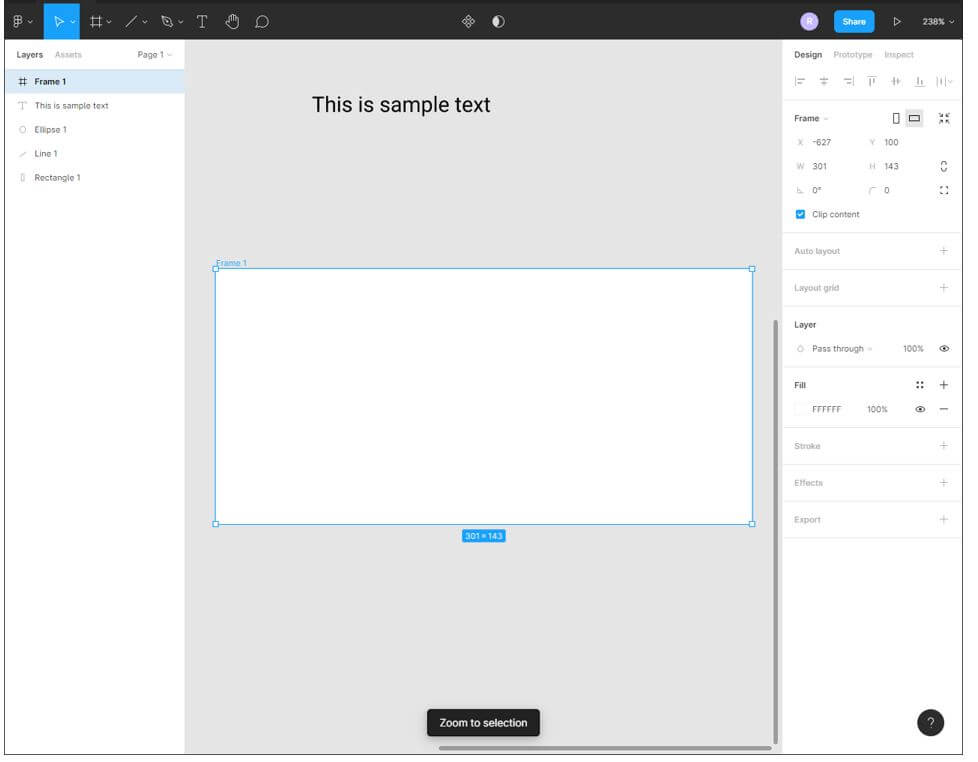
Step 10: You can press Shift + 2 to zoom to selection).
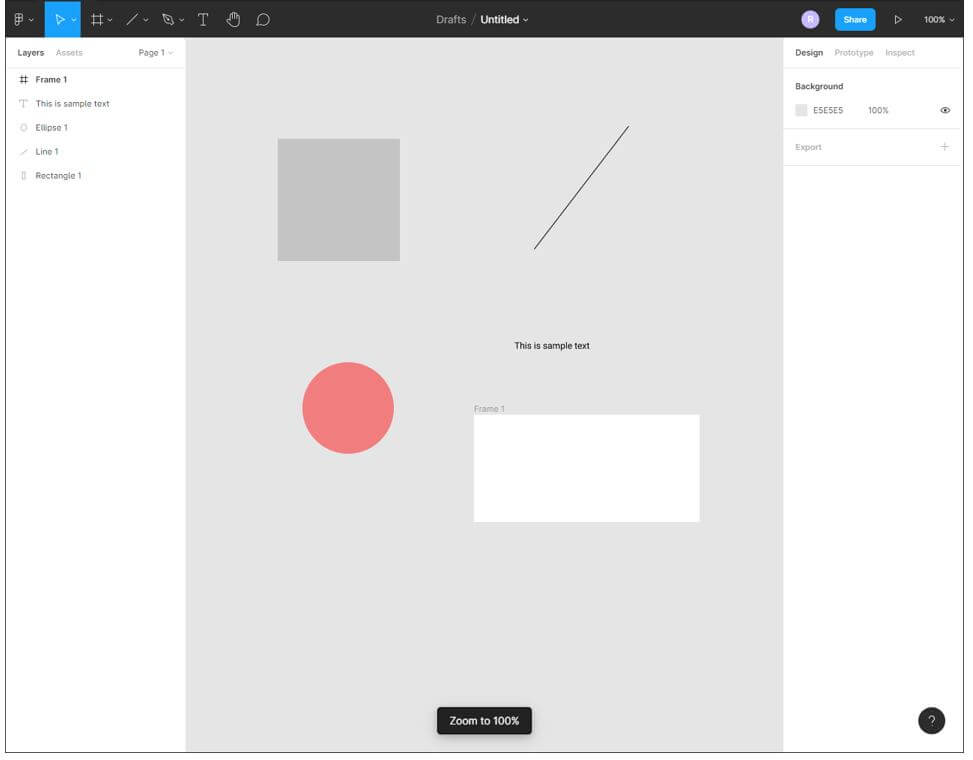
Step 11: You can press Shift + 0 to zoom to 100%. Also, you can press Z and drag to zoom in and alt + Z to zoom out.
Step 12: If you want to make some finer adjustments, then you can nudge objects with arrow keys which will move by 1 px. The pressing shift will move by 10 px.
Step 13: Similar by pressing Ctrl while nudging will change the size of the rectangle by 1 px, and pressing shift will change it by 10 px.
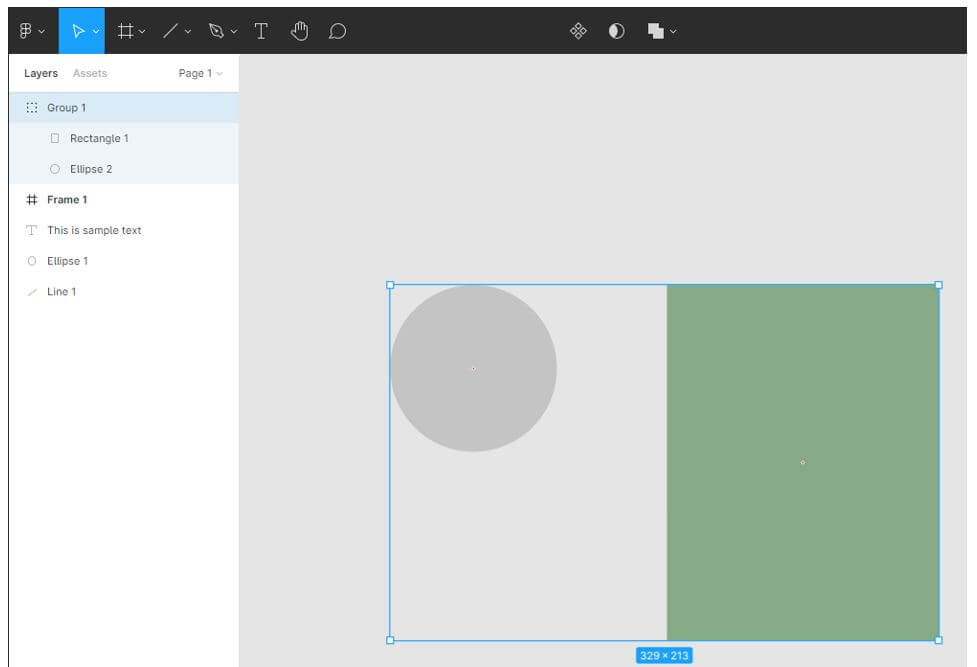
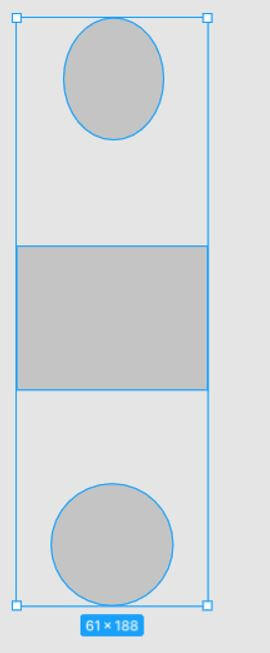
Step 14: You can create a group by pressing Ctrl + G.
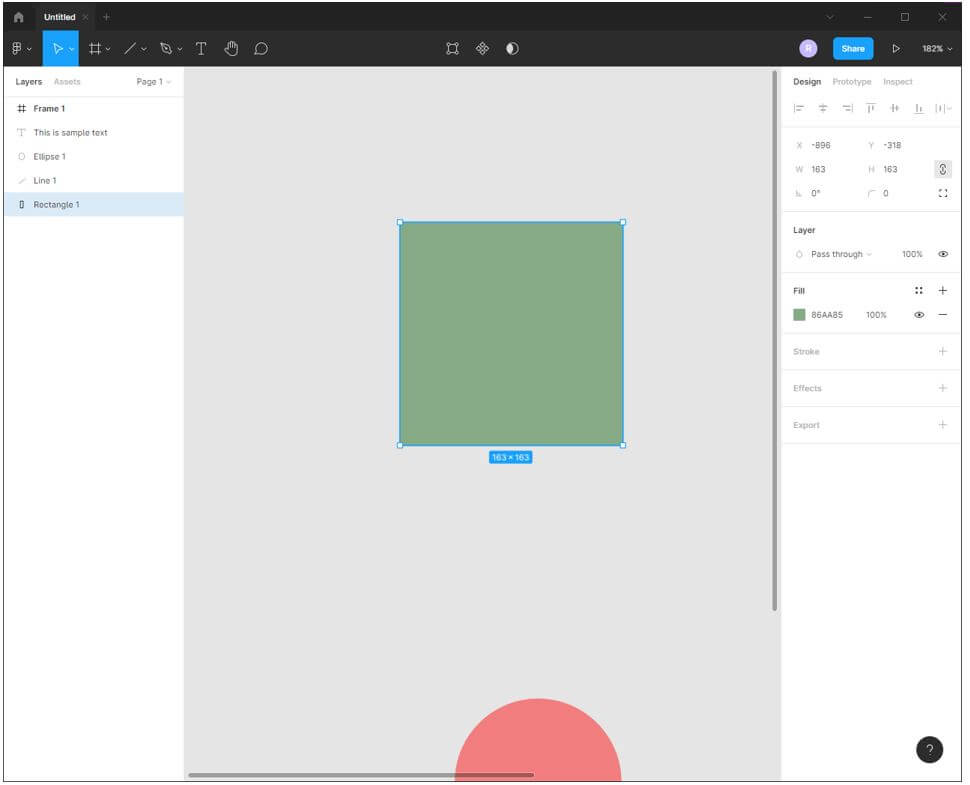
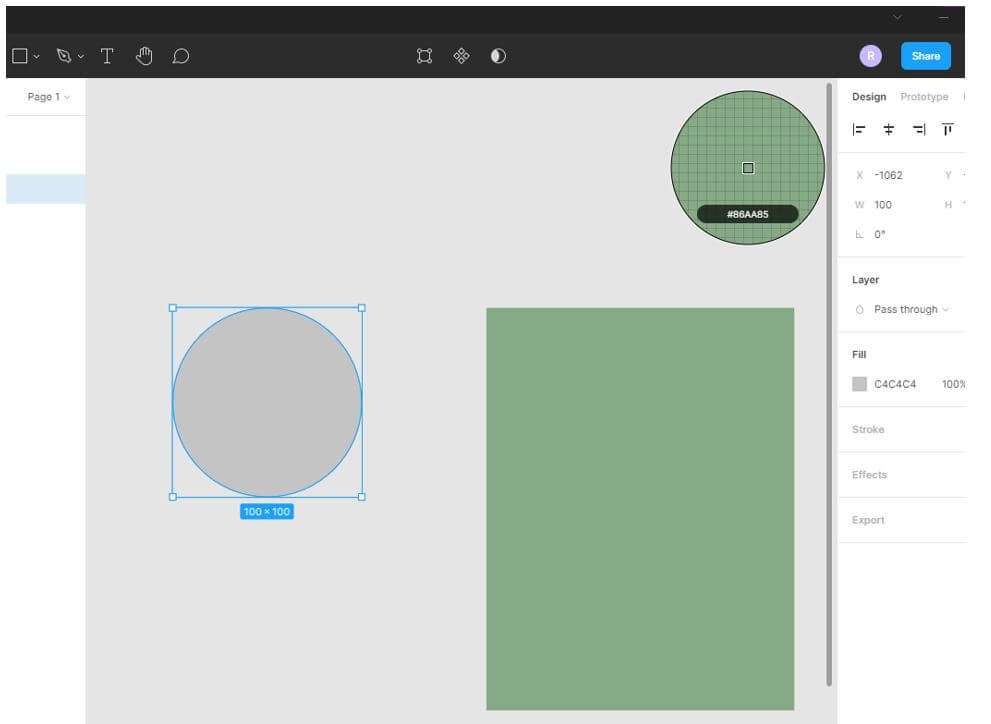
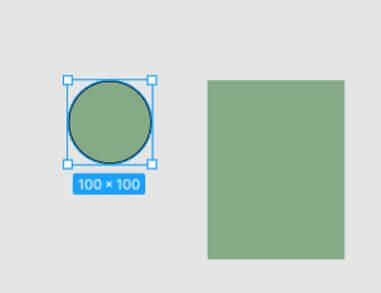
Step 15: Next is the ink dropper tool which can be used by shortcut key I. First, select the object in which you want to fill the color, then click on the rectangle from which you want to fill the color.
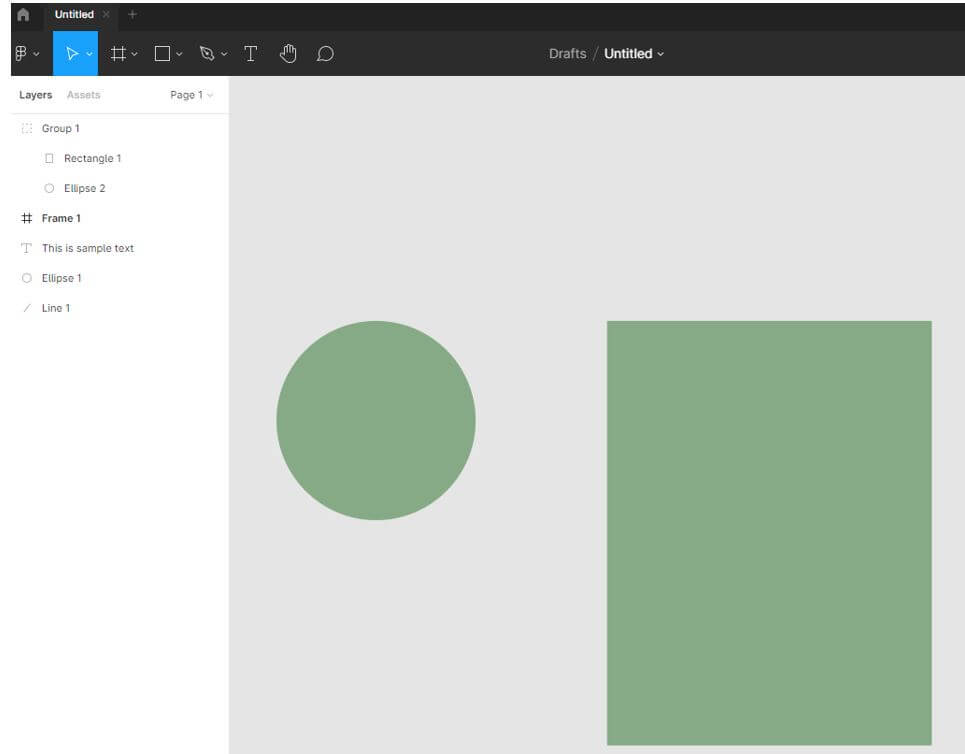
Step 16: As we can see, the Circle is filled with the color of the rectangle.
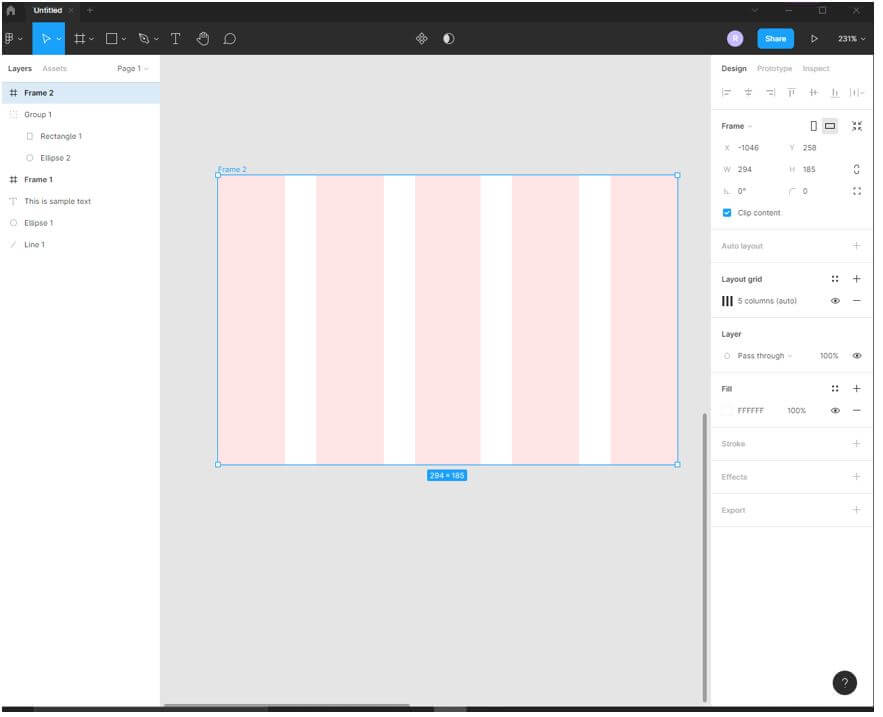
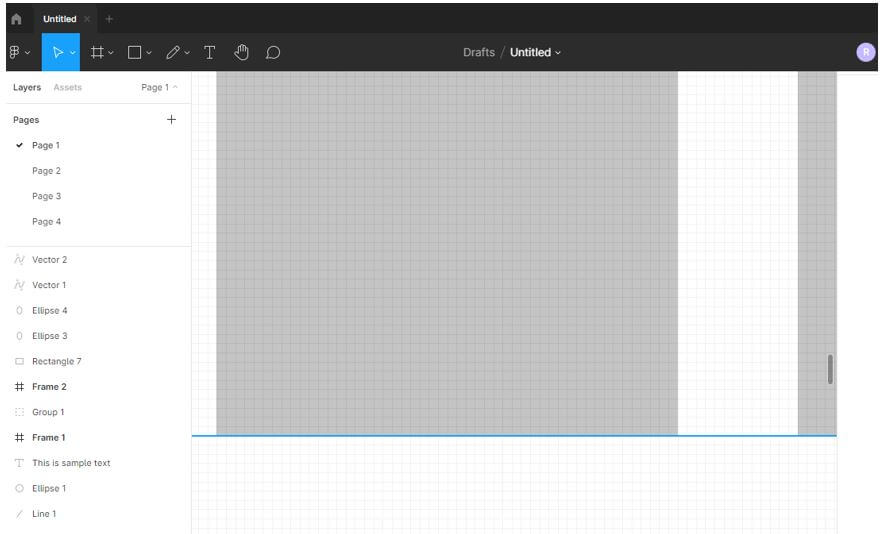
Step 17: Now, you can show and hide the grid when it is added to the Frame by clicking the eye icon, but there is a shortcut to toggle show and hide using Ctrl + Shift + 4.
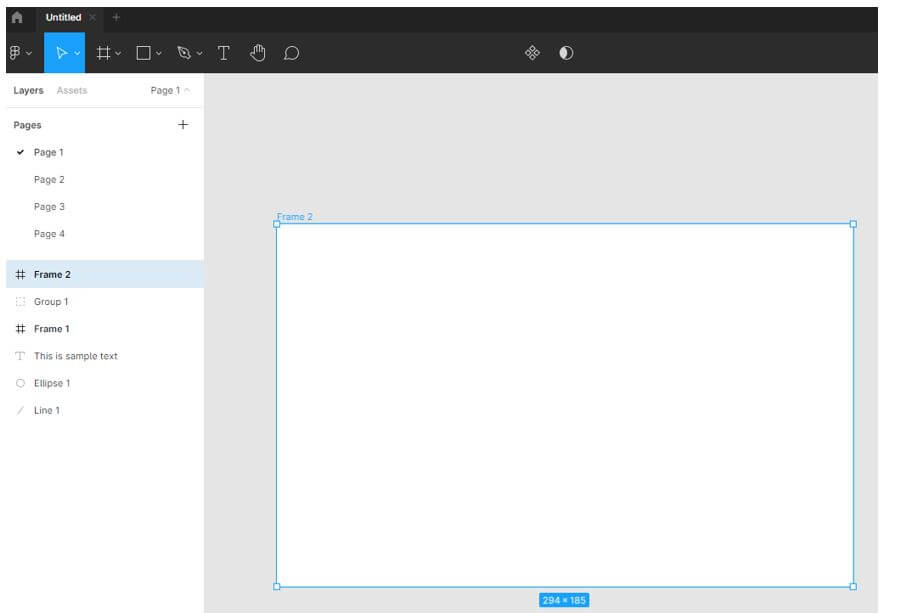
Step 18: Now, if you have a document with multiple pages, then you can move between those using the Page up and Page down key.
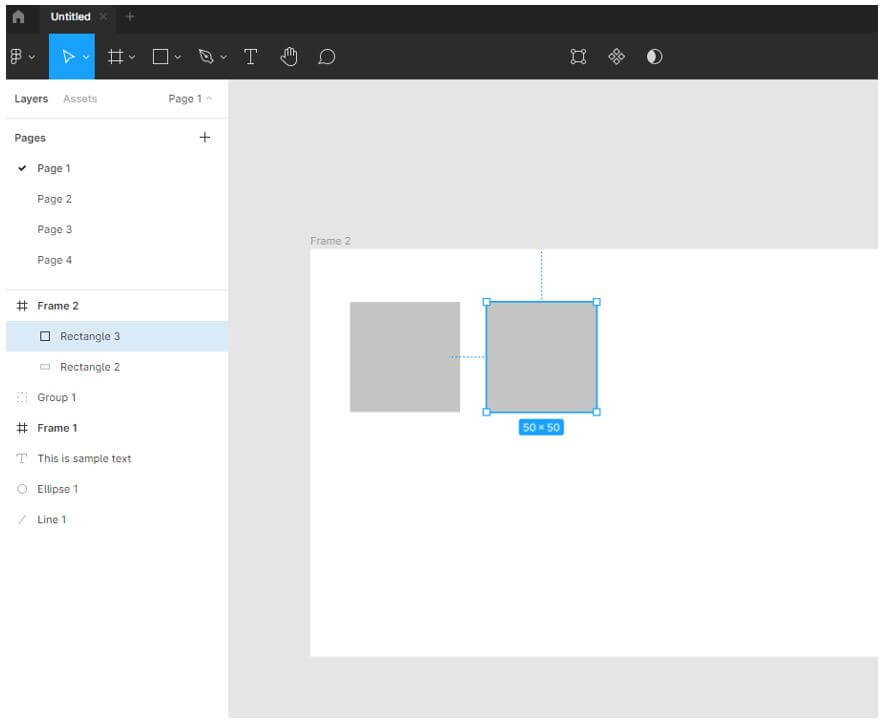
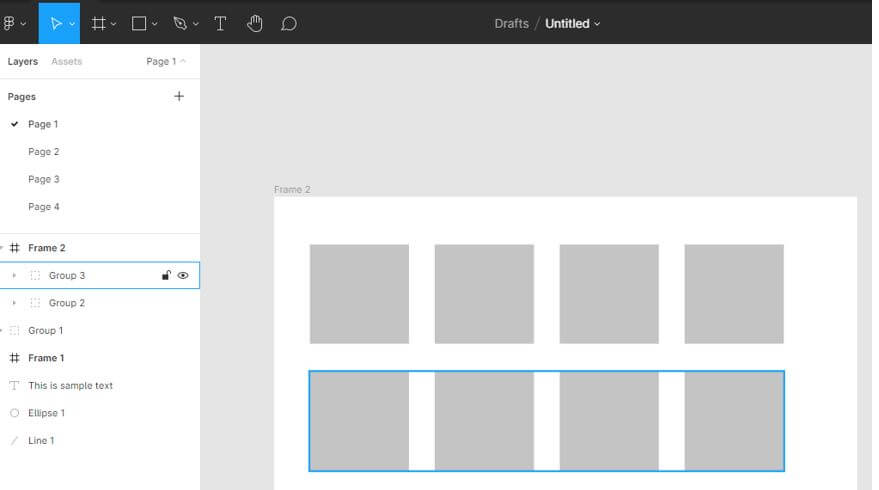
Step 19: Let’s create a square, then we can duplicate using Ctrl + D and move it across as shown.
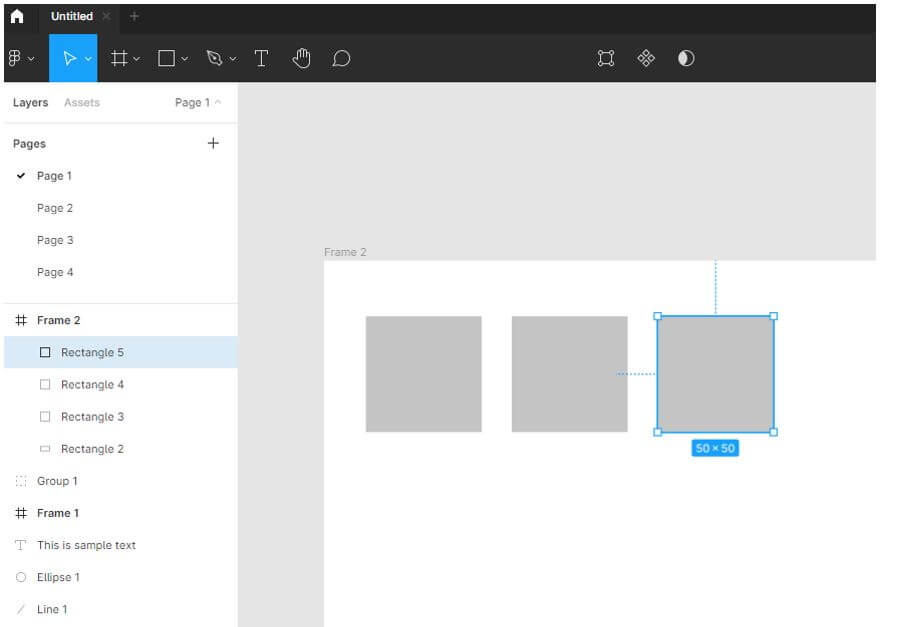
Step 20: Now, if you again press Ctrl + D, then it is duplicated, and the position or the offset is automatically applied.
Step 21: We can also duplicate a group of objects for which we create a group of squares and then duplicate it.
Step 22: Next, to align the vertical and horizontal centers, we have some handy shortcuts of Alt + H and Alt + V.
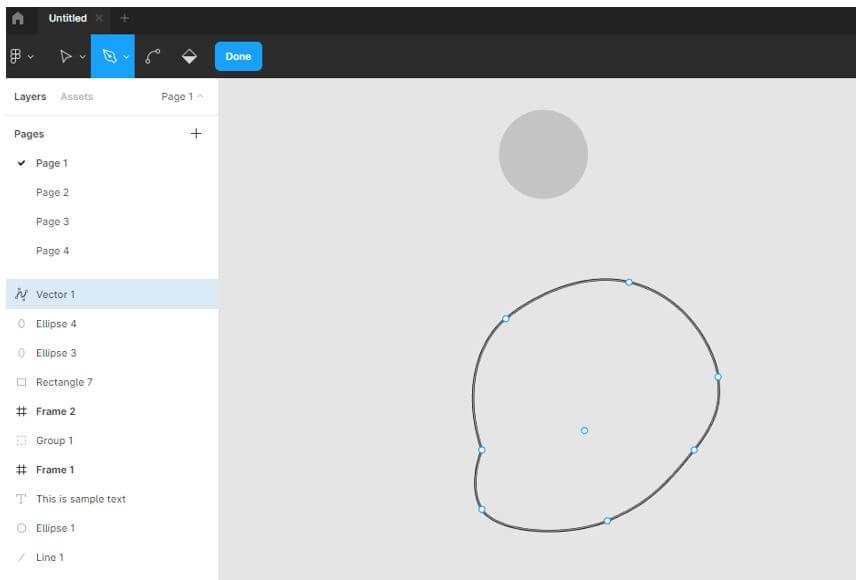
Step 23: Then, we can use the pen tool to create free-flowing shapes with anchor points using the shortcut key P.
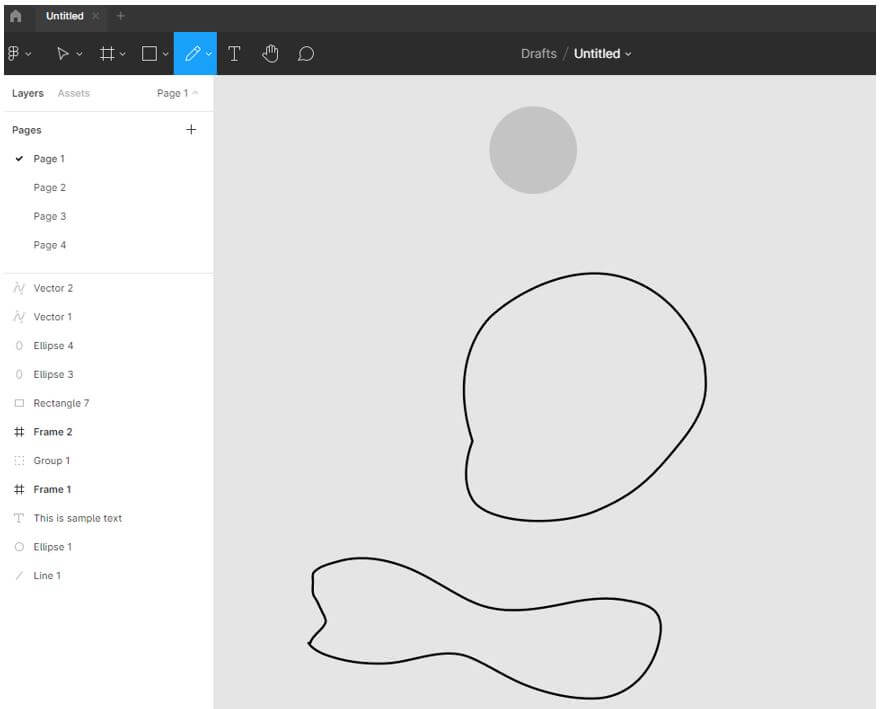
Step 24: Using the shortcut key Shift + P, we can use the pencil tool to create free-flowing shapes without anchor points using the shortcut key Shift + P.
Step 25: If you want to see the ruler, then press Shift + R.
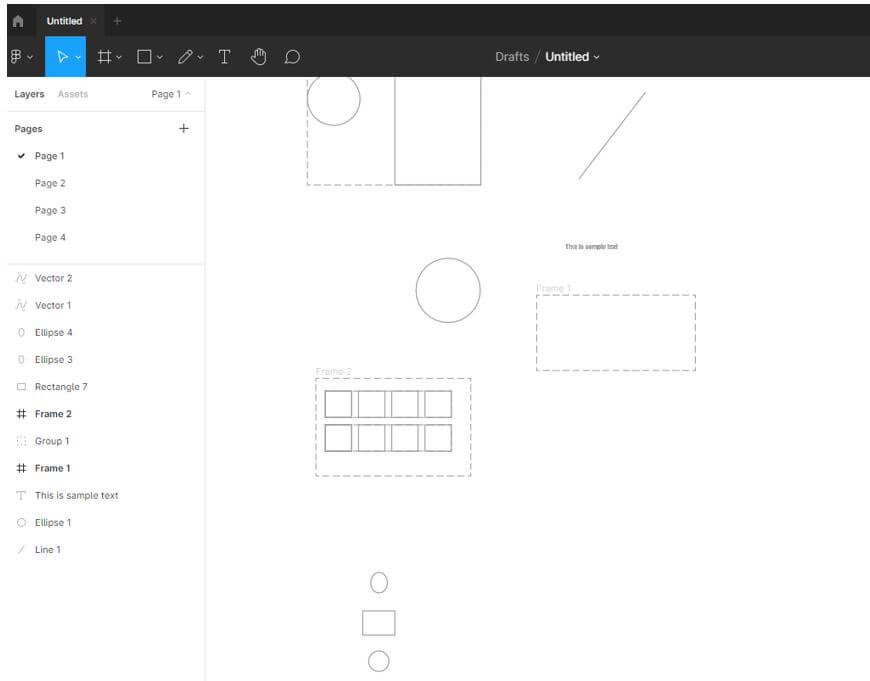
Step 26: If you want to just view the outlines, press Ctrl + Shift + 3, removing all the colors and shading.
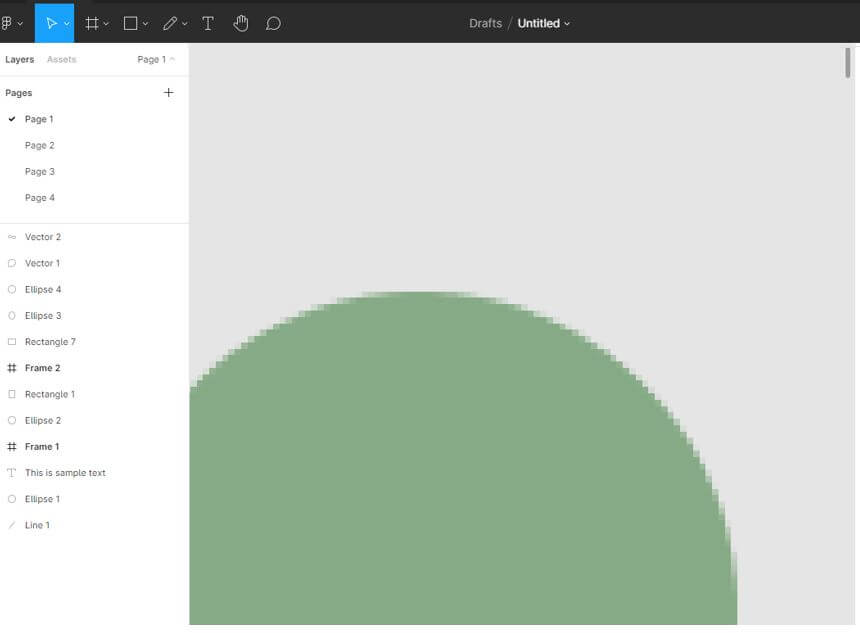
Step 27: If you want the control on pixel-level, then press Ctrl + ‘.
Step 28: You can also turn on Pixel preview using Ctrl + Alt + Y, which will show in shapes with curves.
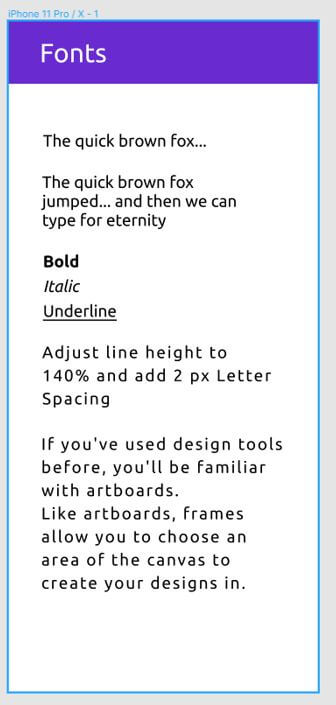
Step 29: Regarding formatting text we can to Ctrl + B to bold and Ctrl + I to Italic, Ctrl + U will underline. We can adjust line height with Shift + Alt + < and >. We can adjust letter spacing using Alt + < and >. We can also control font weight using Ctrl + Alt + < and >.
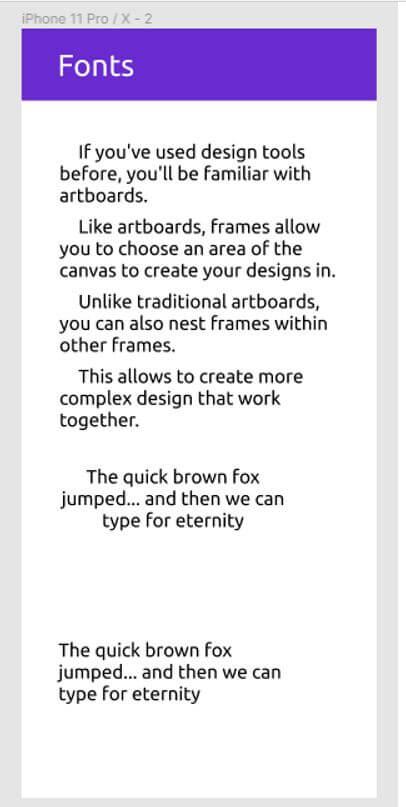
Step 30: Text alignment can be adjusted to left using Ctrl + Alt + L and center by Ctrl + Alt + T, right by using Ctrl + Alt + R and if you want to justify, then use Ctrl + Alt + J.
Step 31: Suppose we want to remove fill, then press Alt + / and remove stroke, then press /.
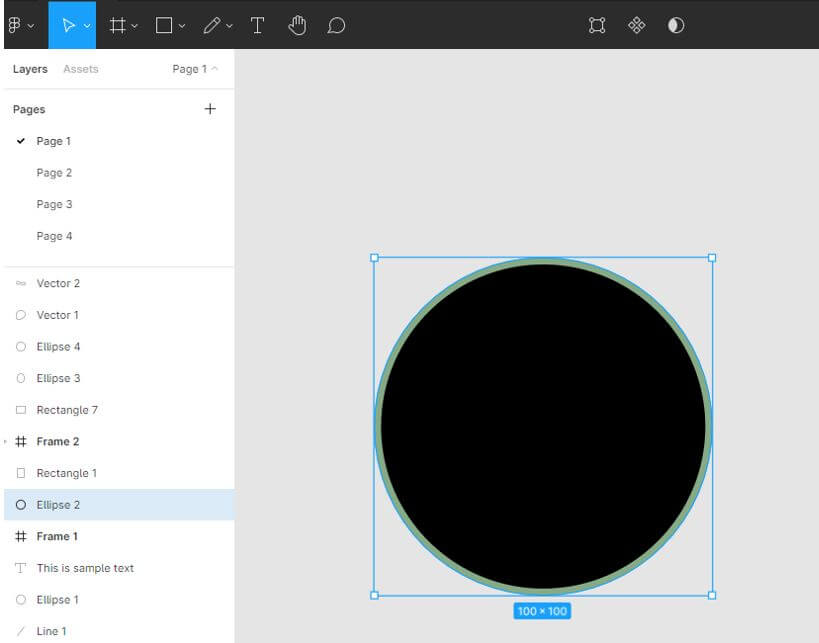
Step 32: Using Shift + X, we can swap fill and stroke.
Step 33: Pressing Ctrl + A will select everything while Ctrl + Shift + A will inverse the current selection, and Esc will select none.
Step 34: If you have a group and want to select one of the elements, then use Deep select by Ctrl + click.
Conclusion
In this article, we have seen about keyboard shortcuts in Figma. First, we have started with essential shortcuts; then we moved to more specifics like text tools, selections and opacity. Also, we have seen different shortcuts for views.
Recommended Articles
This is a guide to Figma Shortcuts. Here we discuss the introduction and steps of Figma shortcuts for better understanding. You may also have a look at the following articles to learn more –
